This week in the One Room Challenge I created some custom inexpensive artwork. I have been waiting to find the perfect project for using engineering prints (there are so many great ideas using them on Pinterest!).
As a crazed, party-throwing Mom, I love to use engineering prints as expensive party decor. It saves so much money and they’re so much fun to create.
What are Engineering Prints?
For those of you that don’t know what engineering prints are, they can be made at an office supply store such as Staples. They are large prints used for engineering that are very inexpensive. They can be black and white or color. But, they are on a thinner paper so they don’t work for all applications.
Although it may be hard to tell in pictures that these prints are really large (since I took the picture of the prints laying on a backdrop in the foyer from the top of my stairwell landing). Each print is 18 x 24 inches in size. And honestly, we could have (and probably should have) gone bigger.
My DIY Inexpensive Wall Art
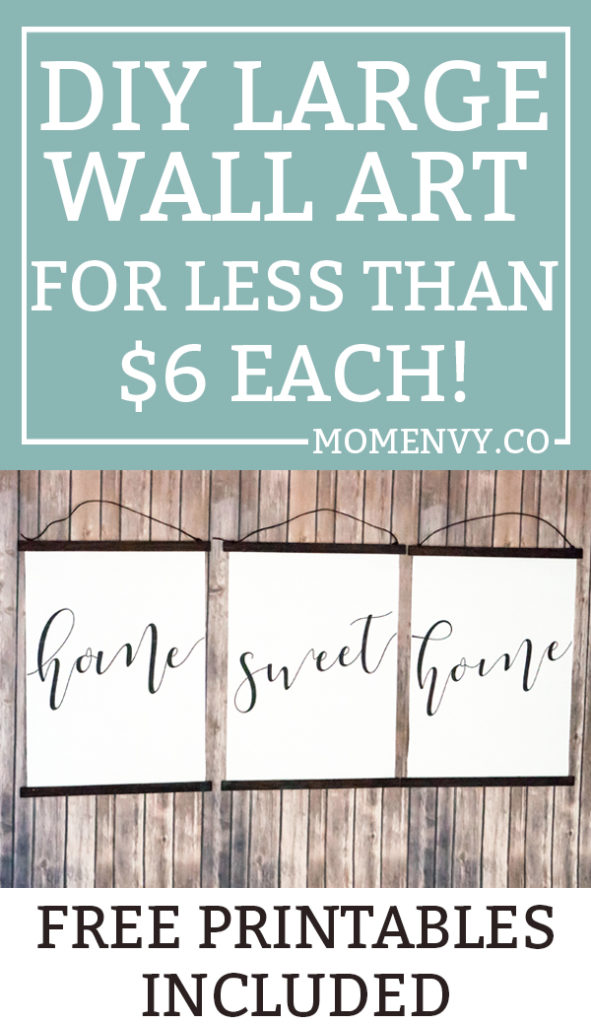
For my project, I created a set of three prints in black and white. I wanted something simple so I decided to go with a simple text and phrase, “Home Sweet Home.” By using engineering prints, I was able to keep the costs at less than $6 a piece.
If you’d rather, you can create your own print. Or, you could even use family photos (which would be so much fun!)
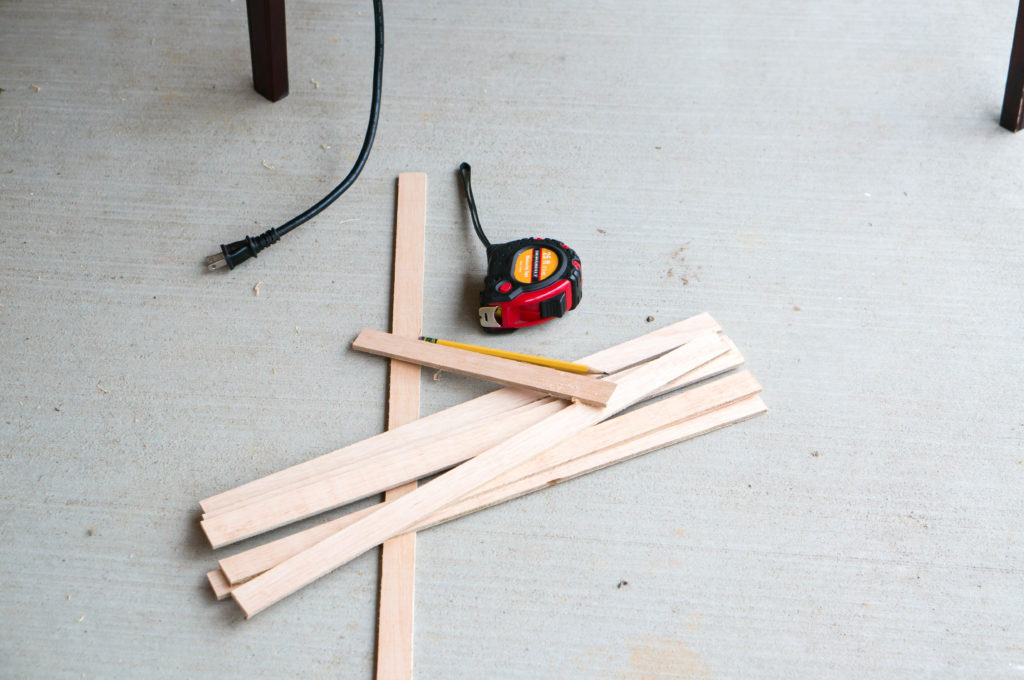
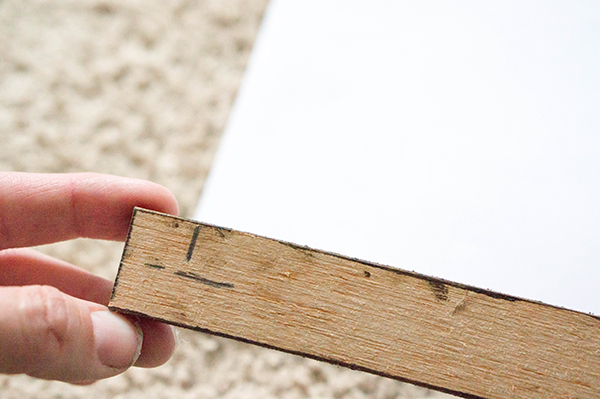
Although in the directions below I include furring strips as a material, I did not use them. In place of furring strips, I used strips from the shiplap we had leftover.
In addition to having the wood, I also had the stain. And of course, I used a 40% off coupon for the cording. The project cost me less than $10 total for all three signs.
I will be hanging my art in the stairwell so the prints will not be lined up next to each other. For those of you that are lining your art up next to each other, there is a second version of the word “Sweet” available that has a connecting line from the S that makes it appear as though it’s connected to “Home.”
So if you’re in need of some cheap wall art that you can DIY yourself (I promise, it was super easy!), then keep reading below to find out how I created them. If you’re just here for the prints, scroll to the bottom of the page and look for the DOWNLOAD BELOW arrow.

![]()
![]()
As an Amazon Associate, I earn from qualifying purchases. I am also an affiliate for the HP ink program. Click here to read more.
DIY Inexpensive Wall Art
Materials
- 1 in x 2 in x 8 ft furring stripboard (times two)
- 18 x 24 in Engineering prints (One copy of the free prints which are available to download below or another print of your own design)
- Stain in color of your choice
- Leather Cording (or synthetic leather cording)**Don’t forget to use a coupon if you purchase at a hobby store such as Michael’s
- Sandpaper/sanding block
- Miter Saw or another saw
- Hot glue and/or staples and a staple gun
- Drill
- Small drill bit (slightly bigger than the thickness of the cording)
- Pencil
- Tape measure
Directions
- Cut 6 pieces of wood from the furring strips that are 19 inches long.
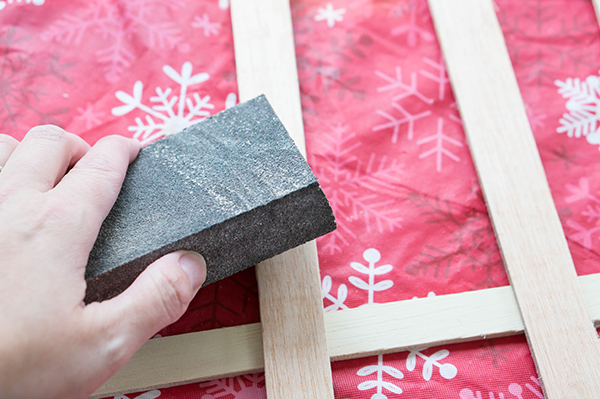
- Sand the furring strips.
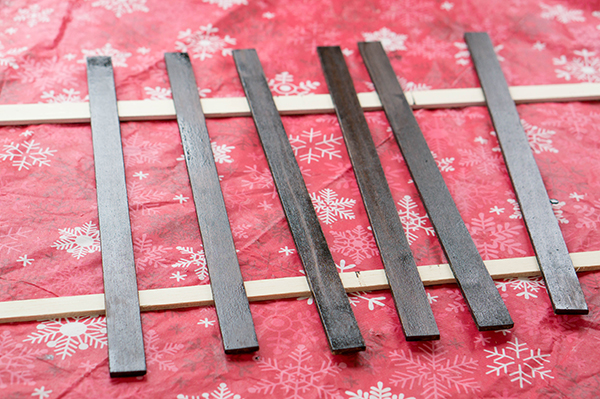
- Stain the furring strips per the directions on the stain.
- Drill two holes in three of the furring strips. Place them 1/2 inches in from the side and towards the top.

- Turn the strips over and use a pencil to mark the strips as a guide for placing the prints. I placed my marks in 1/2 inch from each side and 1/2 inch from the top of the strip for the ones without the holes and 1/2 inch from the bottom of the strip for the ones with the holes.
- Run a line of hot glue along the furring strip where the paper will sit.

- Place the paper carefully on the hot glue and gently press (be careful not to burn yourself).
- **You can also use staples and a staple gun. Make sure your staples are shorter than the thickness of the wood.
- String the cord through the holes and tie a knot.
- Hang!
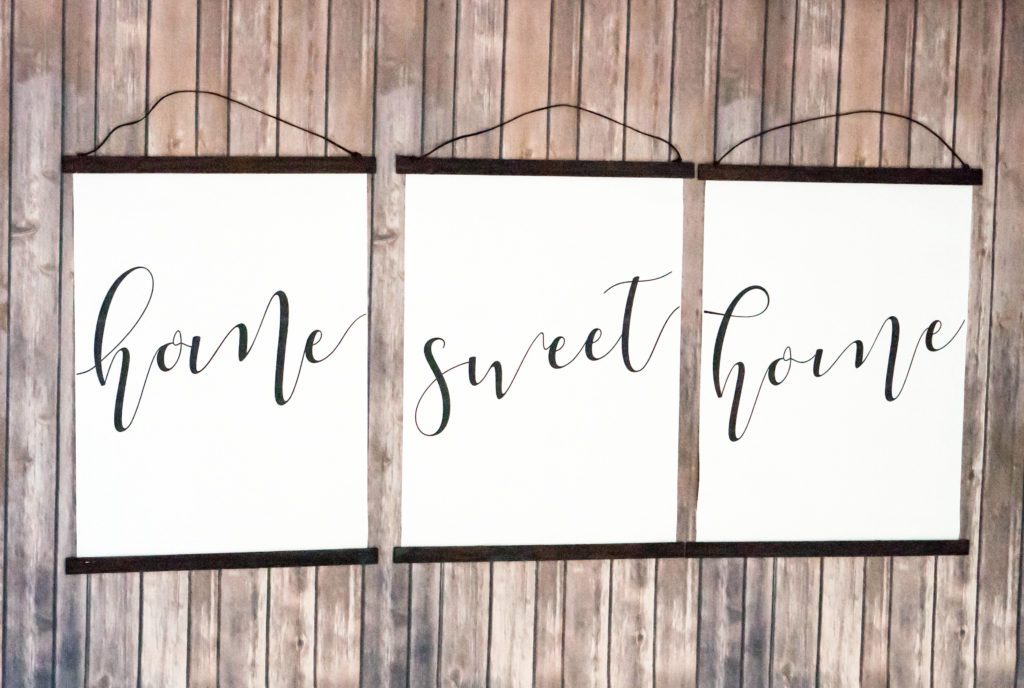
This is just laying on a backdrop on my floor. I’ll share it in place in the big reveal!
Need More Inspiration?
Don’t forget to check out the rest of the One Room Challenge Guest Participants and the Feature participants. (The One Room Challenge brings bloggers together twice a year to redo one room in six seven weeks – the challenge was extended one week this year due to hurricanes and wildfires).
Follow Along
Want to see the rest of our challenge – check out these posts:
- Week One: The Foyer Before
- Week Two: How to Install Faux Shiplap
- Week Three: The Cheapest Light Makeover, Ever
- Week Four: Refinished Stairs and Chalk Painting a Sideboard
- Week Five: How to Turn a Cork Board into a Chalkboard
- Week Seven: Foyer Reveal

File Usage Information
Please Note, all Files on Mom Envy are for personal use only. Files may not be resold, modified, or used commercially. Sharing the file for free or for money on Facebook groups is prohibited (you can share a picture and link back to the post). Sharing the link, my site’s name, and one picture on a blog post is okay, as long as the entire text of the post and the actual files are not shared. If you are interested in selling them commercially, please contact me directly.

Farmhouse Printables I Still Remember the Days I Prayed for the Things I Have Now
Monday 16th of April 2018
[…] Home Sweet Home Prints […]
Farmhouse Printables Party of Four and More Printables
Sunday 15th of April 2018
[…] Home Sweet Home Prints […]
Farmhouse Printables Be Our Guest - Two Different Styles Included
Saturday 14th of April 2018
[…] Home Sweet Home Prints […]
Farmhouse Printables It's Not What We Have in Life
Saturday 14th of April 2018
[…] Home Sweet Home Prints […]
One Room Challenge Foyer Reveal | Mom Envy
Thursday 16th of November 2017
[…] Created custom artwork using engineer prints […]