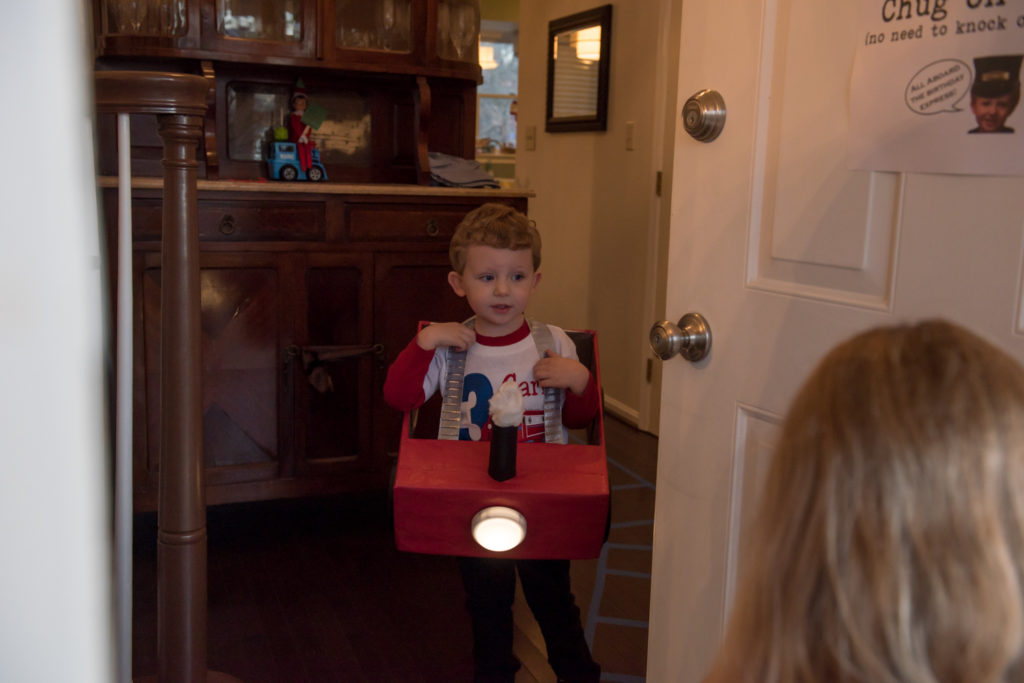
 Materials
- large rectangular box with short sides, narrow in width and long. It should fit the child/children that will be wearing it
- Paper towel tub
- Solid color wrapping paper or craft rolls OR paint in various colors
- Black construction paper
- 2 in width Ribbon for straps
- Hot glue/glue gun
- Cotton balls
- Push lights
- Solid black paper plates (back must be black. I found mine at the Dollar Tree)
- Razor blade
- Double-sided tape
- Crafters glue
- Pencil
-
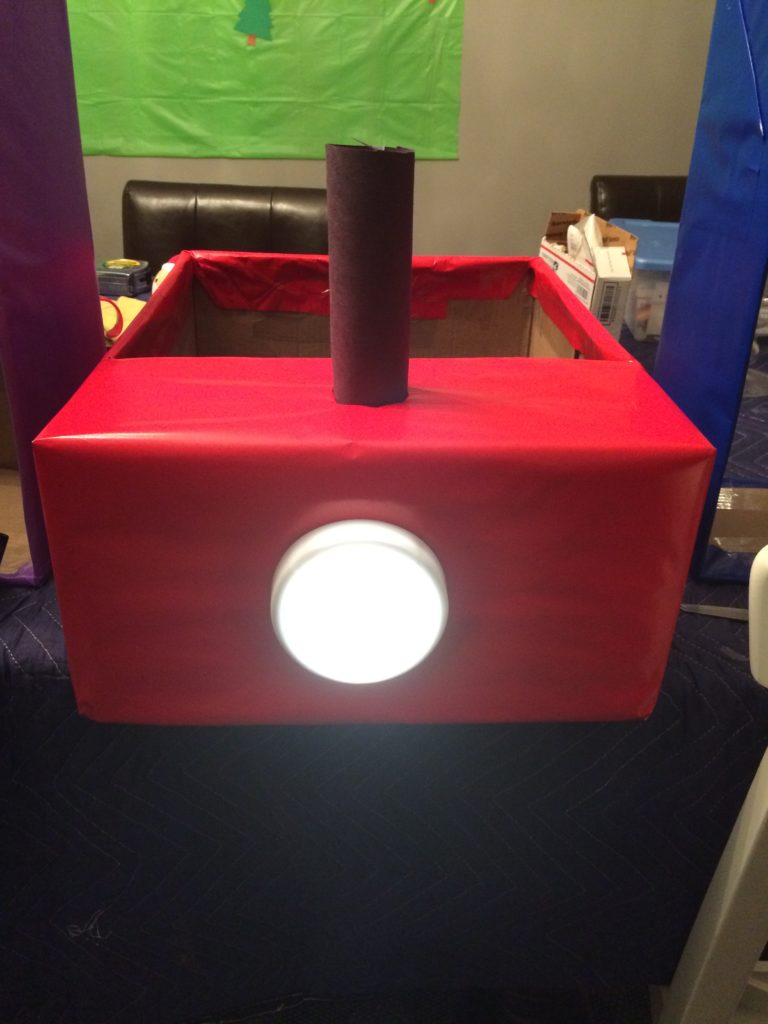
- The largest sides of your box will be the top and bottom of the train. Cut a square out of one end of the top. It needs to be large enough for a child to fit in. Leave part of the cardboard on the other end to create the “top” of the train car where the smoke stack will go. (See image below)
- Cut out the entire bottom of the train car.
- Using the paper towel tube, place it in the center of the portion of the top of the train car that is left. Trace around it. Then using a razor blade, cut out the circle.
- Cover the train car in solid wrapping paper OR paint the train car.
- Cover the paper towel tube in black construction paper (I used double-sided tape and glue for this).
- Place the paper towel tube about half way down into the circle on the train car. Add hot glue around the edges (like caulk) to secure in place.
- Hot glue the light on the front center of the train car (see below).
- Cut two straps out of ribbon. The length will depend on the size of your box and child. It’s best to use a child as a guide (I used Carl for mine and then made larger straps for the bigger kids and smaller straps for the smaller kids).
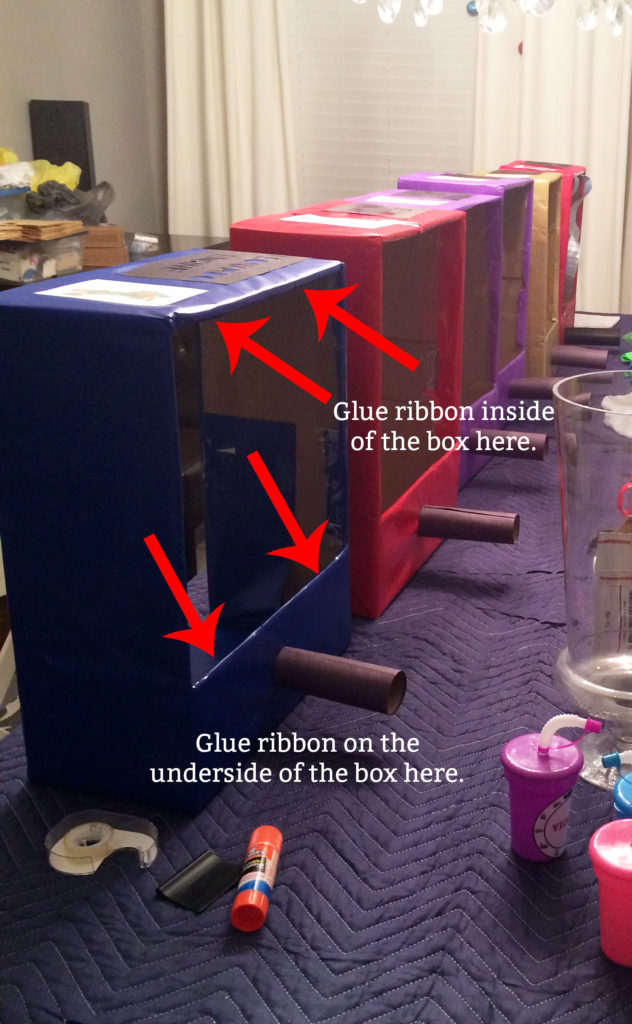
- Using hot glue, glue the ribbon on the inside of the back of the train car.
- Cris-cross the ribbon. Glue the other ends on the underside of the top part of the train where the smoke stack sits (see image below).
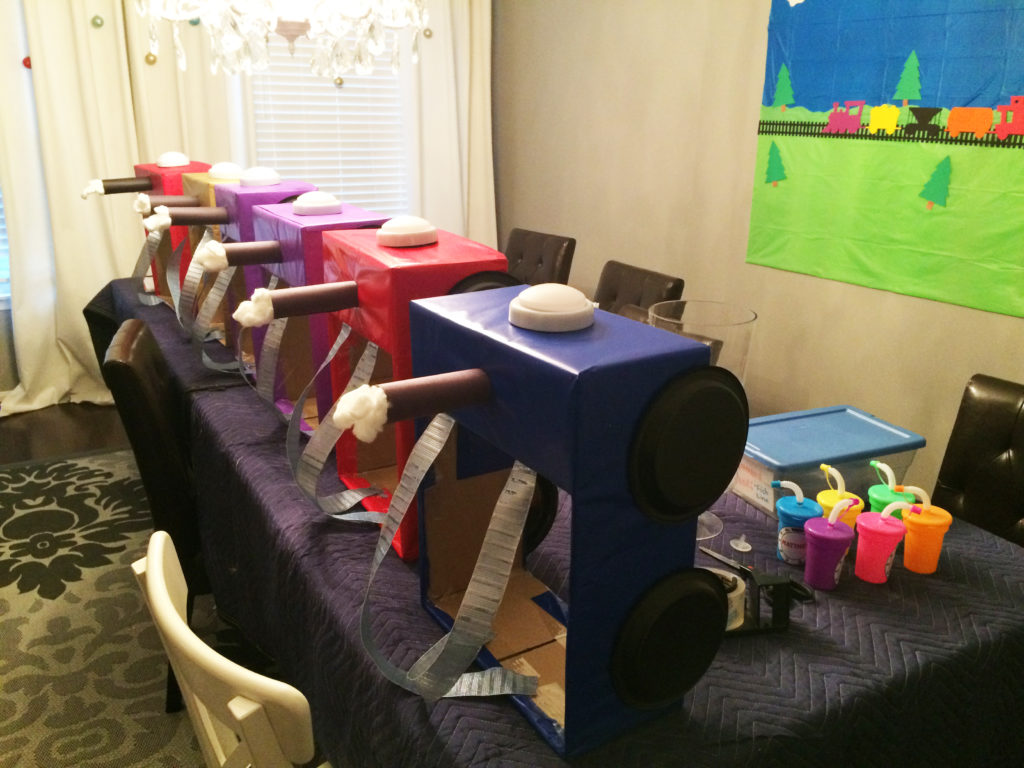
- Pull apart some cotton balls so that they are softer and larger in size. Place some hot glue inside of the top of the smoke stack. Stick the cotton into the smokestack against the glue.
- Using 4 black paper plates, place glue along the one half of the rim of the plate (so the outer edge area if you’re eating on the plate). Place the plate against the side of the train car so that the half without the glue is hanging off and the glue is against the box. Press to hold in place until the glue cools/adheres. Evenly place two plates each on the two long sides of the box.
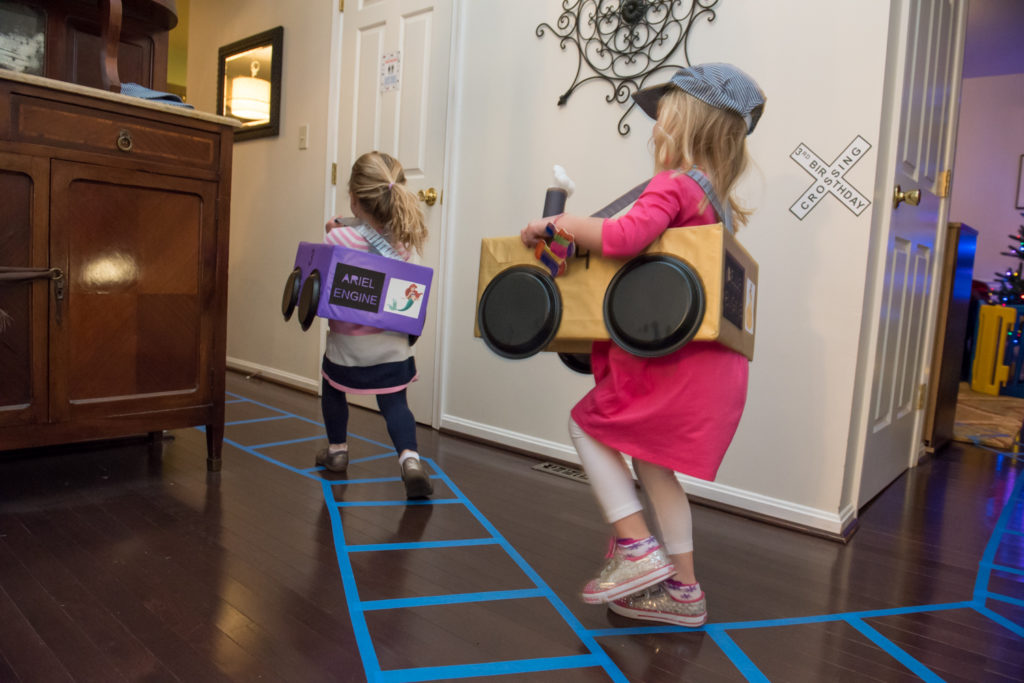
- Decorate the train as desired. We added numbers and made each train a favorite character of each child attending (this made the trains more exciting for non-train loving children).
