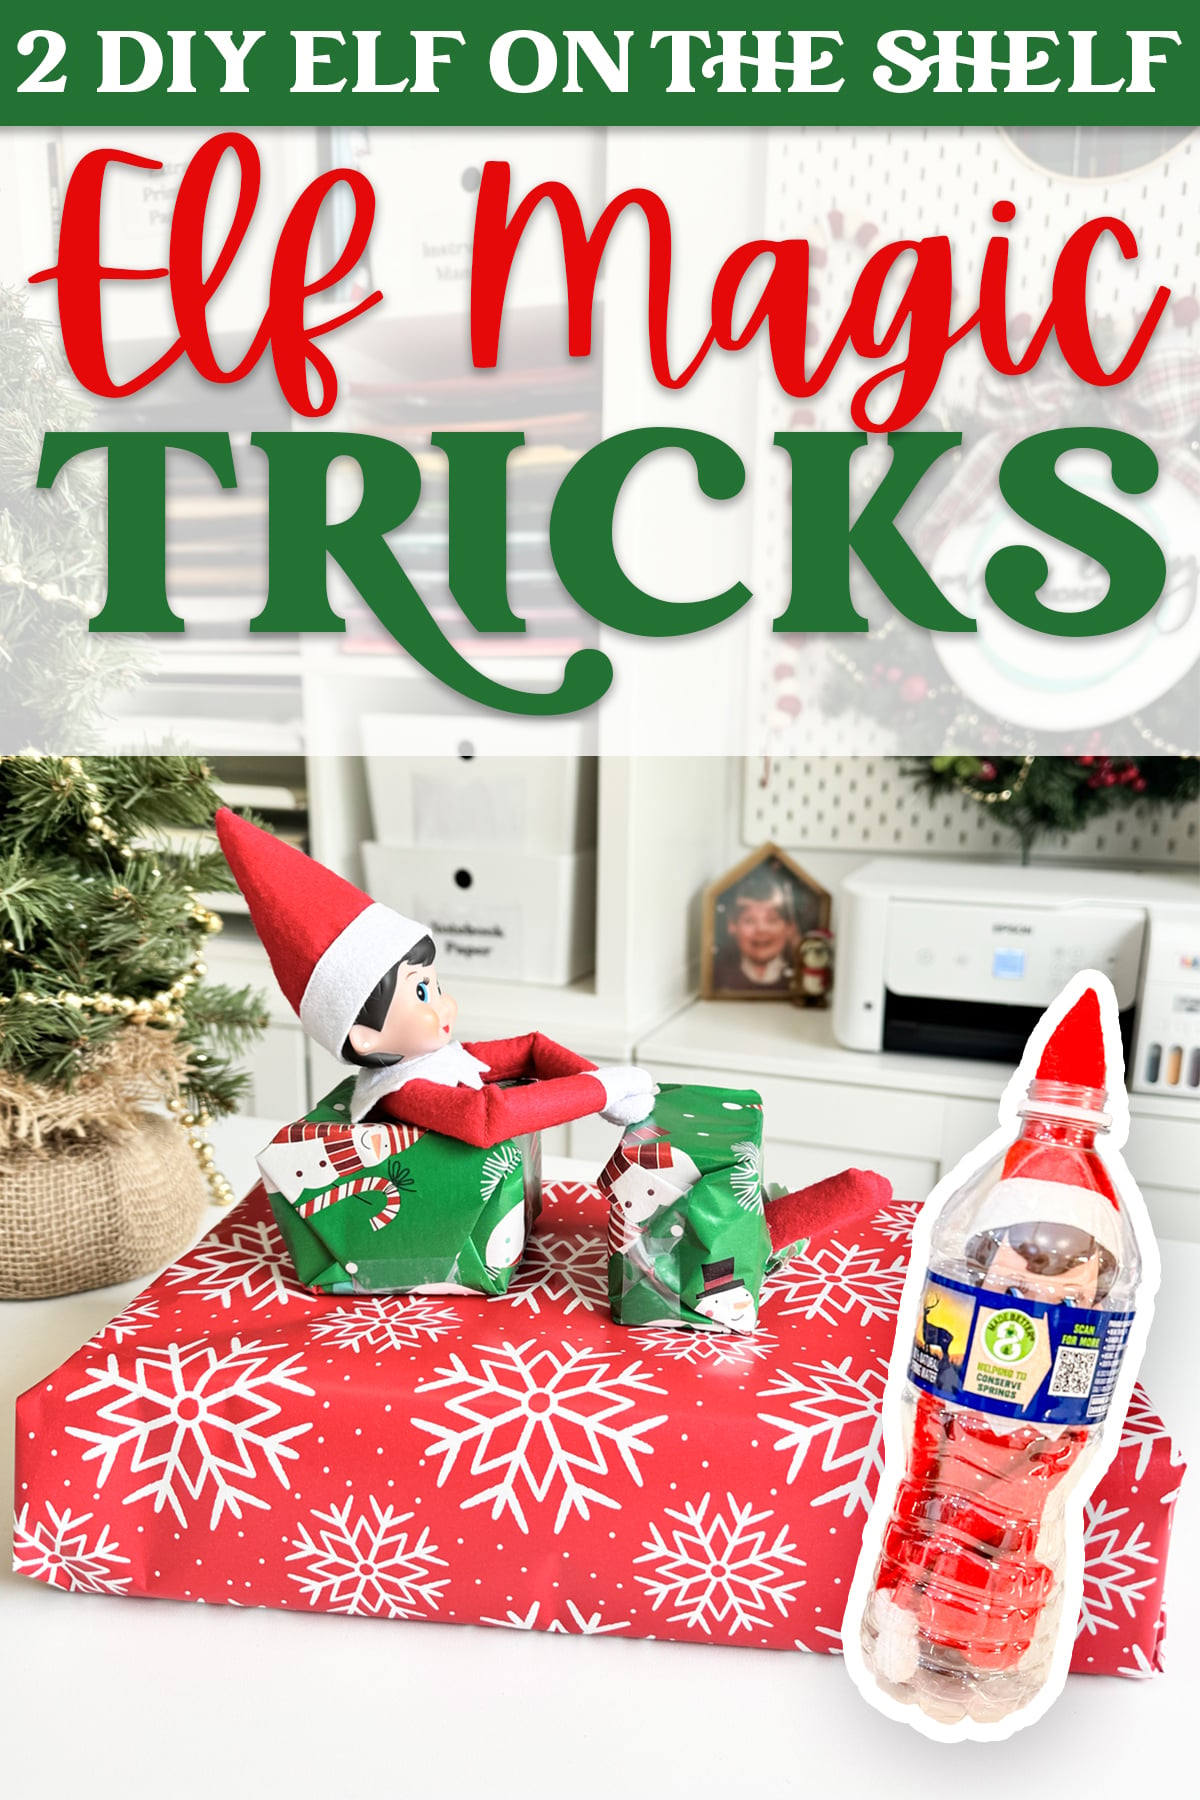

Looking for an Elf on the Shelf magic trick that will leave your kids wondering how their elf managed to pull it off?
I've got two fun Elf on the Shelf magic tricks that are surprisingly easy to create using supplies you probably already have at home!
For the first trick, you'll make it look like your elf has magically climbed inside a sealed water bottle.
For the second, you'll create a cut-in-half Elf on the Shelf illusion using cardboard boxes and wrapping paper.
Both tricks are a fun way to make your elf's Christmas magic feel a little more real. And the best part is that you can prepare most of the supplies ahead of time, so you aren't trying to put everything together late at night.
I originally recorded the video tutorial for these two tricks as part of my Christmas in July Craft Party, but they're perfect for using during the Christmas season.
You can watch me create both illusions step by step in the video below, or follow along with the written instructions.
A quick warning: If you have kids nearby who still believe in their elf's magic, you may want to save the video for later. It shows exactly how the tricks work, including handling the elves.
Watch the Elf Magic Tricks Video Tutorial
I walk through both tricks in my video, including the parts that take a little trial and error.
You'll see exactly how I cut the water bottle, hide the opening underneath the label, measure the cardboard boxes, and position the elf to create the cut-in-half illusion.
I also show the actual time it takes to put the projects together instead of skipping over every tricky part.
That way, you can see what to expect when making them yourself.
If you're planning to try either trick, I definitely recommend watching the video before getting started. If you are more of a reader, check out the written directions below.
Elf Magic Trick #1: Elf Trapped Inside a Water Bottle
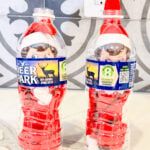
For this first trick, you're going to make it look like your elf somehow squeezed inside a water bottle without opening the top or bottom.
The secret is a hidden opening underneath the bottle's label.
Once you put everything back together, your kids won't be able to see how the elf got inside!
Supplies Needed
- An empty plastic water bottle with a label
- Your Elf on the Shelf doll
- A craft knife, such as an X-Acto knife
- Clear tape
- Paper towels
You'll want to choose a bottle that's large enough for your elf to fit inside.
I was able to fit a standard Elf on the Shelf doll inside a regular water bottle, although it does take a little work.
Step 1: Prepare the Water Bottle
Start with an empty water bottle.
I recommend emptying it a day or two before you plan to use it and leaving it upside down with the lid off so it can dry completely.
You don't want any leftover water getting on your elf.
If you're putting this together at the last minute, you can use paper towels to dry the inside of the bottle instead.
Step 2: Carefully Peel Back the Label
Gently peel the label away from the water bottle, but don't remove it completely.
You want to leave it attached so you can put it back in place later.
The label is going to hide the opening you make in the bottle.
Step 3: Cut a Hidden Opening
Using a craft knife, carefully cut an opening in the plastic bottle underneath the area where the label normally sits.
Make sure an adult handles all cutting.
You want to create a flap that's large enough to fit your elf through, but don't cut the plastic completely off.
Leaving the flap attached will make it easier to close the bottle again.
Try to keep the entire opening underneath the label so it won't be visible once the label is back in place.
Step 4: Put Your Elf Inside
Carefully work your elf through the opening.
This part can take a little patience, especially if your elf is newer and its body is still stiff.
Gently position the elf inside the bottle until the entire doll fits.
I actually purchased a separate elf to use for projects like this because I didn't want to risk damaging the special elves my boys have had for years.
If you're worried about bending or damaging your family's elf, using an extra doll for this trick might be a good idea.
Step 5: Close the Bottle
Once your elf is inside, carefully close the plastic flap.
Use clear tape along the cut edges to help keep the bottle closed.
Then smooth the original label back over the opening.
If the label is still sticky, you may not need anything else to hold it in place.
The label should completely cover the cut, making it look like the bottle was never opened.
Step 6: Set Up Your Elf Magic Trick
Now you're ready to surprise your kids!
Place the bottle somewhere they'll discover it in the morning.
It will look like your elf somehow magically climbed inside a water bottle.
And because the bottle is closed and the opening is hidden underneath the label, kids can even pick it up and examine it without immediately discovering the trick.
Just make sure the taped opening is secure before letting anyone handle the bottle.
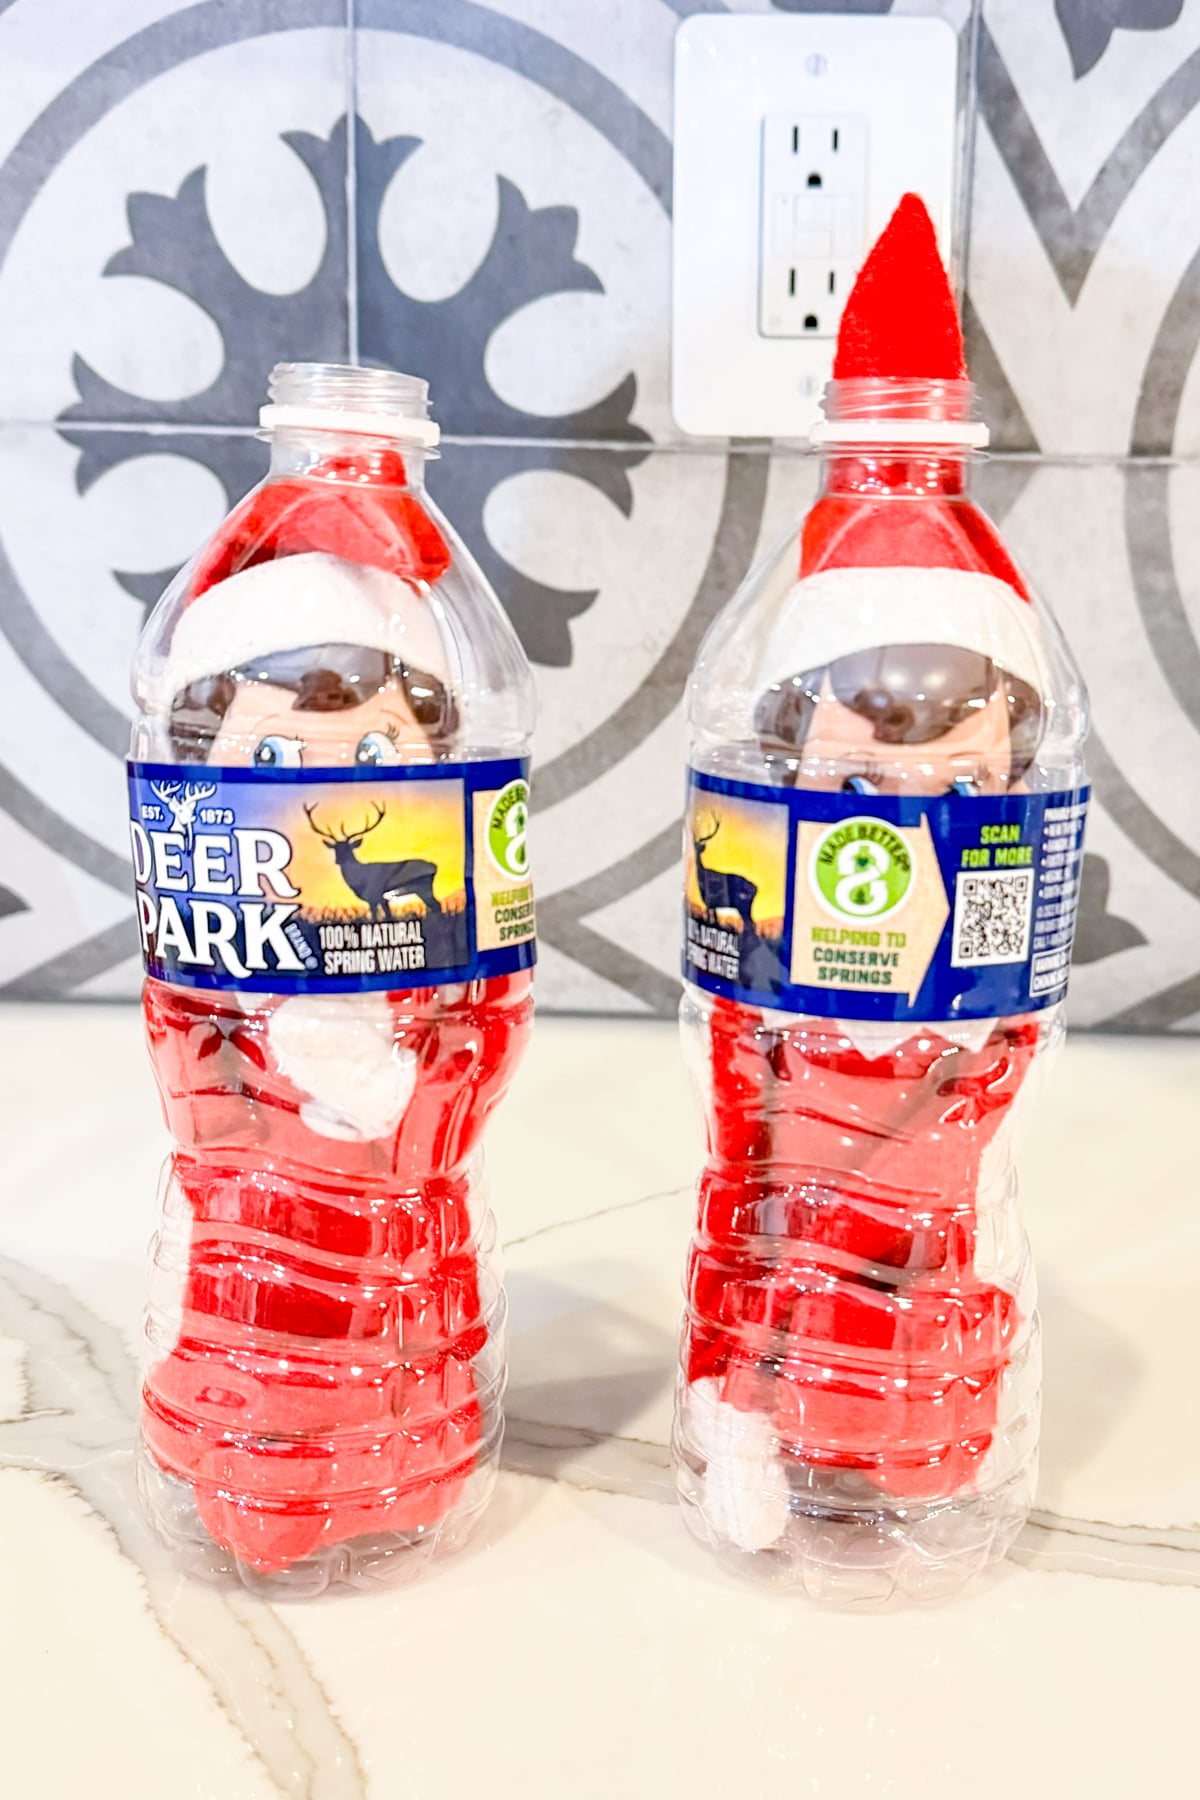
See the Elf Stuck in the Bottle Up Close!
Elf Magic Trick #2: Cut-in-Half Elf on the Shelf Illusion
This second trick takes a little more preparation, but the finished result is so funny!
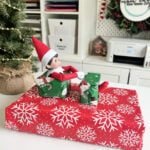
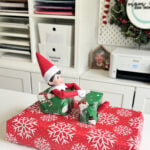
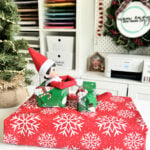
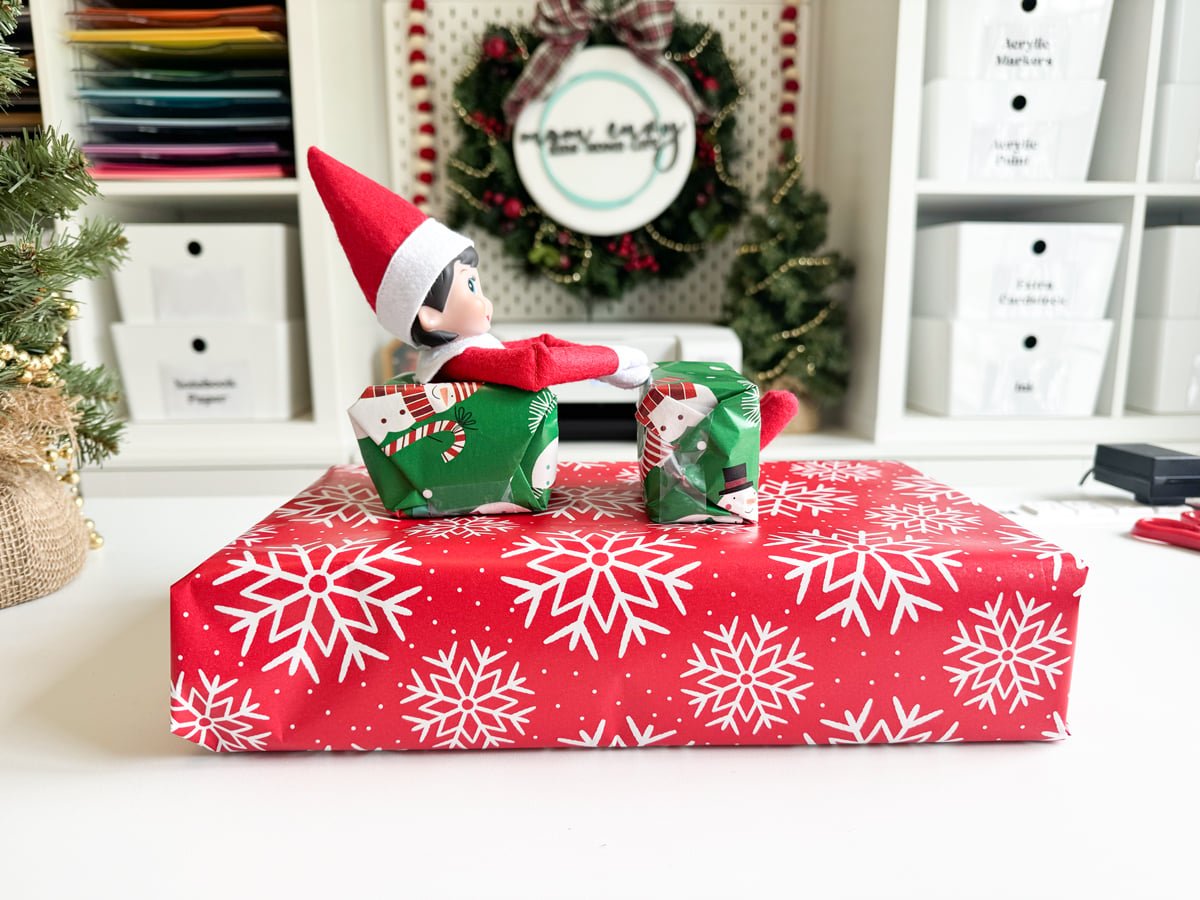
You're going to make it look like your Elf on the Shelf has been cut in half, with its upper body sticking out of one wrapped box and its feet sticking out of another.
The boxes will appear to be two separate pieces, even though your elf is actually hidden inside them.
It looks like a classic magician's cut-in-half trick, only with your Christmas elf!
Supplies Needed
- Your Elf on the Shelf doll
- Two cardboard boxes that are approximately the same size, or one box you can cut into two pieces
- A craft knife or scissors
- Tape
- Wrapping paper (I recommend having two different designs available)
The most important thing is choosing boxes that are large enough to fit your elf.
You'll need enough room for the elf's body to pass through the boxes while allowing its head and feet to stick out.
Step 1: Choose Your Boxes
Start by finding two boxes that are approximately the same size.
If you don't have two matching boxes, you can cut one longer box into two sections.
That's what I did in my video.
I ended up needing to trim my boxes down quite a bit to get the right size.
Don't worry if your cutting isn't perfect. You're going to cover everything with wrapping paper anyway!
You want the finished boxes to look like two matching sections of one box.
Step 2: Plan Where Your Elf Will Go
Before cutting anything, figure out how you want your elf positioned.
For my version, I wanted the elf's upper body to stick out of the top of one box and its feet to stick out of the end of the other.
The elf's body and legs will be hidden inside the boxes.
Hold your elf against the boxes to determine where the openings need to go.
You may need to adjust the size of the boxes depending on how flexible your elf is.
Step 3: Cut Openings for the Elf
Carefully cut openings in the boxes where your elf needs to pass through.
The upper-body opening will need to be larger than the openings for the legs.
Start with smaller holes and gradually make them larger as needed.
I found that it was much easier to adjust the openings a little at a time instead of cutting them too large right away.
Don't worry if the holes aren't perfectly neat. The wrapping paper will help hide the edges.
Step 4: Test the Fit Before Wrapping
This is probably the most important step!
Make sure your elf fits through both boxes before you start wrapping them.
Carefully position the elf so its upper body comes through the opening in the first box.
Then check that its legs can pass through the second box.
You want the two boxes to sit close enough together that the elf's body is hidden.
If the boxes are too far apart or the openings don't line up, the illusion won't look quite right.
Keep adjusting until you're happy with how everything fits.
Step 5: Wrap the Boxes
Once you've tested the fit, remove the elf and wrap your boxes with Christmas wrapping paper.
You can use the same paper for both boxes or choose different designs.
I recommend keeping the areas where the two boxes meet as smooth as possible.
You don't want bulky folds of wrapping paper drawing attention to the spot where the boxes connect.
I also suggest leaving an end of the box open while you're working.
This makes it much easier to reach inside and adjust your elf later.
You can finish wrapping that section once everything is in place.
Step 6: Cut Openings in the Wrapping Paper
After wrapping the boxes, locate the openings you made in the cardboard.
Carefully cut through the wrapping paper to expose those openings.
For the top of the box, make the opening large enough for your elf's head and upper body.
For the feet, try to keep the visible openings as small as possible.
I actually made two small holes for the elf's feet so you couldn't easily see the legs hidden inside the box.
Step 7: Position Your Elf Inside the Boxes
Now it's time to put everything together!
Carefully pull the elf's upper body through the opening in the first box.
Then guide its legs through the second box.
You may need to reach inside the boxes to adjust the elf's position.
I also used tweezers to help pull the elf's feet through the smaller openings in the wrapping paper.
Take your time with this part. Getting everything positioned correctly is what makes the illusion work.
Step 8: Finish the Cut-in-Half Illusion
Once your elf is positioned, arrange the boxes so they look like two separate wrapped sections.
The elf's upper body should be visible at one end, with its feet sticking out of the other.
Make any final adjustments and finish wrapping the open ends of the boxes.
You may not even need to tape the two boxes together.
In my video, I discovered that the elf's body actually helped hold everything in place!
When you're finished, it should look like your elf has been magically cut in half.
Of course, the elf is completely fine!
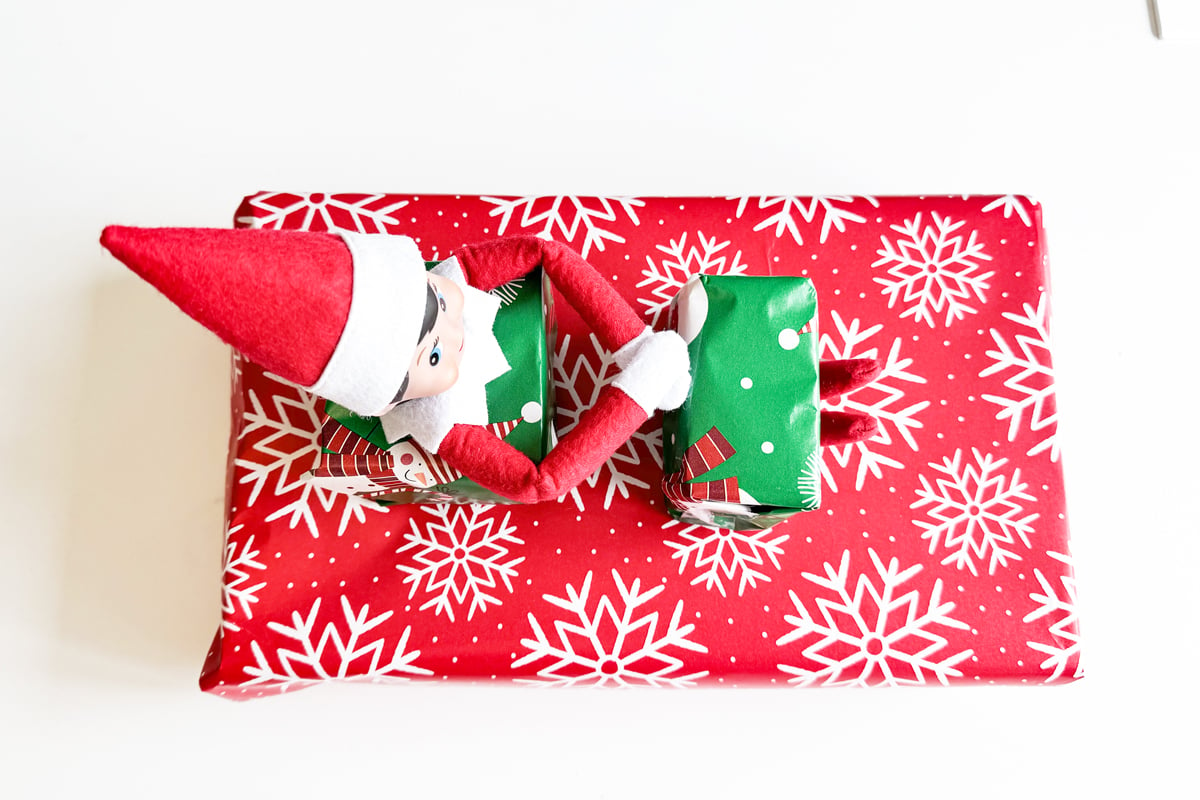
Make the Cut-in-Half Elf Trick Even Funnier
If you have more than one elf, you can make this setup even more entertaining.
Position your second elf nearby with a pair of child-safe toy scissors or another pretend magician's prop.
It will look like one elf was trying to perform a magic trick on the other!
You could also create a little sign that says:
"For My Next Trick..."
Or:
"TA-DA! Elf Magic!"
You could even add a toy magic wand or magician's hat to complete the scene.
The extra decorations aren't necessary, but they can make the finished setup even more fun.
Can You Do These Elf Magic Tricks with Just One Elf?
Yes!
Both of these tricks work with just one elf.
For the cut-in-half trick, you don't need to purchase two separate dolls to make it look like one elf's head is in one box and its feet are in another.
That's one of the reasons I wanted to show how to create the illusion using a single elf.
If you happen to have two elves, you could create a simpler version using one elf's upper body and another elf's feet in separate boxes.
But the single-elf version makes the illusion even more convincing, especially if your kids know exactly how many elves you have!
Tips for Preparing Your Elf Magic Tricks Ahead of Time
These are definitely Elf ideas that are easier if you prepare them before December.
The water bottle trick is fairly quick, but getting the elf inside and making sure the opening is hidden can take a little time.
The cut-in-half illusion takes longer because you need to measure, cut, test the boxes, and wrap everything.
My biggest suggestion is to prepare the props ahead of time.
For the water bottle trick, you can cut the opening and save the empty bottle until you're ready to use it.
For the cut-in-half trick, you can cut and wrap the boxes, test the fit, and then store everything until December.
Just leave yourself access to the inside of the boxes so you can position your elf when the time comes.
Then, when you're ready to surprise your kids, most of the work is already done.
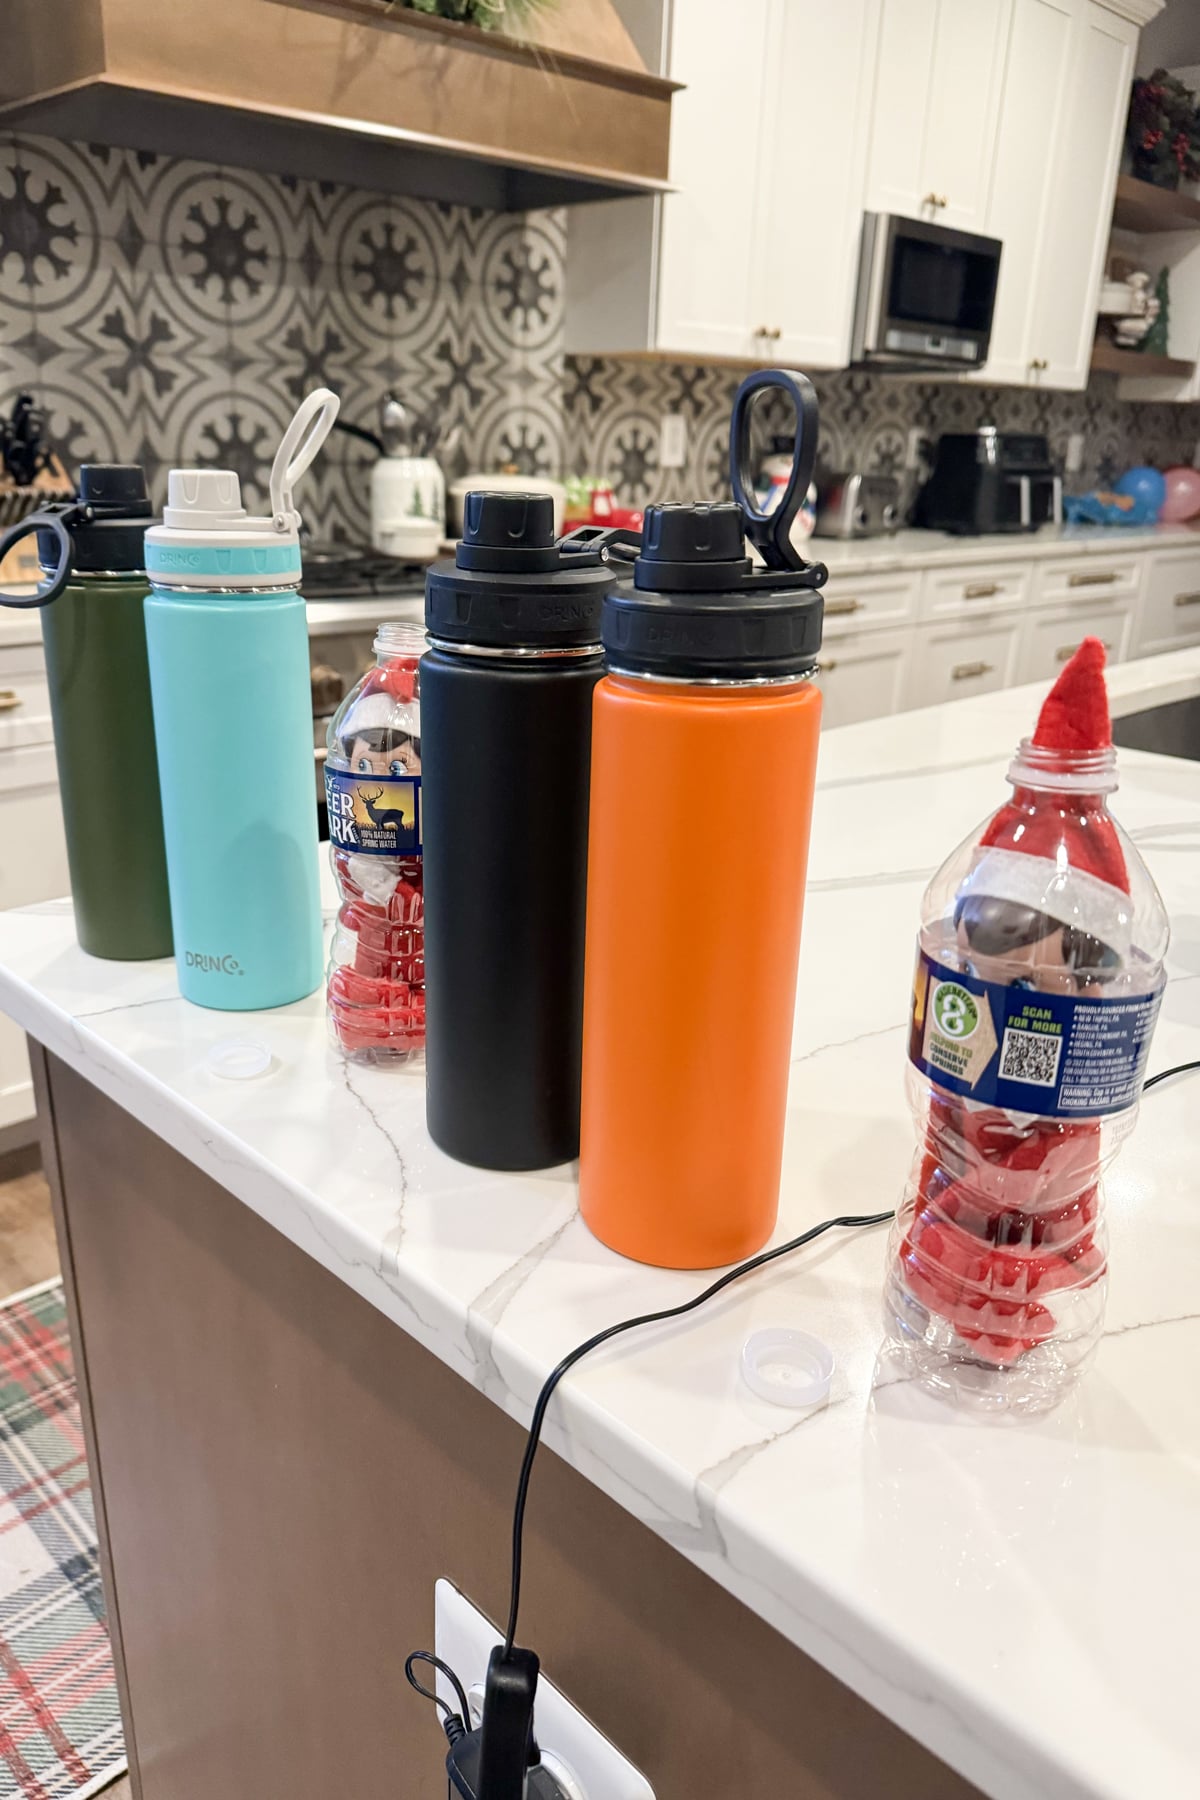
More Easy Elf on the Shelf Ideas
If you're looking for more ways to surprise your kids this Christmas, be sure to check out my other free Elf on the Shelf printables and ideas on Mom Envy.
I have plenty of easy Elf setups, printable props, funny notes, activities, and creative ideas to help you get through the Christmas season without spending hours planning every night.
You can even prepare several ideas ahead of time so you're ready when your elf returns!