How to Create a Shelf in a Wooden Crate
Disclosure: This shop has been compensated by Collective Bias, Inc. and its advertiser. All opinions are mine alone. #SavorHolidayFlavors #CollectiveBias
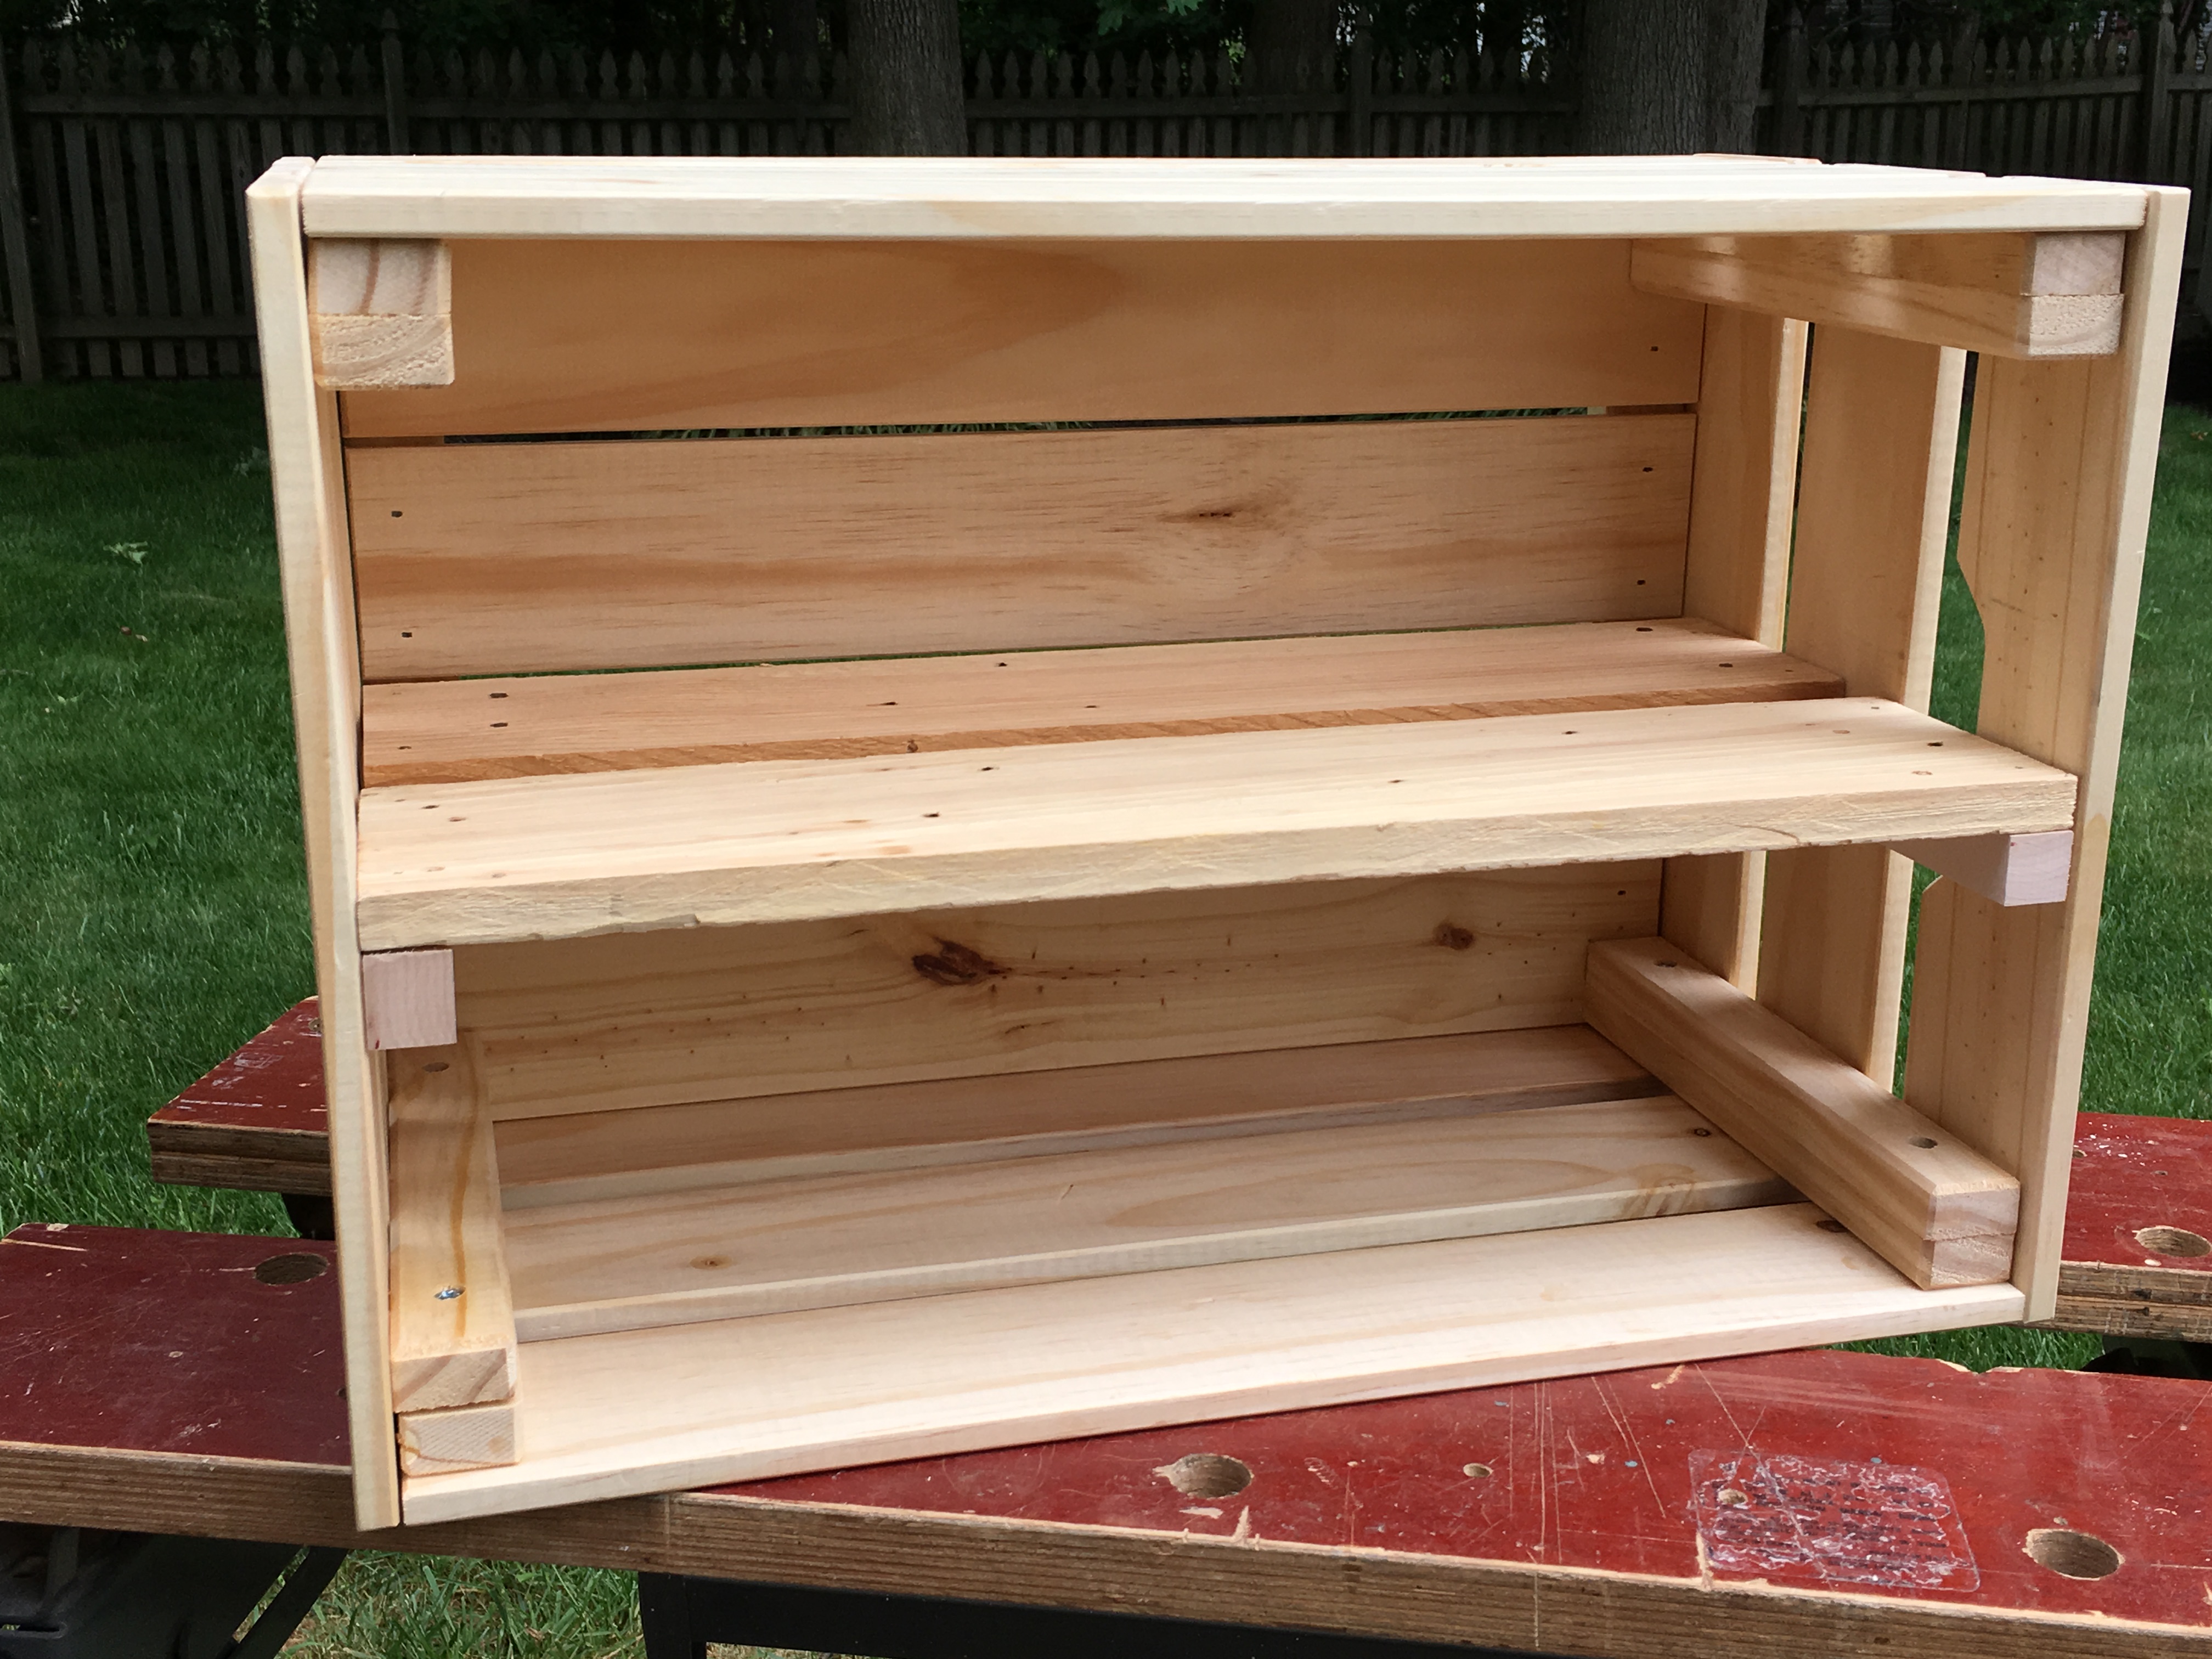 This is how my parents made the wood crate for my Starbucks® Coffee Bar.
Materials
- Wood crate
- 2 pieces of 4 inch wide pallet wood or 2 x 4s that are longer than the crate (or one long piece that is double the length of the crate).
- 2 pieces of 1 x 1's longer than the depth of the crate (or one long piece that is double the depth of the crate)
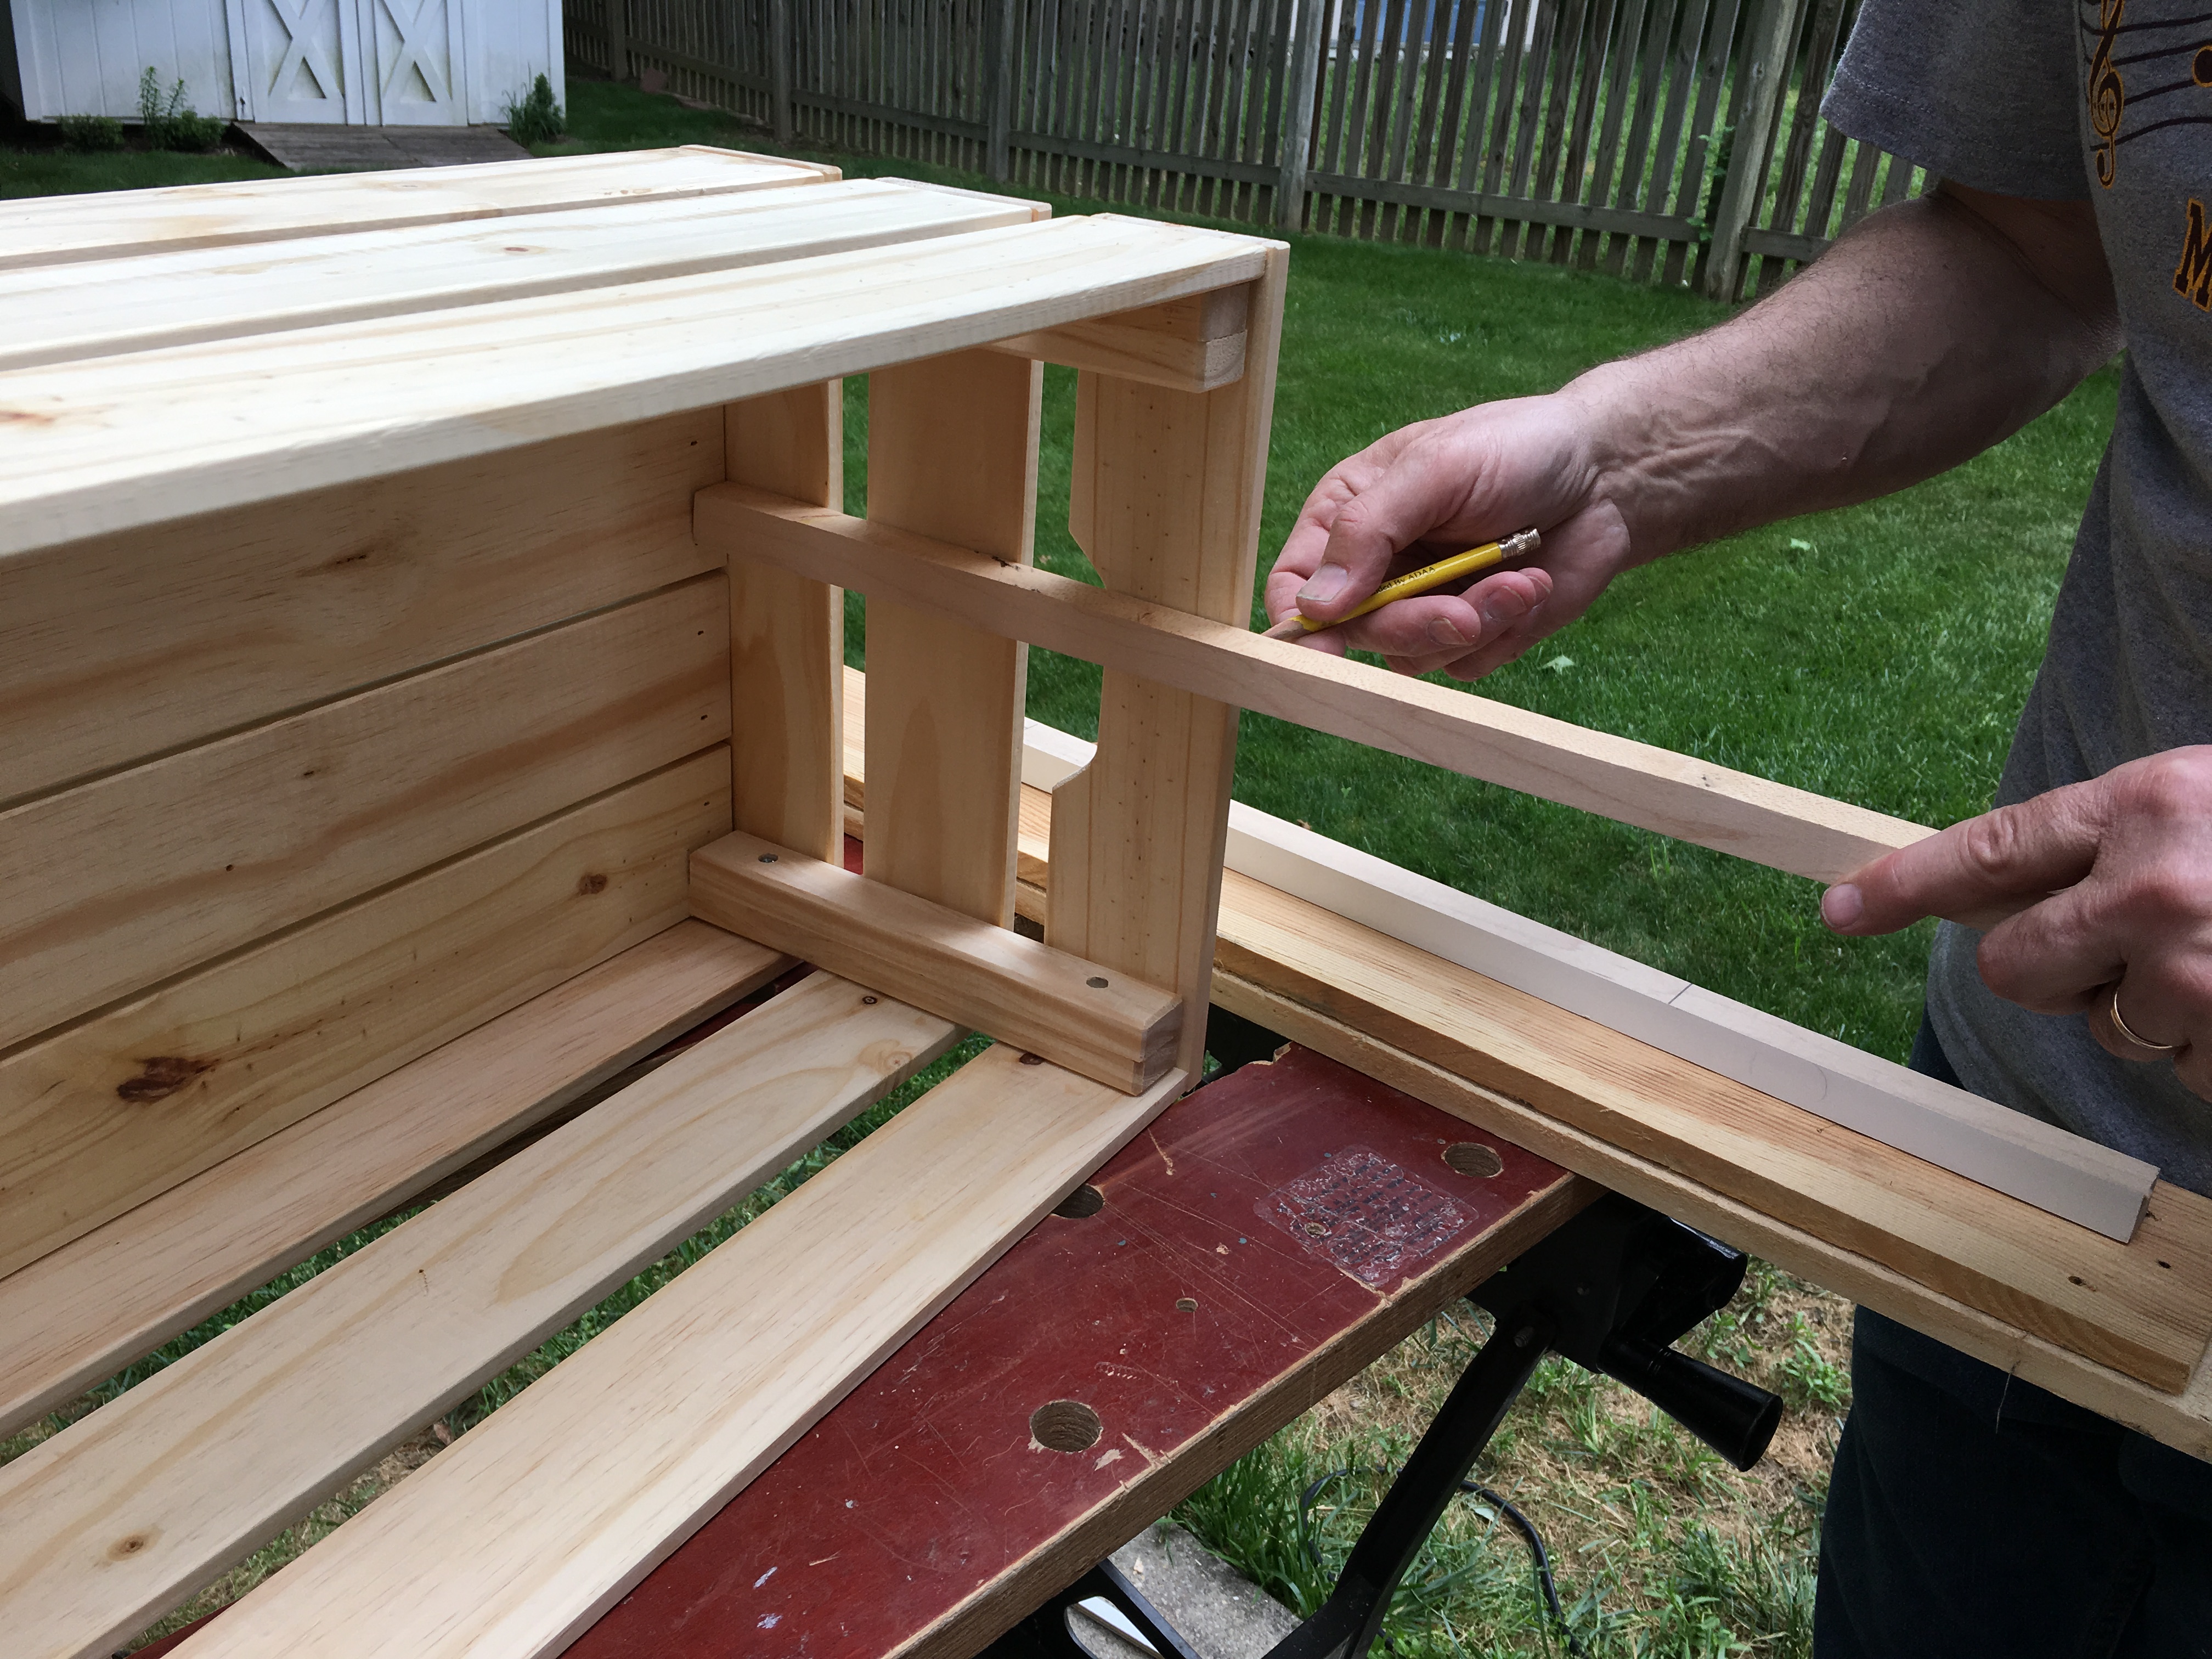
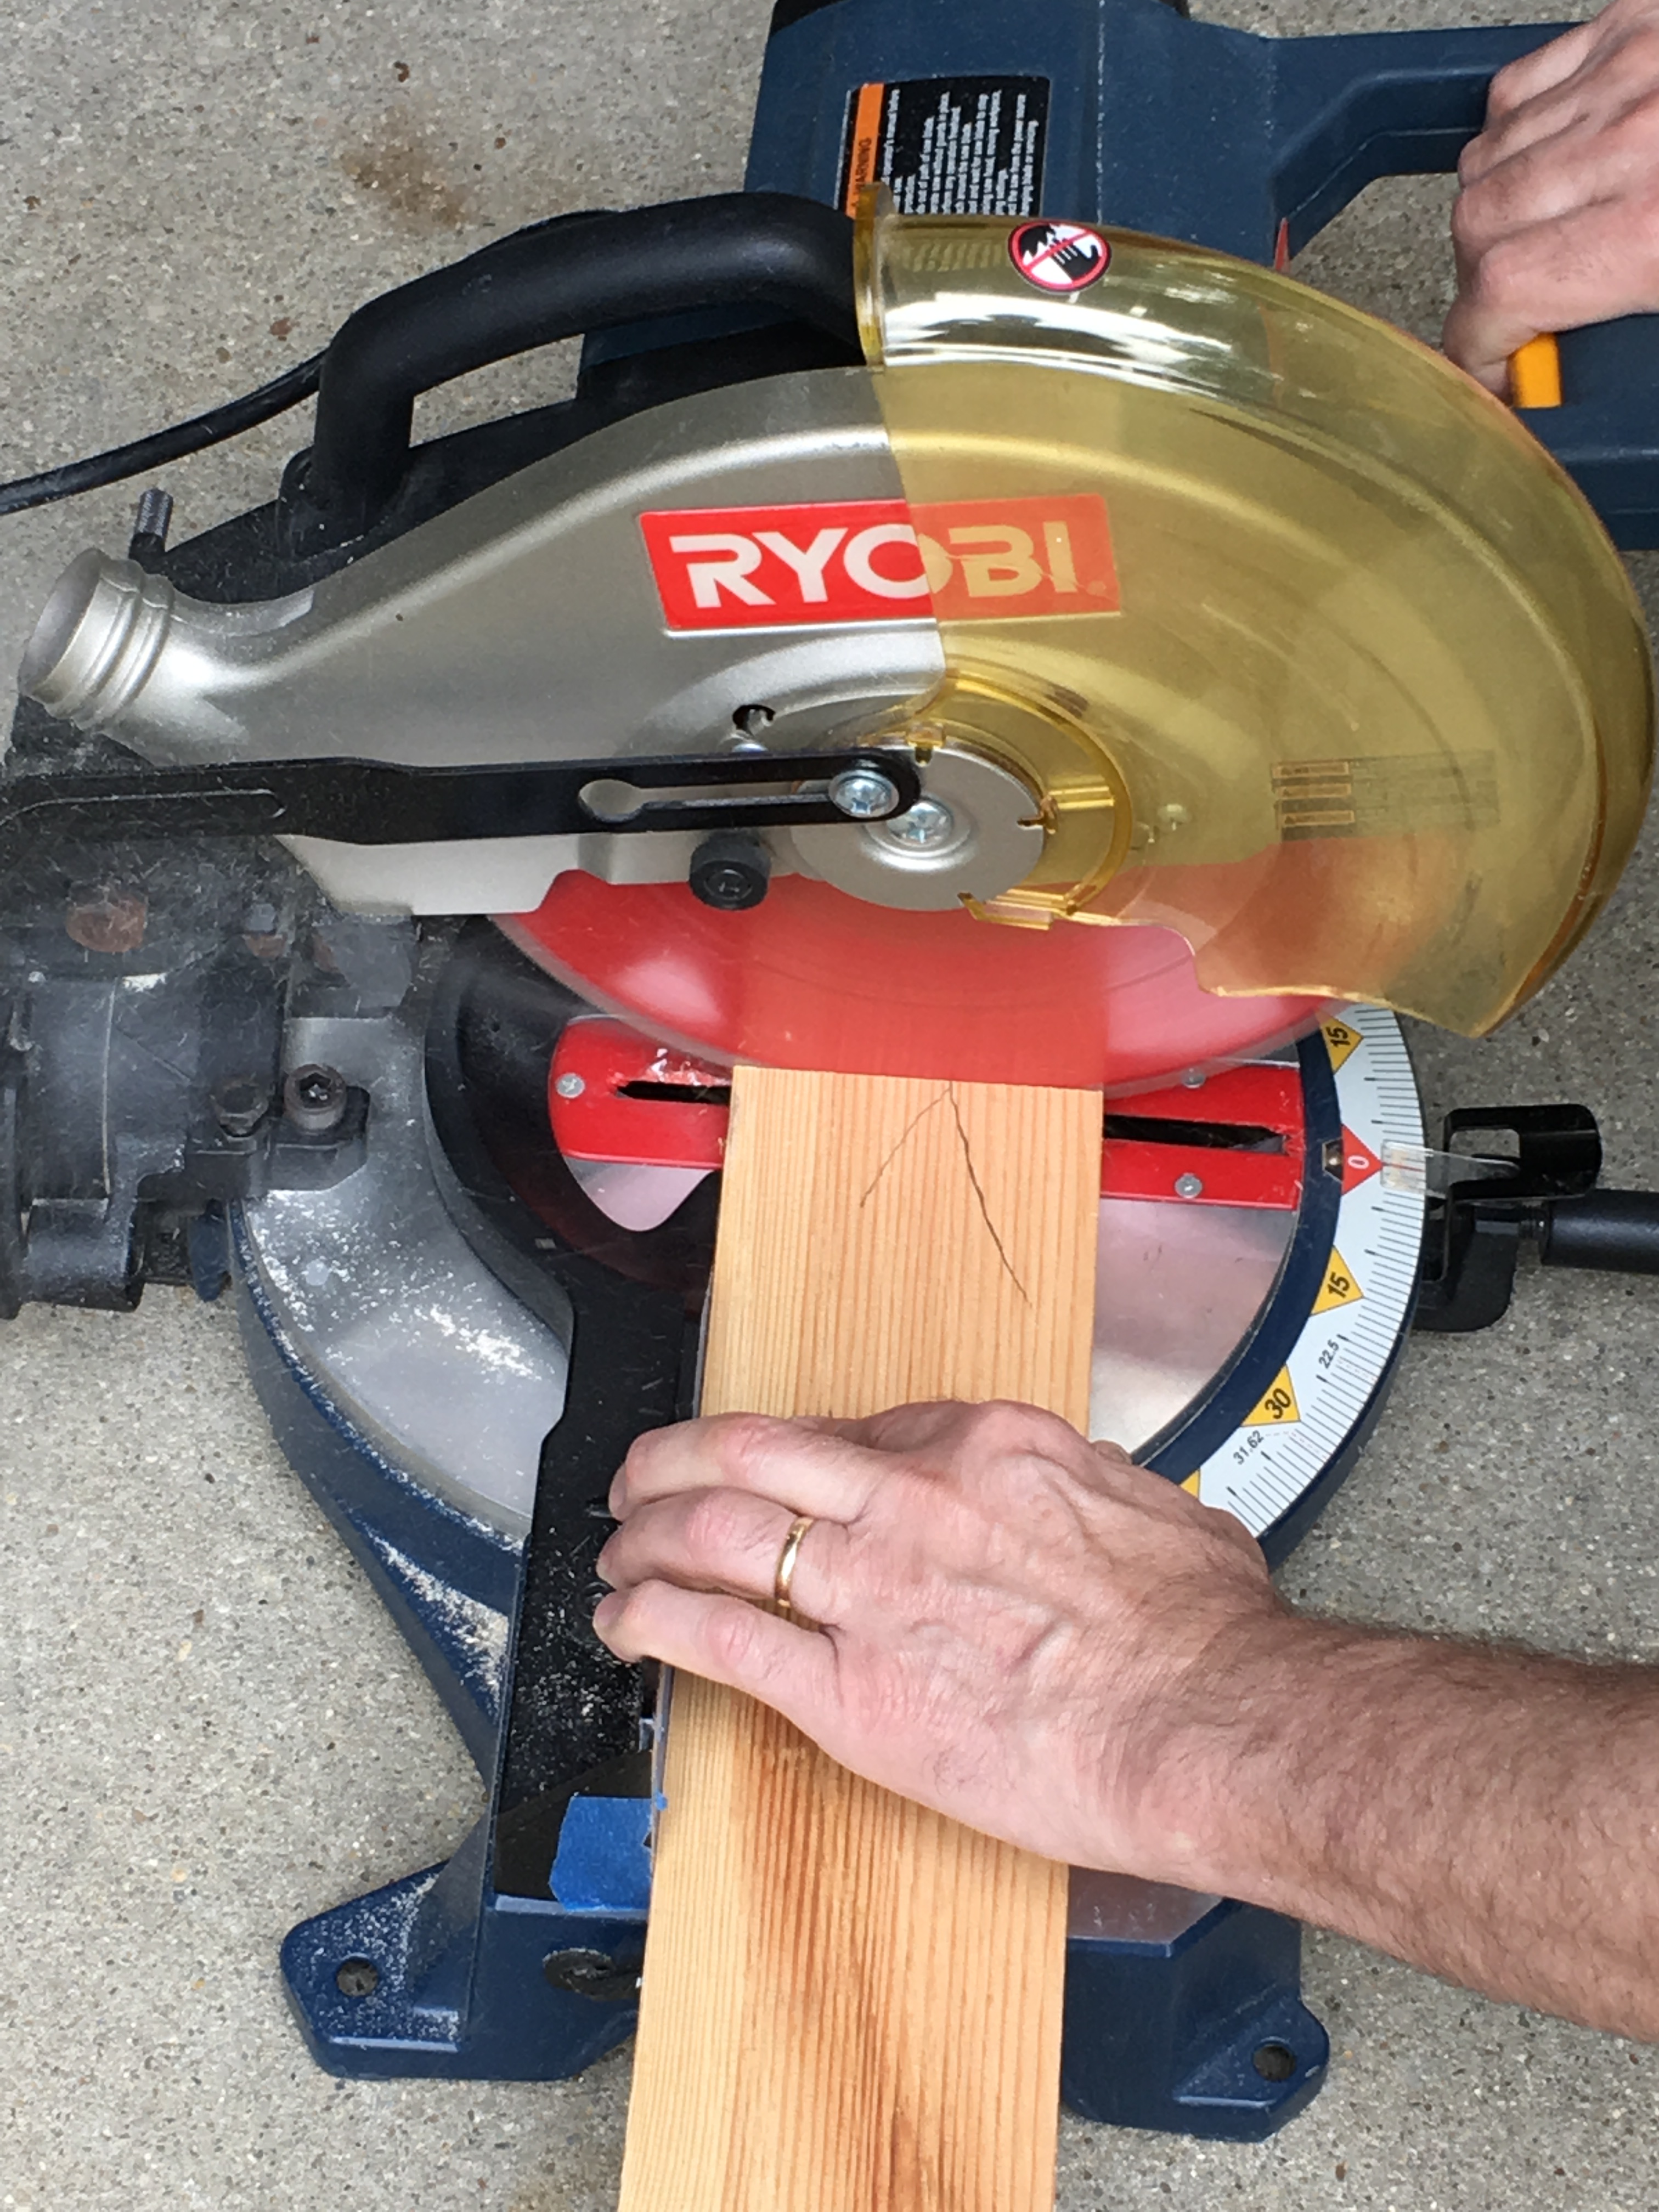
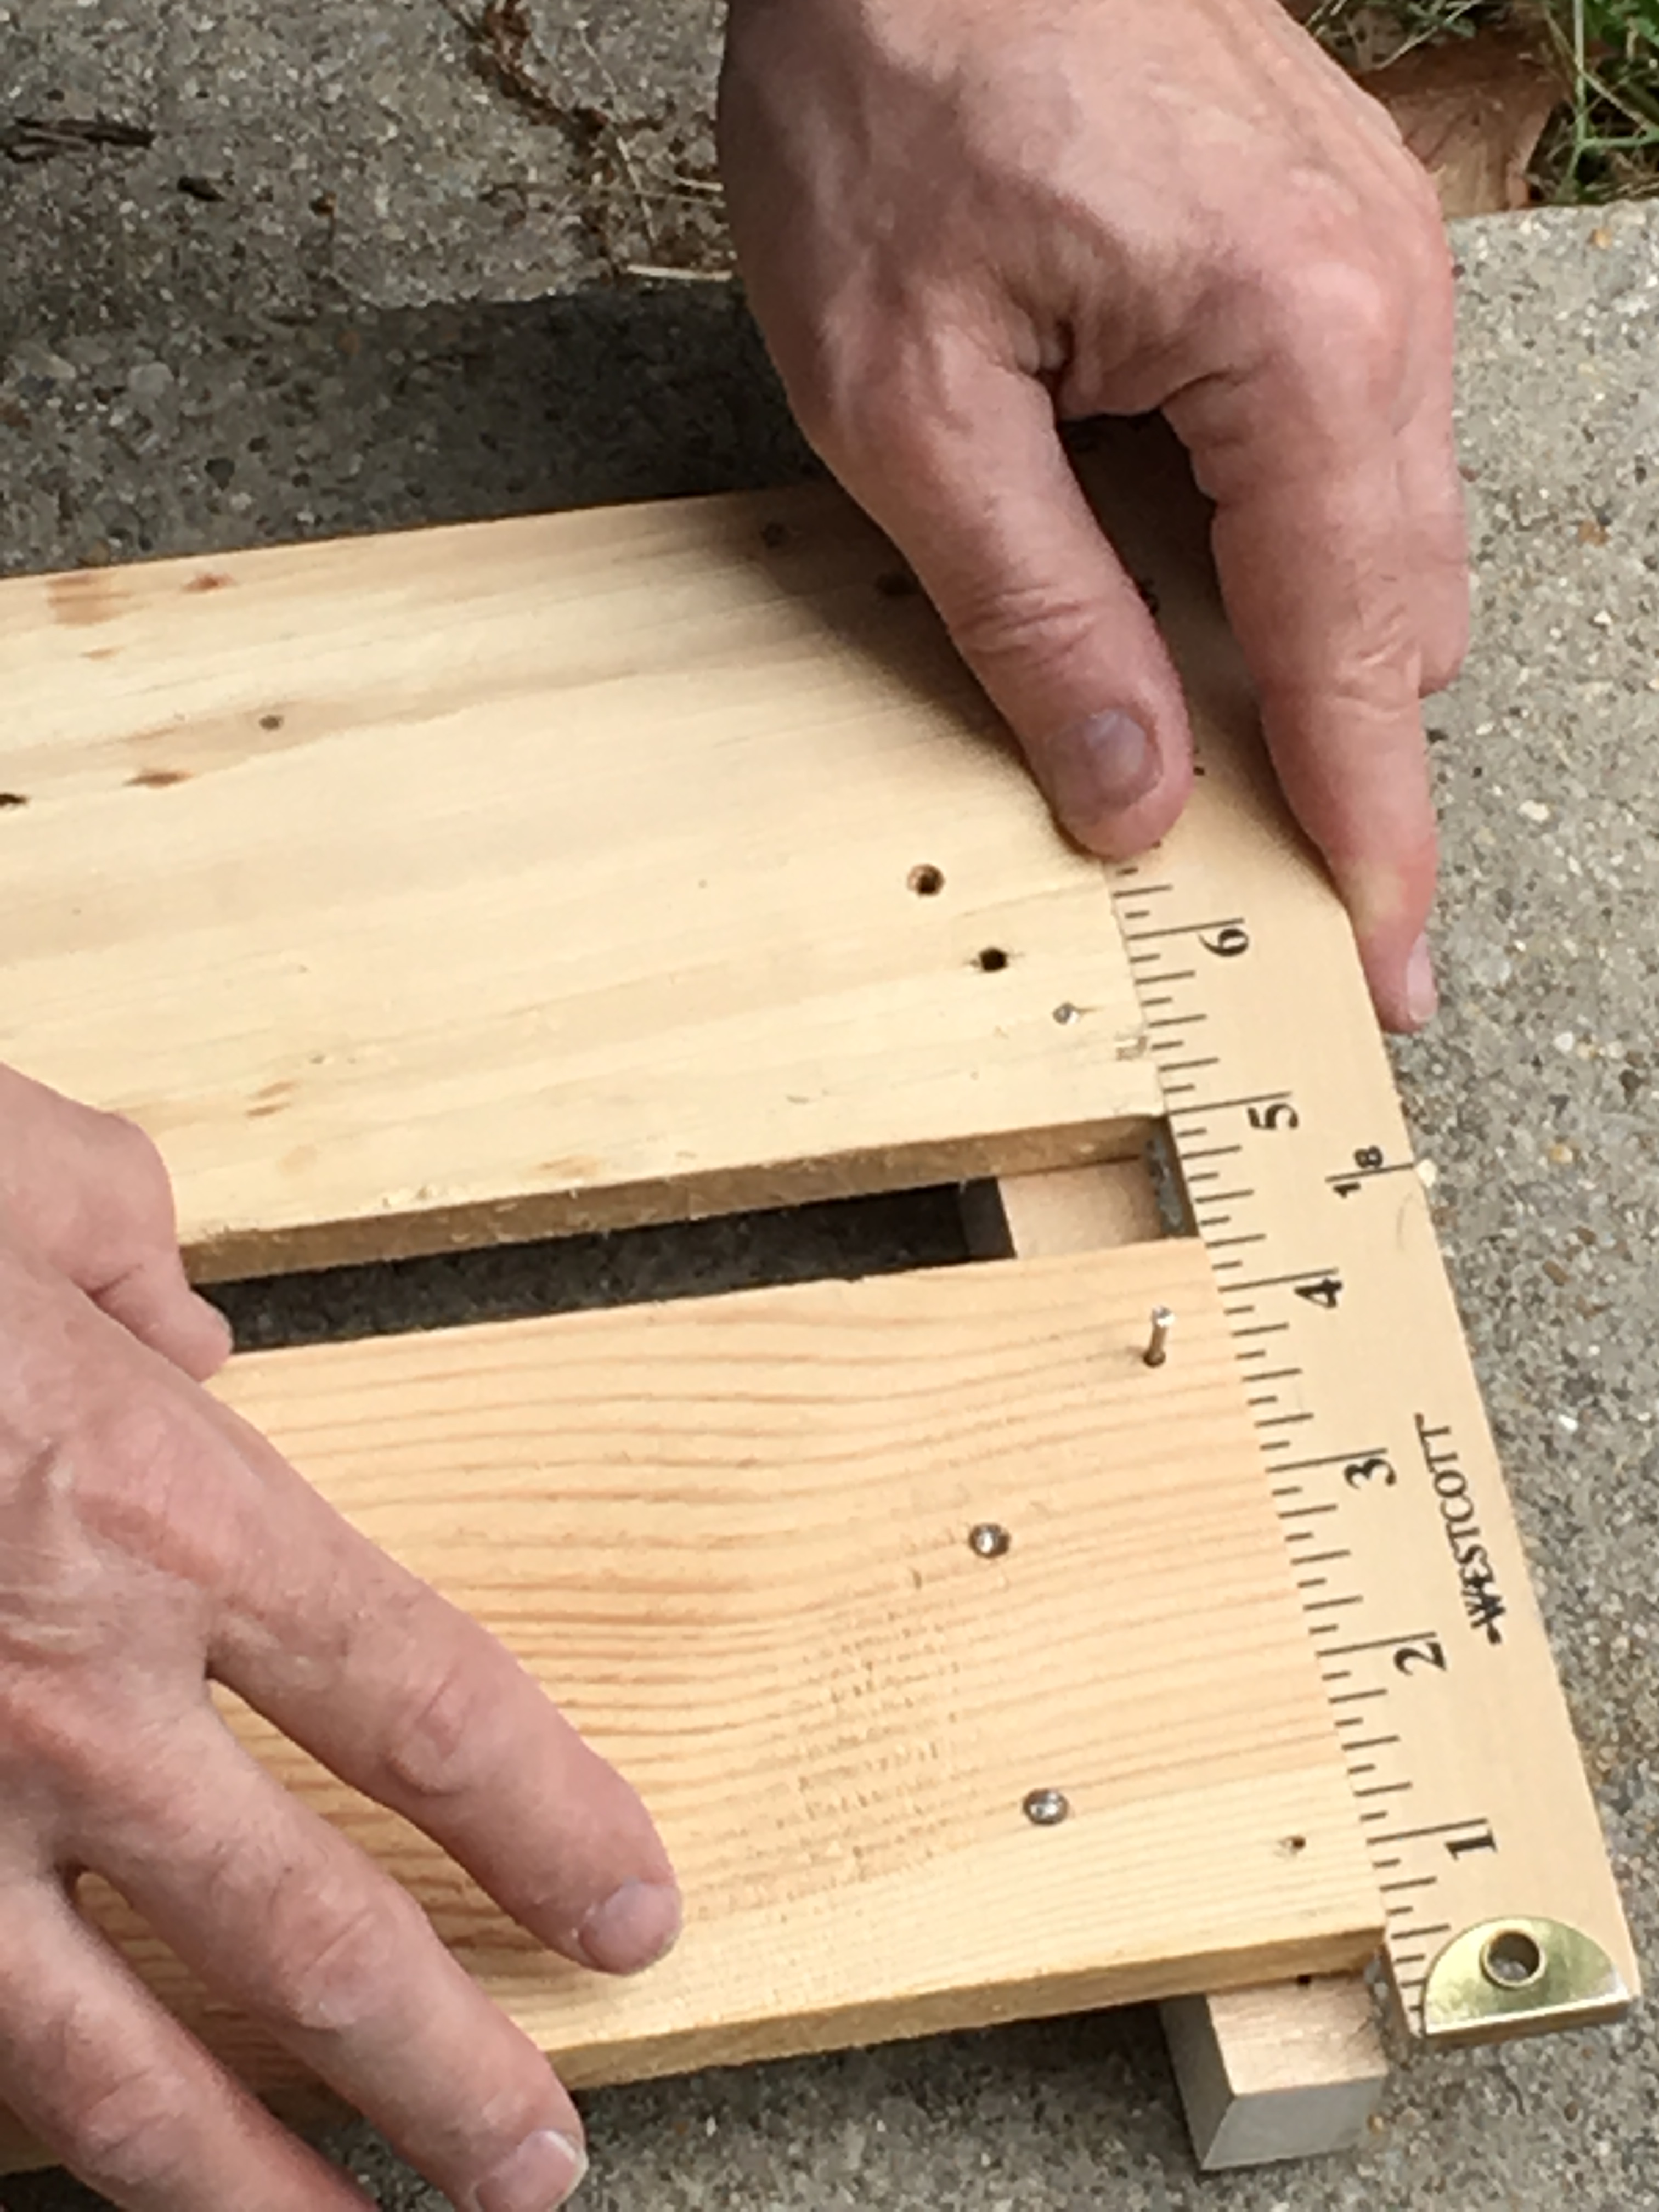
- Place one piece of 1 x 1 into the wood crate up against the back. Then mark the other side with a pencil to know where you should cut the piece.
- Do the same thing with one of the 4in wide boards, only place it in front of the crate and mark it to the correct width just inside of the sides of the crate.
- Use a square to draw a straight cut line.
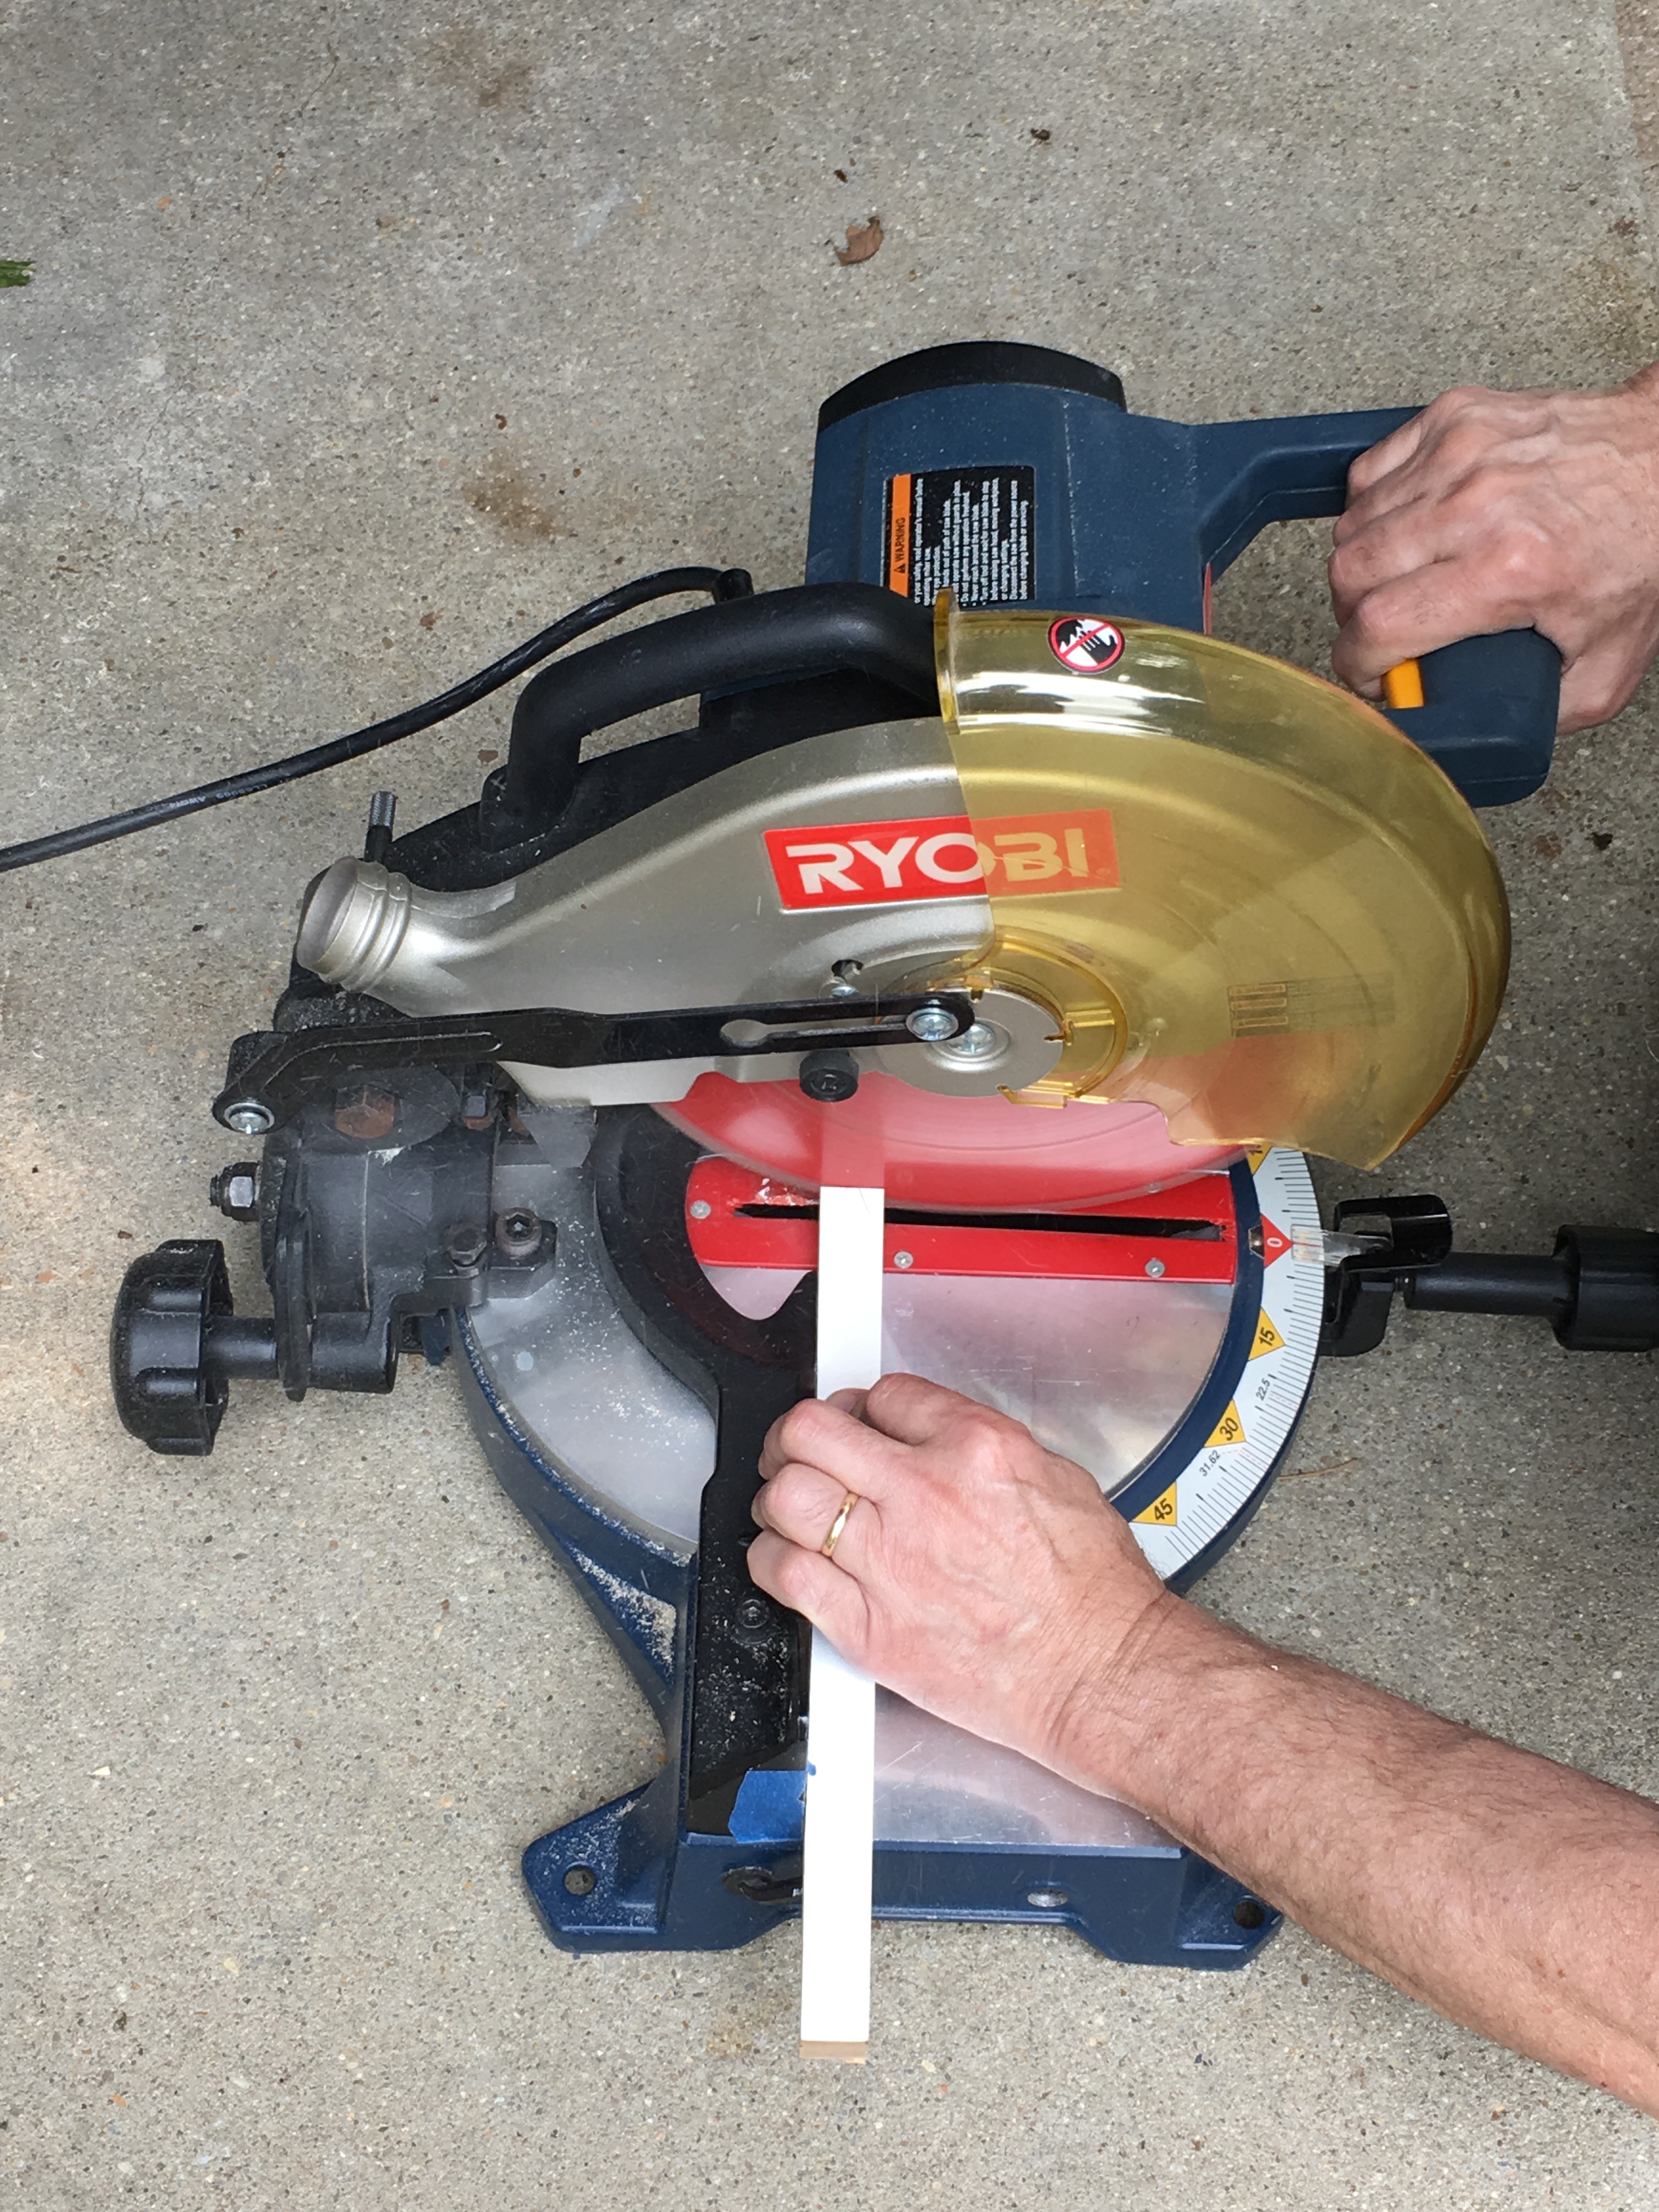
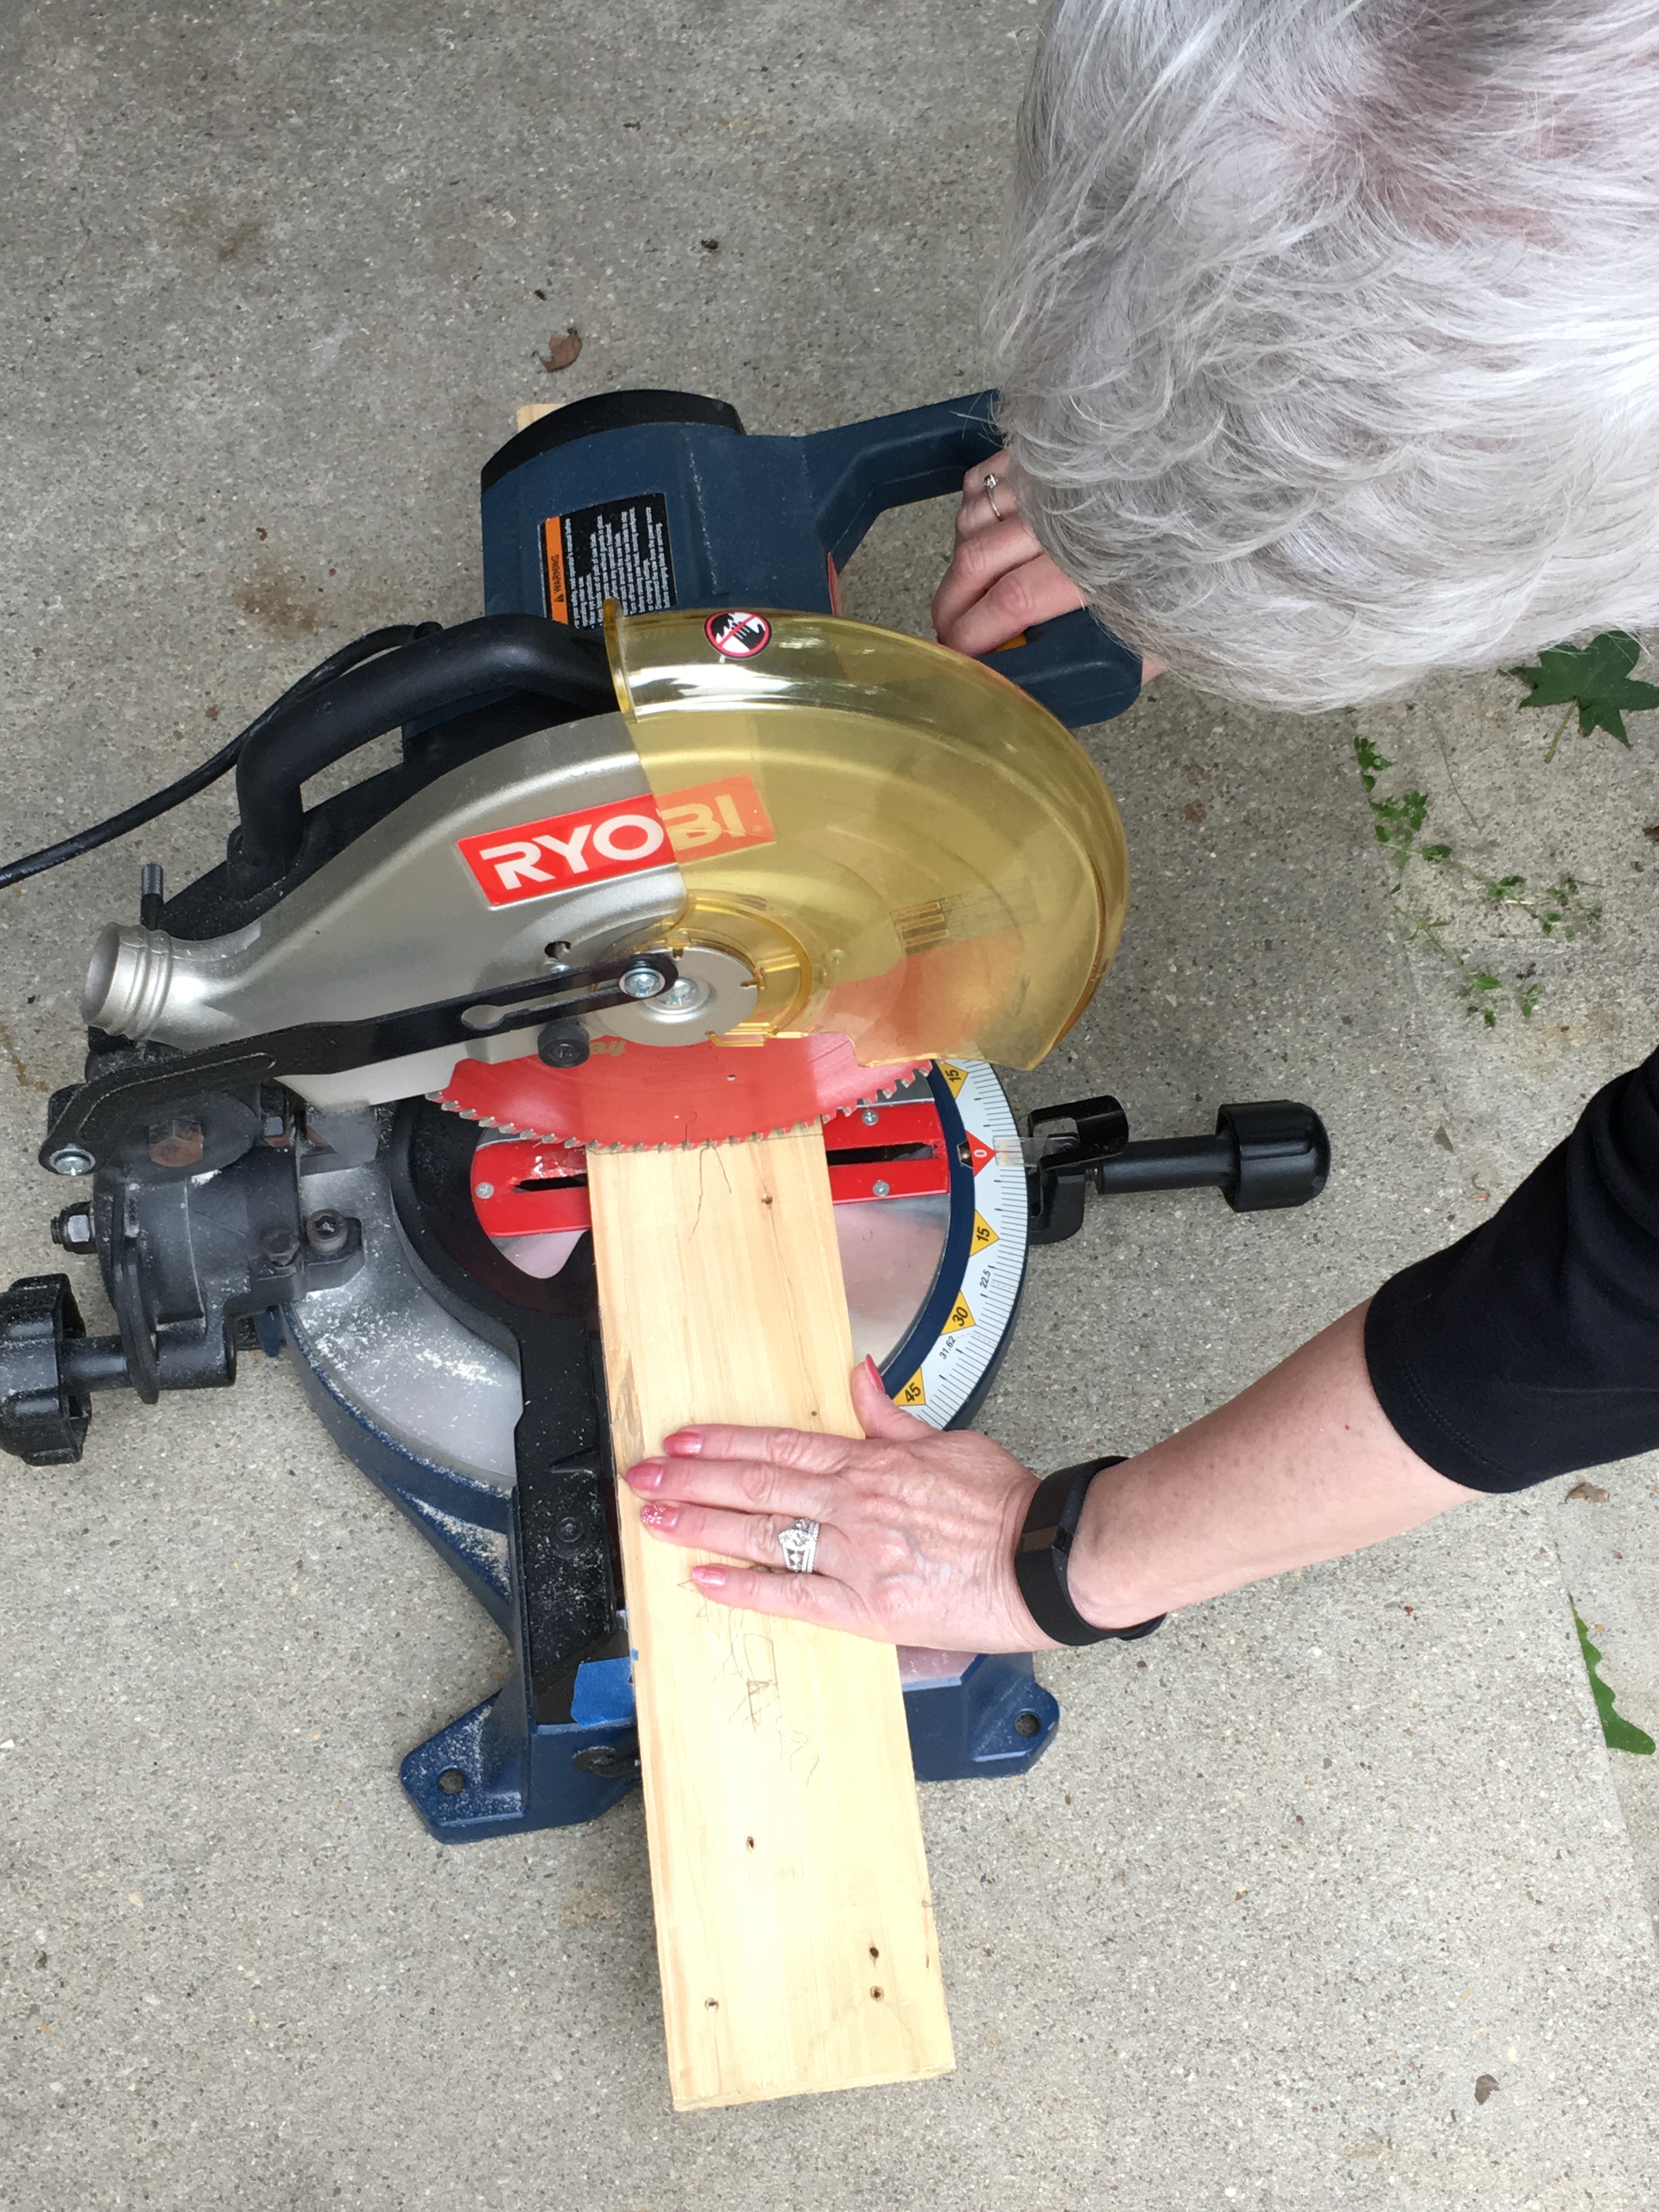
 Cut both pieces of wood to the correct length you measured.
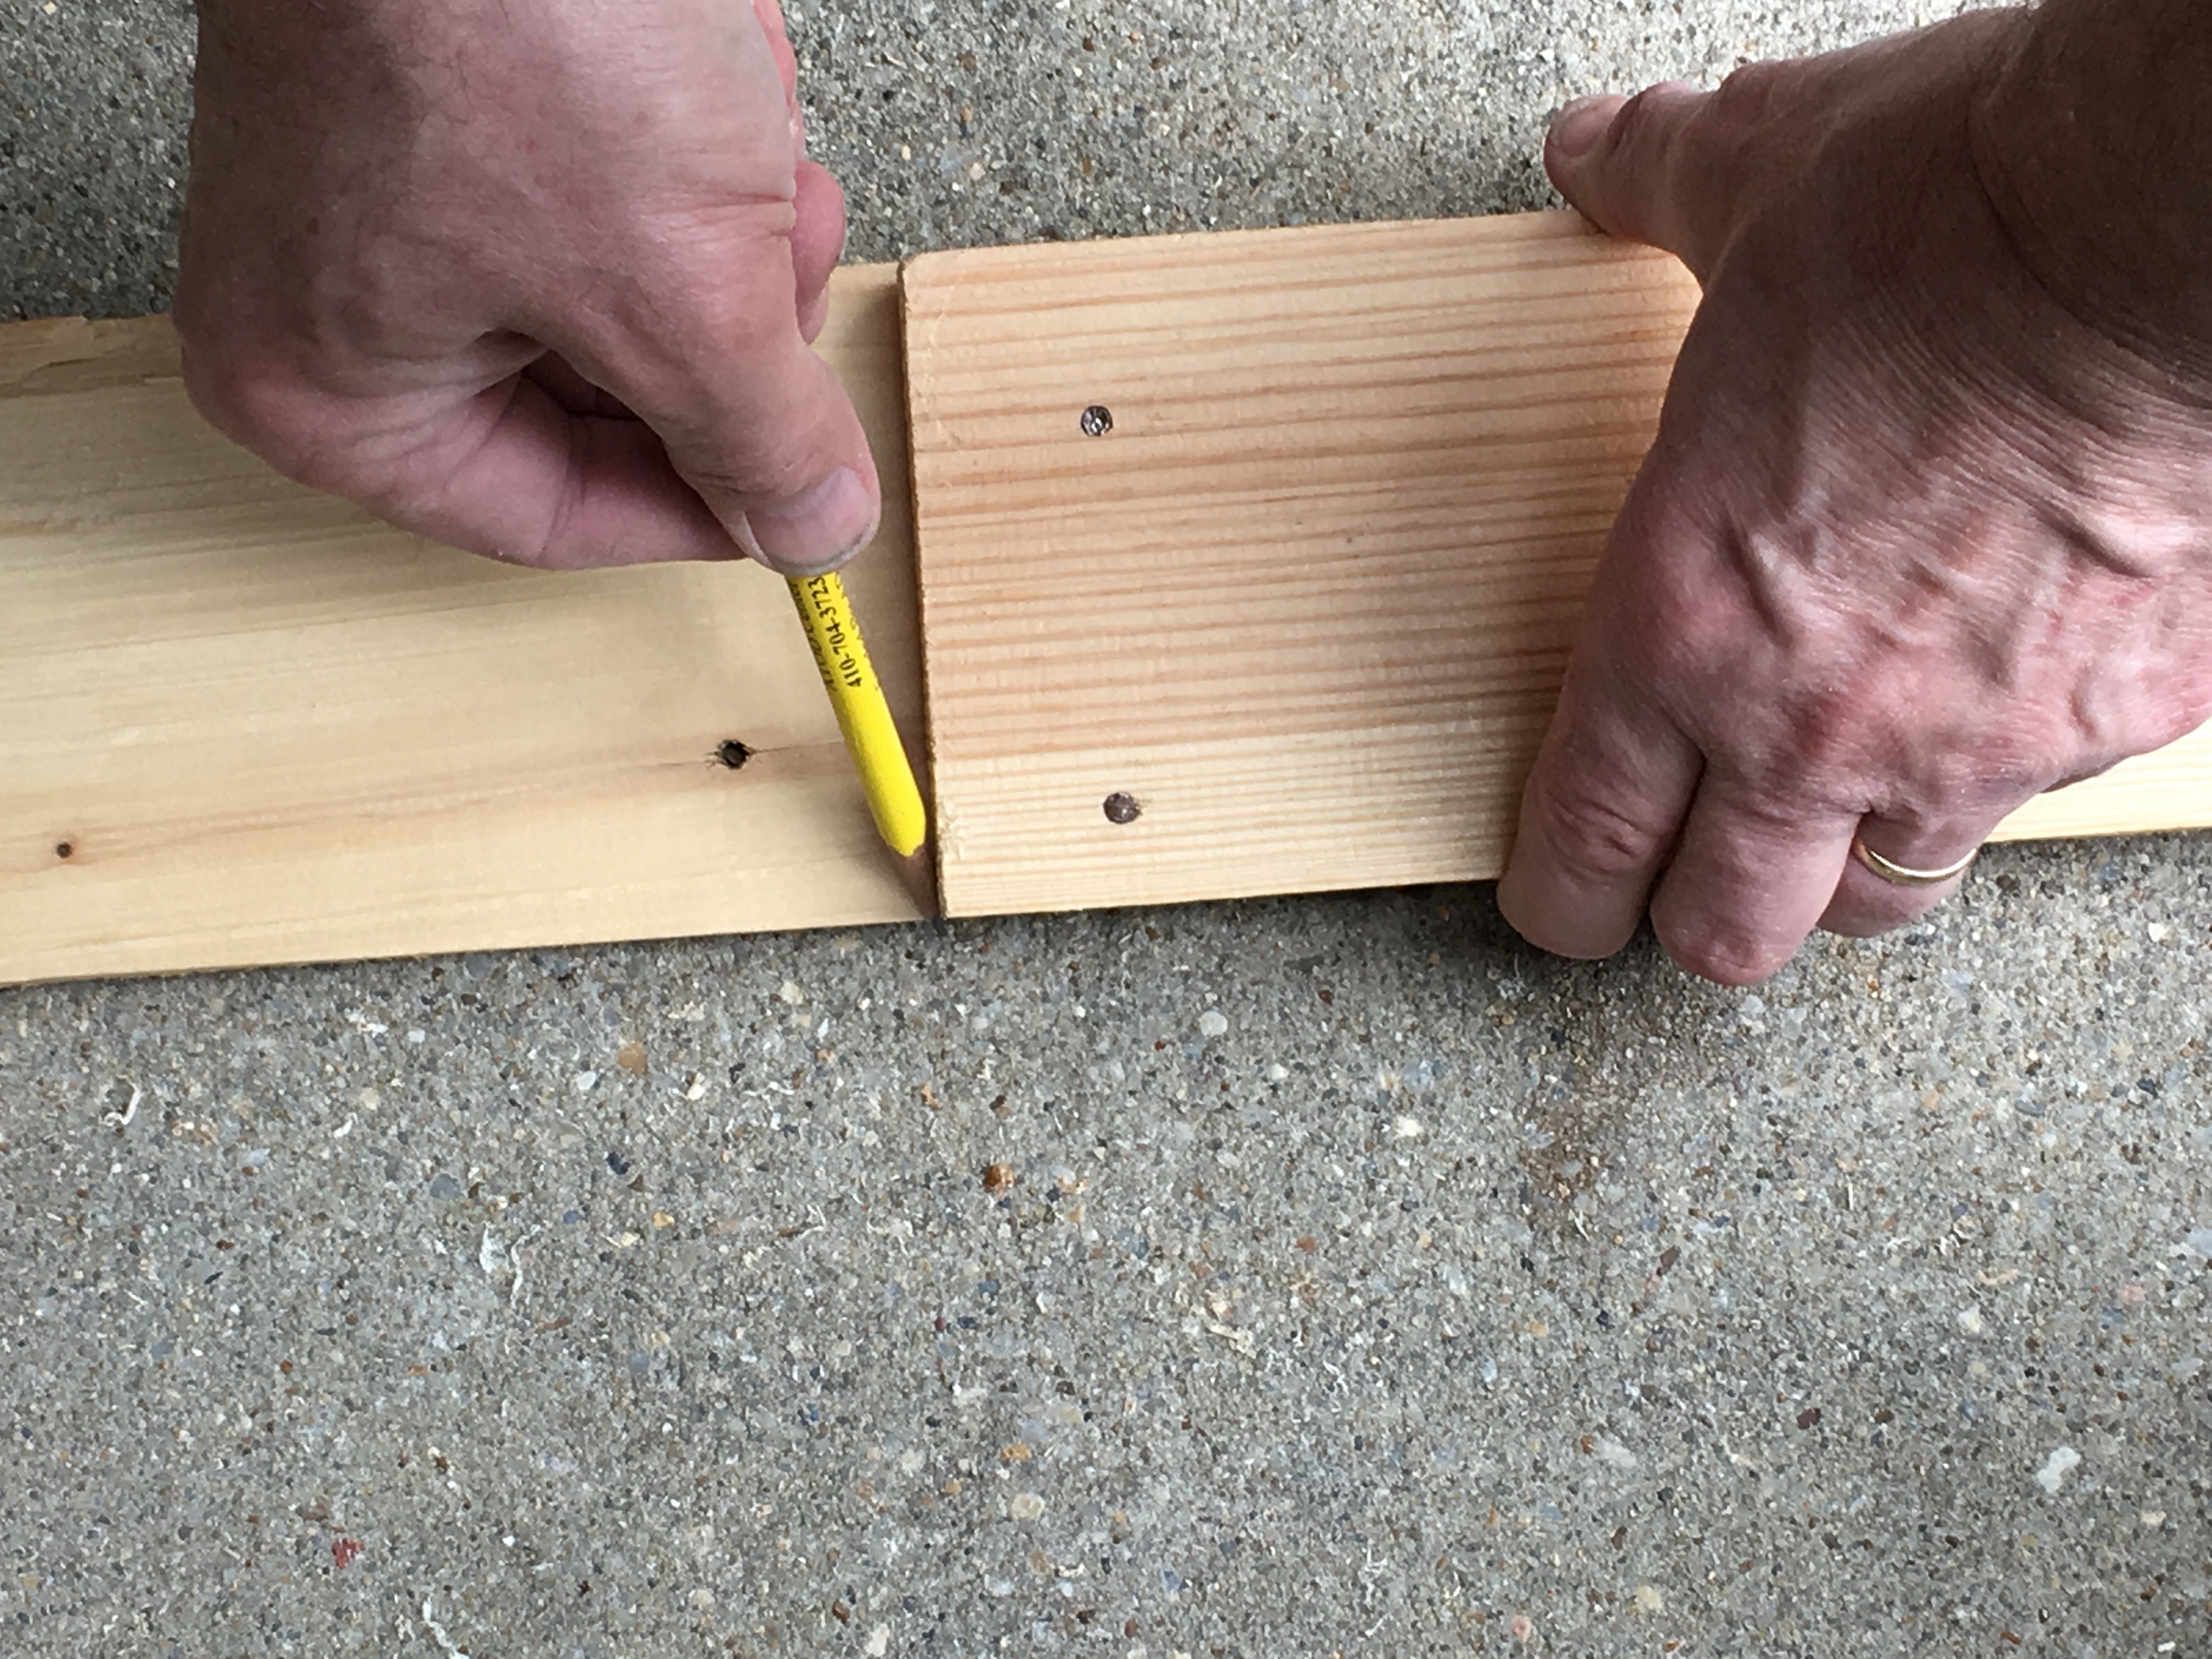
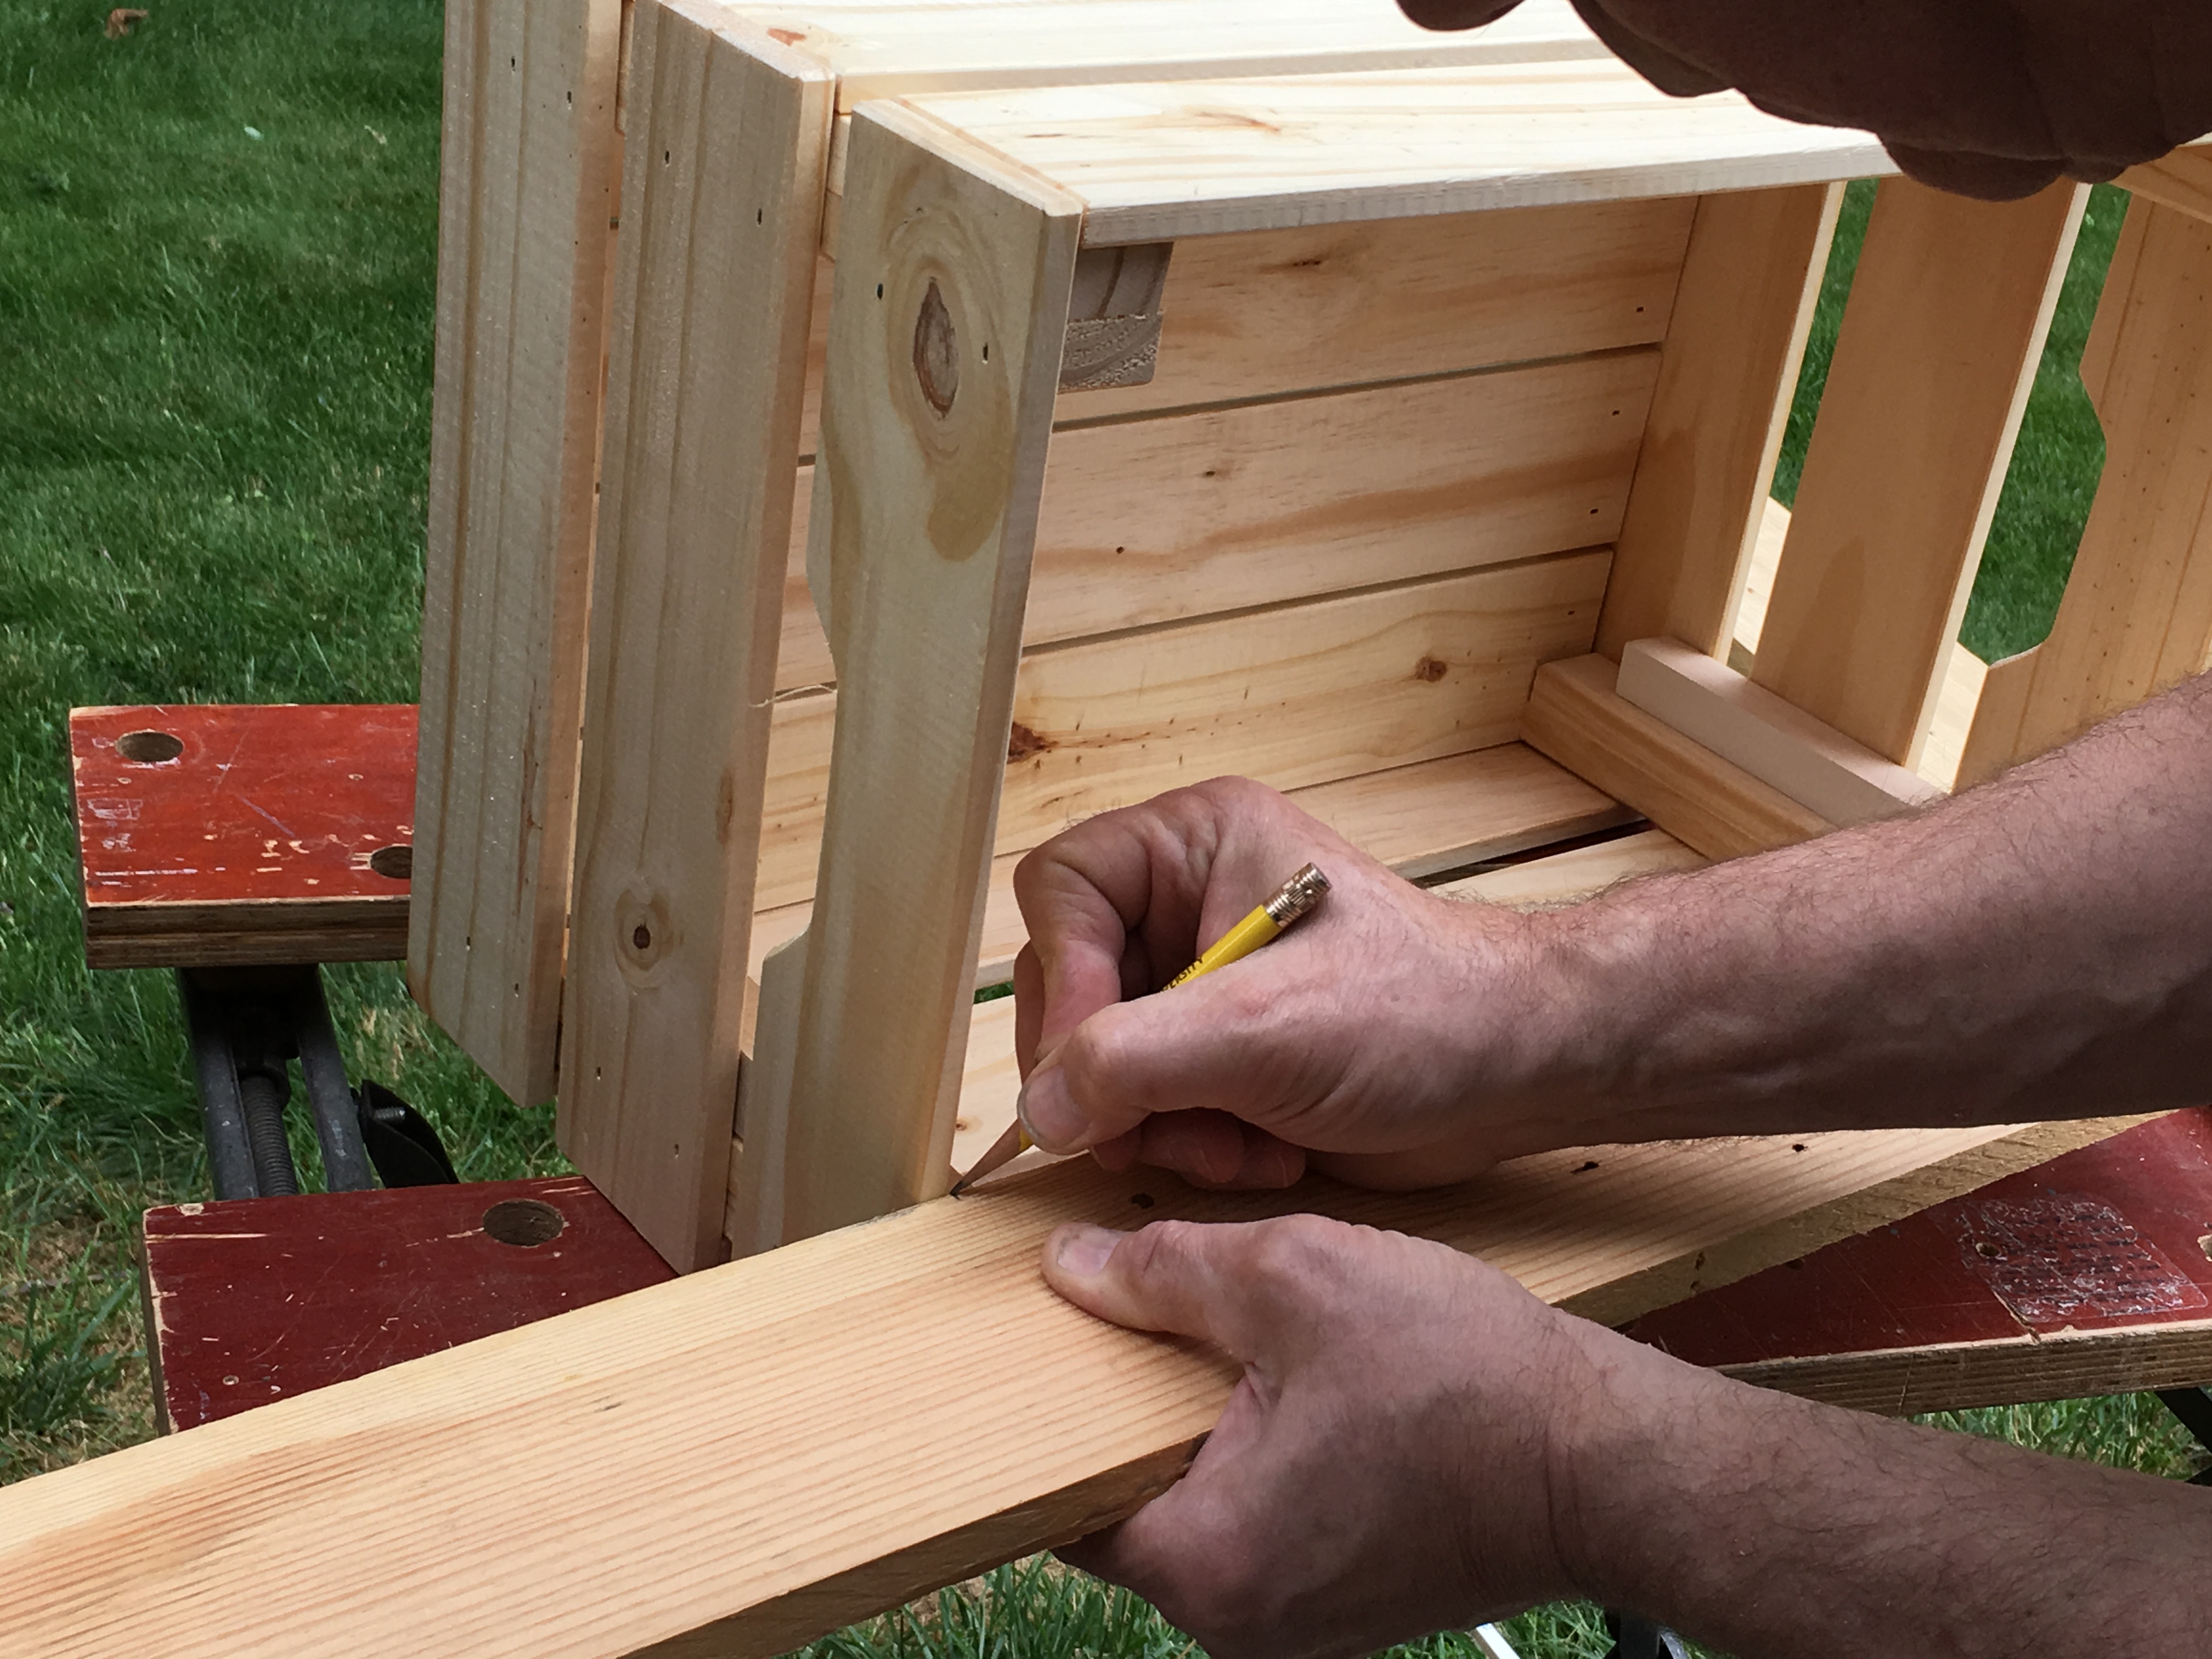
- Use the cut pieces to mark the length of the second piece.
- Then, cut them down to size.

- Test the pieces to make sure they fit inside of the crate. Trim if necessary.
- Lay two 1 x 1 inch pieces of wood on surface spread approximately 12 inches apart
- Place 4 inch pieces of wood on top and space evenly ensuring that at least one board lines up with the end of the 1 x 1 inch wood so that will be the front and the shelf will be flush with the front. The back can be adjusted further away from the end of the wood to assure that the gap between boards isn't too large.
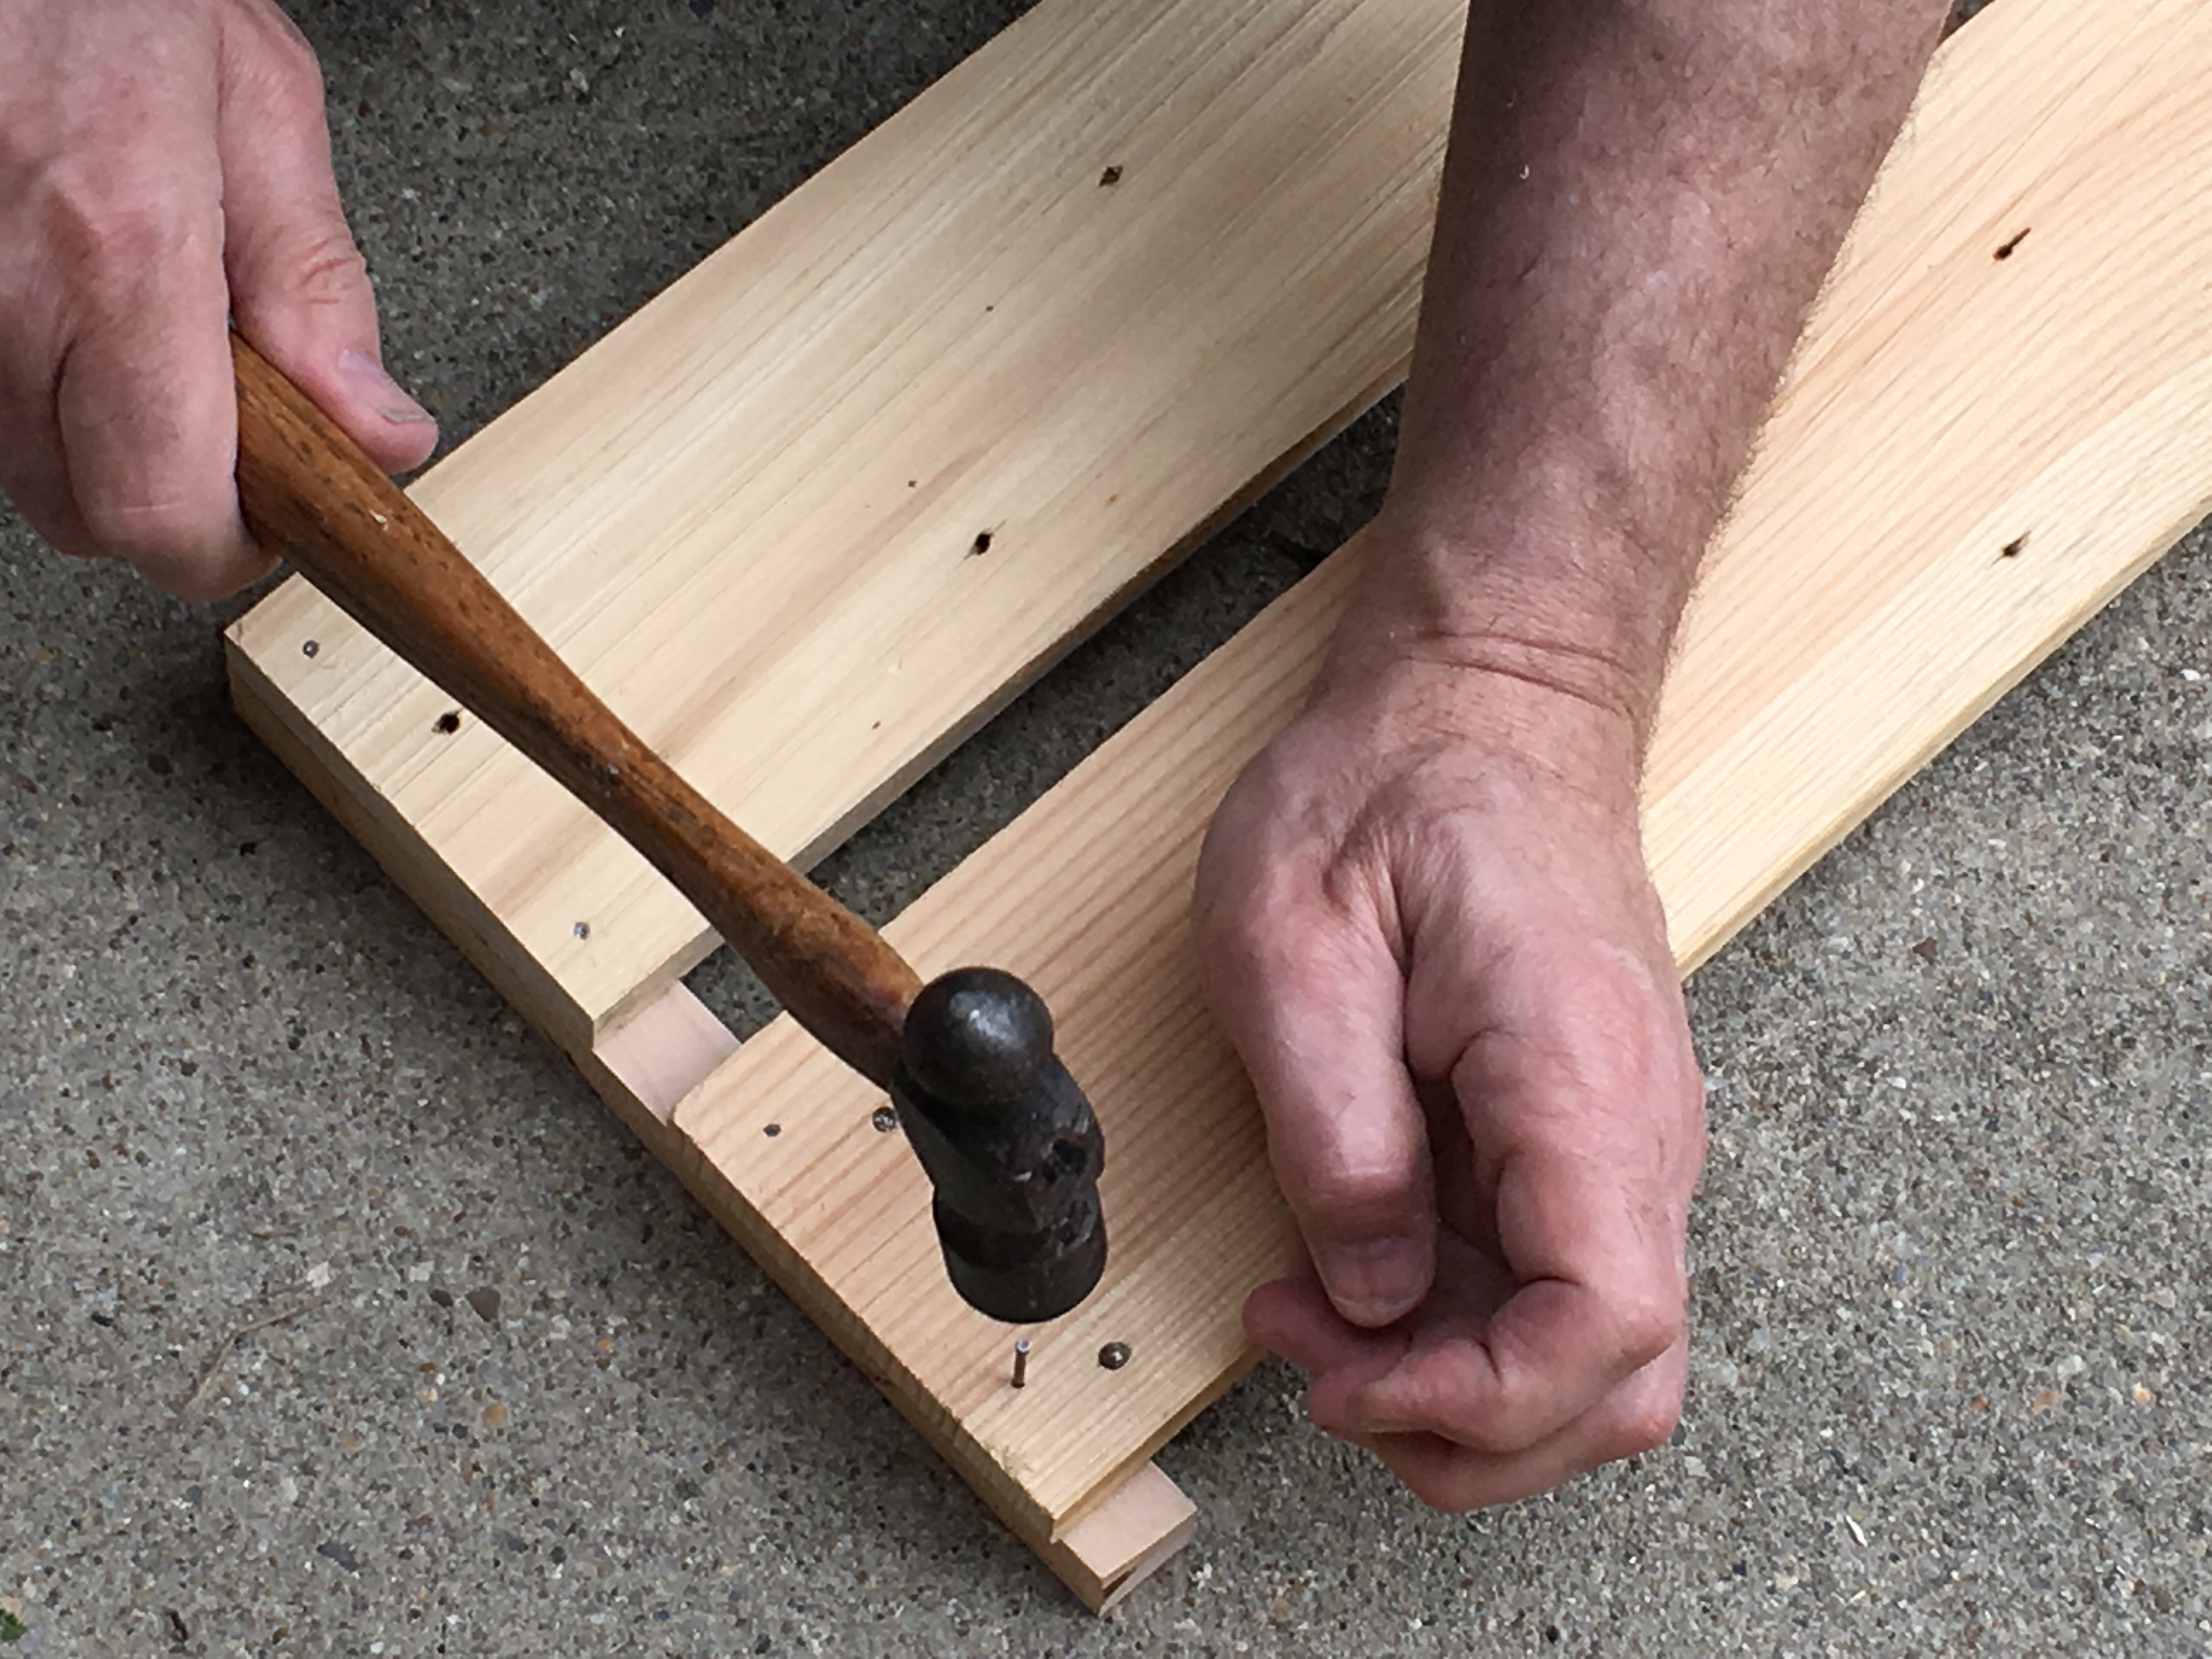
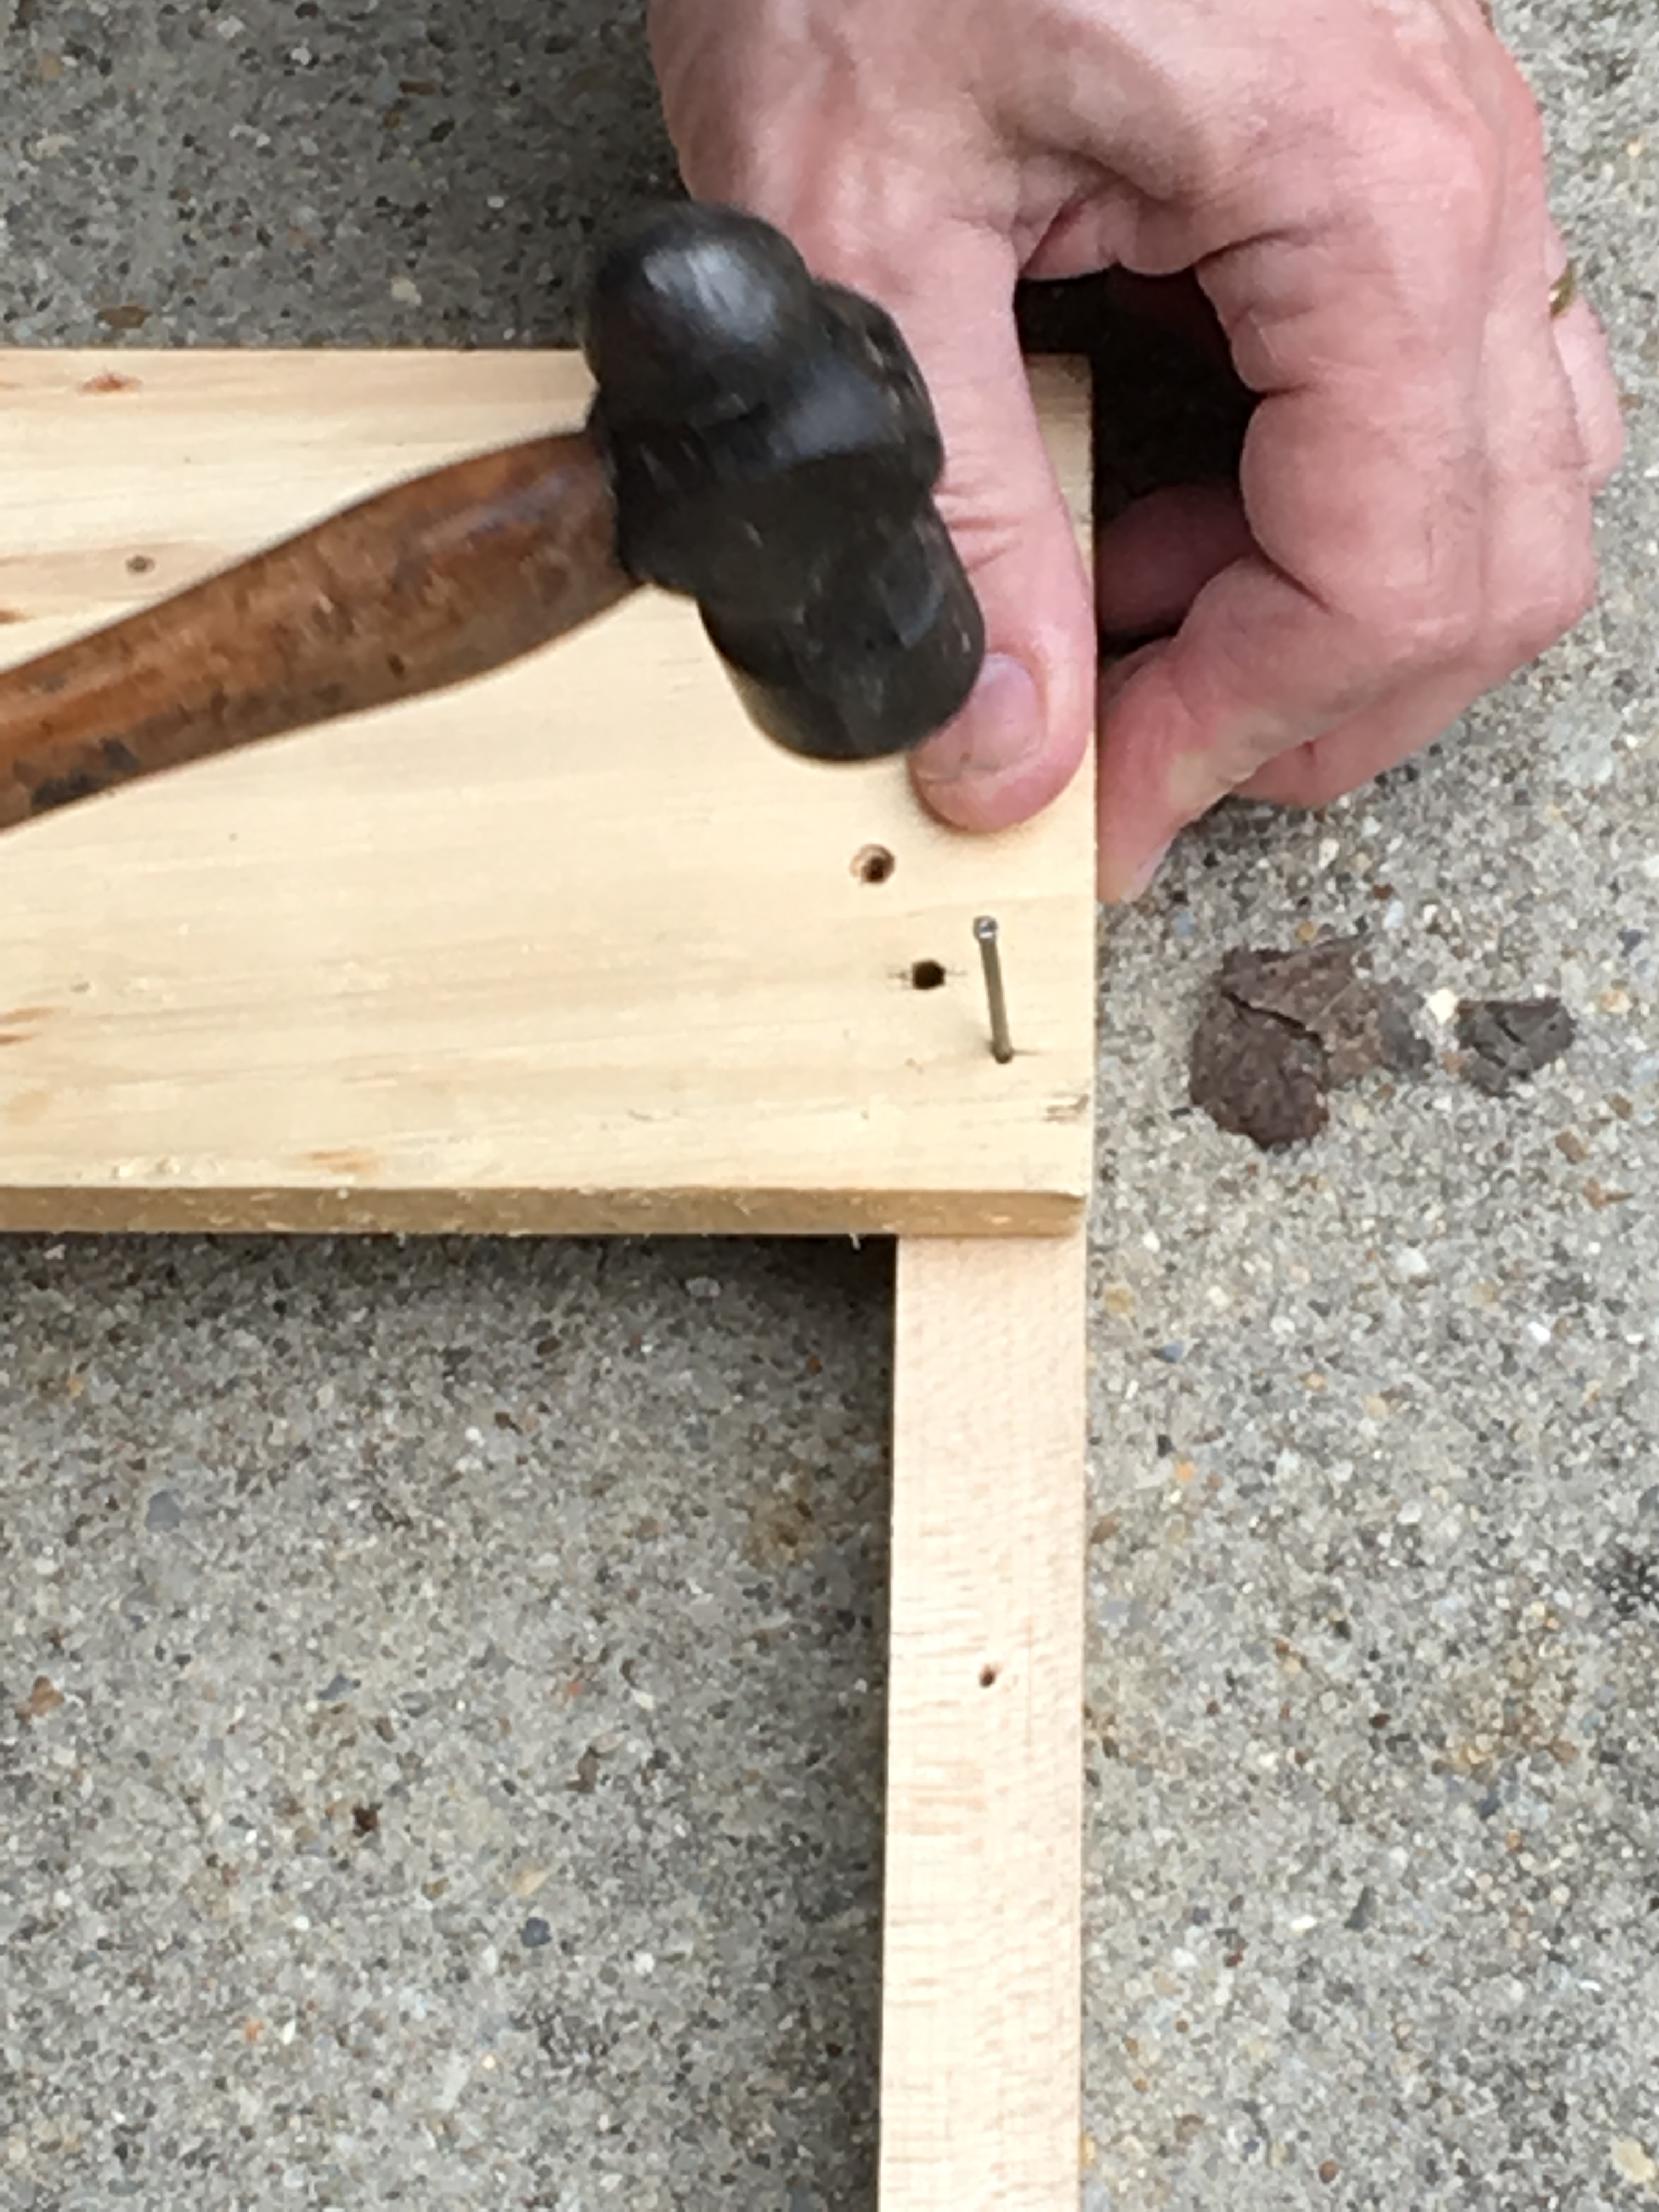 10. Nail four inch shelf boards to both 1 x 1 inch bracket boards
**Check on the side of the board to make certain your nail is not too long and will not come through at the bottom. If it is too long, use a pair of cutting pliers to snip off at an angle the tip of the nail to the desired size.
- After nailing the boards on, you will have your shelf.
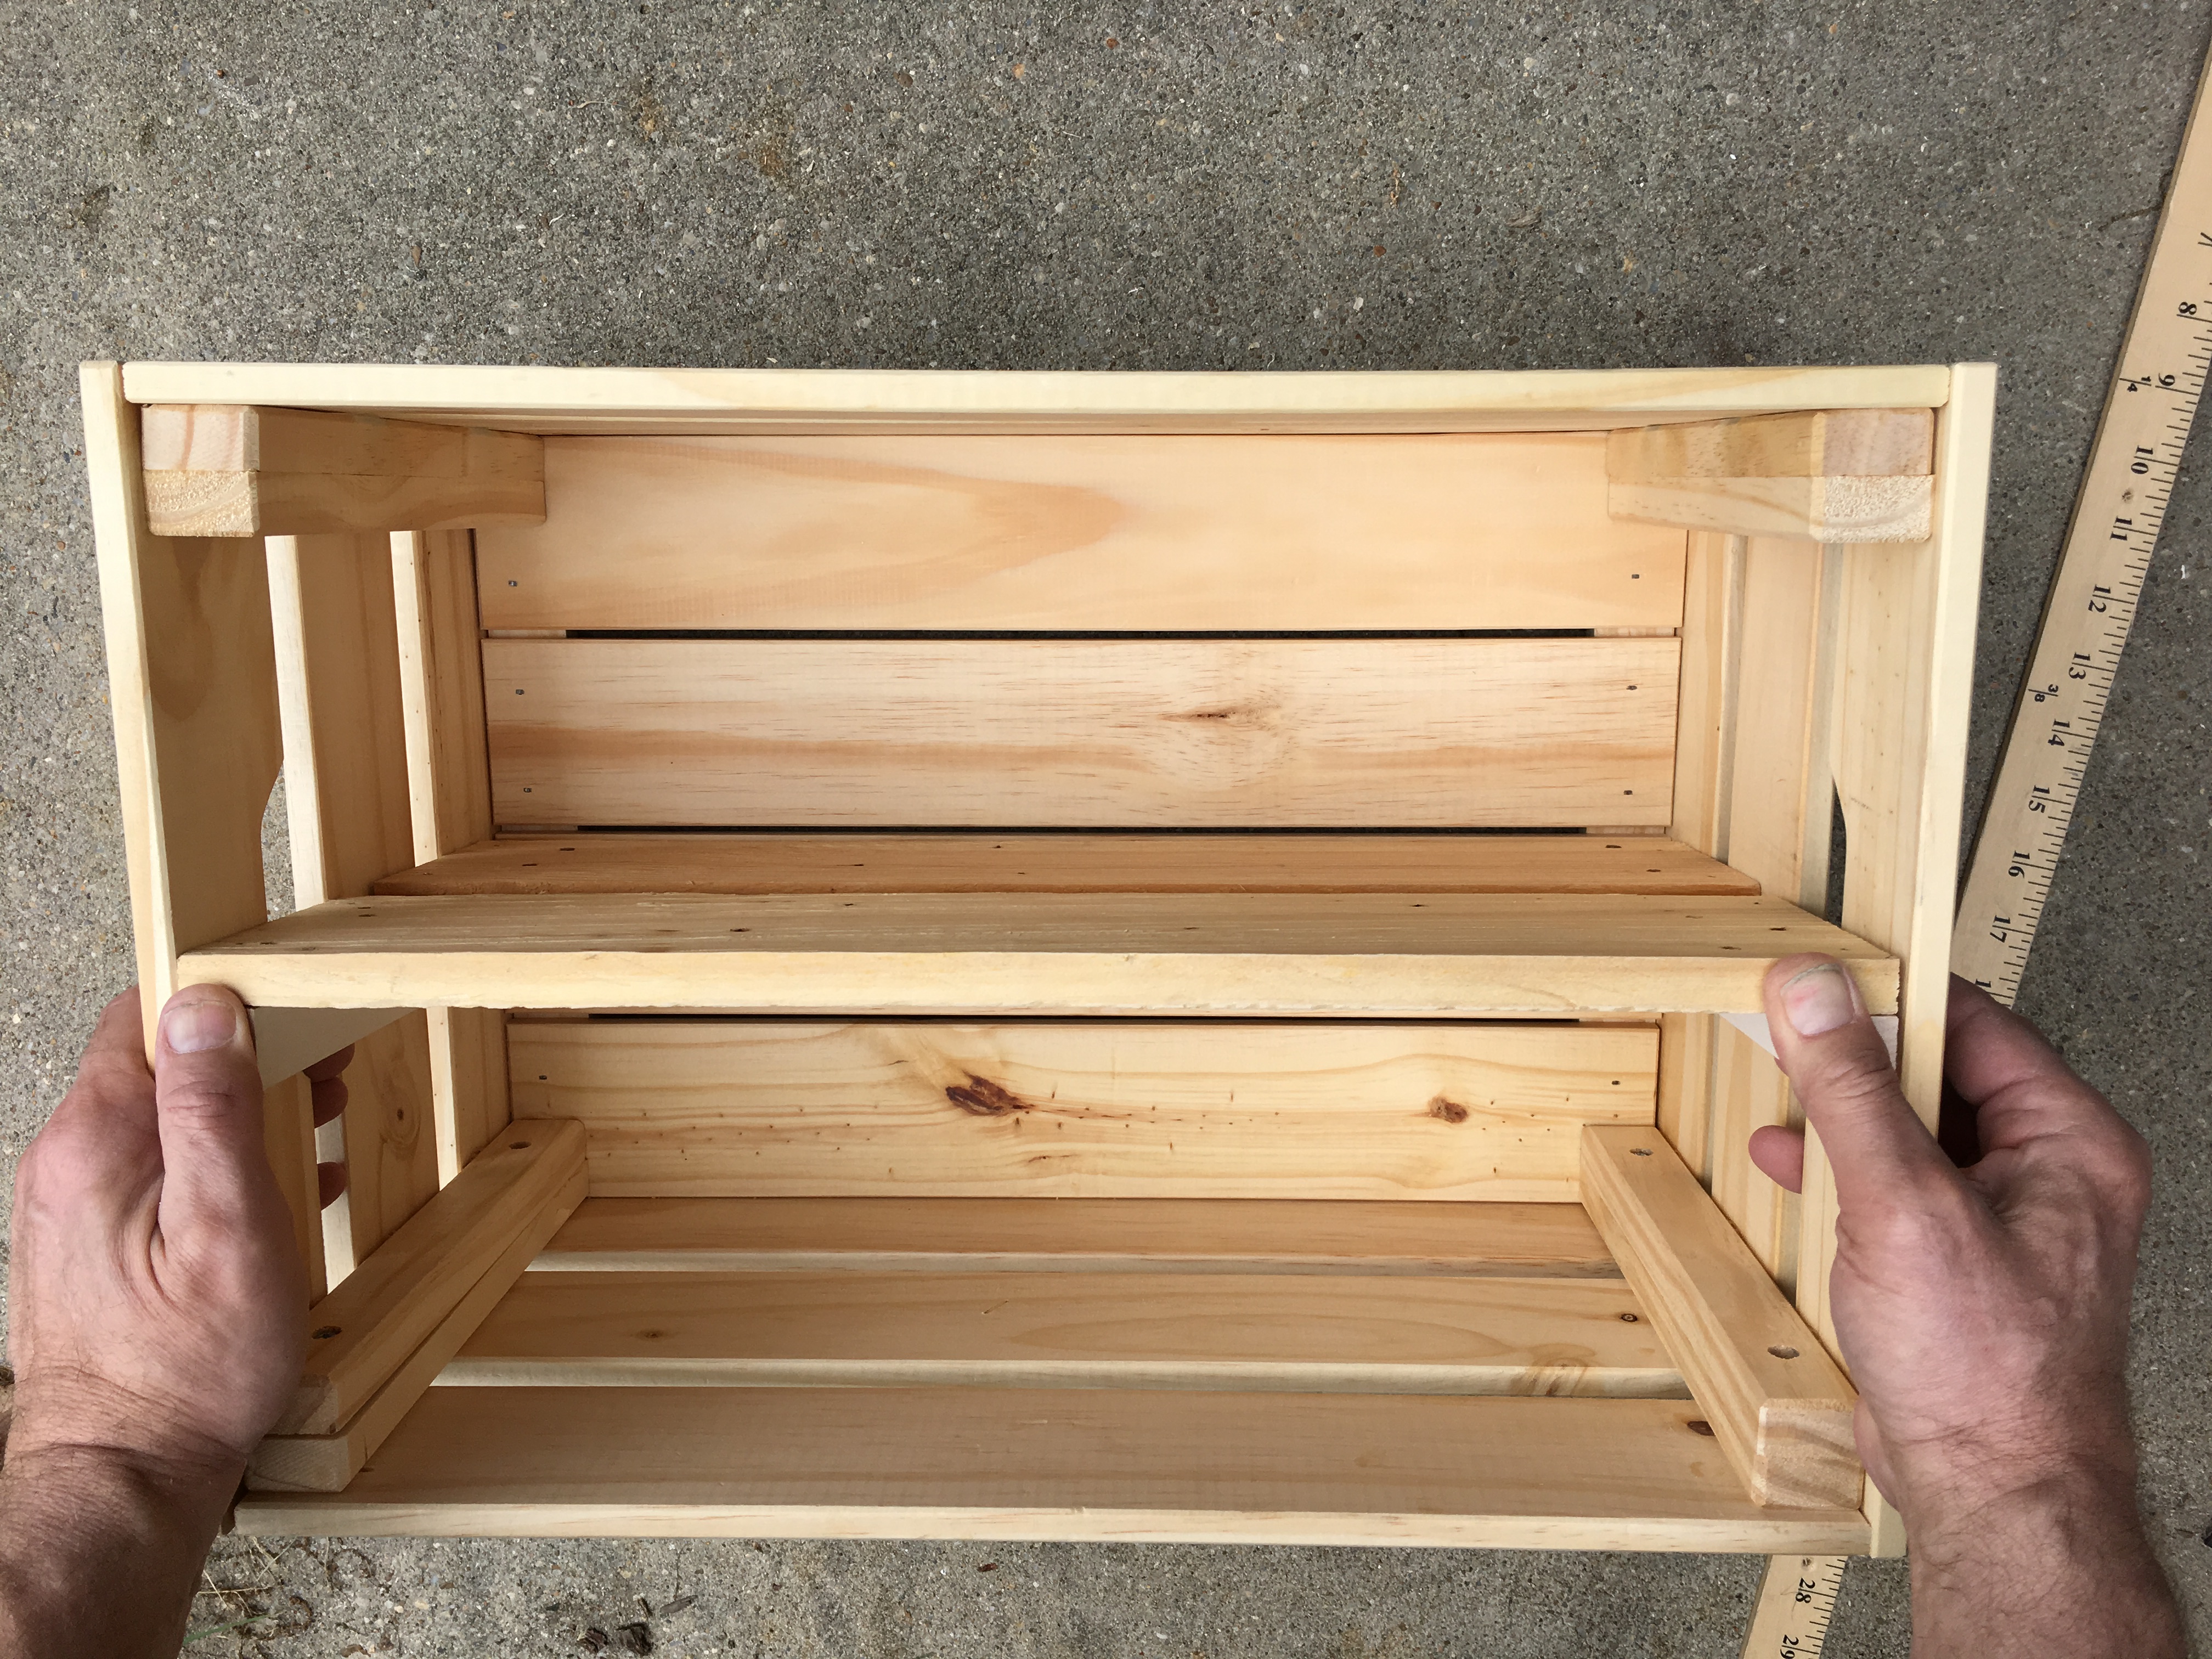
- Place the crate on its bottom and insert the shelf into the middle.
- Mark and measure to center the placement.
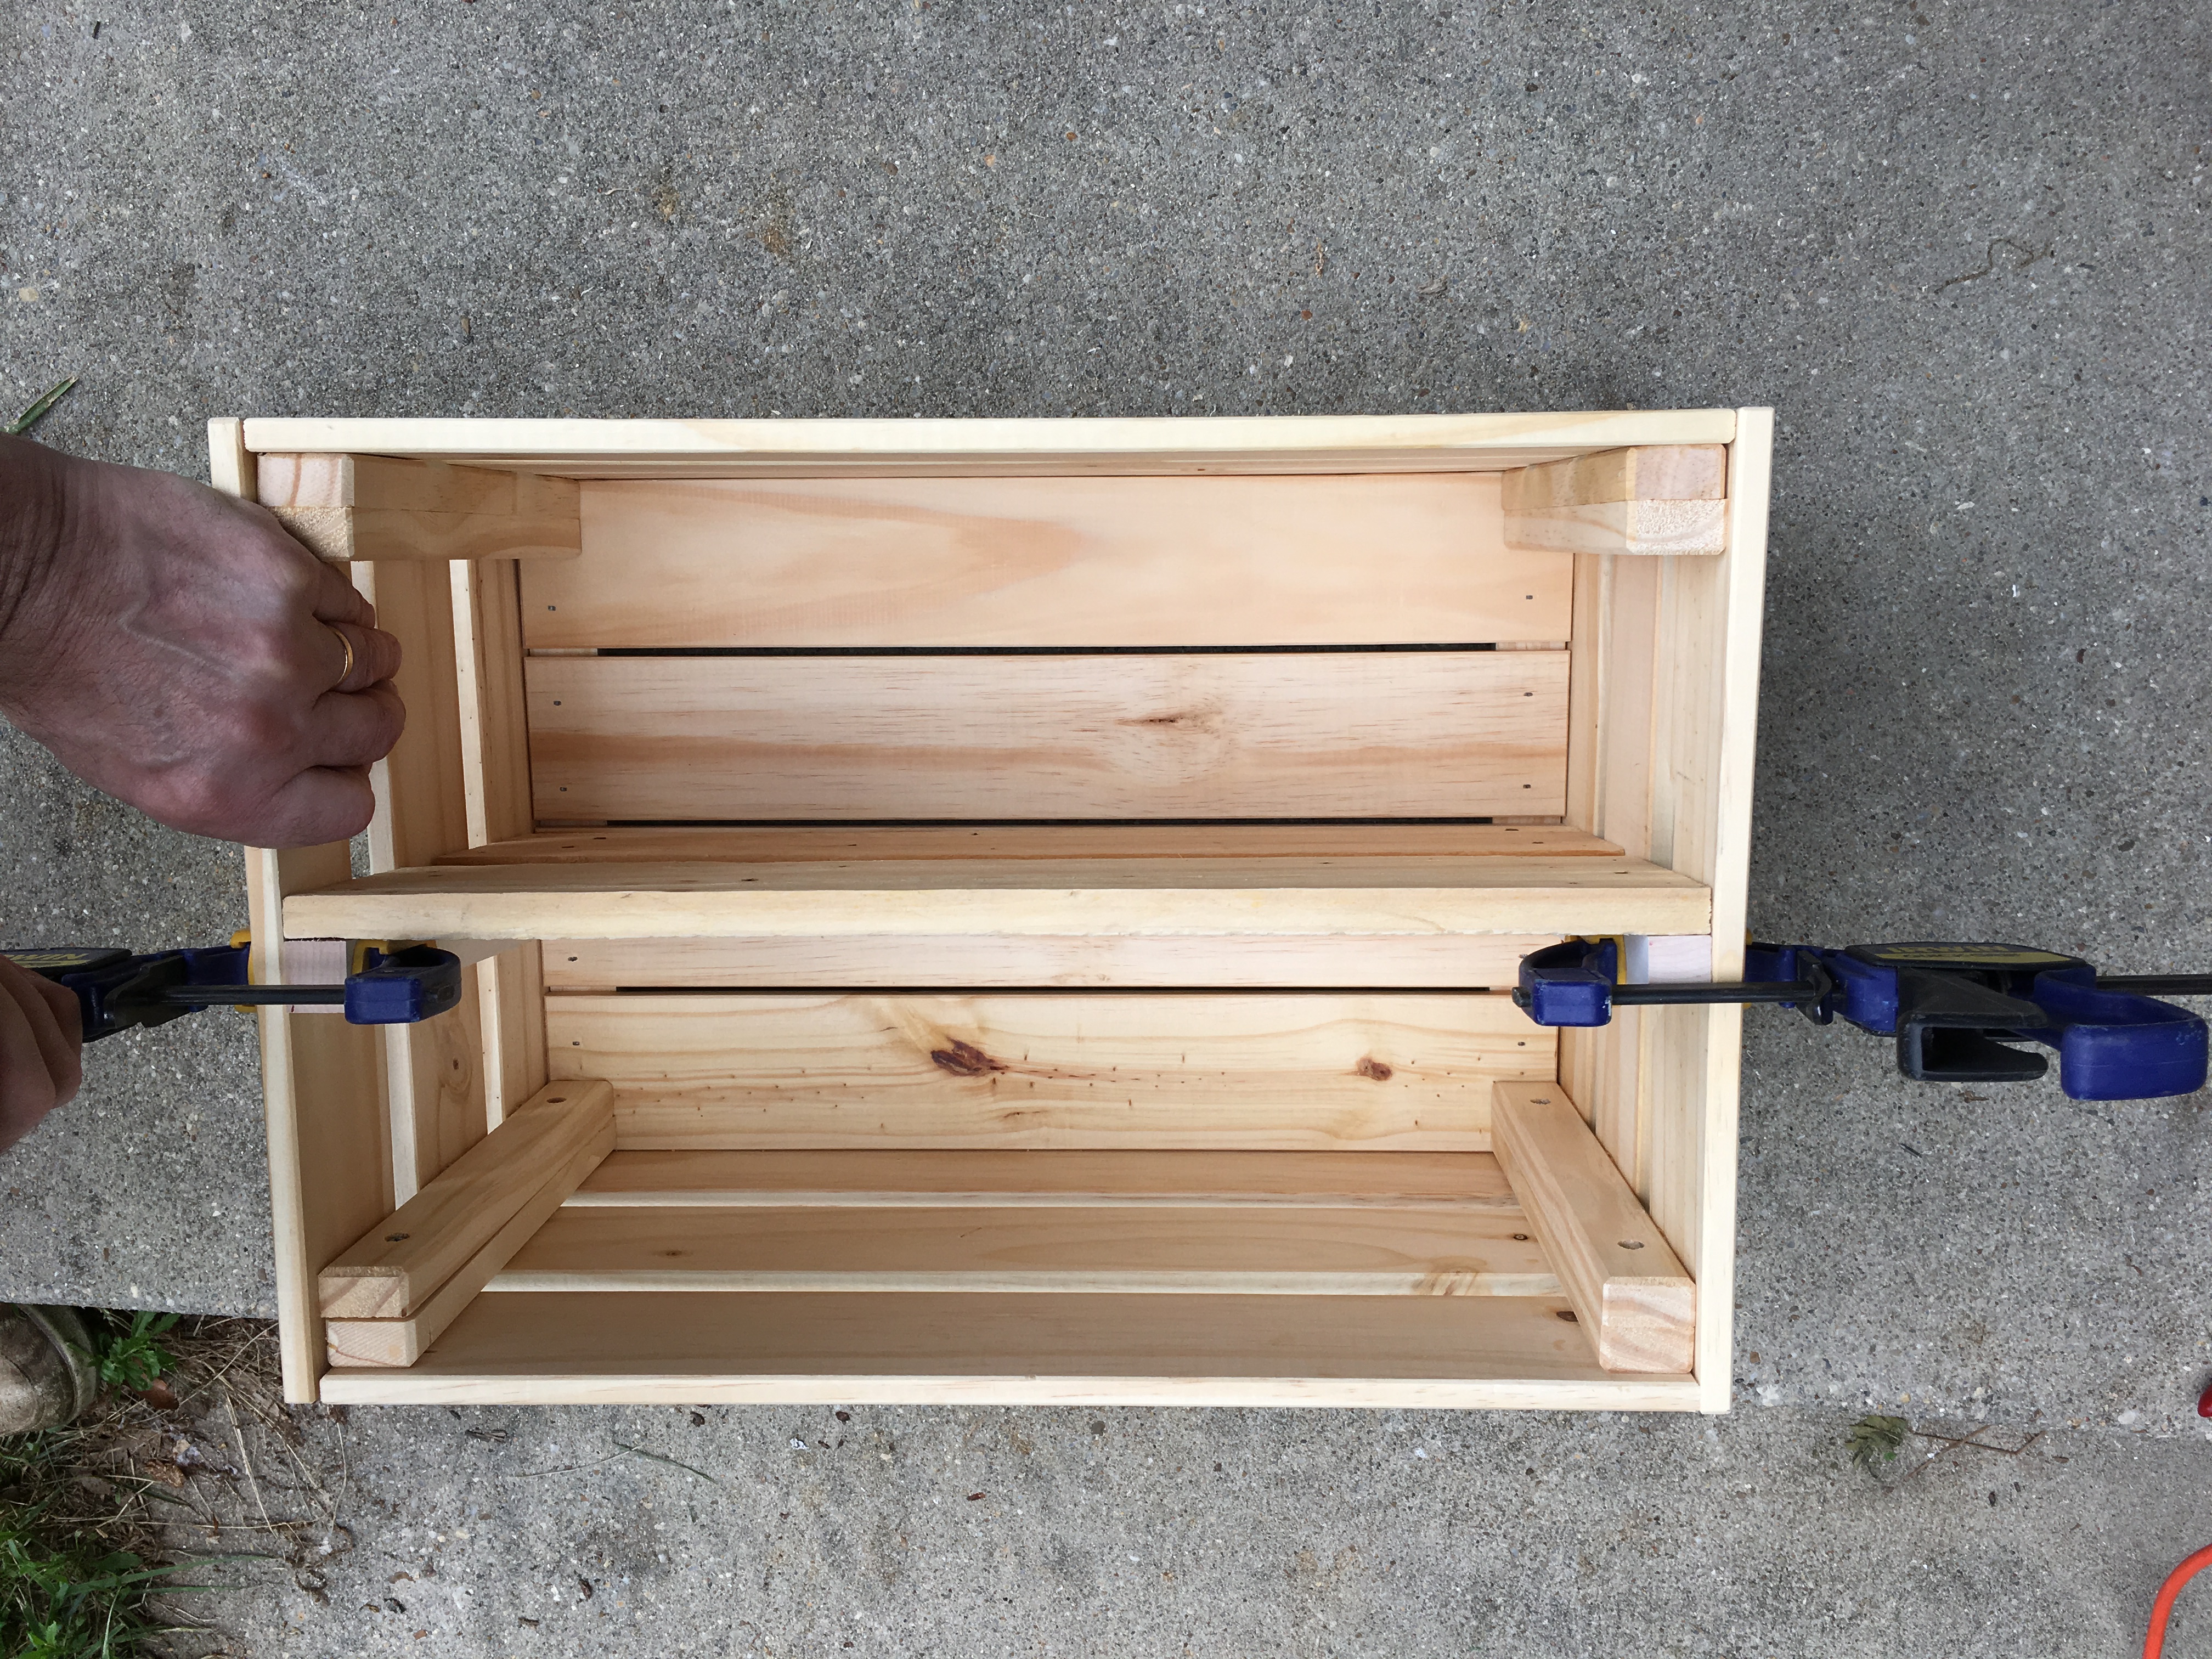
- If you have clamps, clamp the shelf into place to secure it when nailing the shelf to the crate.
- On the outside of the crate, place two nails into each shelf bracket. Or if you chose to use screws, pre-drill a hole for the screw, then screw into place.
Finished product!