Are you ready for an adorable embroidery hoop Christmas wreath tutorial? I know, it isn't even Thanksgiving yet. BUT I love to start getting my Christmas decor ready early. That way, I am ready to deck the halls once Thanksgiving is over.
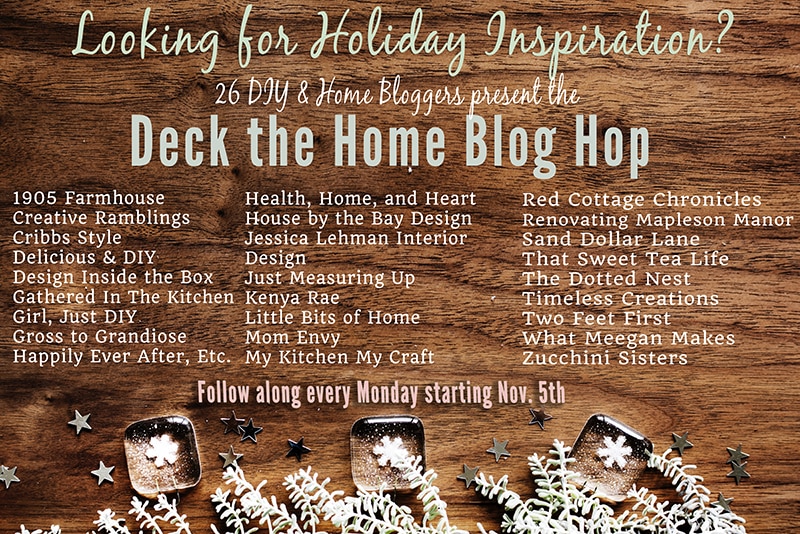
This year, I am doing something extra special for the Christmas season on my blog. I am part of a holiday DIY/Decor blog hop. Each week, 26 bloggers (myself included), will be sharing our best holiday DIYs with all of you.
Check back each Monday for a new craft tutorial by me and a chance to blog hop to 25 other amazing blogger's sites to see their inspirational ideas. Then, on Wednesday, I will be sharing a round-up of my favorite projects from the blog hop.
There will be a theme each week. And this week, our theme is door decor. Next week, we'll all be sharing wooden projects. So don't miss my post next Monday!
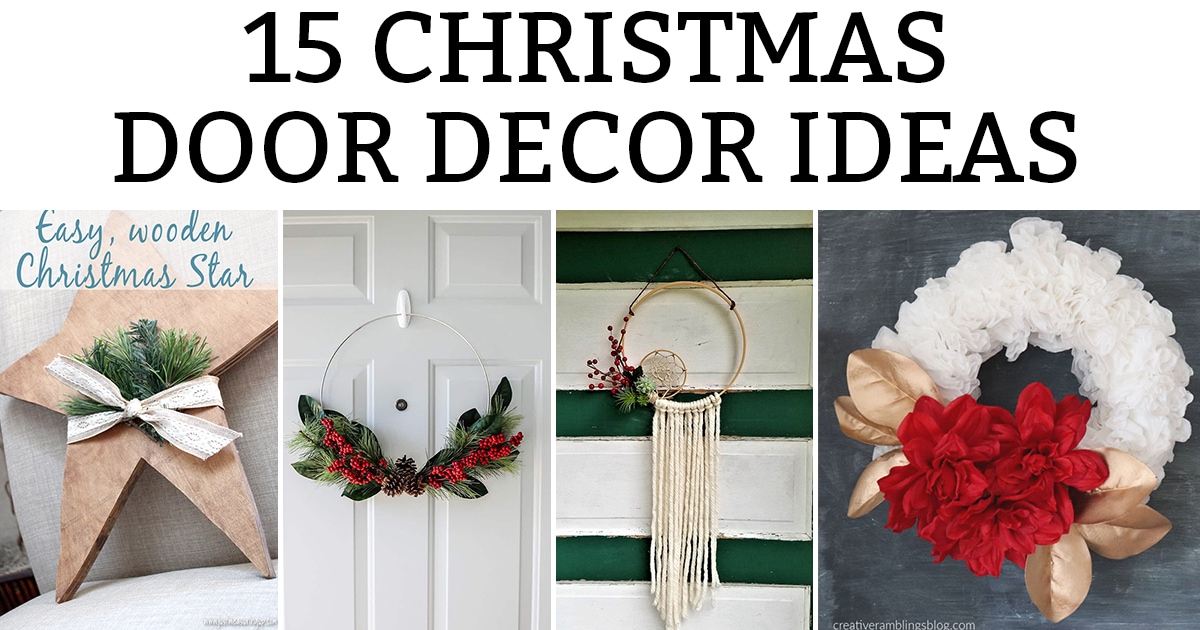
Below my project tutorial, there is a link-up of all of the Deck the Home Door Decor projects from the week. So don't forget to check it out for some fantastic door decor ideas! So even if you're not crazy about my tutorial, keep scrolling to find an idea that fits your style.
![]()
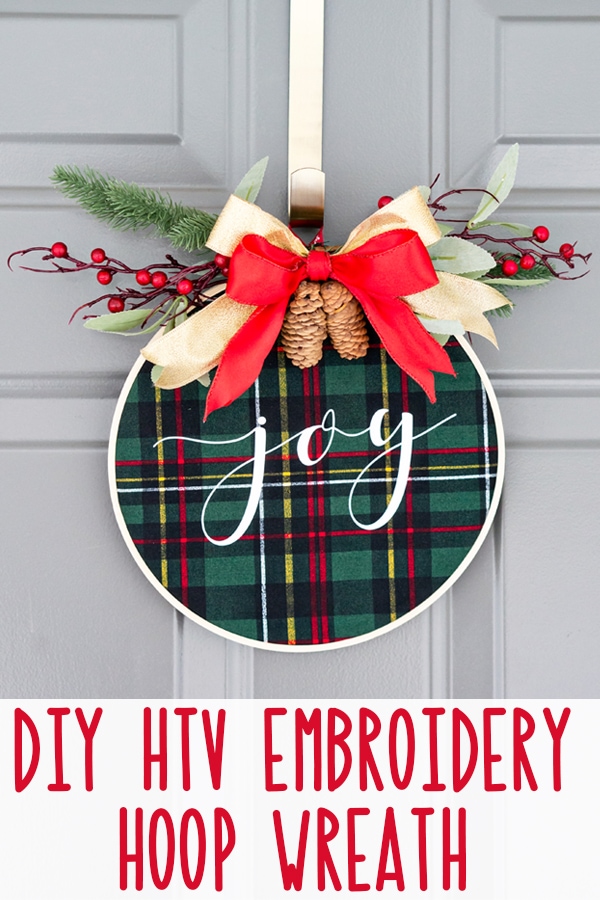
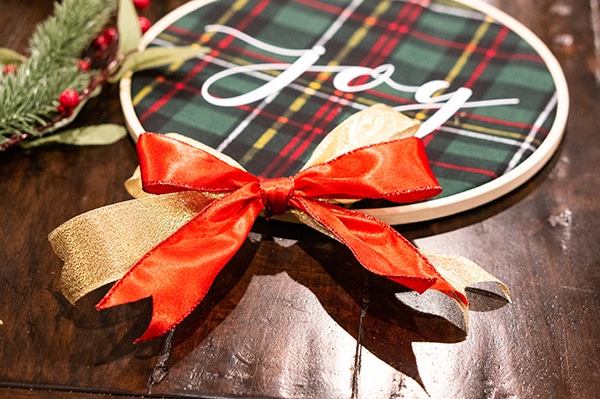
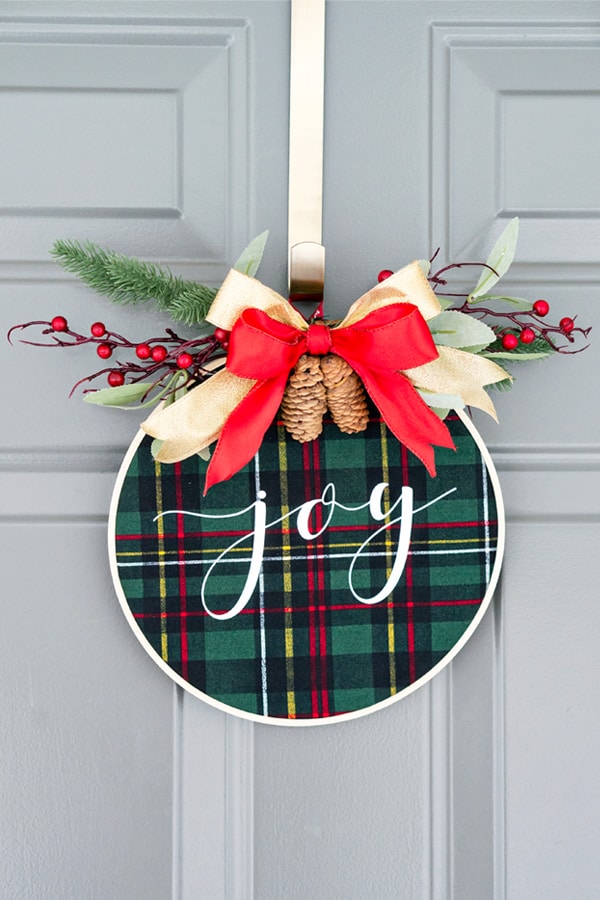
Embroidery Hoop Christmas Wreath
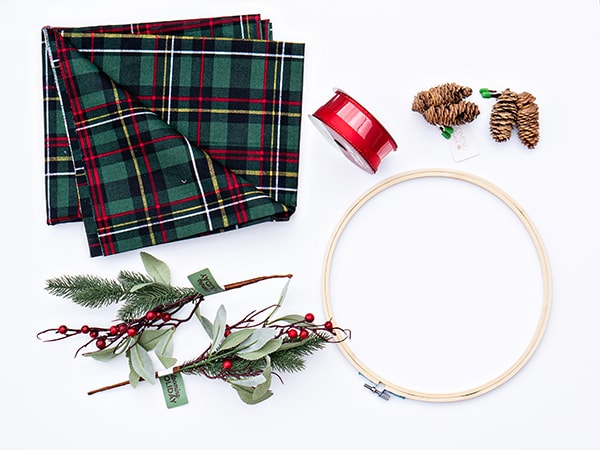
Materials
- Embroidery hoop (choose the size you'd like your wreath to be)
- Fabric that is larger than the size of your hoop
- Ribbon
- Embellishments
- Hot glue
- HTV
Directions
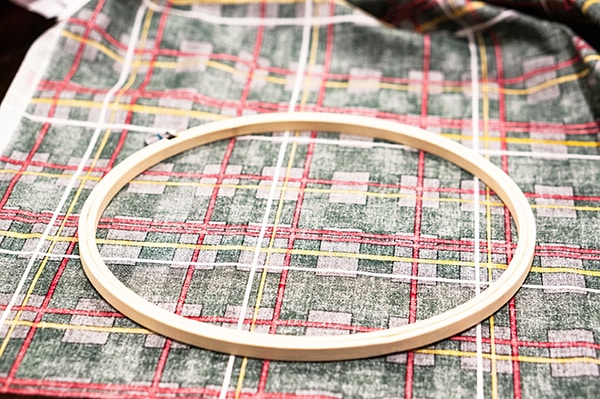
- Place your embroidery hoop on your fabric. Trim your fabric to be just slightly larger than your hoop (it will make it easier to work with).
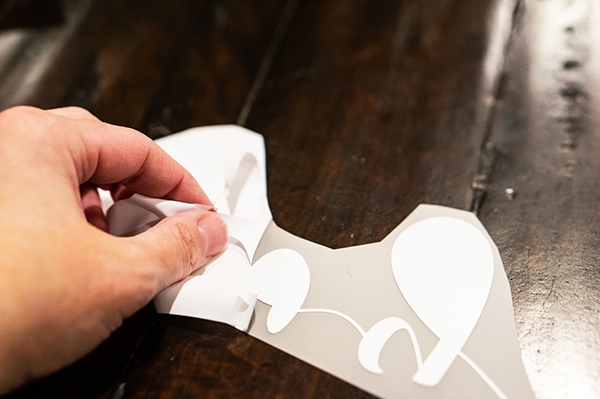
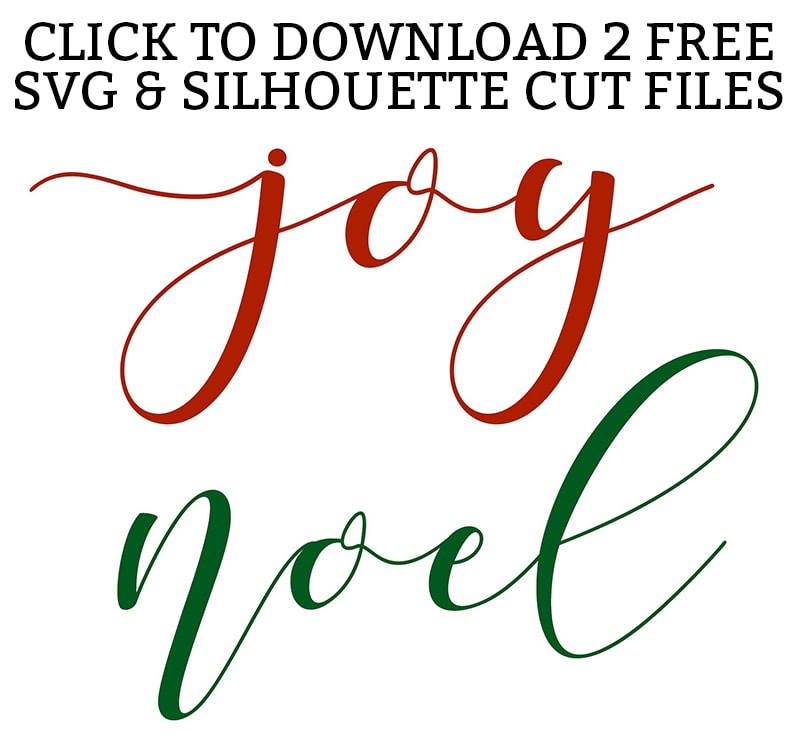
2. Design your cut file. Make sure it is smaller than the width of your hoop. (You can download my simple joy SVG at the end of this post).
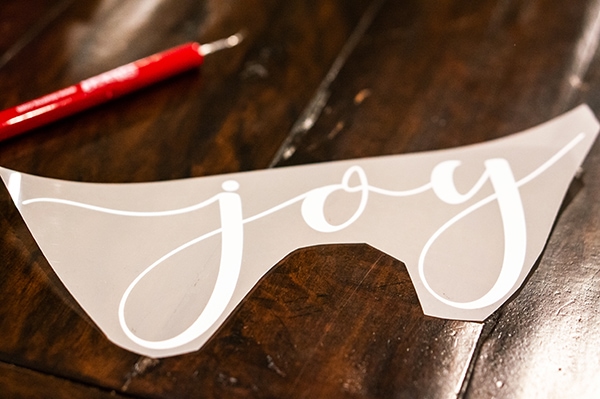
3. Heatpress your design into the middle of your fabric.
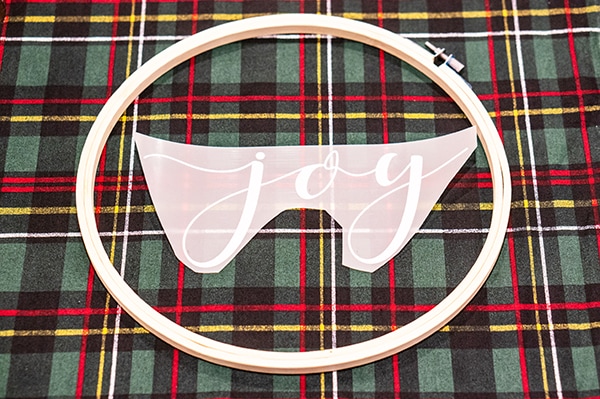
4. Once your design is pressed and cooled, place the fabric in the hoop. Make sure to take the time to get the design placement where you want it. Keep the tightening device at the top and center of the design to attach your swag to later.
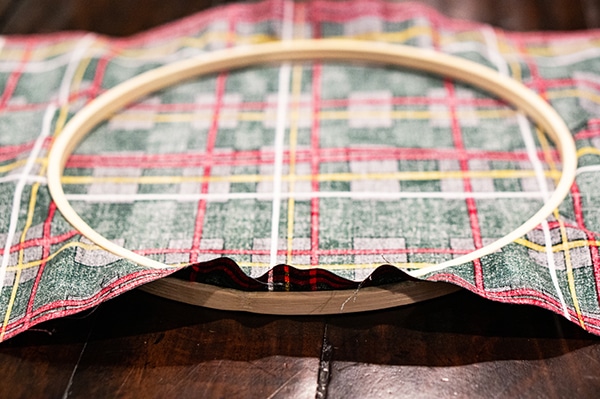
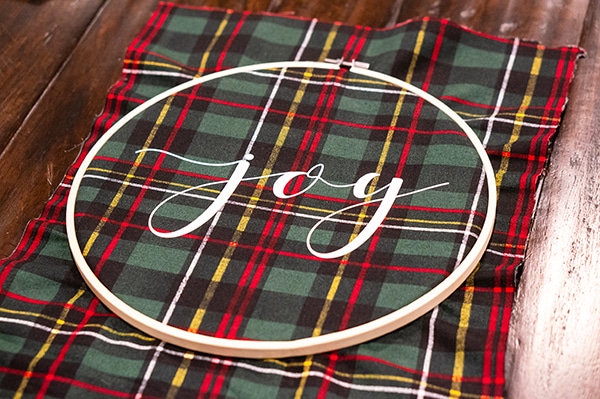
5. Trim the excess fabric off the embroidery hoop.
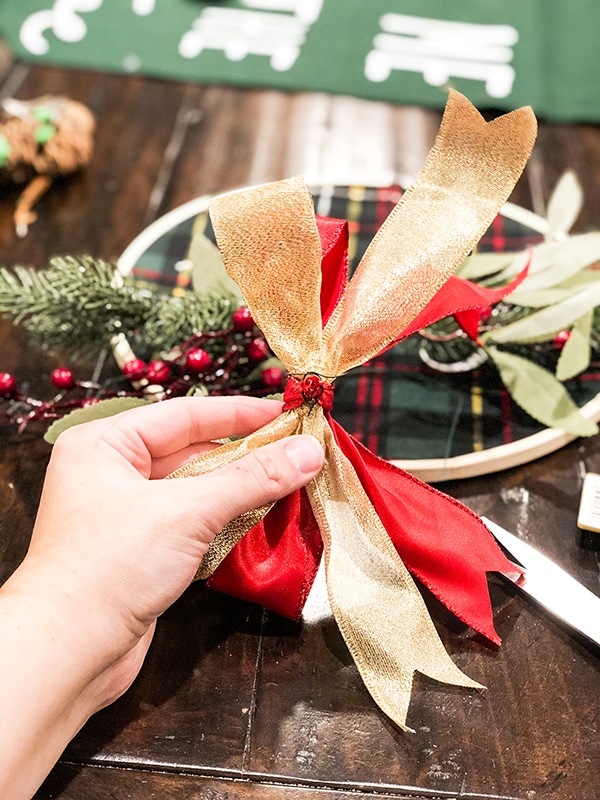
6. Create a bow using ribbon. I used two different ribbon colors to create a layered effect.
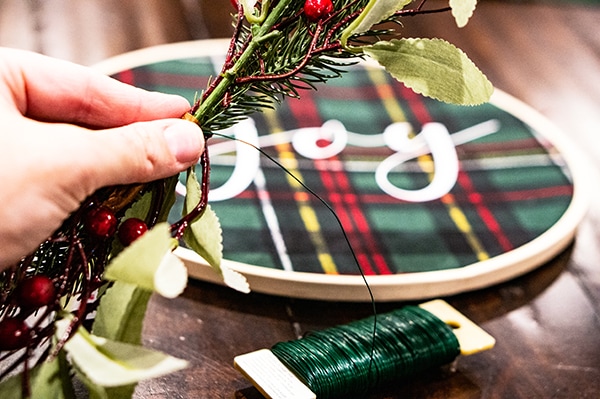
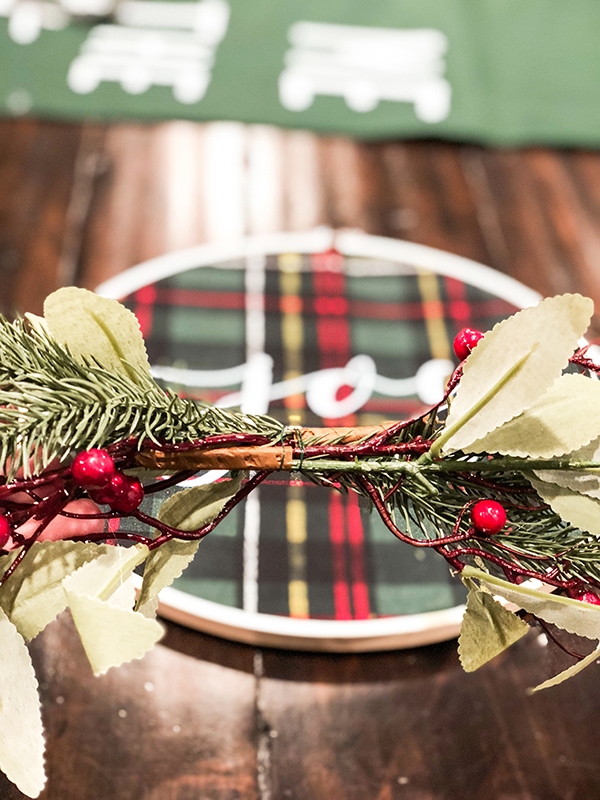
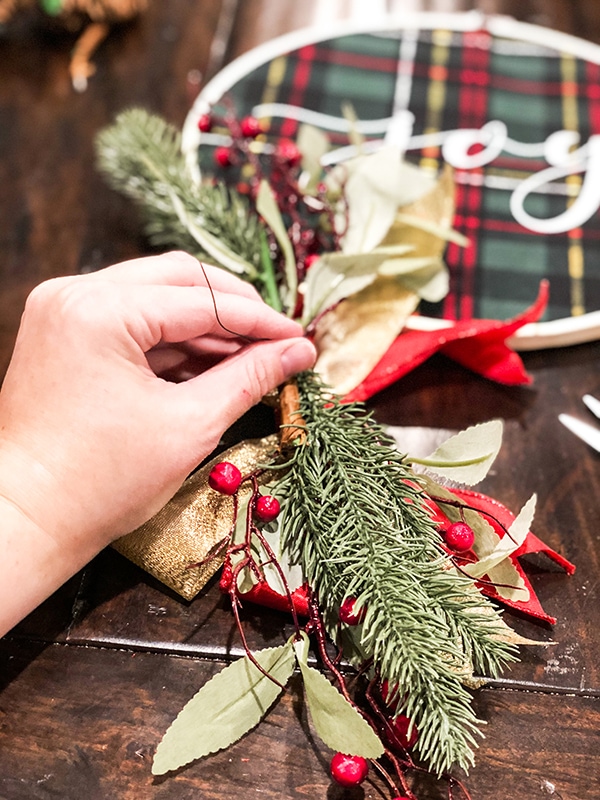
7. Use your embellishments to create a small swag for your wreath. Use floral wire or hot glue to attach the pieces to each other. If needed, trim embellishment to make them work together. 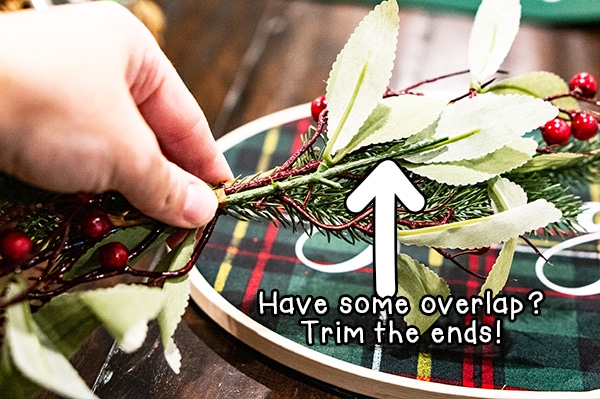

8. Attach floral wire to the back of the bow by slipping in through the back or by wrapping it around the excess of the ribbon. Use a long piece of floral wire so that it can not only attach the bow to the swag but also the swag and bow to the wreath.
9. Using the floral wire you've attached to the ribbon, attach the bow to the front of your swag. Make sure to leave extra floral wire on the back of the ribbon. Don't cut it off yet.
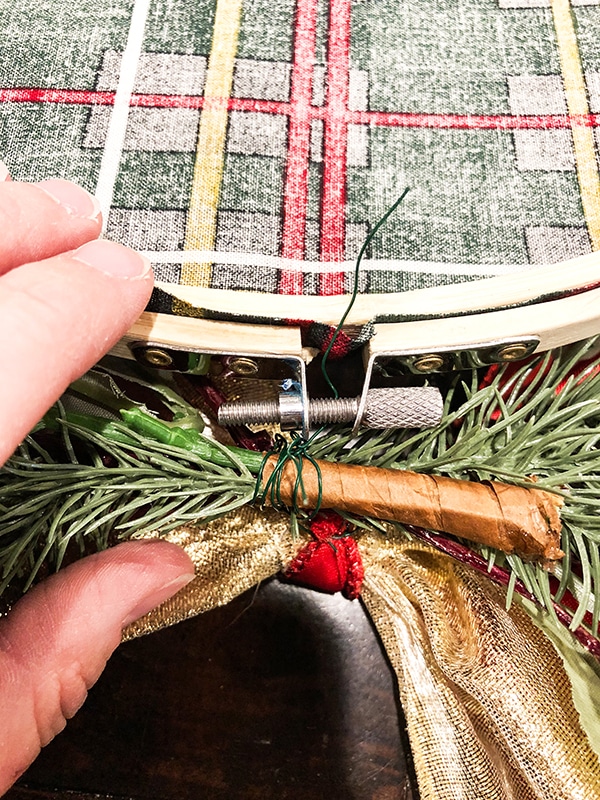
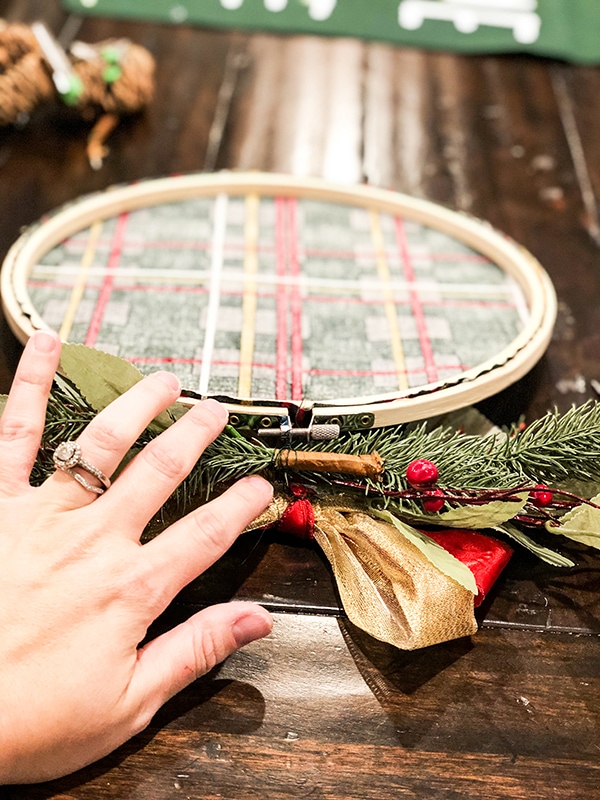
10. Using the remaining floral wire, attach the swag and bow to the wreath. It's best to do this at the top over the tightening device.
11. Use a smaller ribbon to create a hook for your wreath. Simply glue the two ends of a ribbon together to create a loop.

12. Then, glue the end of the loop onto the back of the embroidery hoop at the top center. It's best to glue onto the wood hoop directly below the tightener.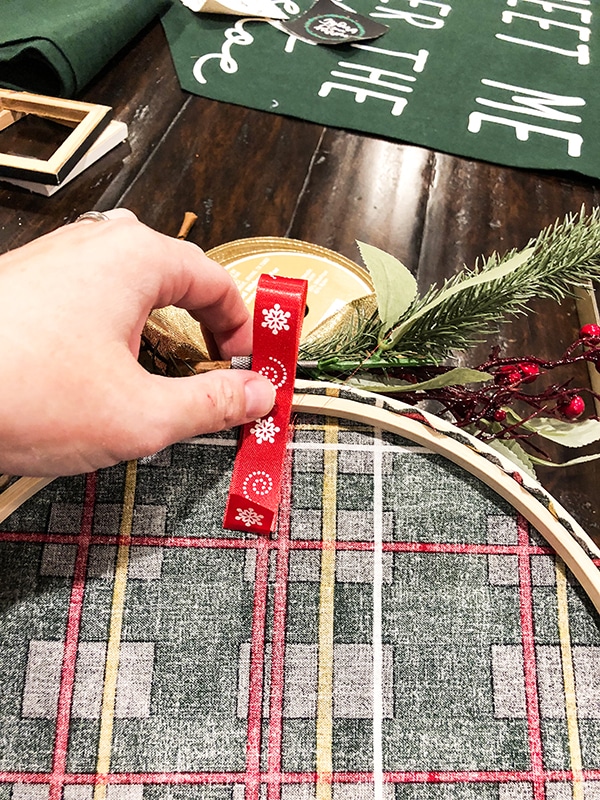
13. Add any additional embellishments using hot glue, let dry, and then hang! (I added a little pinecone clip to the center of mine.
Looking for some more door inspiration? Don't miss Front Door Christmas Decorations Ideas.
FREE Joy and Noel Cut Files for Mom Envy Members
Want an easy cut file for your wreath? I have two simple SVG and Silhouette files available to download for FREE including the Joy file, you see above. Files are for personal use only and may not be used commercially in any way. To download, sign up here for the password! HINT: If you're interested in more SVG files, make sure to sign up for the "All Things Mom Envy" group. Once you're signed up, download below using your members-only password.


So smart to use an embroidery hoop... I love that it's lightweight but still looks like an ornament! So cute!
Thanks so much!
I love your hoop wreath, the plaid is gorgeous and the pine cones were the perfect finish! I have a hoop I got at a thrift store that I need to put to use like yours. I haven't used heat transfer vinyl yet but just got a cricut so it'll be on my list of projects soon.
Ooo you'll love HTV! I find it to be the easiest to work with! 🙂 Thanks so much for your kind words!!
Beautiful hoop craft- what a nice rich green plaid! Totally crushing on that fabric and the project turned out so bright and festive. Thanks so much for sharing.
Thanks so much, Christine!
Holy freaking crap I LOVE it!! That fabric you used is so eye-catching and just plain GORGEOUS!!!
Thanks SO much Lidia!!
This is adorable! And I love that there isn't any stitching required. 😉 It's perfect for the holiday season. Also, totally random fact - our engagement rings are nearly identical!
Thanks so much, Amy! I LOVE my ring and always tell people when we have matching rings so not random to me at all lol!!
This is so pretty, I love the plaid with the natural elements. I have used this technique to decorate my daughter's room, such a fun and unique way to decorate for the holidays too.
Thanks so much, Sarah! It really is a versatile idea for decorating!
I love that fabric and that wreath! I have so many embroidery hoops I could use.
Thanks, Amy!!
Embroidery hoops are so versatile. I have used them in so many of my home decor projects! I love the fabric you used for your wreath, looks fantastic!
Thanks so much, Jessica!
This is a fantastic tutorial, Laura!! I really like how you used fabric with an embroidery hoop.
I love this idea, Laura! I've never seen a wreath like this before, it's very clever!
This is absolutely gorgeous, Laura!! I love how it looks like an ornament. It's stunning 🙂
Oh! This is so lovely! I really like it! We are moving and we bought an old home, this would look so pretty there!
I am obsessed with your door decoration! Great job!!!
That fabric is making me swoon! Great job!!
Plaid is my favorite color 😉 I love how it is easy enough for any level of DIY'er and the result is absolutely stunning! Love it!
This is so adorable! Love the plaid!
Hello, about what size embroidery hoop did you use?
Hi Leslie,
It's 14 inches. They come in all sorts of other sizes (I actually wish I had gone bigger!)
Hi there! I'm sorry, I'm not familiar with SGV or what that means or how to use it. Is this like something you print out on transfer paper? And then you iron it on? Would I find SGV paper like at a craft store?
Hi Sherry! SVG Files are used with cutting machines like a Silhouette or Cricut. You would cut the design out of a material such as vinyl or heat transfer vinyl. Then you would apply it to a surface. Here is a link to a youtube video so you can see what capabilities it has. https://youtu.be/J-k6vlZT_BU
this wreath is beautiful!
thanks for the tips and idea 🙂
Great post!
Thanks