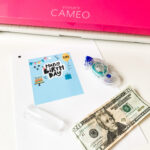


Have you seen the viral chapstick money holder templates flying around the Facebook Cricut and Silhouette groups? They are SO much fun!
When you get a single chapstick, it comes with a little plastic bubble as part of the packaging. People are using the plastic piece to create money holders.
They're being used for all sorts of special occasions - birthdays, graduations, baby showers, wedding showers, weddings, etc. I even saw a couple for teacher appreciation week (although in most schools, teachers can't accept cash so if you're going that route - double-check with your school first).
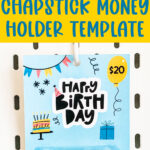
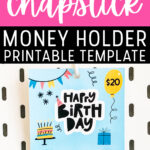
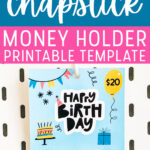
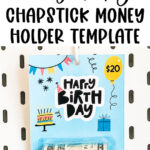
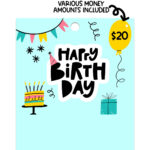
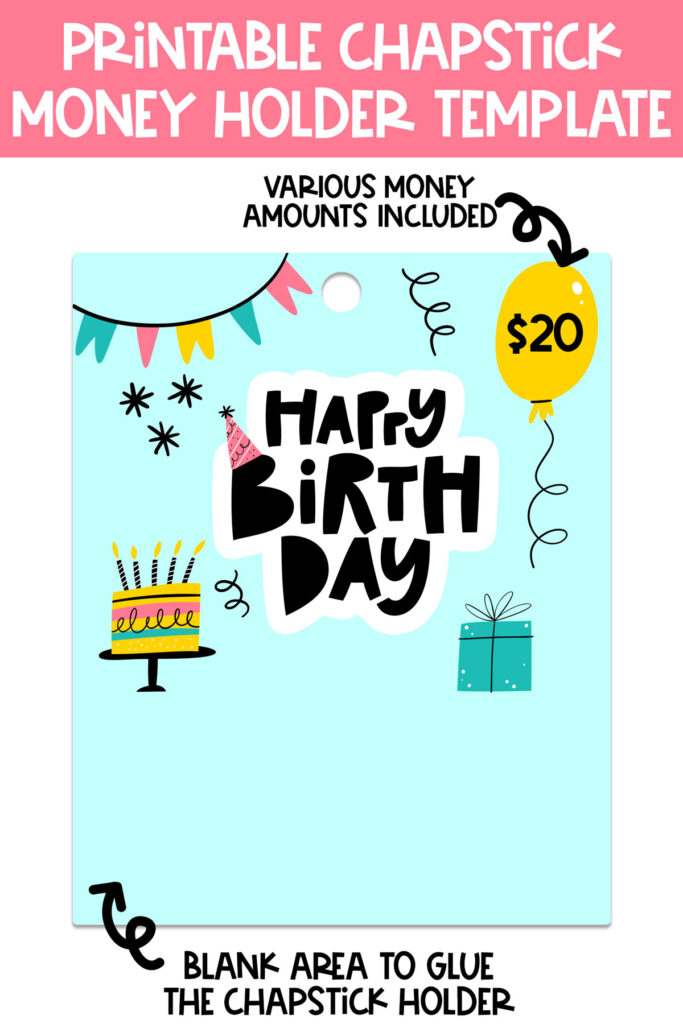
If you'd love to try to create one yourself, I have the perfect free template to get you started. This one is a generic Happy Birthday holder. I hope to be able to make more in the future but for right now, I wanted to test just one design out.
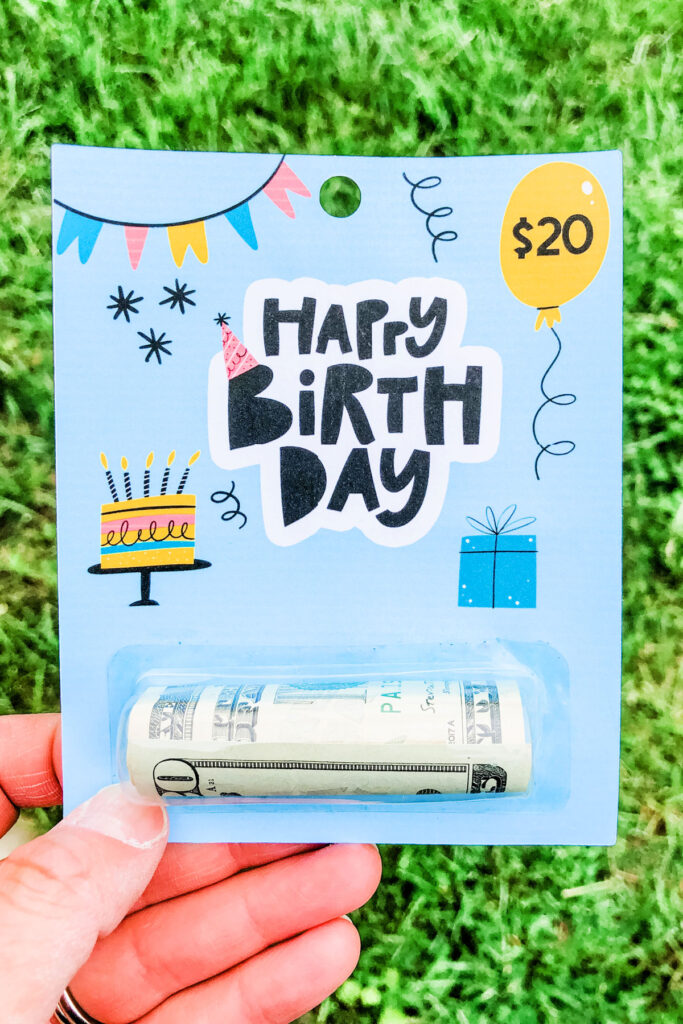
Giving cash can feel a bit boring sometimes. But these little printable money holders make it so much more fun. Look how cute this Happy Birthday money holder turned out!
As an Amazon Associate, I earn from qualifying purchases. I am also an affiliate for xTool, the HP ink program, ShareaSale, Awin, and CJ Networks. Click here to read more.
Do you Need a Craft Cutting Machine to Make the Chapstick Money Holder Template?
No, you actually do not. You can print the design out and cut it by hand. Just use a hole punch to punch out the white hole up at the top.
If I want to use a Craft Cutting Machine, Which Type can I Use?
You can use a Silhouette machine (such as a Silhouette Cameo) or a Cricut Machine (such as a Cricut Maker).
What type of Paper Should I Print on?
It depends on your method. Here are your two options.
1 - The Simple Cardstock Option
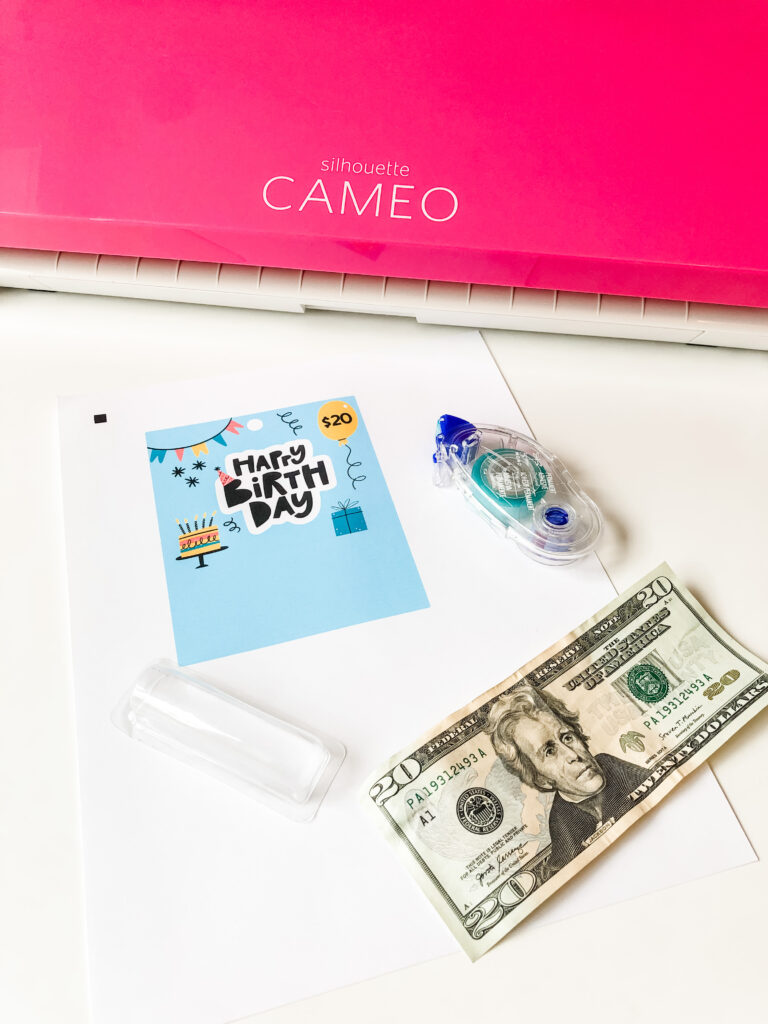
In this method, you'll simply print the design using Print and Cut on your craft cutting machine. Print it on thick card stock. This is a great option for a thicker cardstock.
This is the method I used to create my own money holder. I will say, it turned out a bit flimsy and not as professional-looking as it could.
2 - The Multi-Layered Process
In this version of the process, you'll print and cut on a piece of sticker paper or printable vinyl. Then, you'll adhere the full sheet of the design onto a chipboard or kraft board. Cricut even makes this kraft board with a foil backing that would make the money holder even prettier.
Then, you'll load the chipboard or kraft board onto the mat. And you'll use a knife blade and the settings to match the thickness of your material.
This method will produce a much more formal-looking, complete look. It just depends on the type of look you are going for.
Where Can you Get the Chapstick Plastic Bubbles?
The chapstick plastic bubbles go in and out of stock often. When they are in stock, you can purchase the plastic bubbles online.
Are the Bubbles out of Stock or Just Need One or Two?
Don't worry, there is a backup option. You can purchase a single chapstick from the Dollar Tree!
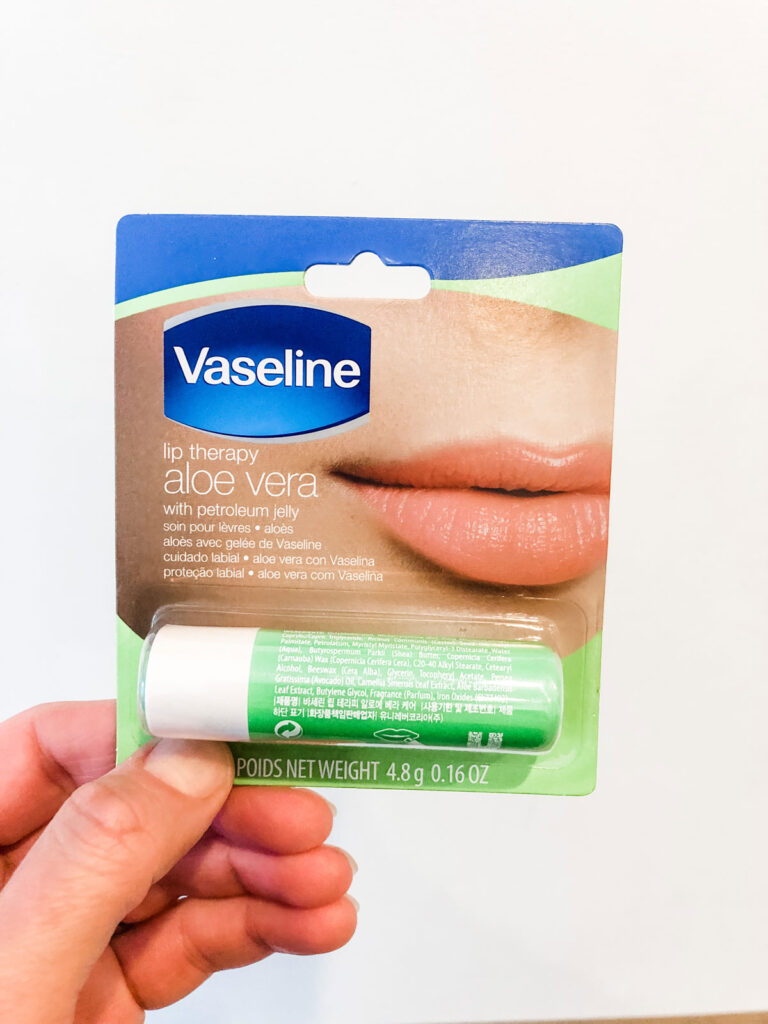
How Do I Use a Dollar Tree Chapstick Bubble?
Gently remove the plastic bubble from the backing. Do not use a hairdryer - I tested this. It melted the plastic, it did not help the adhesive come off.
Instead, soak the bottom part of the plastic bubble in a thin layer of Goo Gone or Acetone.
After it soaks for a bit, you can scrape the adhesive right off!

What Dollar Amounts are Available in the Cards?
There are multiple dollar amounts available. There is also a blank balloon that lets you put in any amount you'd like.
- $10
- $15
- $20
- $25
- $30
- $40
- $50
- $60
- $75
- $100
- Blank
Directions for How to Use the Chapstick Money Holder Template
Cardstock Method
- Print out the template on cardstock.
- Use the Print and Cut method or cut out the template by hand.
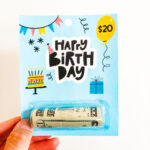
- Roll the $20.
- Gently place the $20 in the plastic bubble.
- Use a small amount of clear adhesive around the bottom of the plastic chapstick holder. Make sure the adhesive dries clear.
- Place the chapstick holder in the large blue area at the bottom of the template.
- Gently press around the edges with your fingers to make sure it adheres to the cardstock.
Sticker + Chipboard or Kraft Board
- Print out the template on sticker paper or printable vinyl.
- Place the full page sticker (Do not cut out the template, place the full print and cut page on the chipboard or kraft board).
- Use the Print and Cut method with a blade that is strong enough to cut through the chipboard (such as a knife blade).
- Roll the $20.
- Gently place the $20 in the plastic bubble.
- Use a small amount of clear adhesive around the bottom of the plastic chapstick holder. Make sure the adhesive dries clear.
- Place the chapstick holder in the large blue area at the bottom of the template.
- Gently press around the edges with your fingers to make sure it adheres to the cardstock.
Tips for Downloading the Free Files
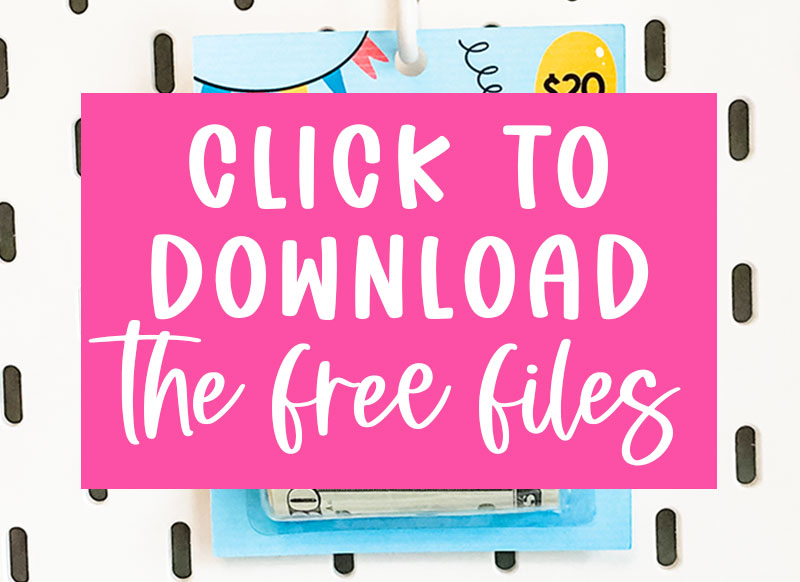
Below is an arrow that says Download Below. Underneath that is a large image that says Click to Download the free files.
Once you click that, you will enter the members-only password and click submit.
The page will reload the same image and now when you click the image that says Click to Download the free files, it will open the Google Drive folder containing the free files.
How do you get a members-only password?
You can sign up here to be a free Mom Envy club member.
The password will be sent to you within a few minutes. Make sure to check your spam and/or junk folder if you don't see it.
Already a member but forgot the password? Don't sign up again. Look at the end of any newsletter from me for the free password or just send me an e-mail here: [email protected]
Copyright MOM ENVY 2022. Files may be used for personal use only. No commercial use of the file is available. Files may not be directly shared within Facebook groups, on websites, or in any other way. A link to the web page to download the files may be shared as well as one photo. The file may not be printed and then sold (including local yard sale sites and groups or at local craft fairs). The images may not be used in any way other than to share with a link to the original web page.