
Have you ever wanted to put up a barn door but it's just out of budget? What if I told you that you could easily make a DIY barn door and spend less than $100 for both the door and the track? That's right, less than $100!
And guess what, only the door is DIY. Barn door track can now be found pretty inexpensively. What used to be an expensive project is now within reach for many DIY'ers out there.
For our DIY, we chose to create a barn door for our master bathroom (as part of the One Room Challenge). It provides the separation we wanted from our bathroom space to the rest of our bedroom.
Thankfully, I had my Dad's help (again) for this DIY project. Much thanks to him for all of his hardwork, expertise, and help.
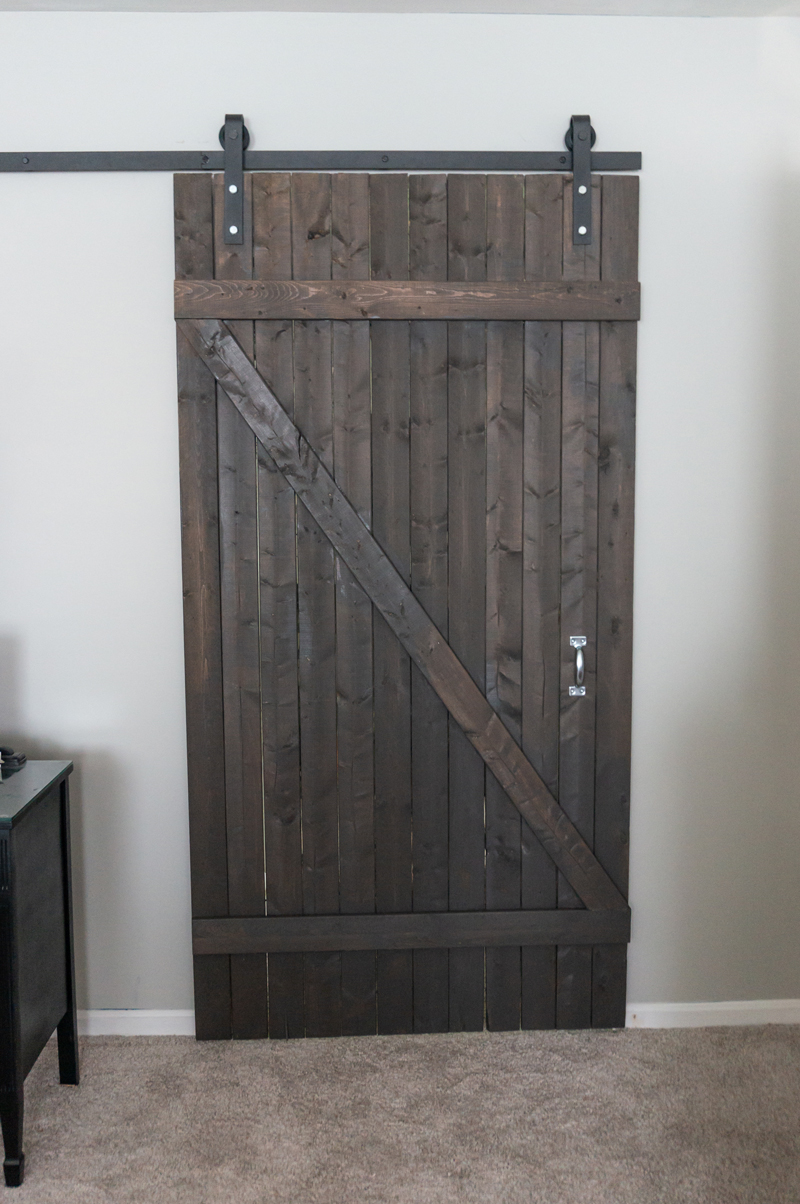
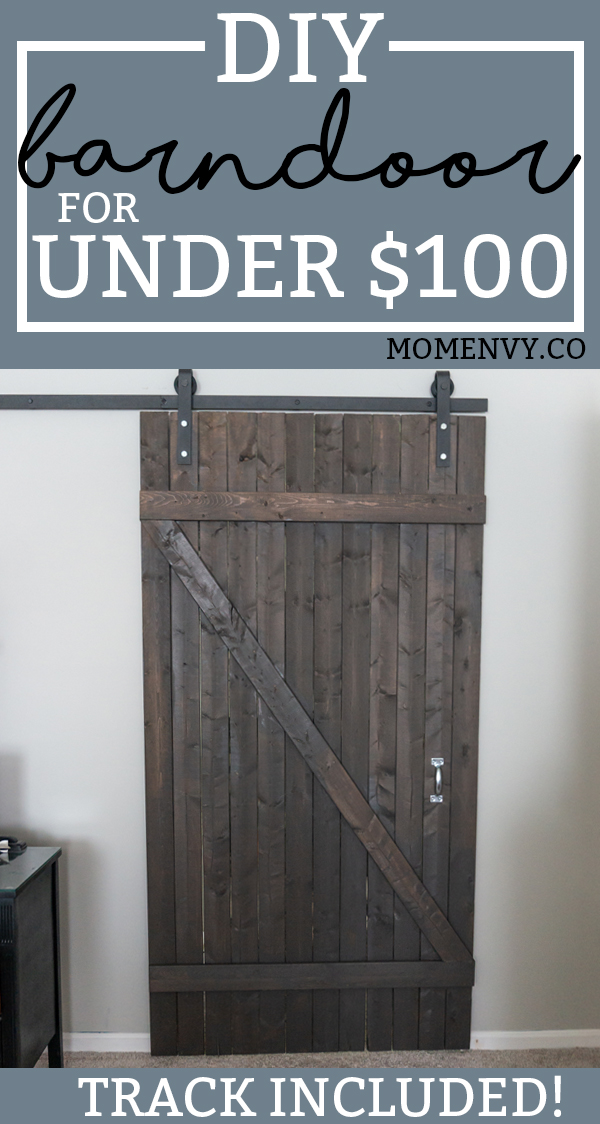
Here's a sneak peek at the finished product:
If you're interested in making a DIY door yourself, you'll just need some materials and tools to get the job done.
 DIY Barn Door Materials List
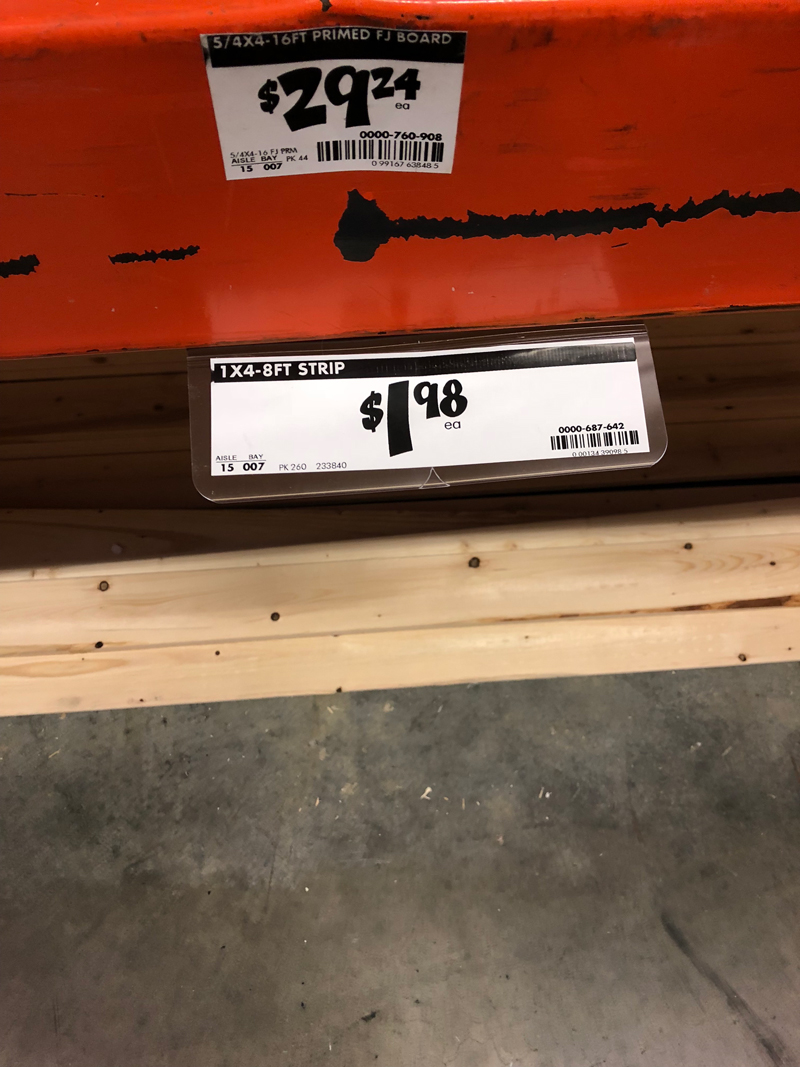
- 1 x 4 x 8ft furring strip board (go through and select the best boards you can find. Remember, we're creating a rustic barn door. There will be knots, divets, etc).
- Barn door hardware (there are a few different options, we selected basic)
- Nail brads to fit your nail gun
- Door Handle
- Stain in your desired color (I used Varathane's Briarsmoke)
- Wood glue
- *Possibly 4 Replacement bolts (this depends on the thickness of your wood and the track you purchase).
DIY Barn Door Tools List
- Miter Saw (you could also use a circular saw but it may be a little more difficult)
- Nail gun
- Measuring Tape
- Carpenter Square
- Sanding block
- Soft cloth (I used an old sock)
- Gloves (you don't have to use them, but I find it easier to stain without worrying about staining my hands)
How to Build a DIY Barn Door for Under $100
- Measure your doorway width and desired door height.
- Purchase enough boards to cover the width of your door plus an extra 4 inches PLUS 2 extra boards. So for our door, I purchased 12 boards for the door and 2 extras, totally 14 boards. *Special Note* 1 x 4 furring strip boards vary in their actual width. They are not really 4 inches in width. Make sure the boards you pick cover the width you need.
- Set aside your two extra boards.
- Trim your door boards down to the correct height. Home Depot or Lowes can cut your boards to your desired height but they are not always accurately cut. I prefer to trim my own boards at home.
- Sand the ends of your boards.
- Lay your boards out next to each other and push together tightly.
- Use one of your extra boards at the end of the door to make sure the boards are lined up correctly.
- Measure the width of your door (or place your board on top of the board and mark the width using a square).
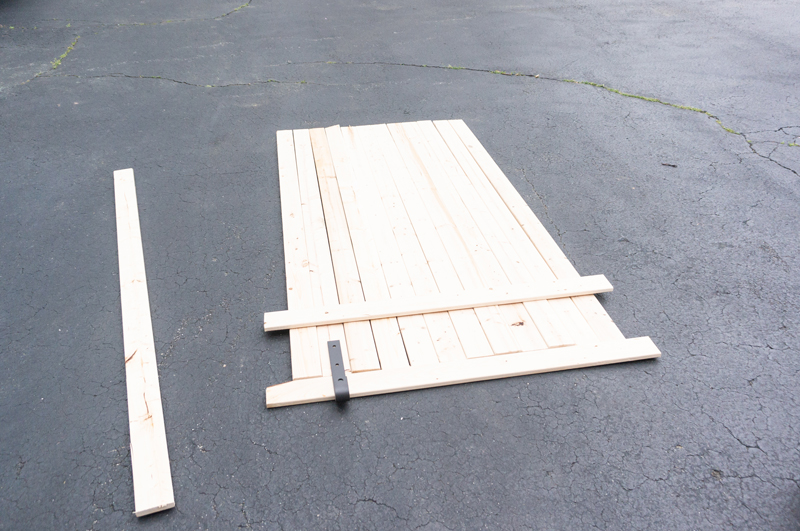
- Take one of your two extra boards and cut two boards that are the width of your door.
- Sand the ends.
- Place wood glue on the back of one cross piece. Place on your door at the desired height (we placed ours 9 ½ inches away from the top and bottom).
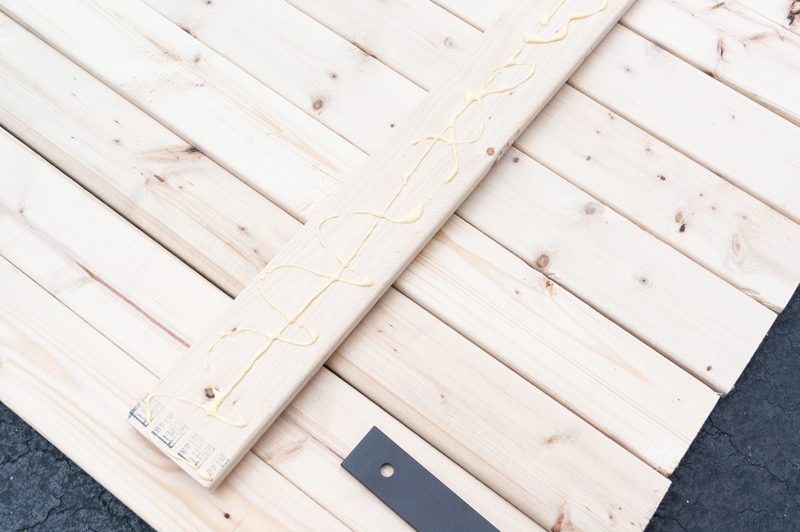
- Nail the board on the far left of the door (we placed 4 nails per each under board).
- Push the door boards together as hard as you can and nail the board to the far right of the door.
- Nail across the remainder of the board, making sure to attach every under board of the door to the cross board.
- Repeat with the second cross board.
- Lay the second extra board in a diagonal from one cross board to the other.
- Use a carpenter square to draw where to trim the diagonal board.
- Trim the diagonal board.
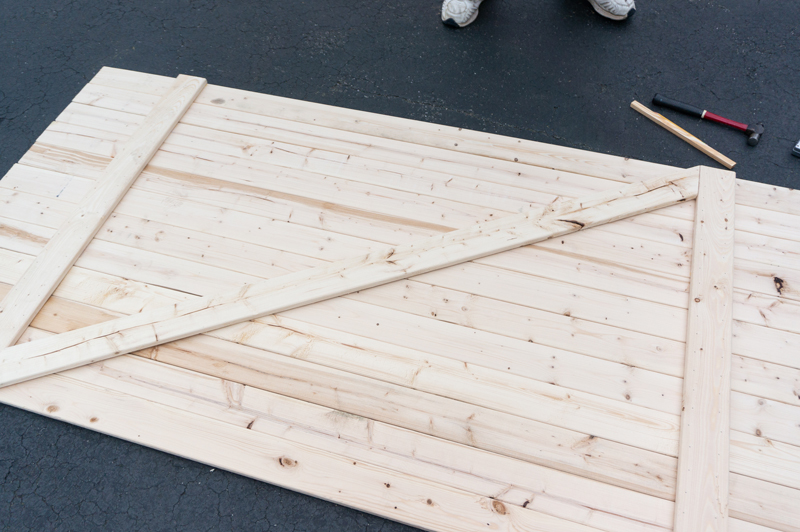
- Install it using wood glue and nails (like the cross boards).
- Give it time to dry and then stain the front and back.
- Install the barn door track and door per the manufacture directions. The height you install the track will be determined by the height of your door.
- Drill holes into the board based on your track hardware.
- Trim your door height if needed.
- Install the barn door handle.
- *If your large bolts are too long for your new barn door (ours were about half an inch too long), head to your hardware store and purchase replacement bolts that are the right length. Our new bolts were silver which we could have sprayed. We preferred the silver so we left them as-is.
Two Easy DIY Tips
For those of you new to DIY'ing home projects, I thought I would share two great tips my Dad has taught me. Working with my parents, you learn a lot of great house tips. His cardboard template was what people e-mailed me about the most during our last One Room Challenge.
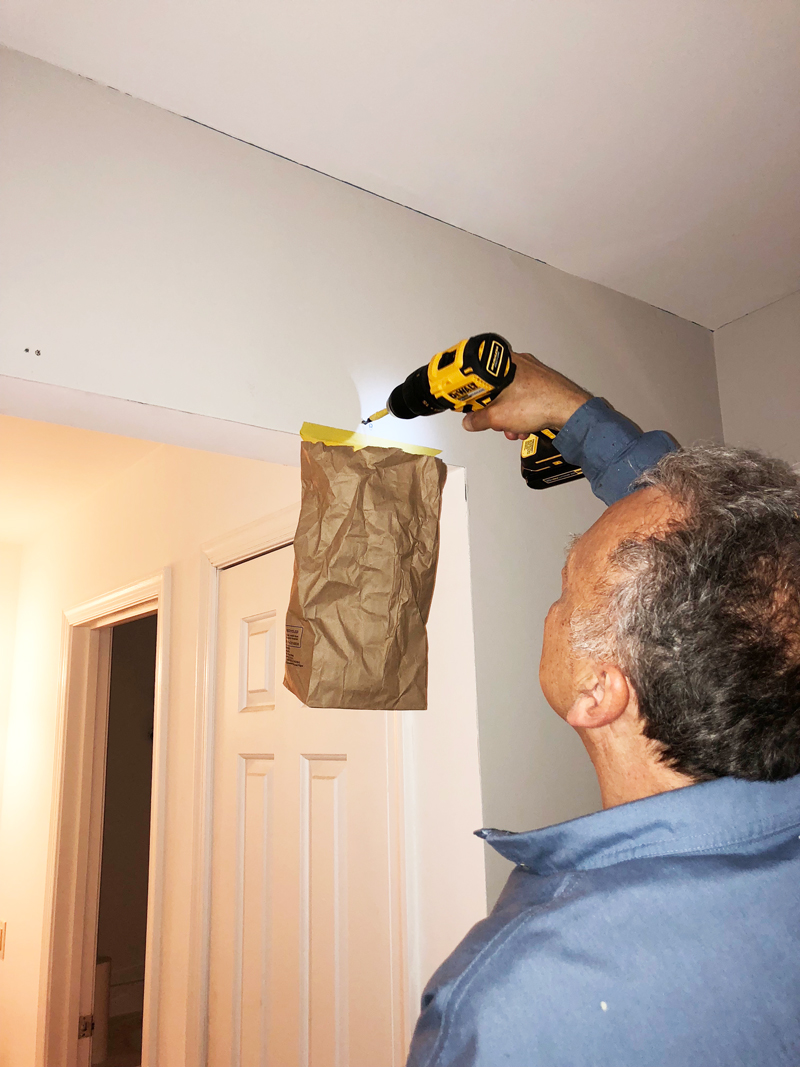
DIY Tip #1
Use a piece of painters tape and a paper bag while drilling to catch the debris. It makes clean up a breeze!
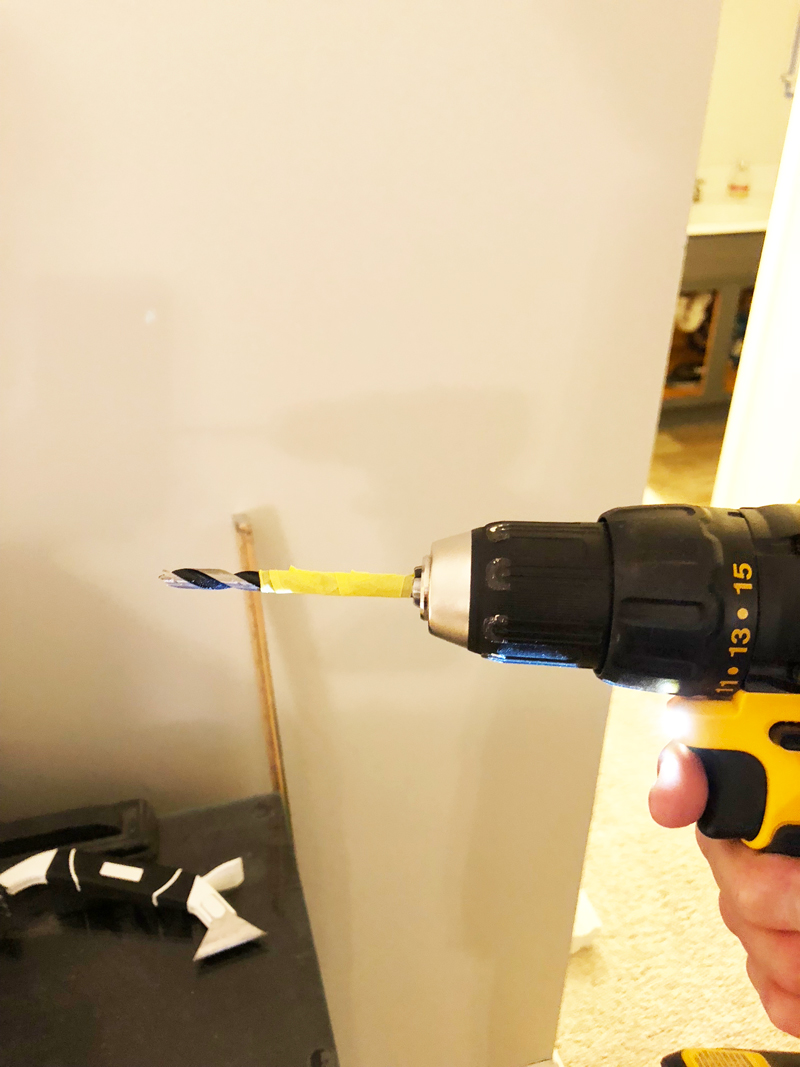
DIY Tip #2
Worried about drilling in too far? Mark your drill bit with tape to signal you when to stop drilling. If you put the tape at just under the depth of the material you're drilling into, you make sure you stop before you puncture through to the other side.
![]()
One Room Challenge - Spring 2018 Challenge

If you've never heard of the One Room Challenge before, make sure to check it out. Twice a year they select participants to redo a space in six weeks. Yep, six weeks. In addition, anyone can join as a guest participant (which is what I am doing now and also what I did when we made over our foyer in the fall). It's one of my favorite times of the year because I love to check out everyone's makeovers to get some new home inspiration. You can see all of the other guest participants entries for week one here. Here are the entries from week two. Week three. and Week four.


Wow this looks great! I've wanted to do a barn door for so long but have been hesitant to spend a lot of money on it- this is the perfect DIY!
Such a helpful detailed tutorial. I had no idea that I could make one of these. Definitely going on the project list. Looking forward to seeing your reveal.
Its beautiful. Im on a fixed income and i love this. Now i can have my door. If i seperate my dining room and living room., It will be warm in the winter and cool in the living room with the window air conditioning. Thank you.