


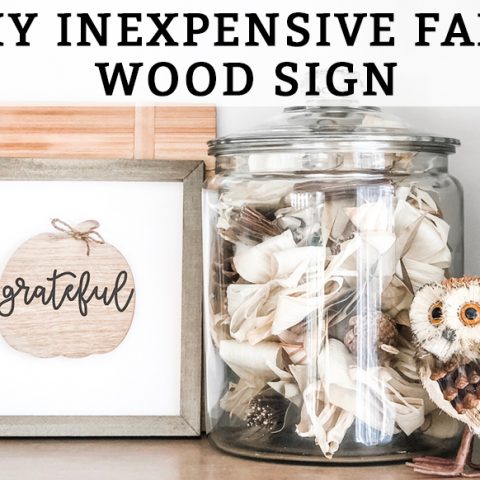
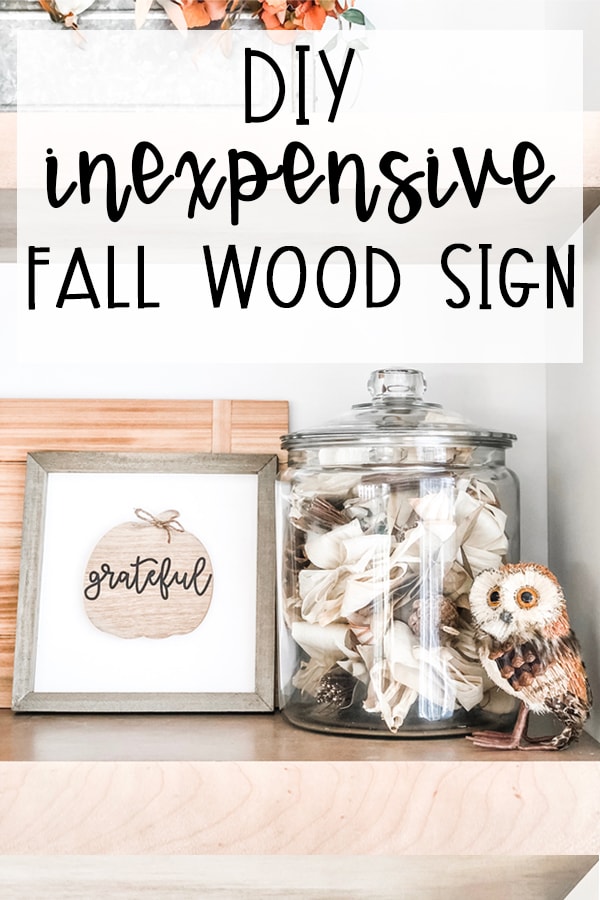
If you're looking for a fun fall DIY decor project, then check out how easy this DIY inexpensive fall wood sign is. It took me less than ten minutes to create this adorable fall wood sign.
It uses a pumpkin from the Target Dollar Spot (aka Bullseye corner? ...whatever they're calling it nowadays) and a premade sign I got on clearance from Joanns.
Where Can I Purchase a Premade Sign?
One tip for my DIY'er friends. At the end of each season in recent years, Joanns has clearanced some pre-made wood signs to make holiday decor yourself. You can find it super cheap and it makes DIY projects SO much easier.
Other places to find them are Walmart (although you'll have to paint the back/stain the sides), Hobby Lobby, and Michaels. If you go to a craft store, make sure to use a coupon!
Want to make your own Premade Sign?
There are some great tutorials online for making your own. I have made my larger ones with MDF and some trim.
If you want a super cheap option, Melanie over at Simple Made Pretty has an amazing DIY hack for creating wood farmhouse signs using materials from the Dollar Tree! They're so easy to make and are perfect for indoor holiday signs.
How to Create your Own DIY Fall Wood Sign
*Download the free SVG words at the end of this post!
DIY Inexpensive Fall Wood Sign
Materials
- $1 Wood fall hanger from Target
- 651 Vinyl
- Transfer tape
- Twine
- Prepared wood sign
Tools
- Hot glue gun
- Scissors
- Silhouette or Cricut machine
- Weeding Tool
- Hand applicator tool (to burnish)
Instructions
- Prepare your wood sign if needed.
- Cut the twine tag off the pumpkin.
- Using the free SVGs provided, select a word and cut it in 651 vinyl.
- Weed the vinyl.
- Apply transfer tape.
- Transfer the vinyl to the center of the pumpkin.
- Burnish well and remove the transfer tape.
- Hot glue the pumpkin to the center of the sign.
- Cut a small piece of twine.
- Make a small bow with the twine.
- Trim the ends of the bow if needed.
- Hot glue onto the sign.
Notes
I used a premade sign from Joanns I got on sale. You can either make your own or purchase one pre-made.


File Use Information
These files are for personal use only and may not be used commercially in any way. This includes but is not limited to: sharing the direct files anywhere including within a Facebook group or social media, creating products to sell using these SVGs and prints, using the file as an image on social media, etc. If you are unsure of your intended use, contact me. You may share one image from this post and share a link to the post without permission.

