Are you looking for some ideas for a pop up Mother's Day cards DIY? Mother's Day is such a special day and pop up cards are a great way to show mom how much you appreciate them.
I'll give you step by step tutorials including a video tutorial for how to create your own adorable DIY card with a fun pop up on the inside. This isn't any ordinary pop up card, you won't be giving a flower card or a heart pop up.
Instead, the child or person giving the card will be the one to pop out of the inside of the card. Don't worry, I have included a free printable template to make this an easy DIY Mother's Day card.
If you're in need of a last minute Mom's day card, then this pop up card is perfect because it takes very little time to create. From start to finish (including taking pictures), it only took us about 10-15 minutes at the most.
Plus, a card can act like a handmade gift and that is one of the best Mother's Day presents a Mom can get!
What is the design of the pop up card?
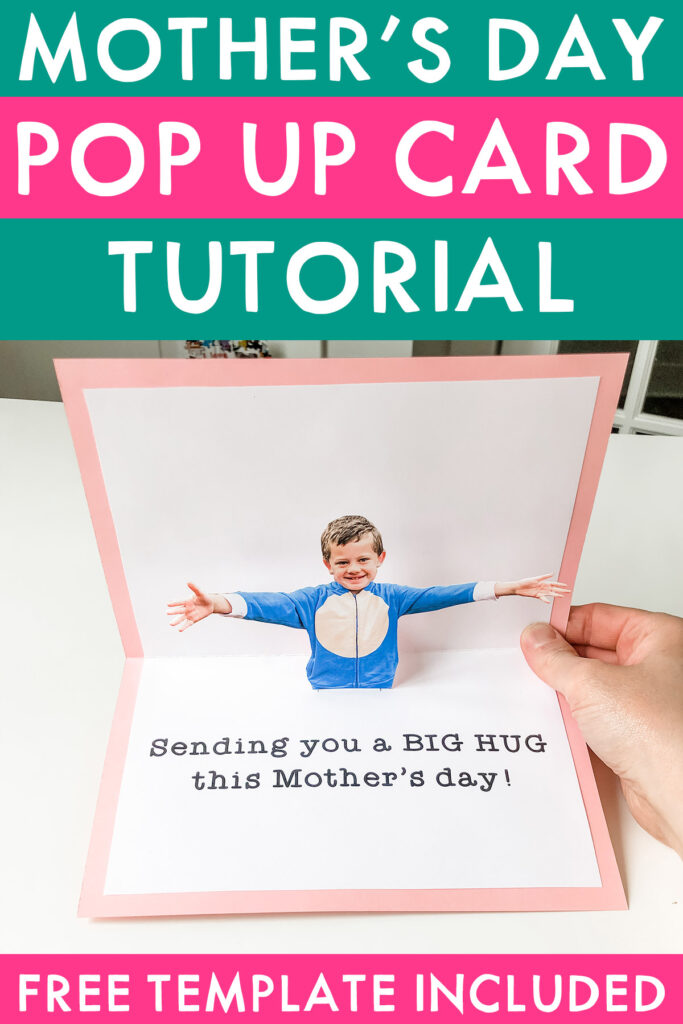
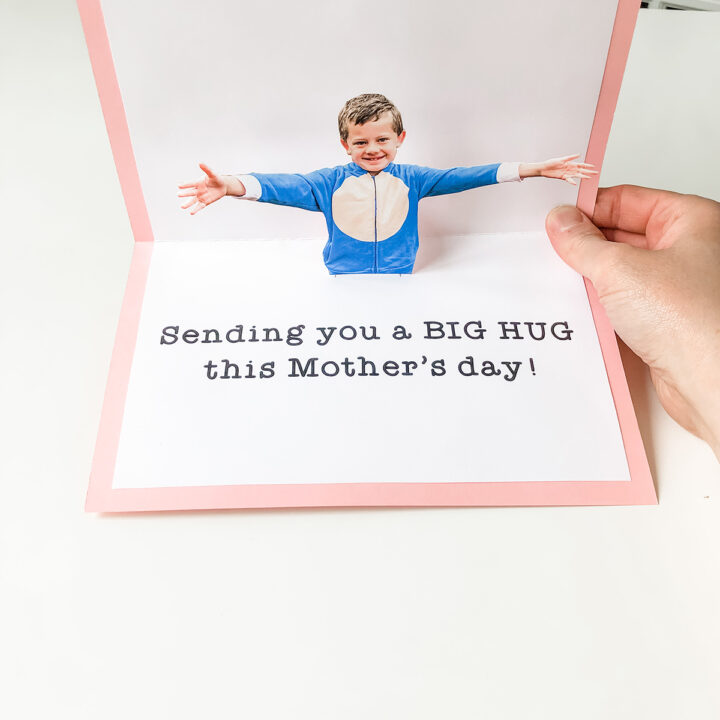
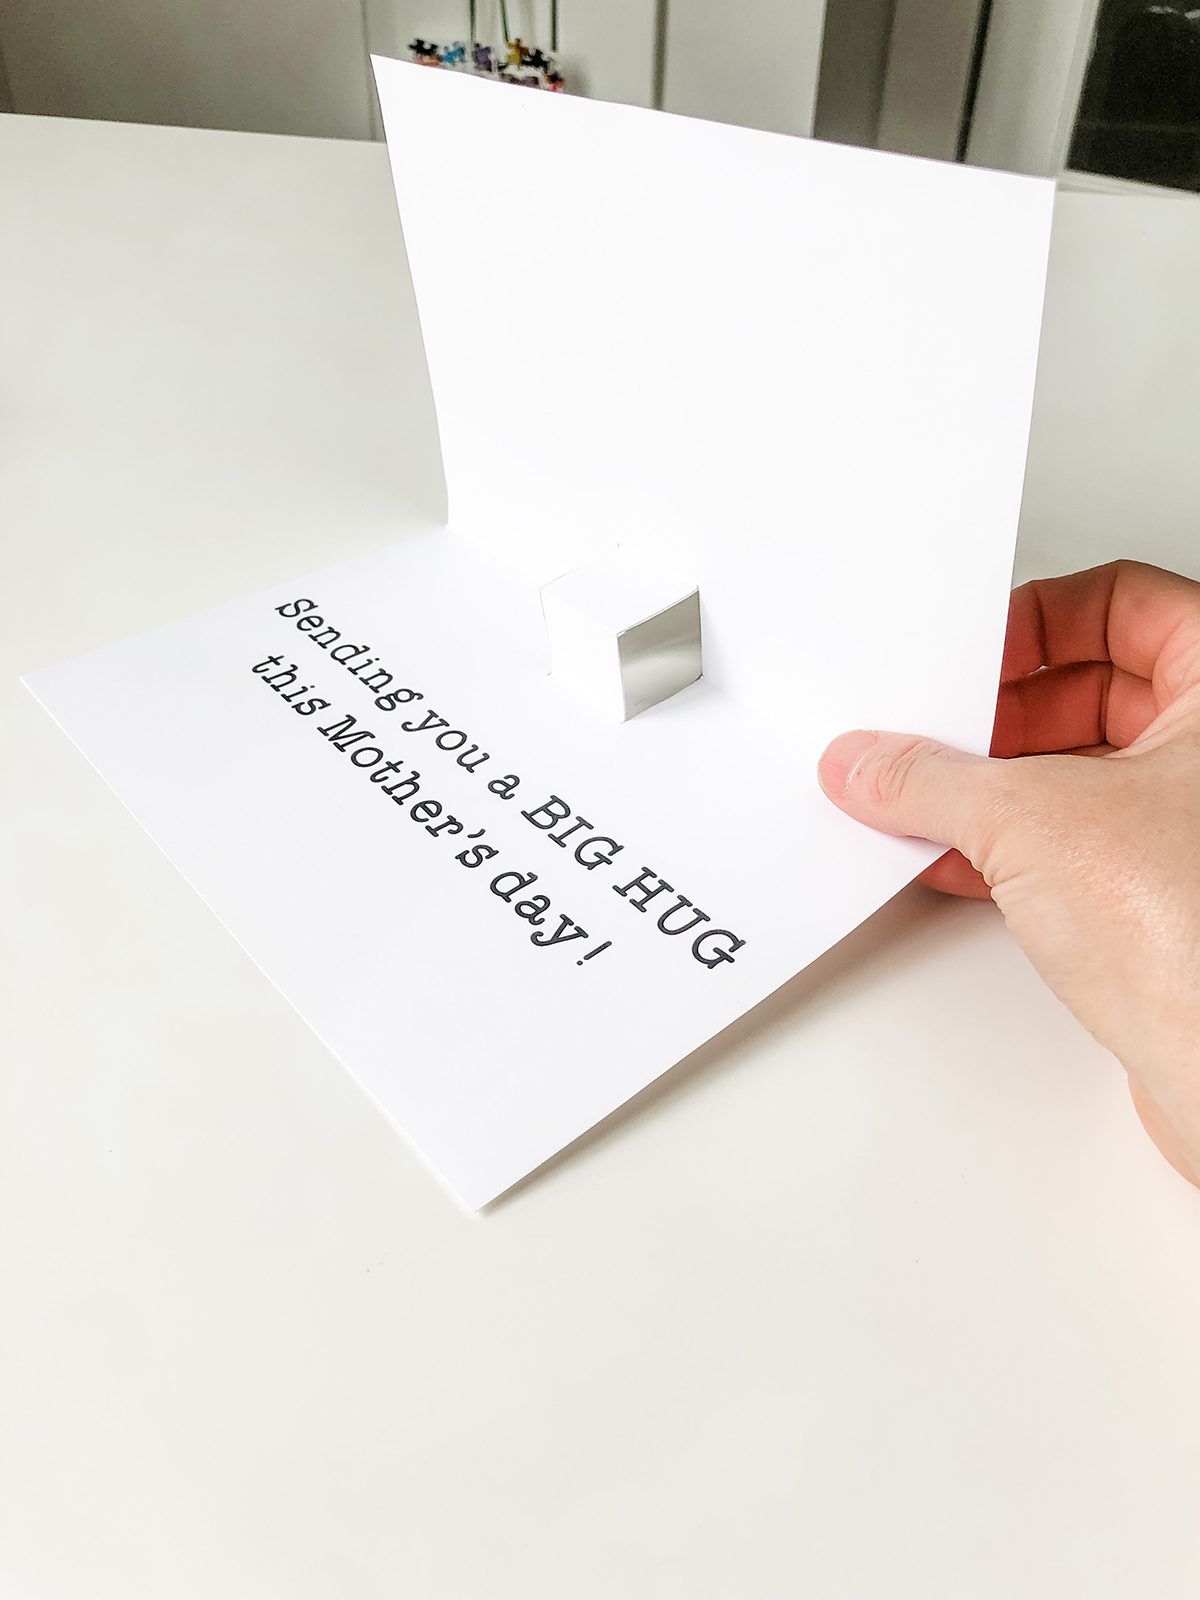
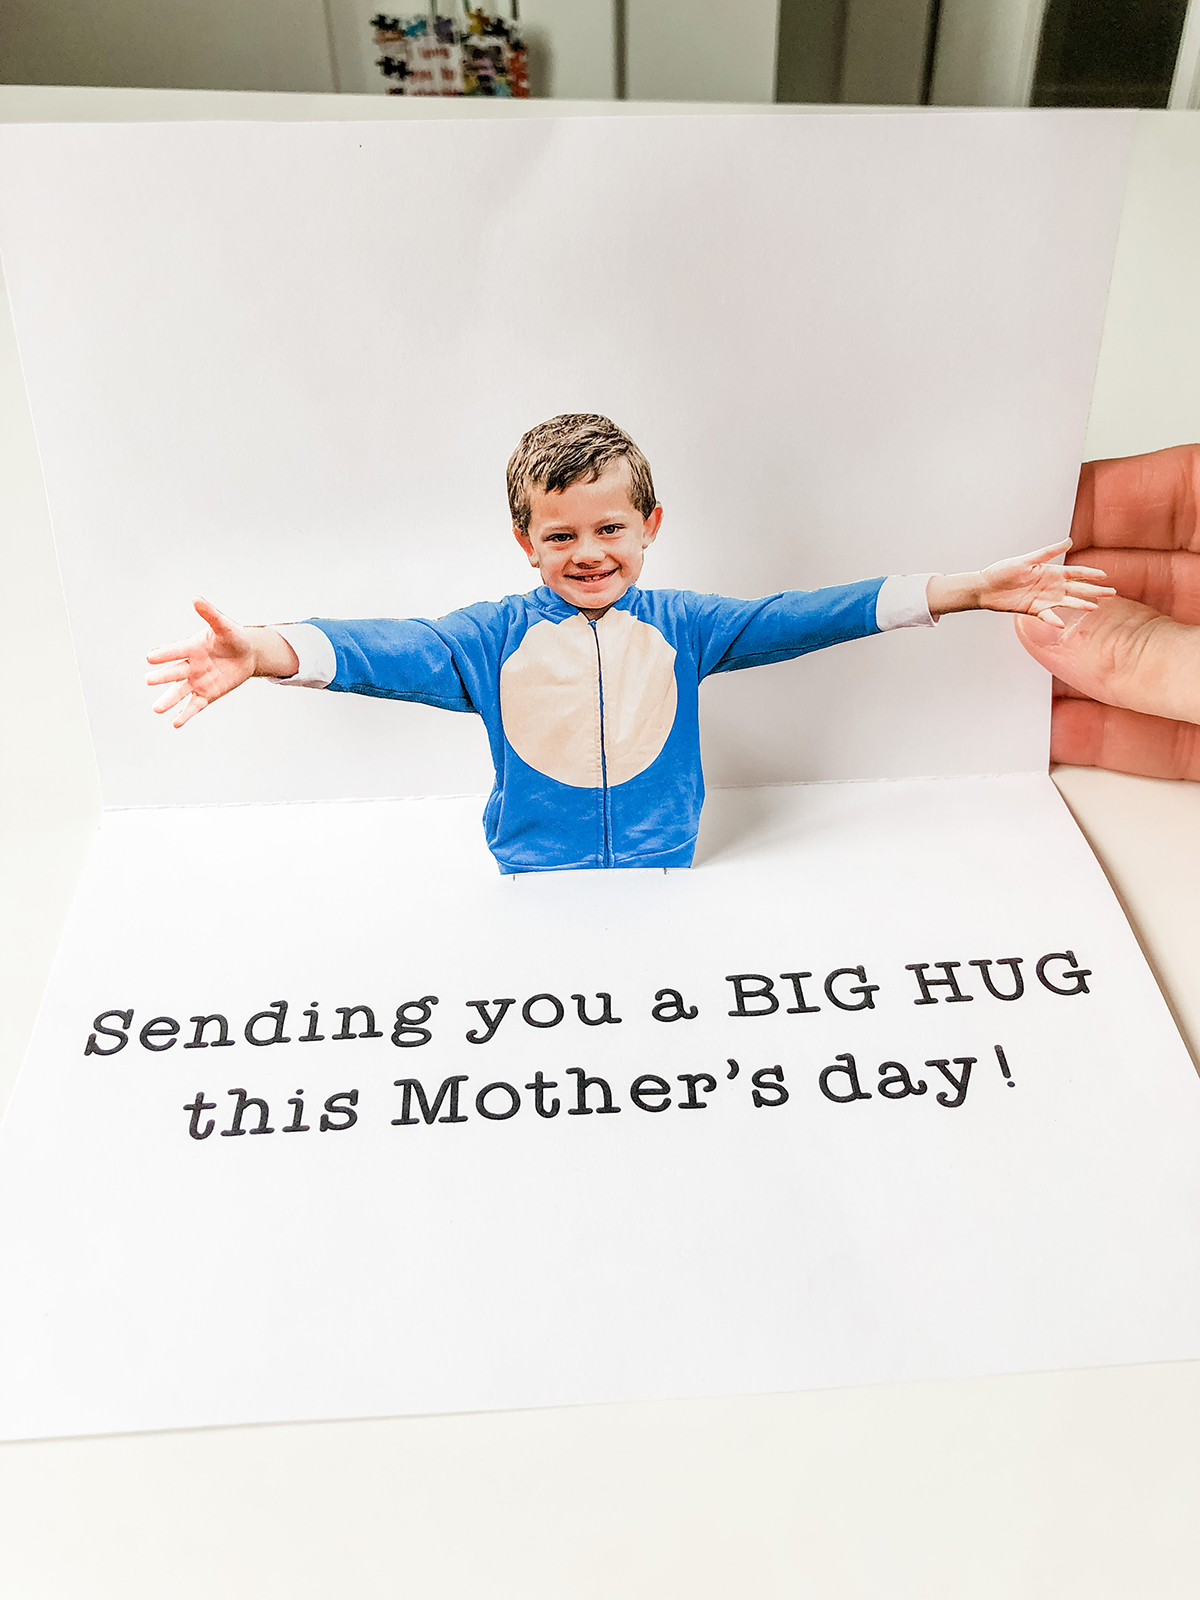
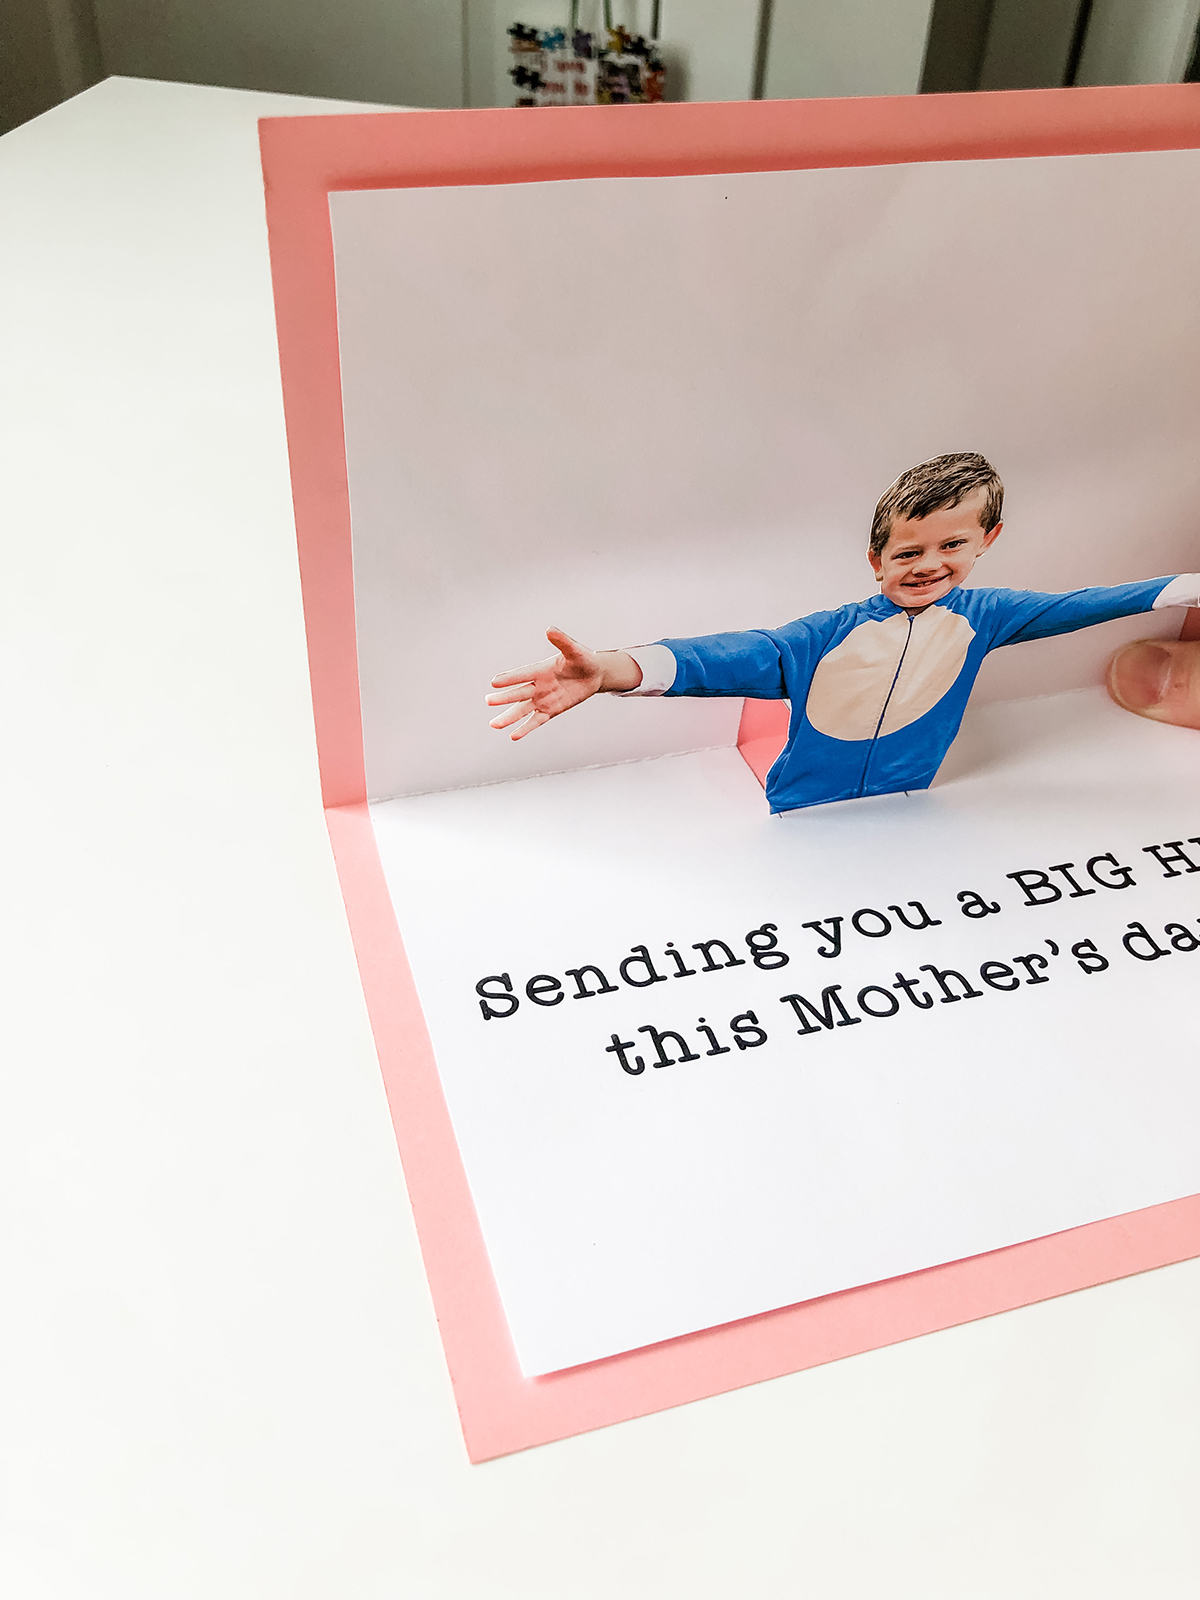
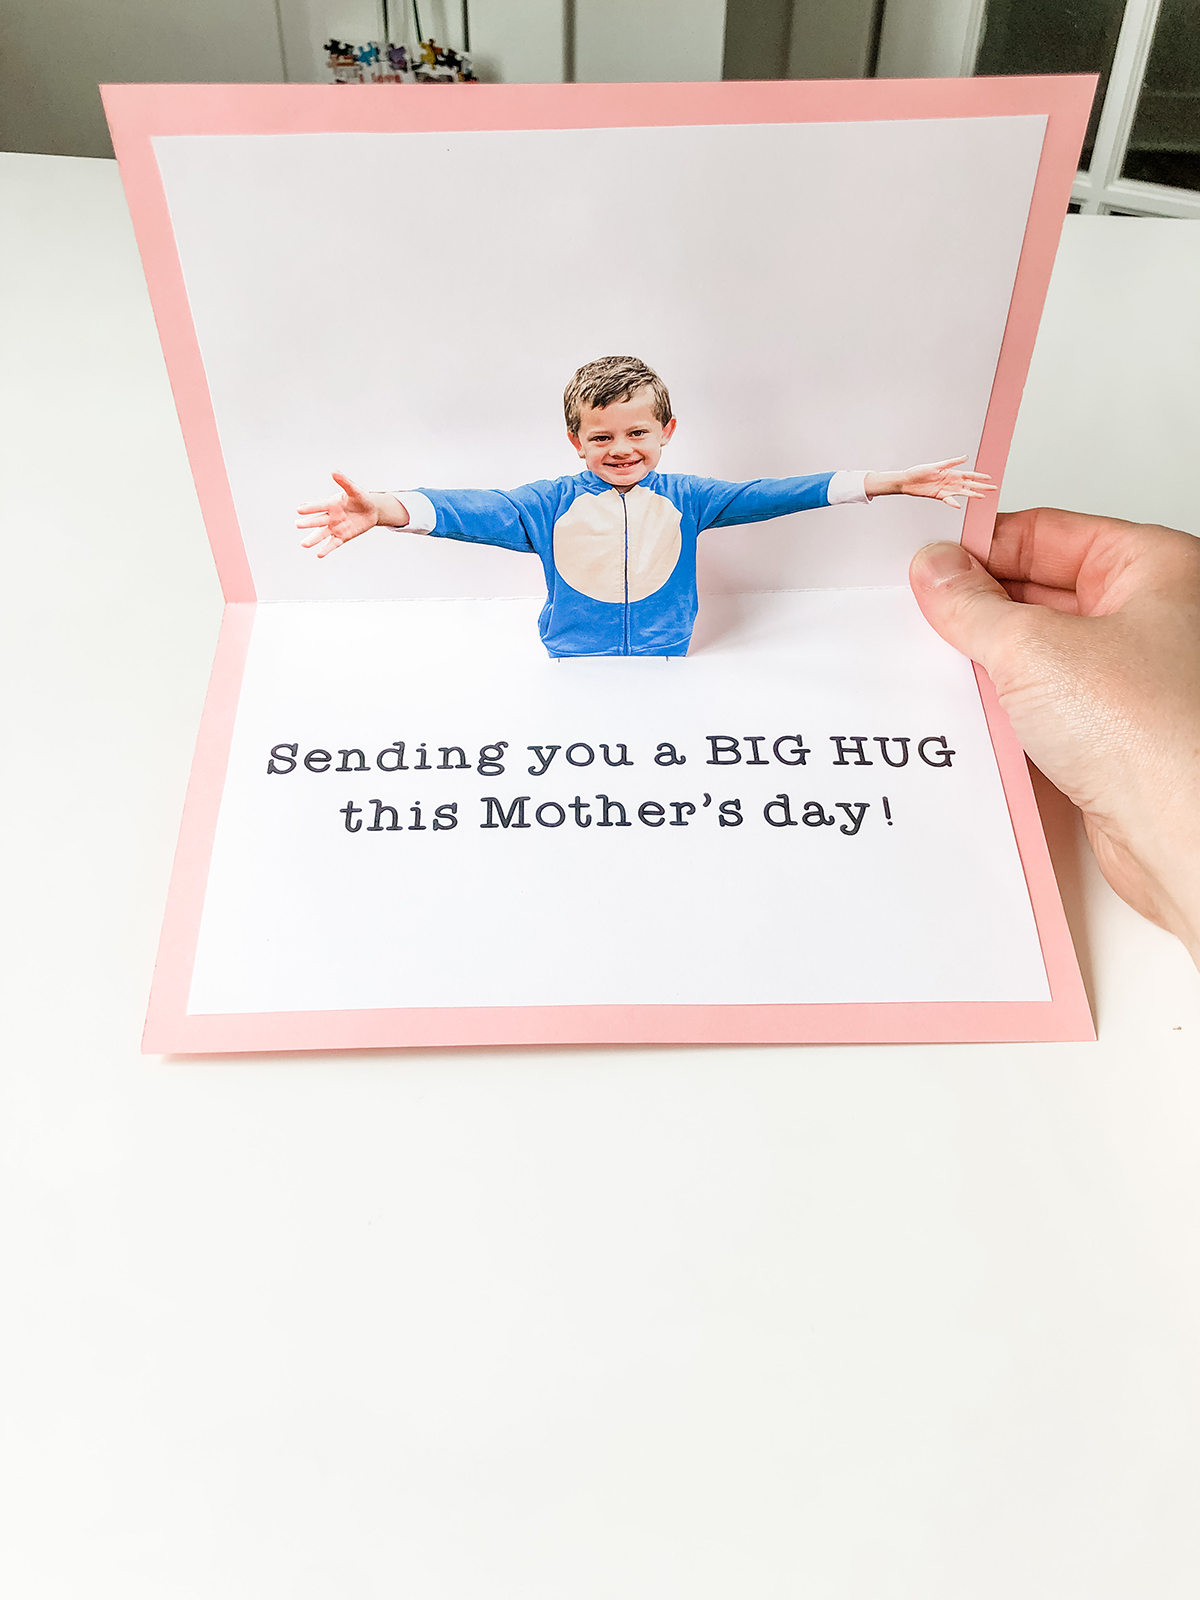
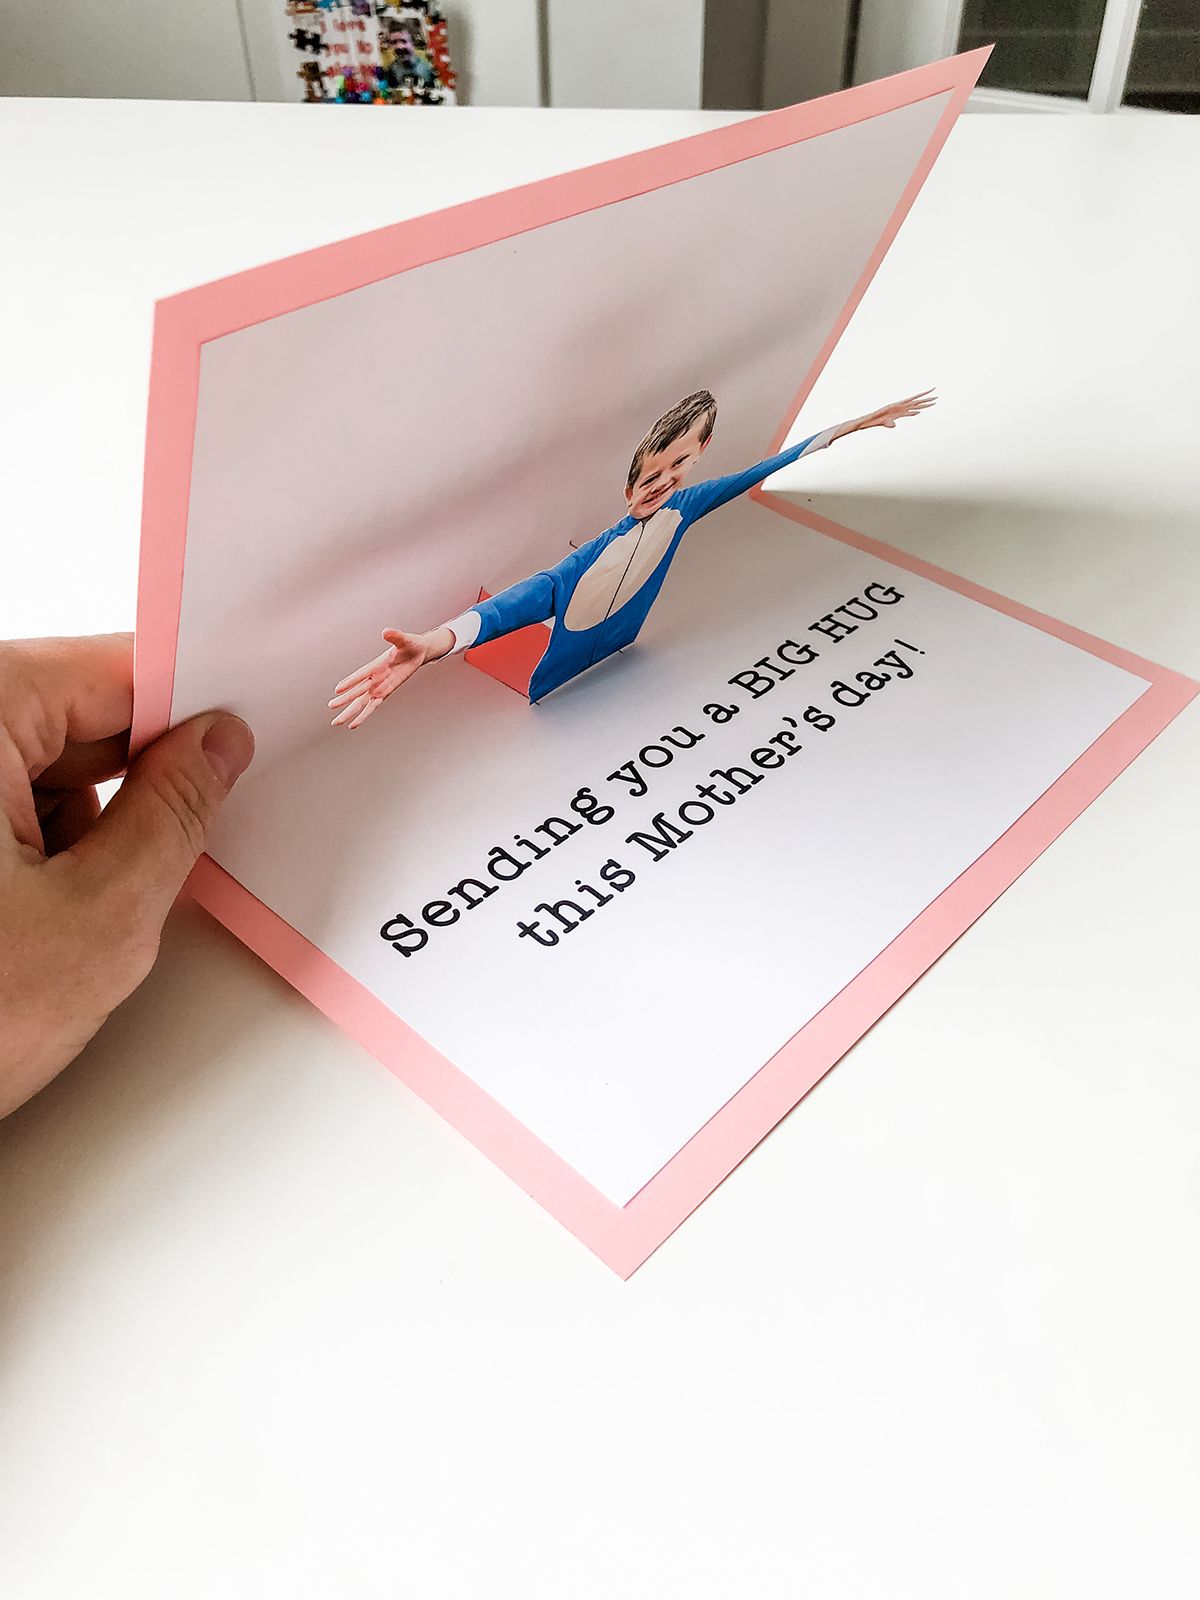
The card is designed to look like the child is giving a hug.
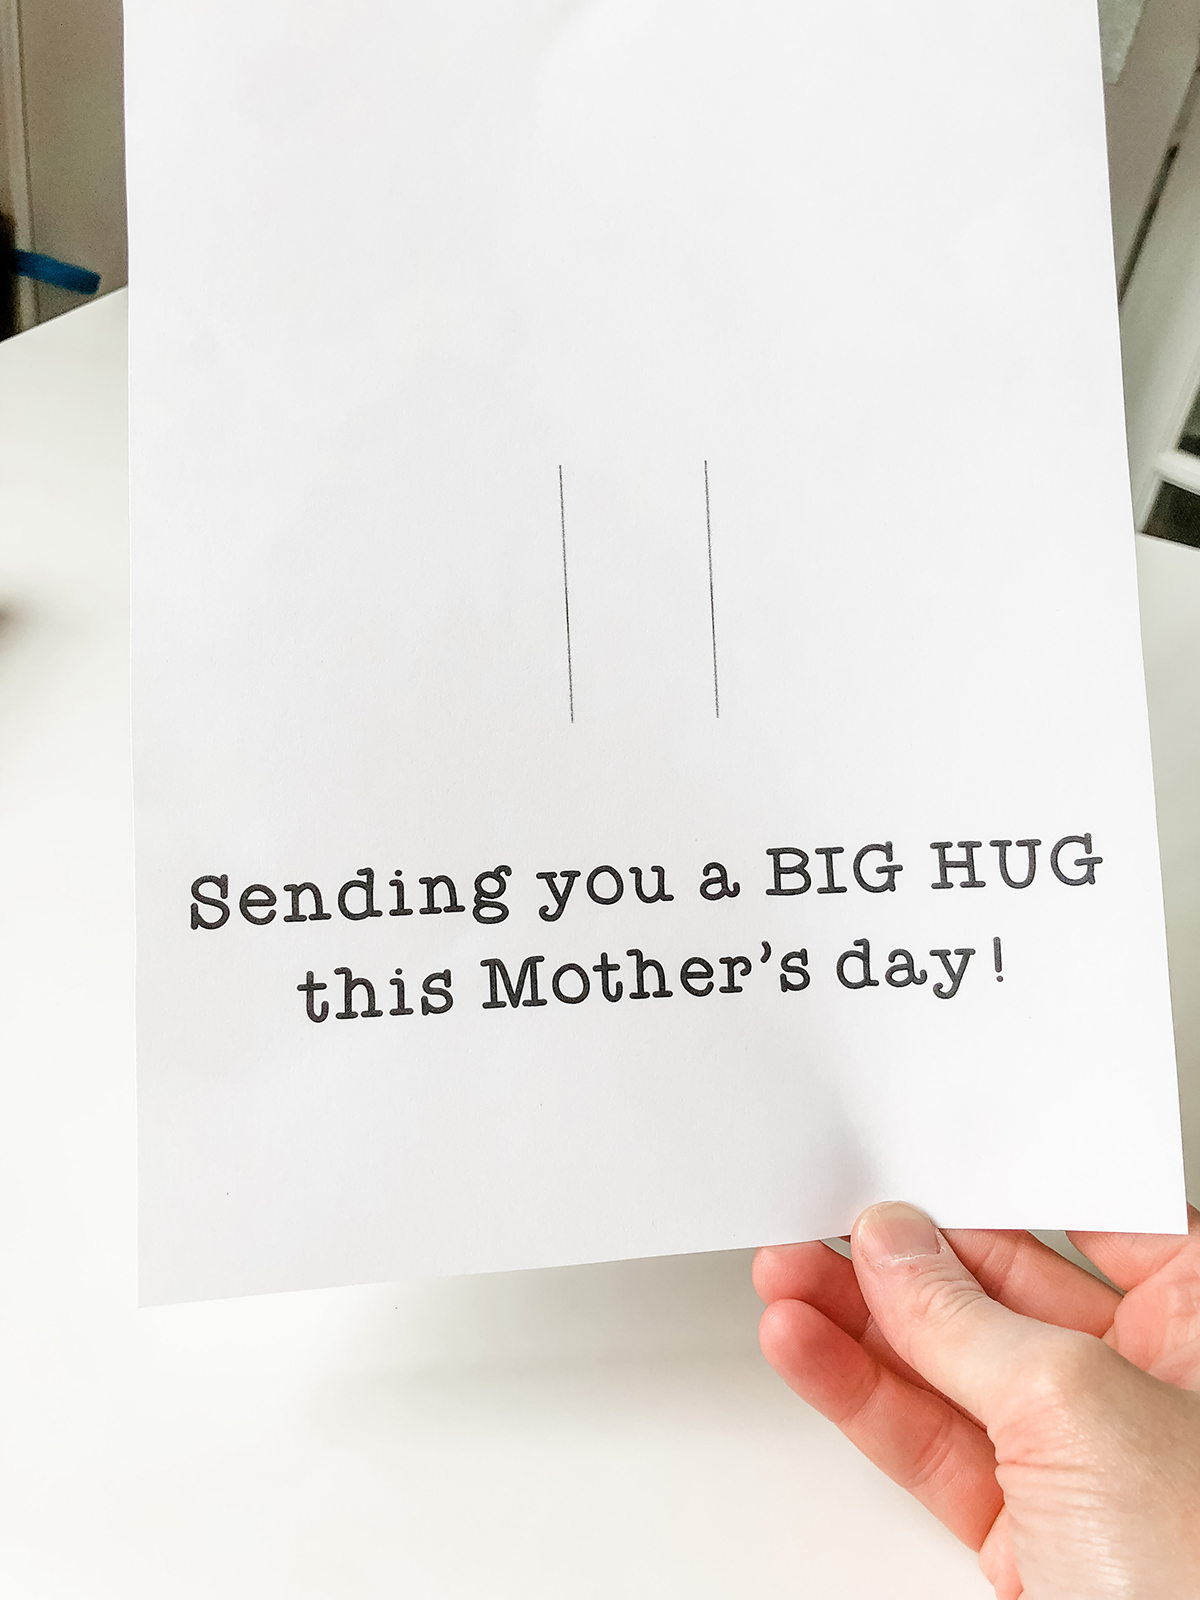
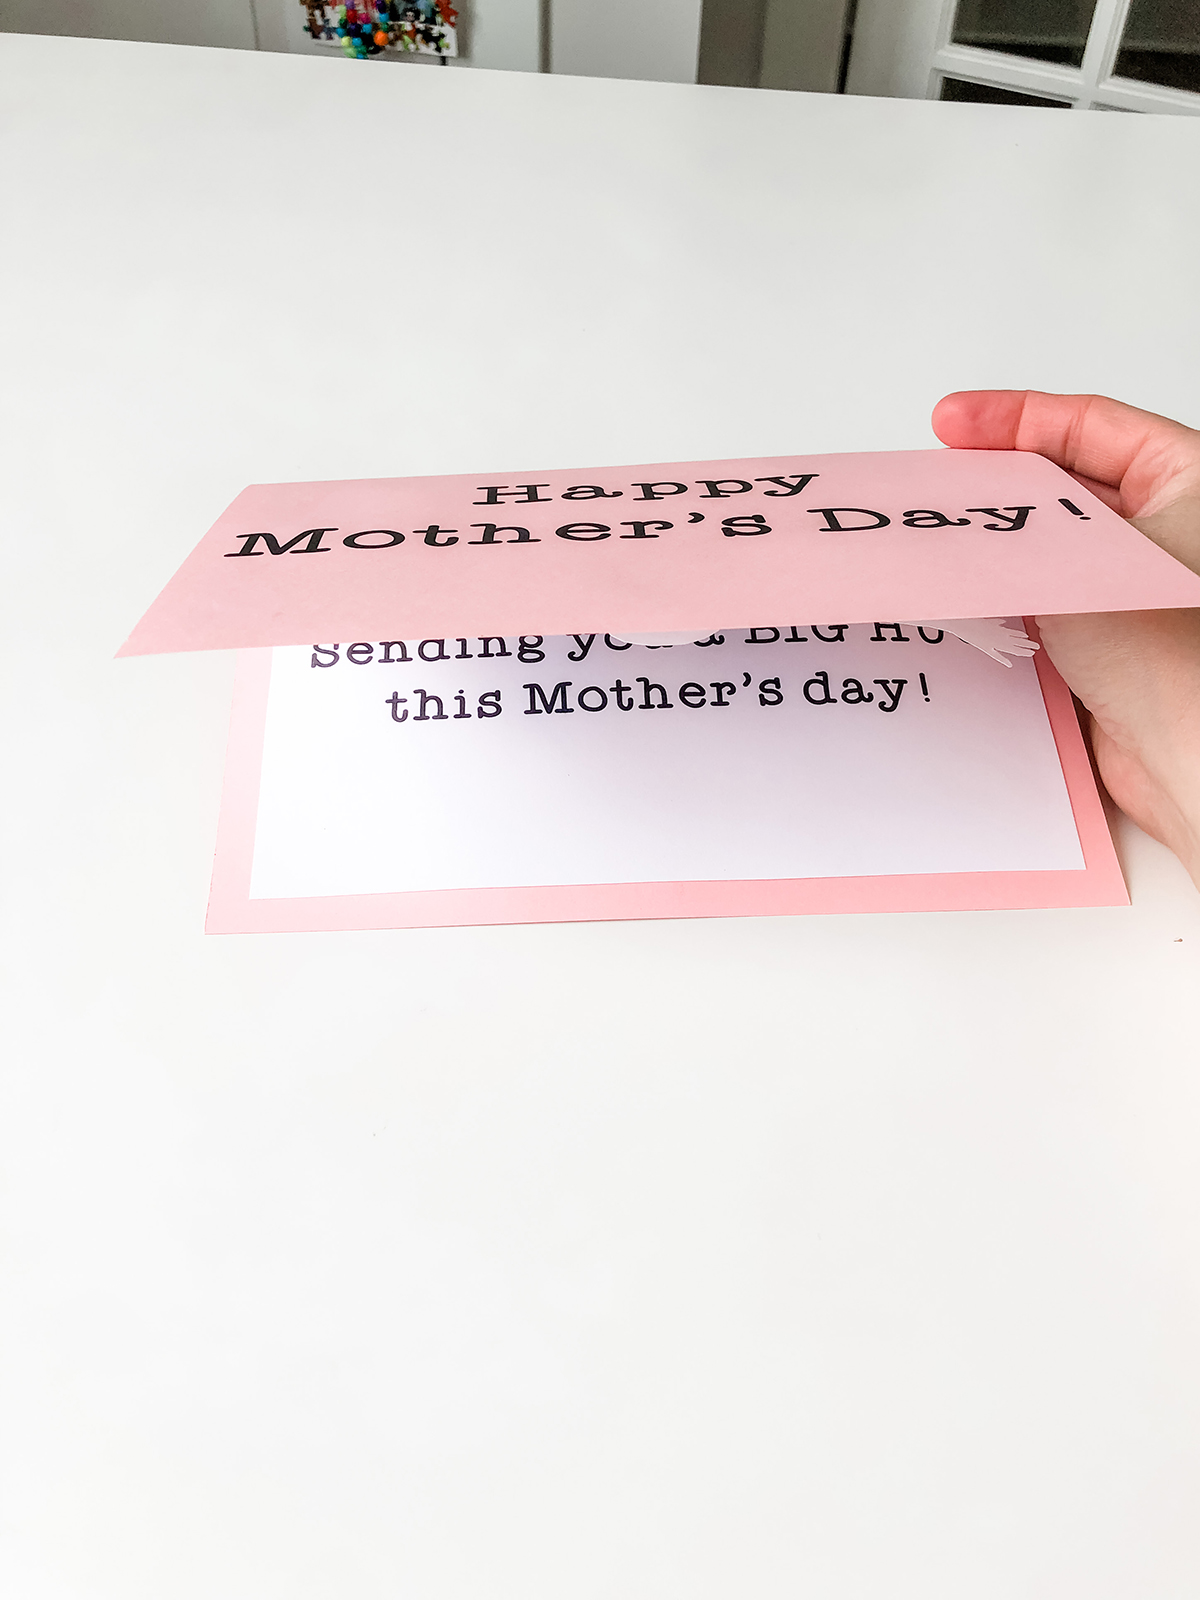
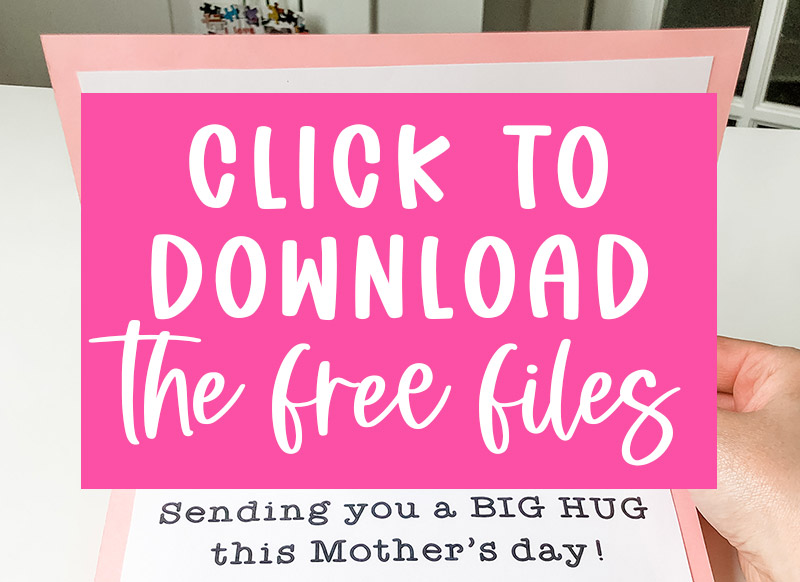
This Mother's Day pop up card has a simple message on the outside - it simply says Happy Mother's Day. The message on the inside of the card matches the photo you will be using. It says, "sending you a BIG HUG this Mother's Day."
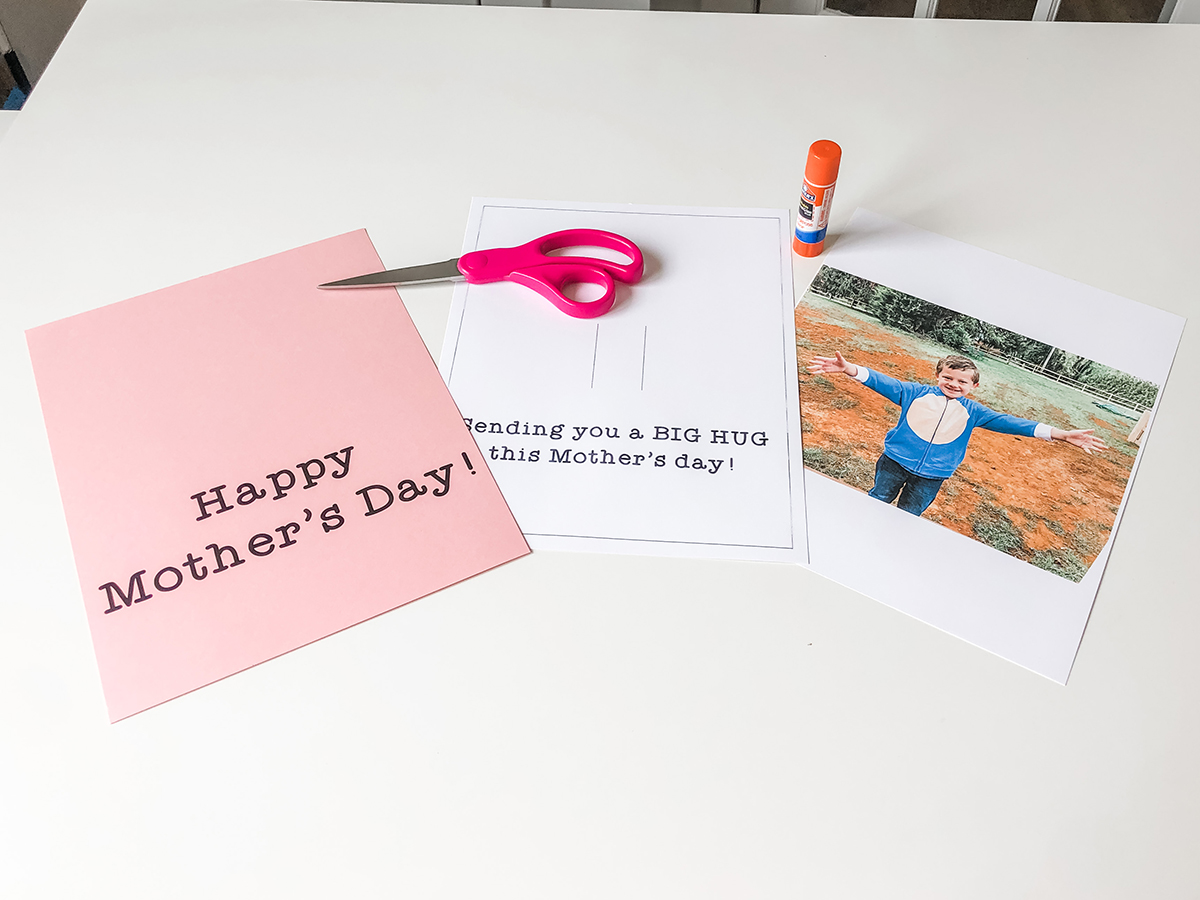
This is an example of what the front of your card and inside of your card will look like when completed.
What materials will I need to create these DIY Pop Up Mother's Day cards?
You'll need cardstock, a printer, and the free template I provide at the end of this blog post.
Can you change the messages on the front and inside of the card?
Yes. you can write your own messages on both the front of the card and the inside of the card. For the front of the card, you could just use a solid piece of card stock and write your own sweet message on it and decorate it.
In addition, I included a blank copy of the template for the inside of the card so that you can customize your own special message.
Can I use the card template for other holidays?
Yes! You can use the blank template provided for all sorts of special occasions and holidays including Father's Day, Valentine's Day, and more.
Can I use a cutting machine to cut out this card?
No. I did not provide free Silhouette Cut files, SVG files, or Cricut Design Space files because honestly, the card is super simple to cut out on your own.
Can my kids make this card on their own?
Younger children may need a little help to cut out their photos. But older children should be able to create this fun craft on their own.
Is this card only for Moms or can it be used for Grandmas, Aunts, etc?
The card can be used by anyone on Mother's Day. It does not have a name or nickname on it anywhere.
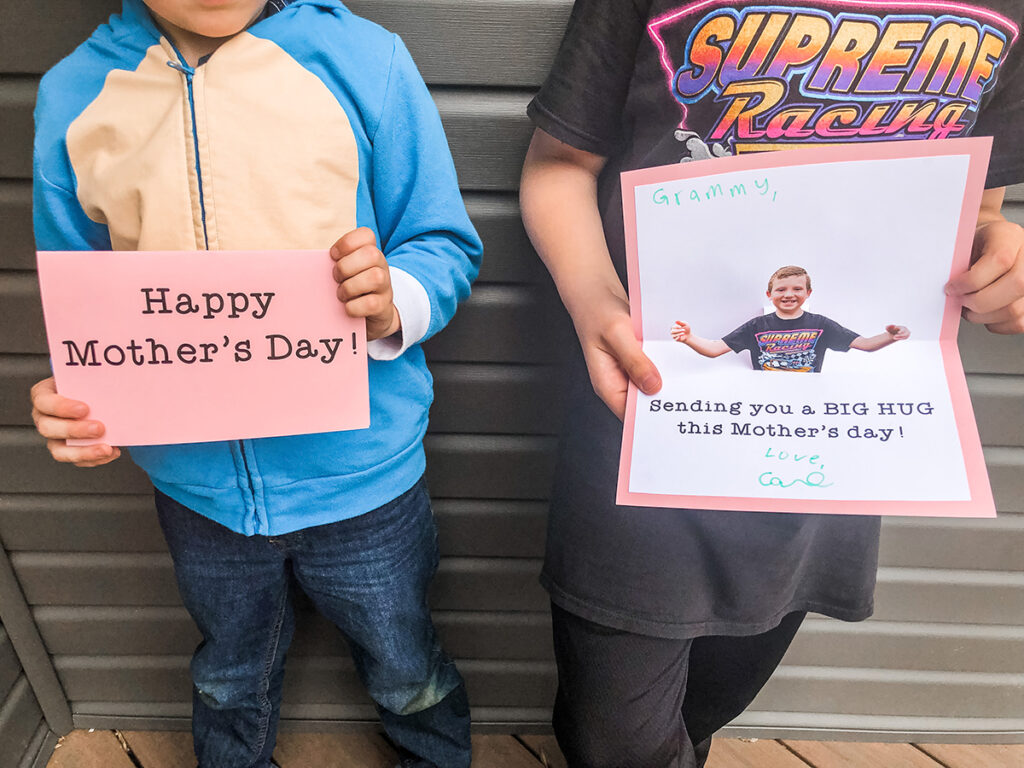
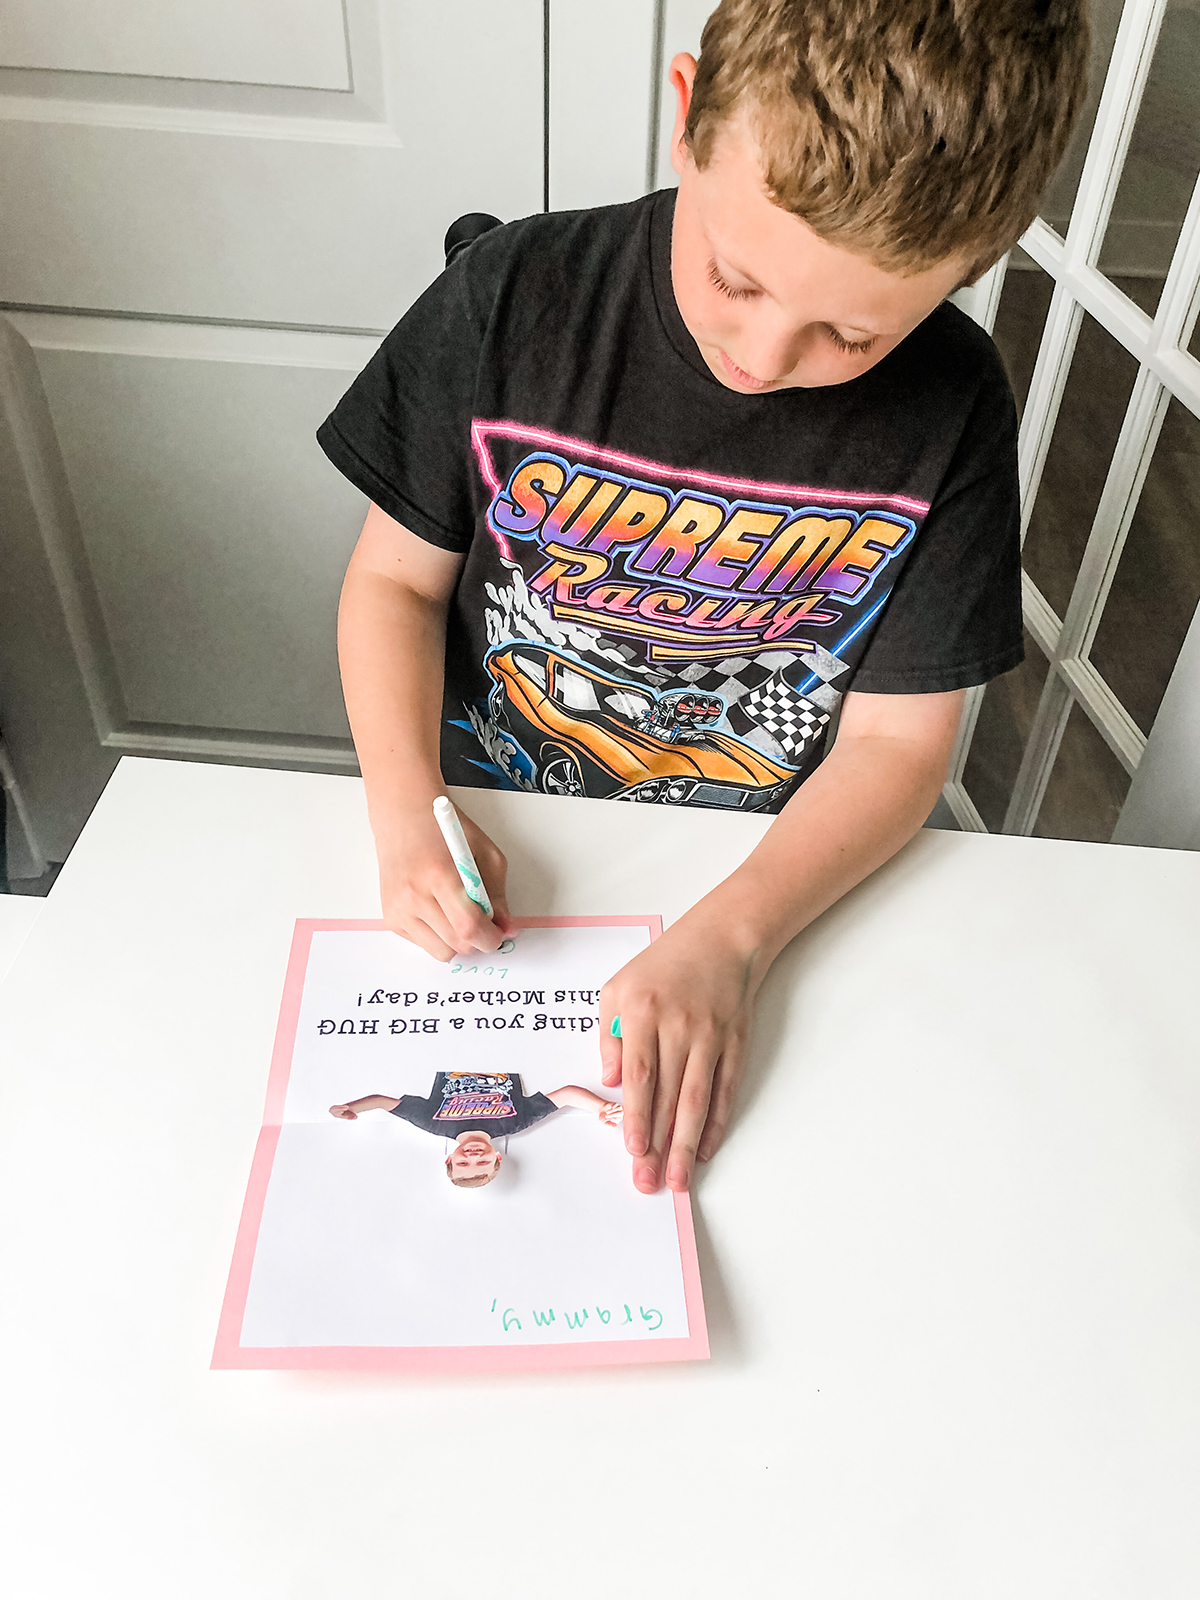
As you can see here, my child added the name Grammy to his card. This makes it perfect for family members that go by unique nicknames.

Video Tutorial - How to Create Your Own Mother's Day Pop up Card
Grab the free Pop Up Mother's Day templates here.
Pop Up Mother's Day Cards DIY
Follow the detailed tutorial on how complete your own pop up Mother's Day cards DIY. This cute card is a great way to say Happy Mother's Day to Mom, Grandma, Aunts, etc
Materials
- Free printable template
- White cardstock or white paper
- Color cardstock
Tools
- Glue stick
- Scissors
- Printer
- Markers or crayons
Instructions
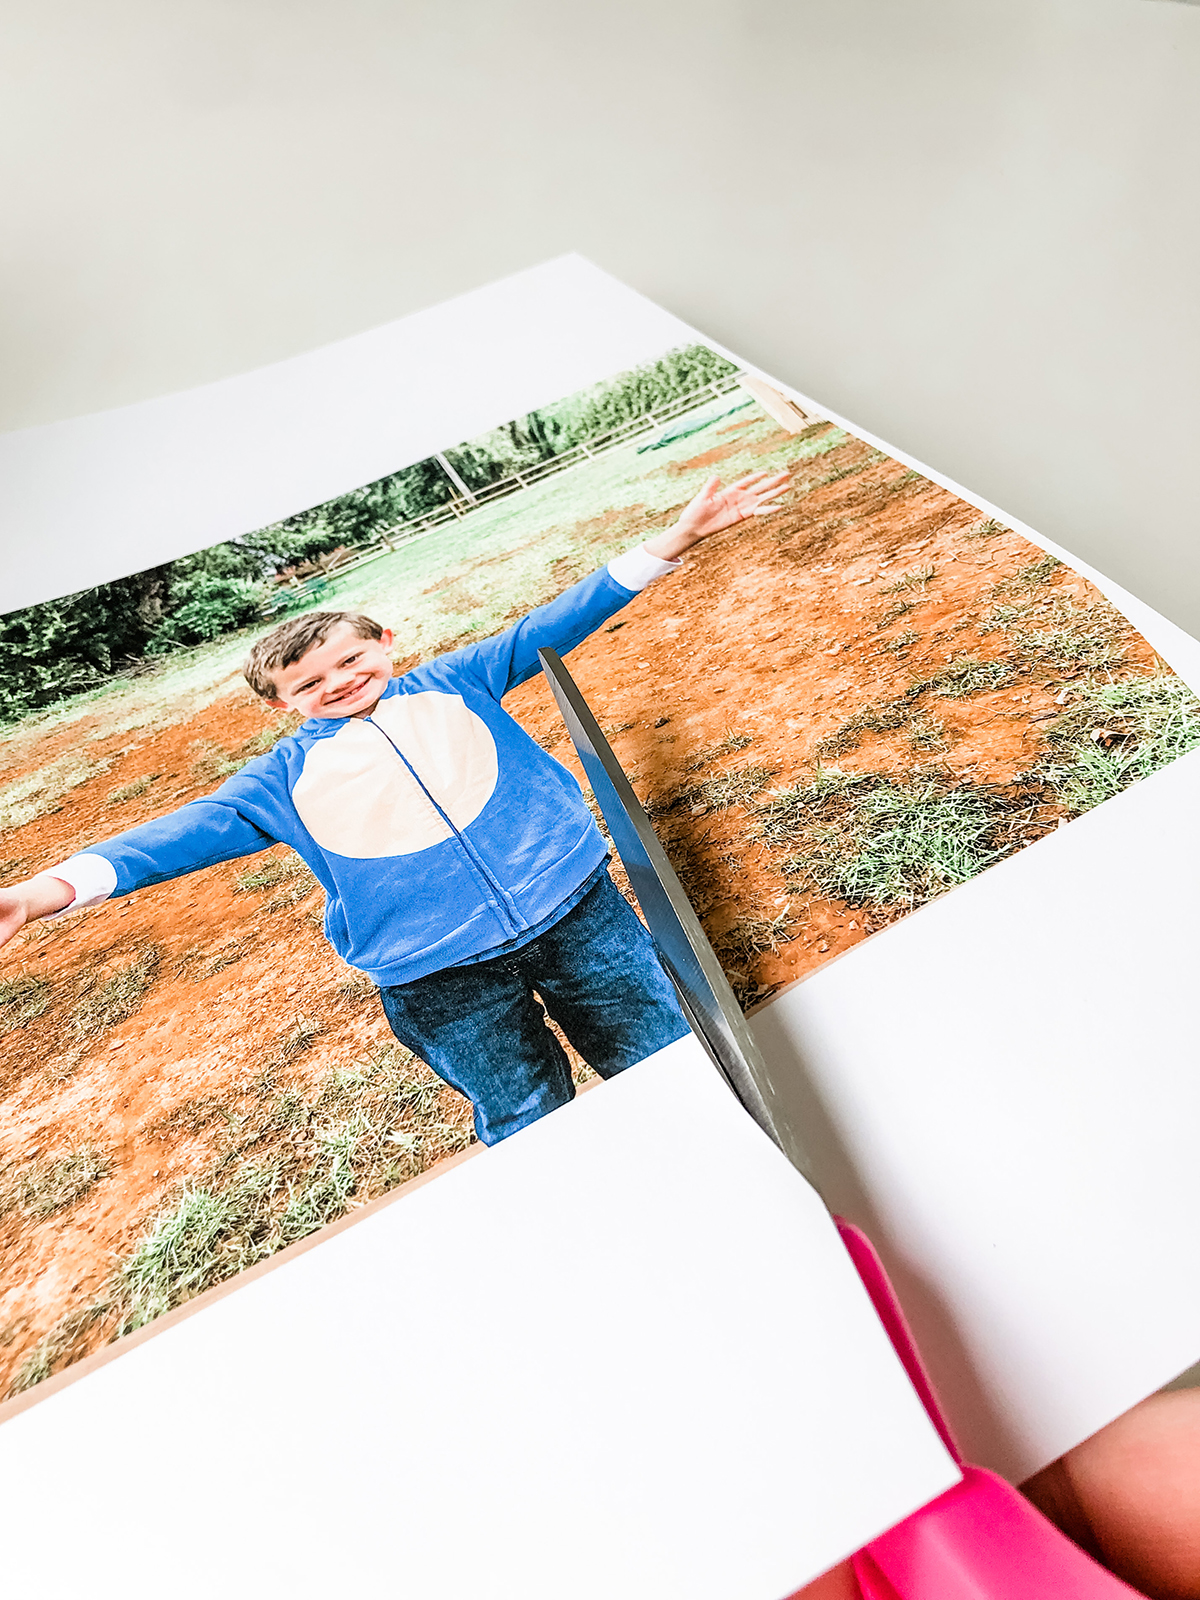
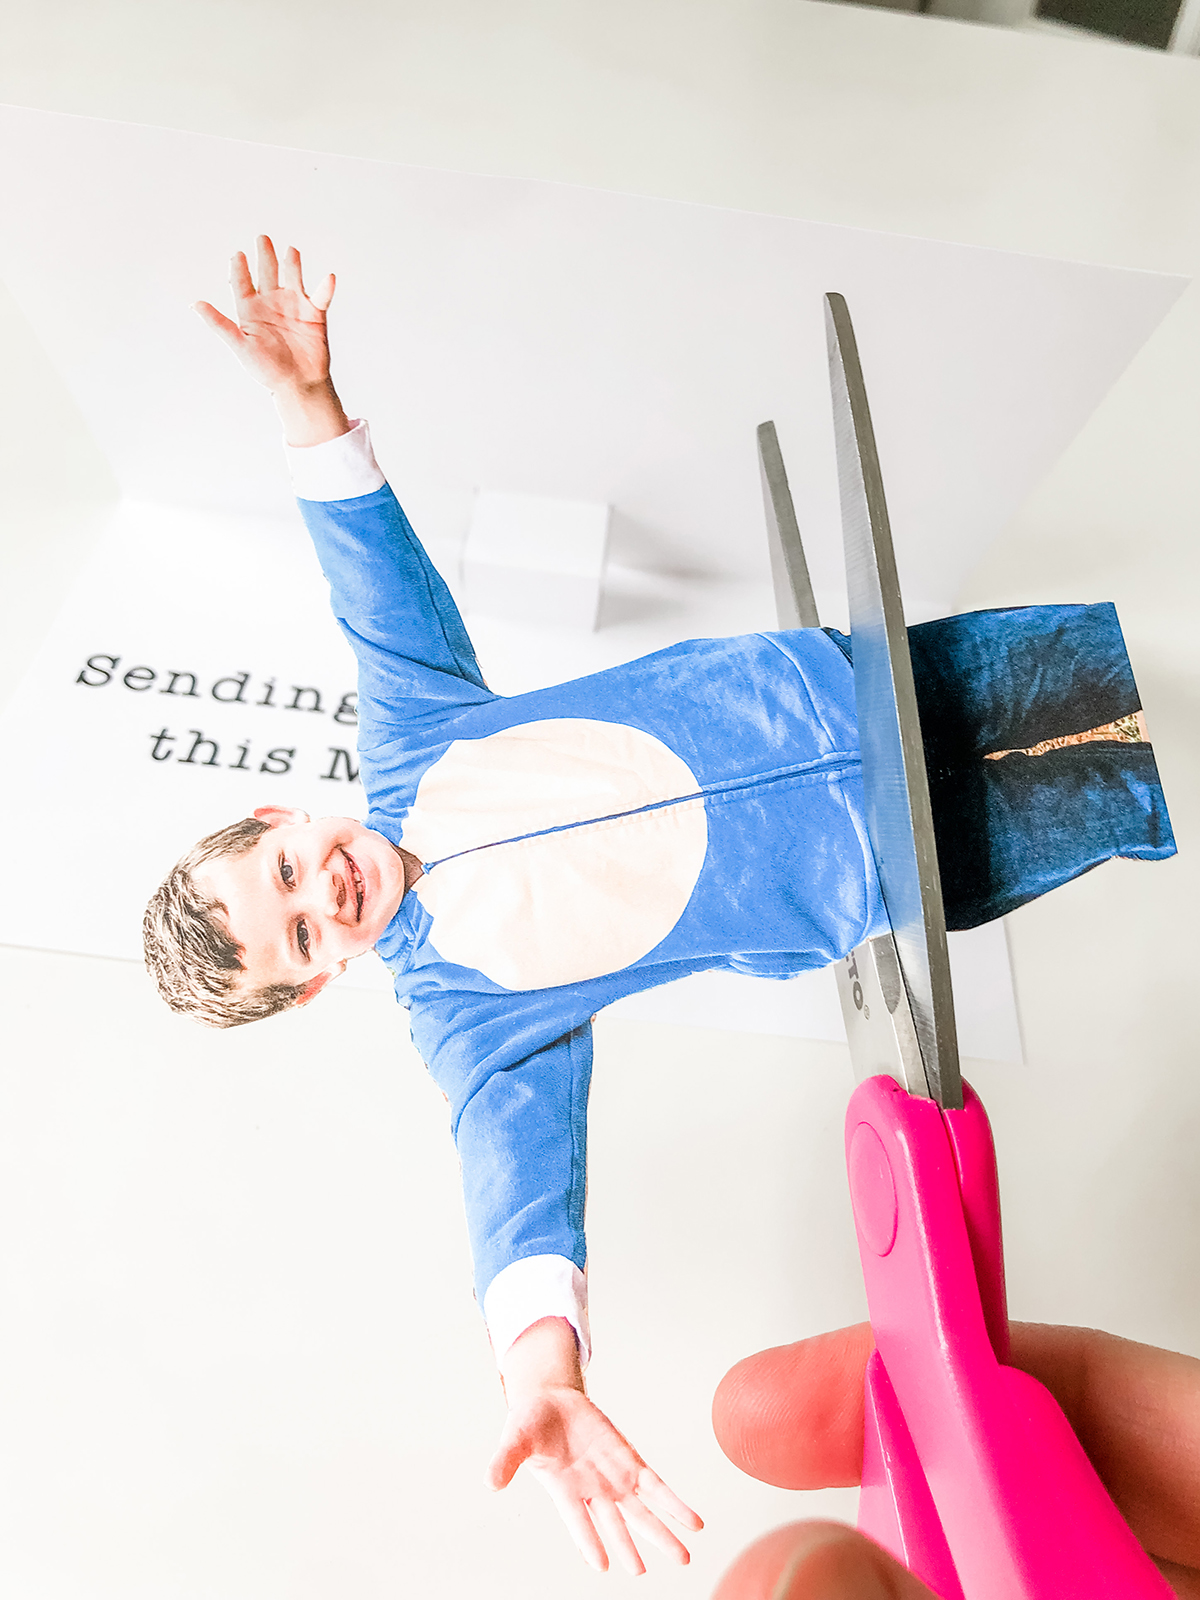
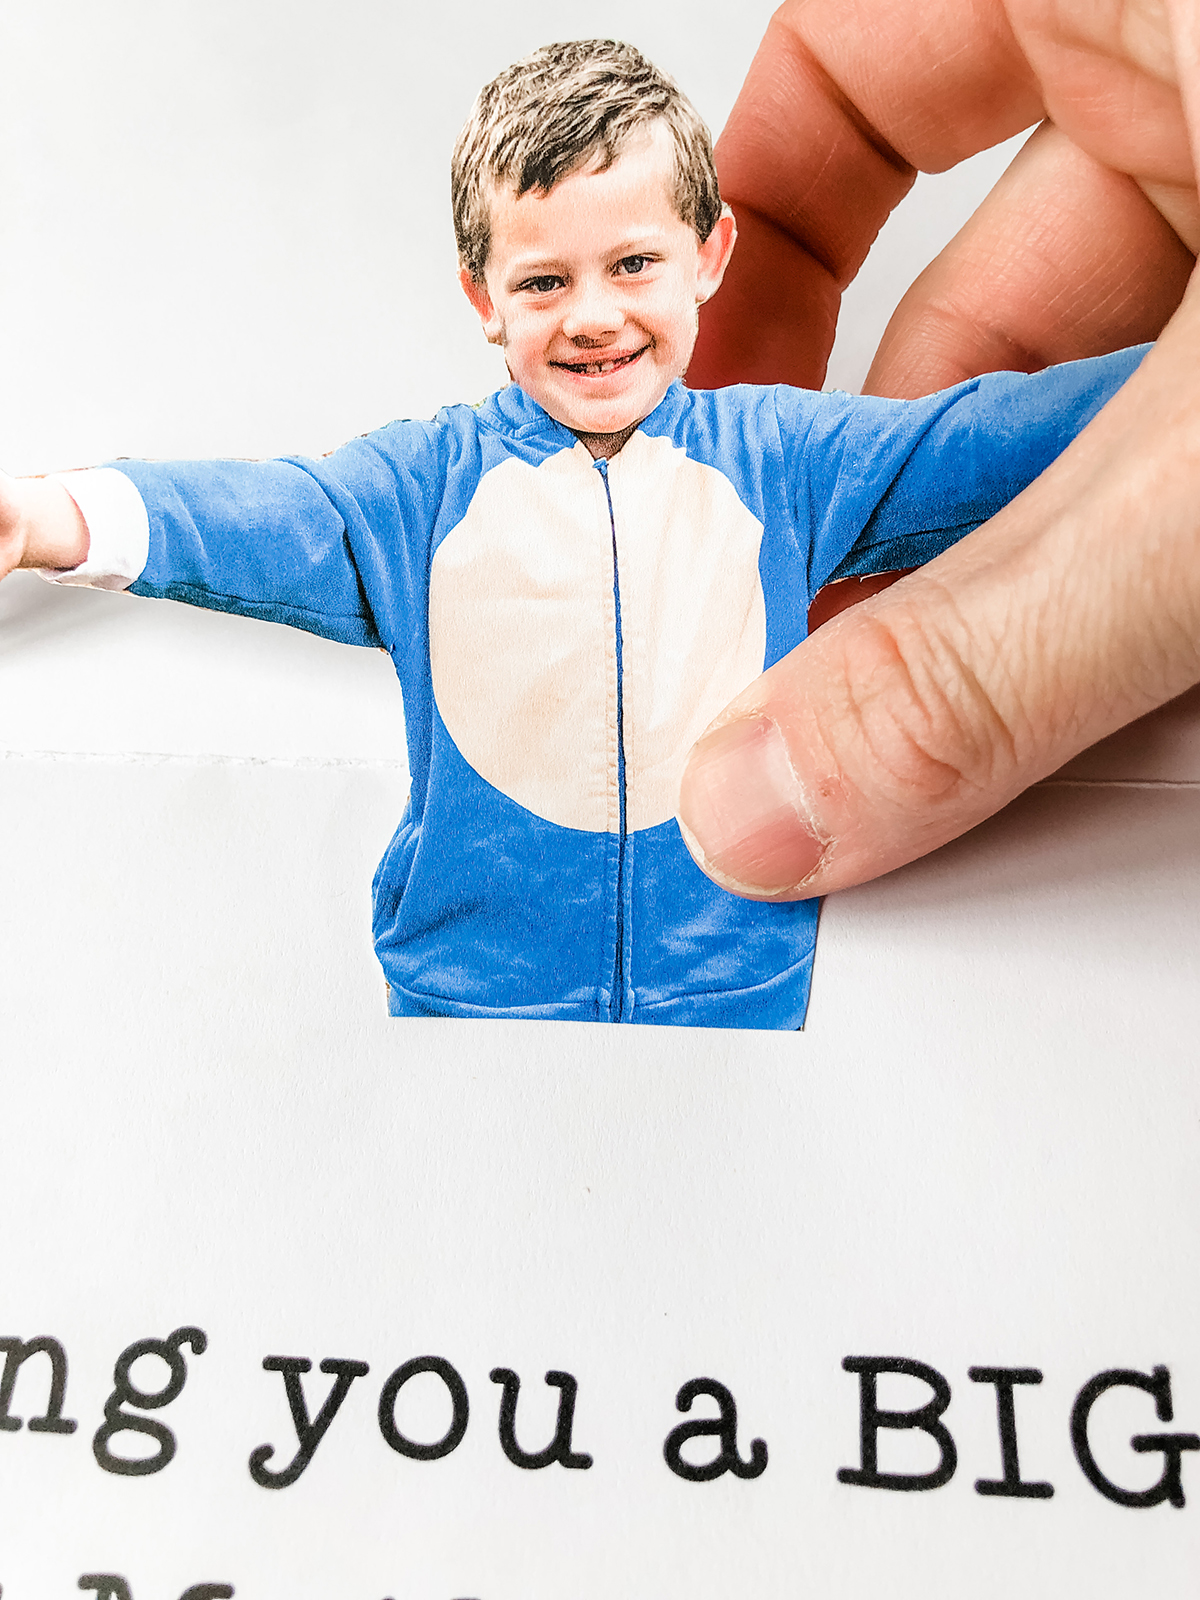
- Take a picture of the person with their arms reached out like they are about to receive a hug.

- Print the photo of the "air hug." A 4 x 6 standard size photo is perfect. Just make sure that the arms don't stretch out further than 7 ¼ inch wide.
- Print out the outside cover on a piece of colored cardstock. Get the templates here.
- Print the template for the inside of the card on white card stock.
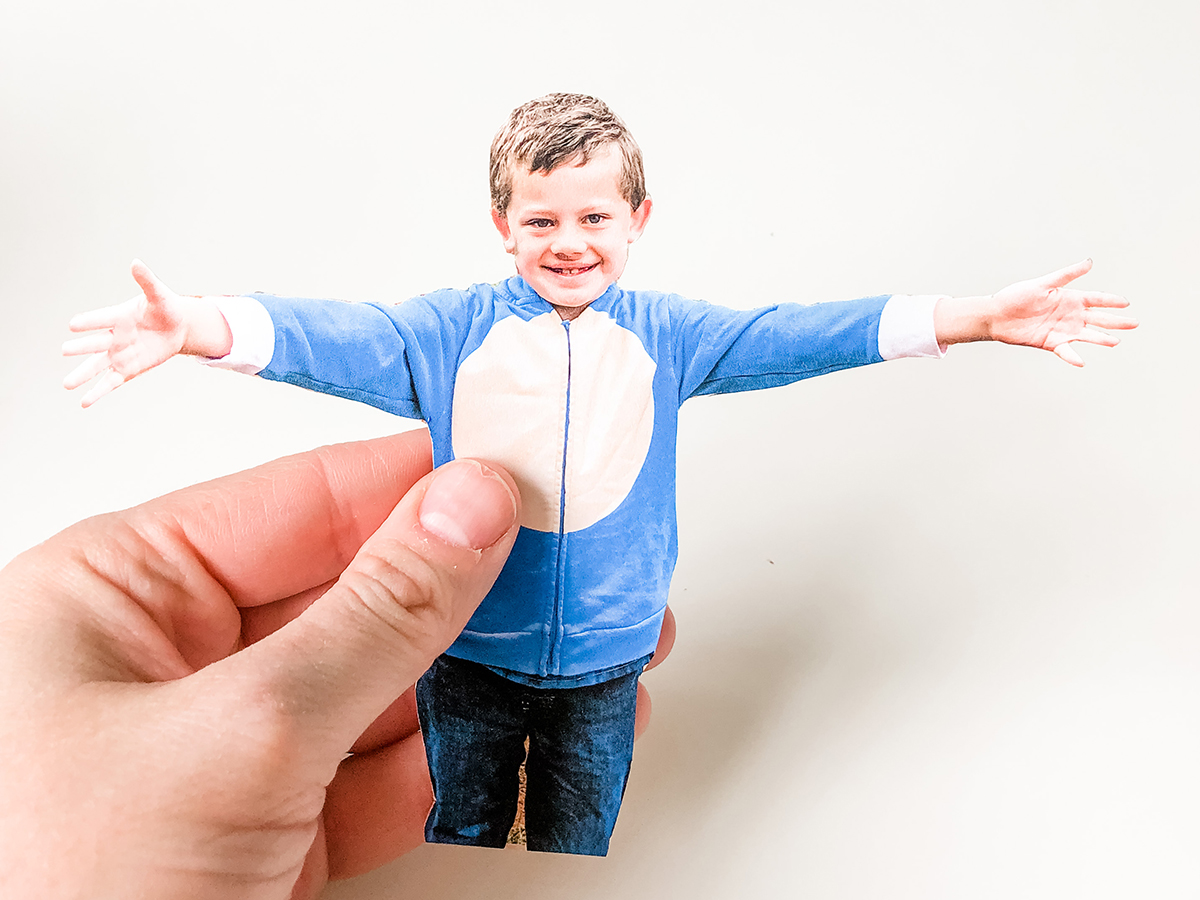
- Using scissors, trim the photo so that all you are left with is the upper body. (See the video or photos below for an example).
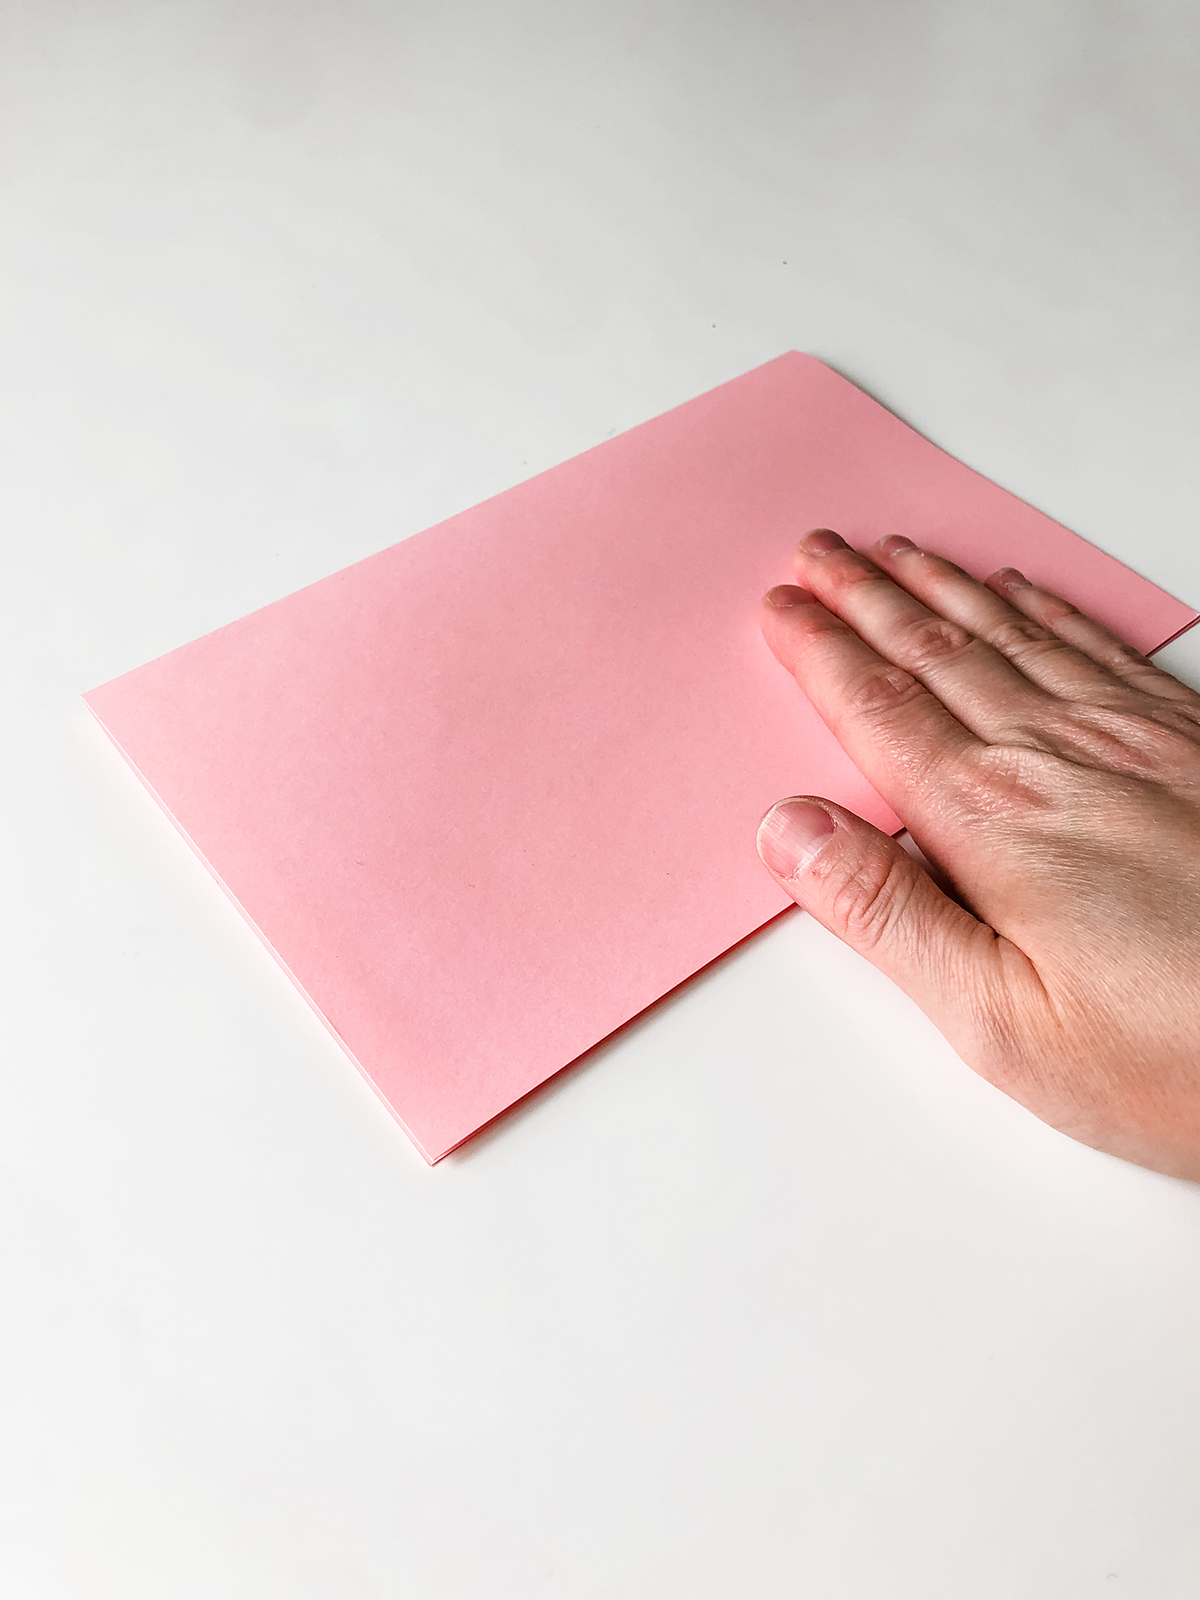
- Fold the cover of the card in half (with the words to the outside).
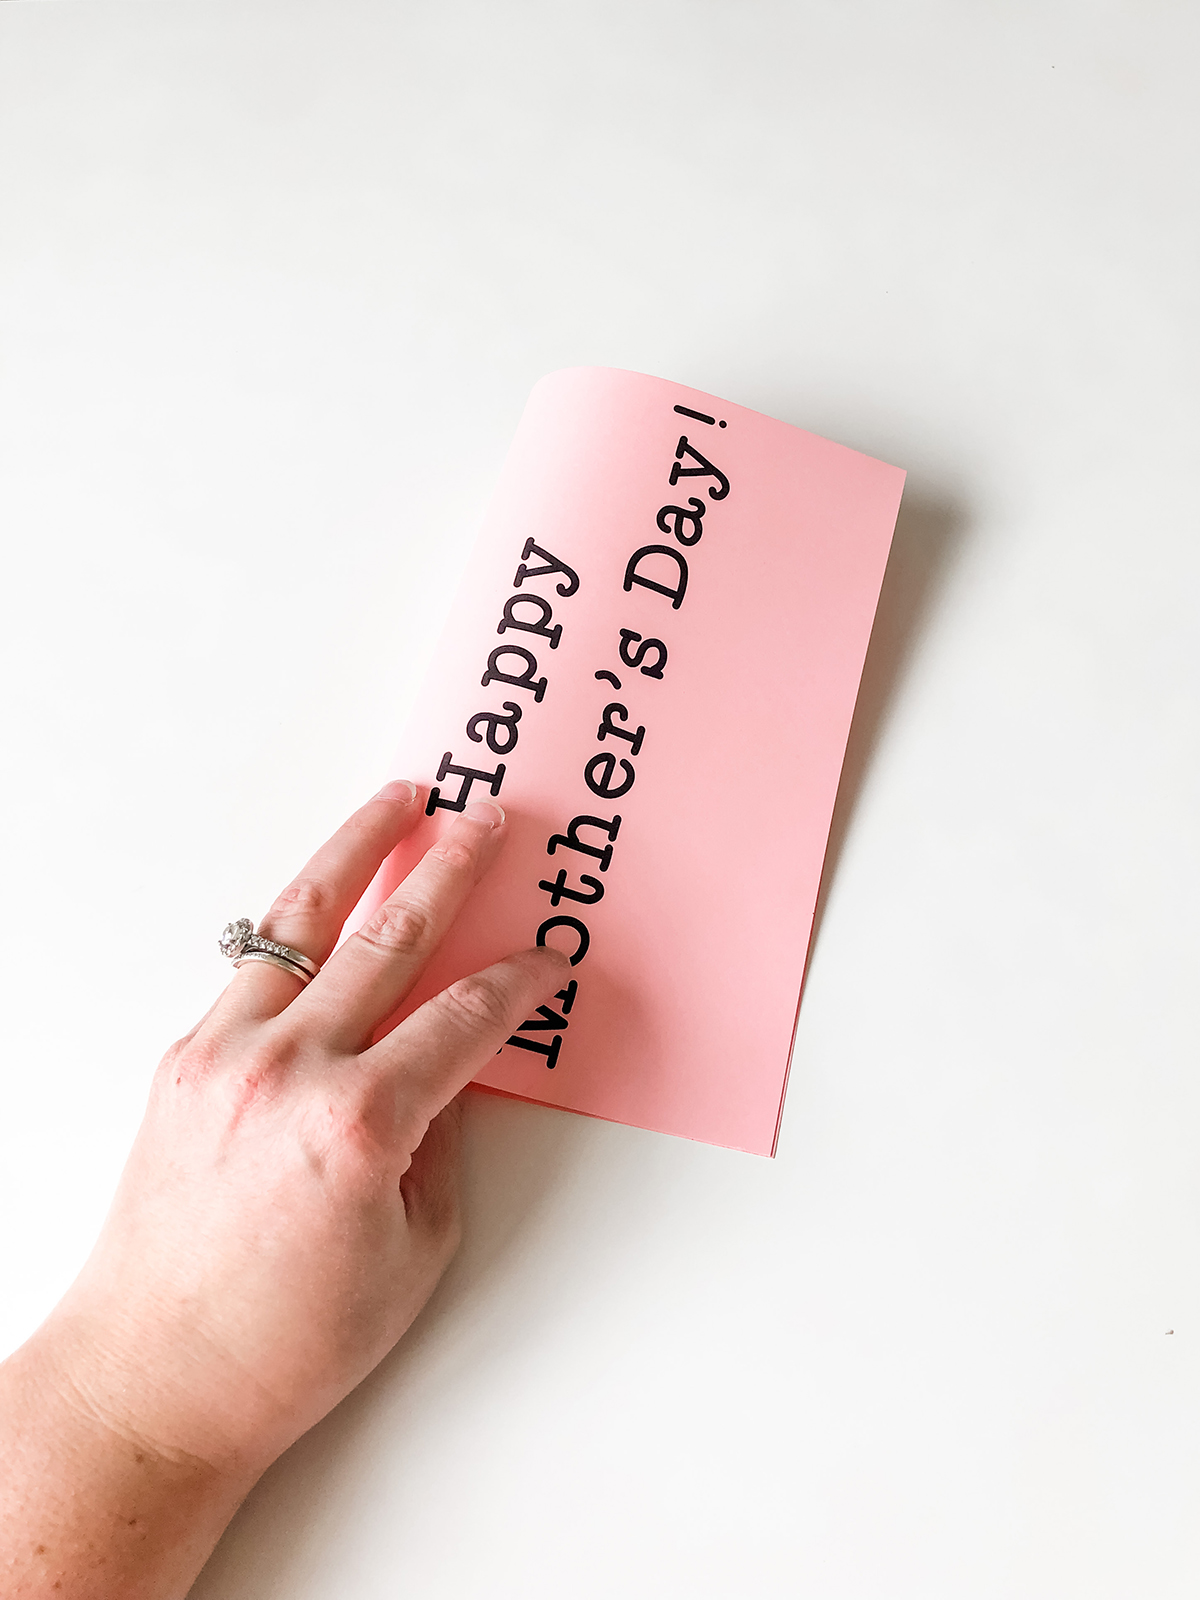
- If your child would like to decorate the cover, have them decorate it now.
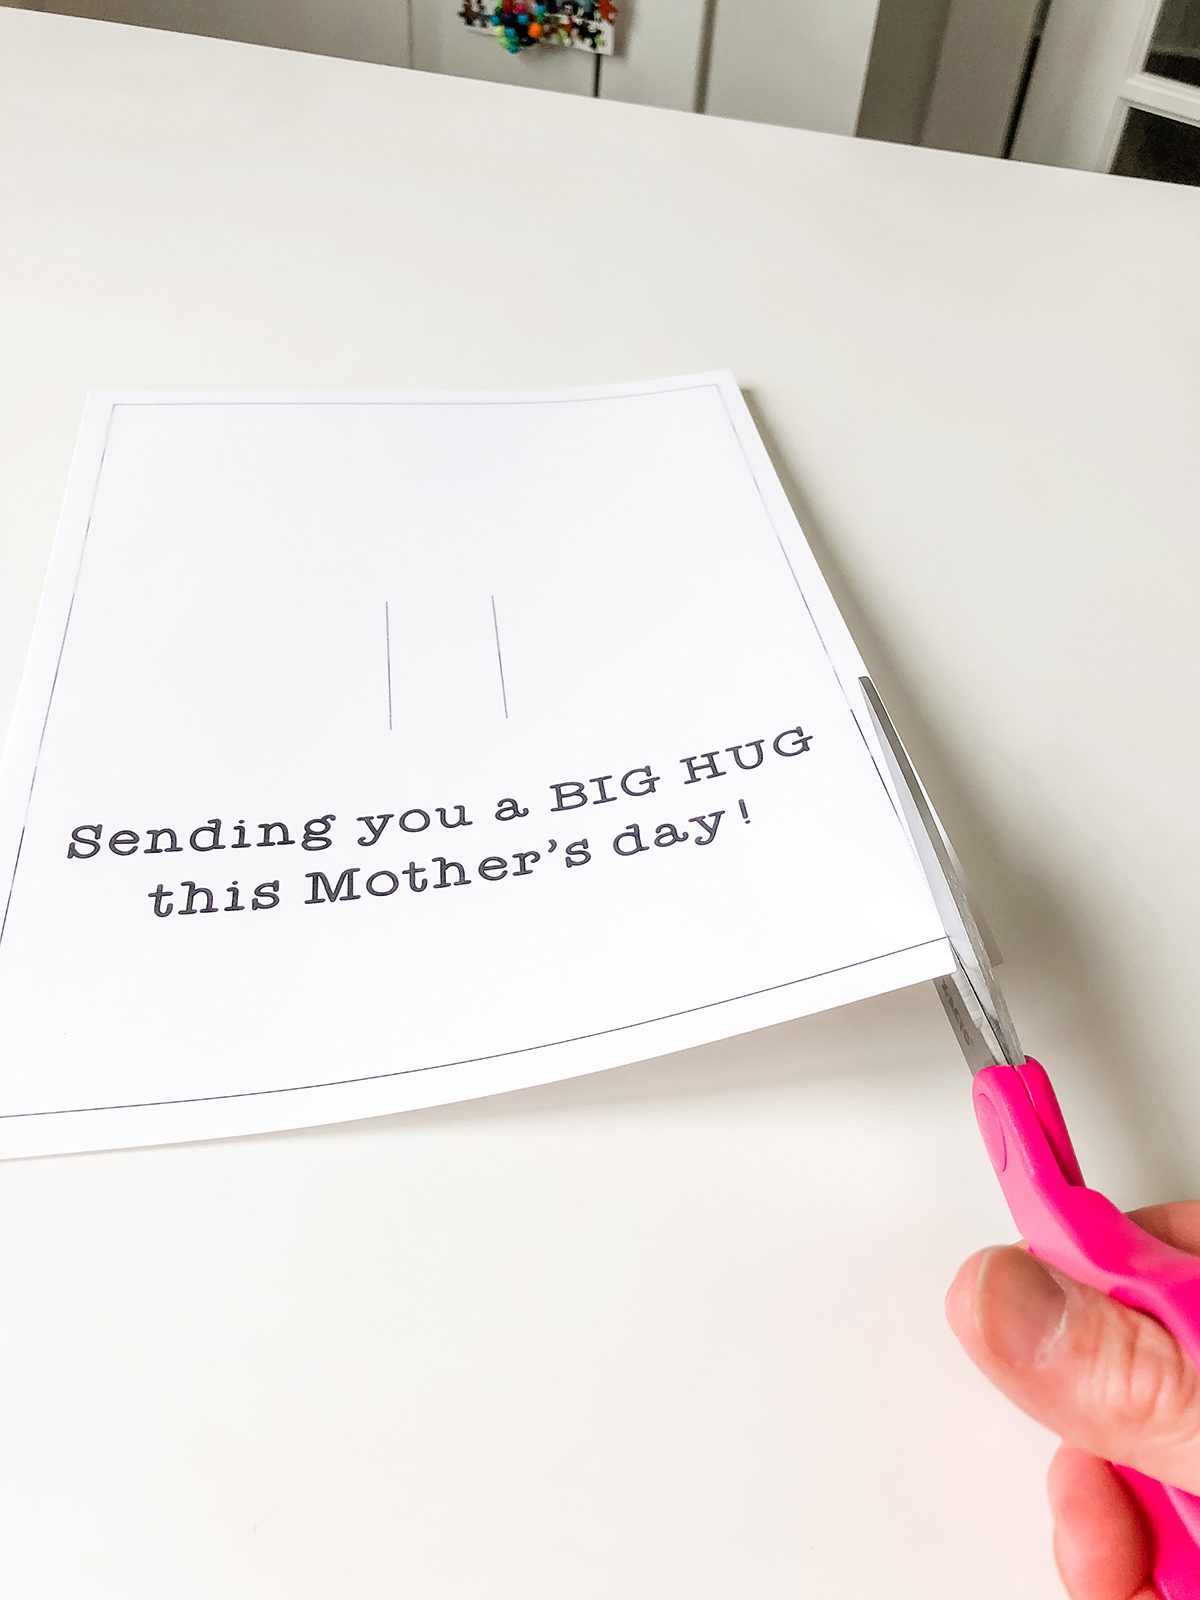
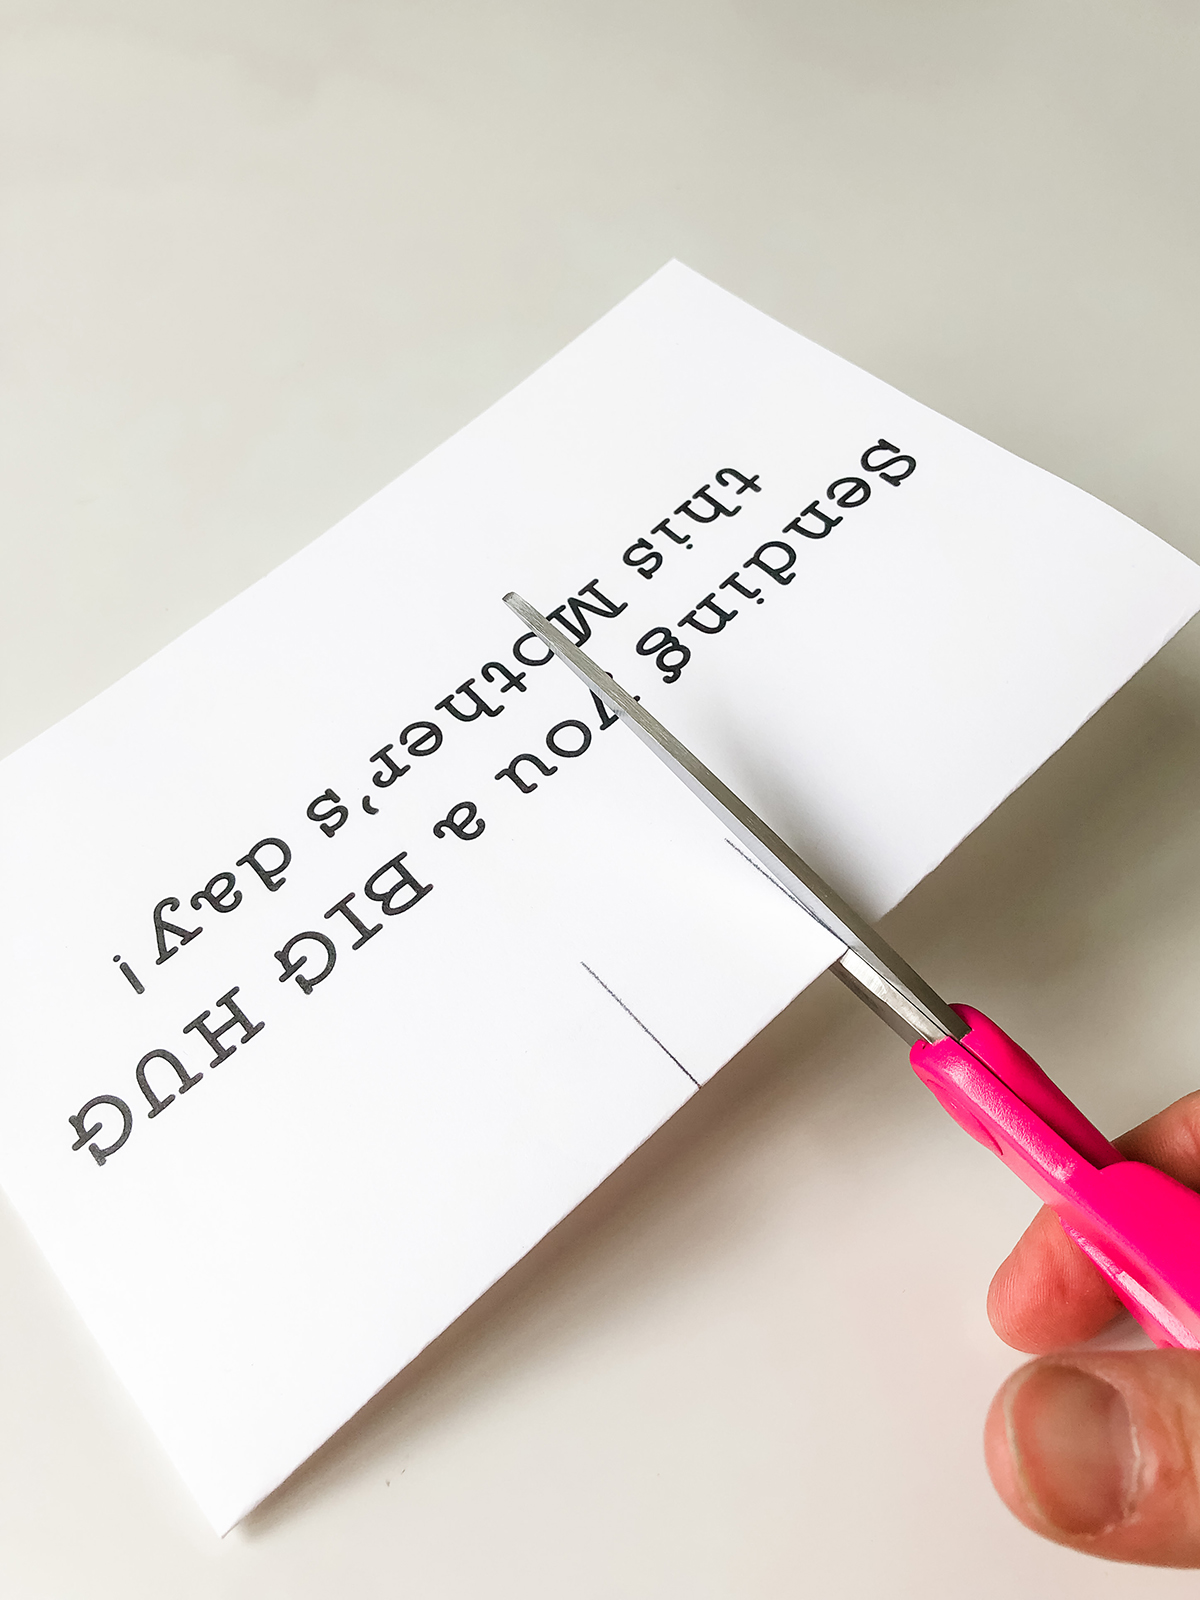
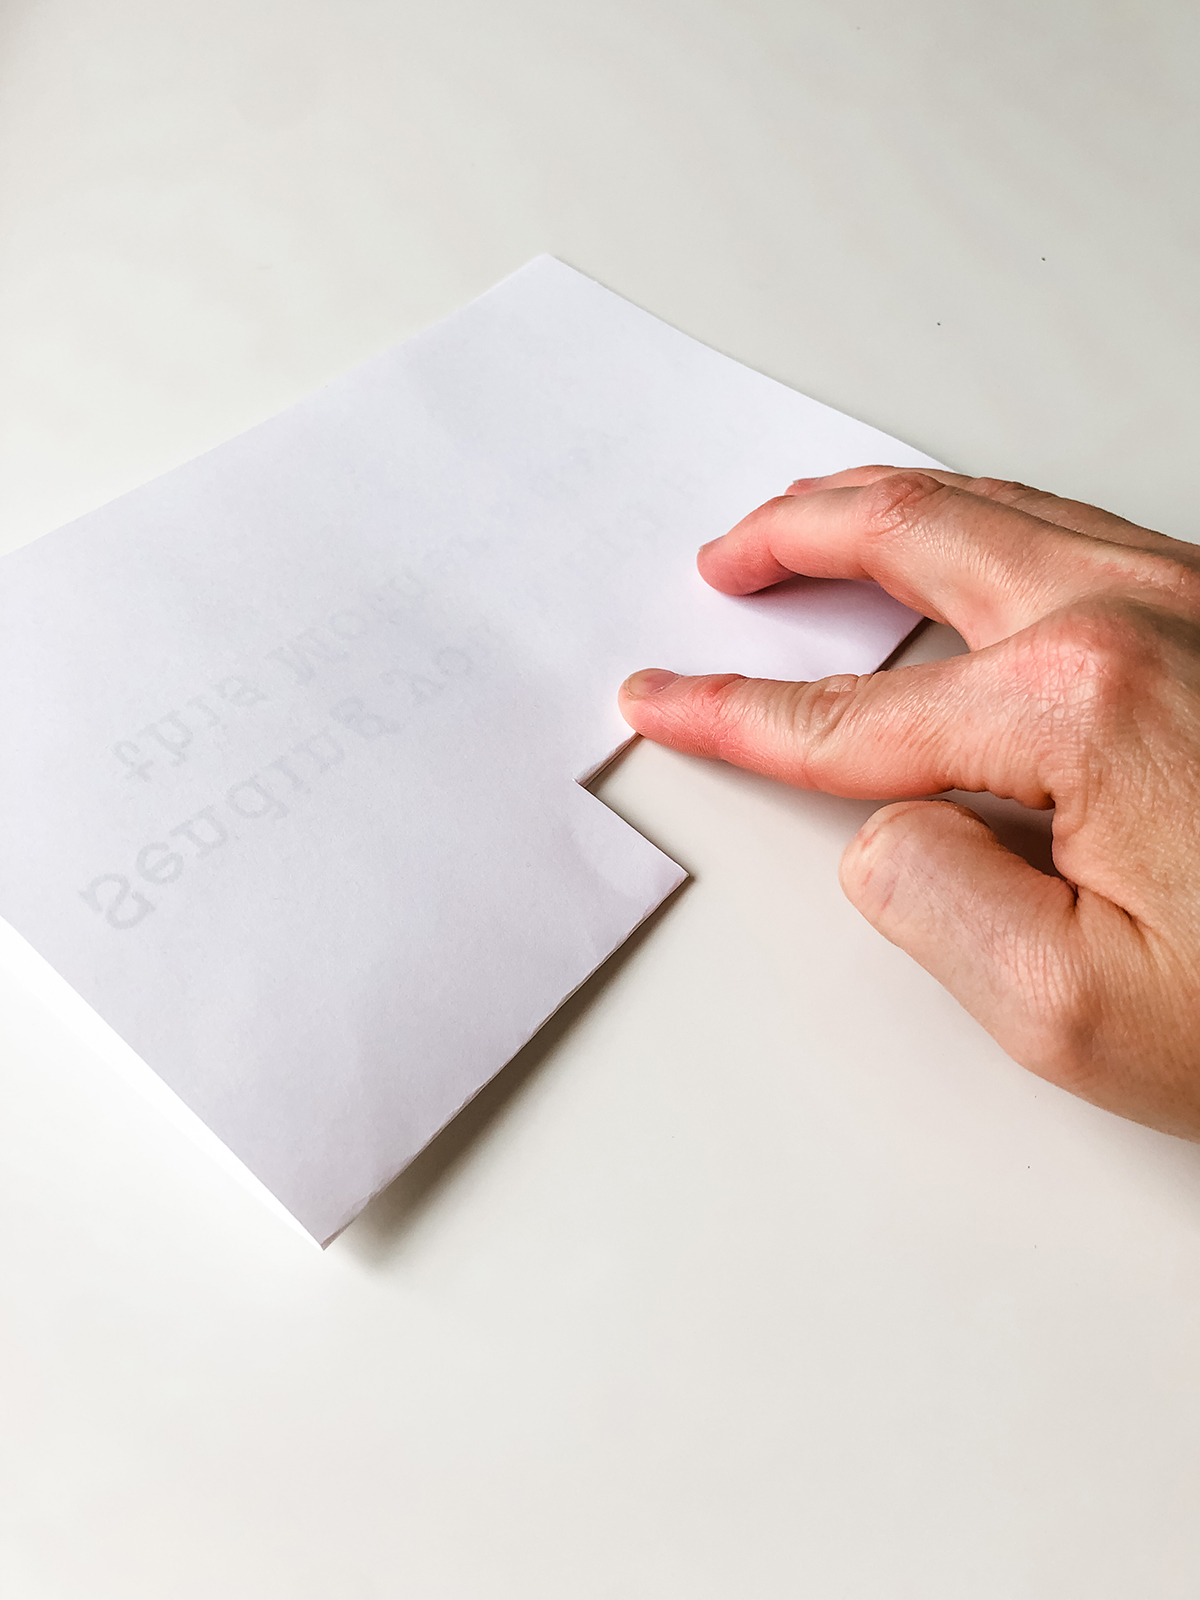
- Next, prepare the inside of the card. Cut along just the inside of the large black rectangular outline.
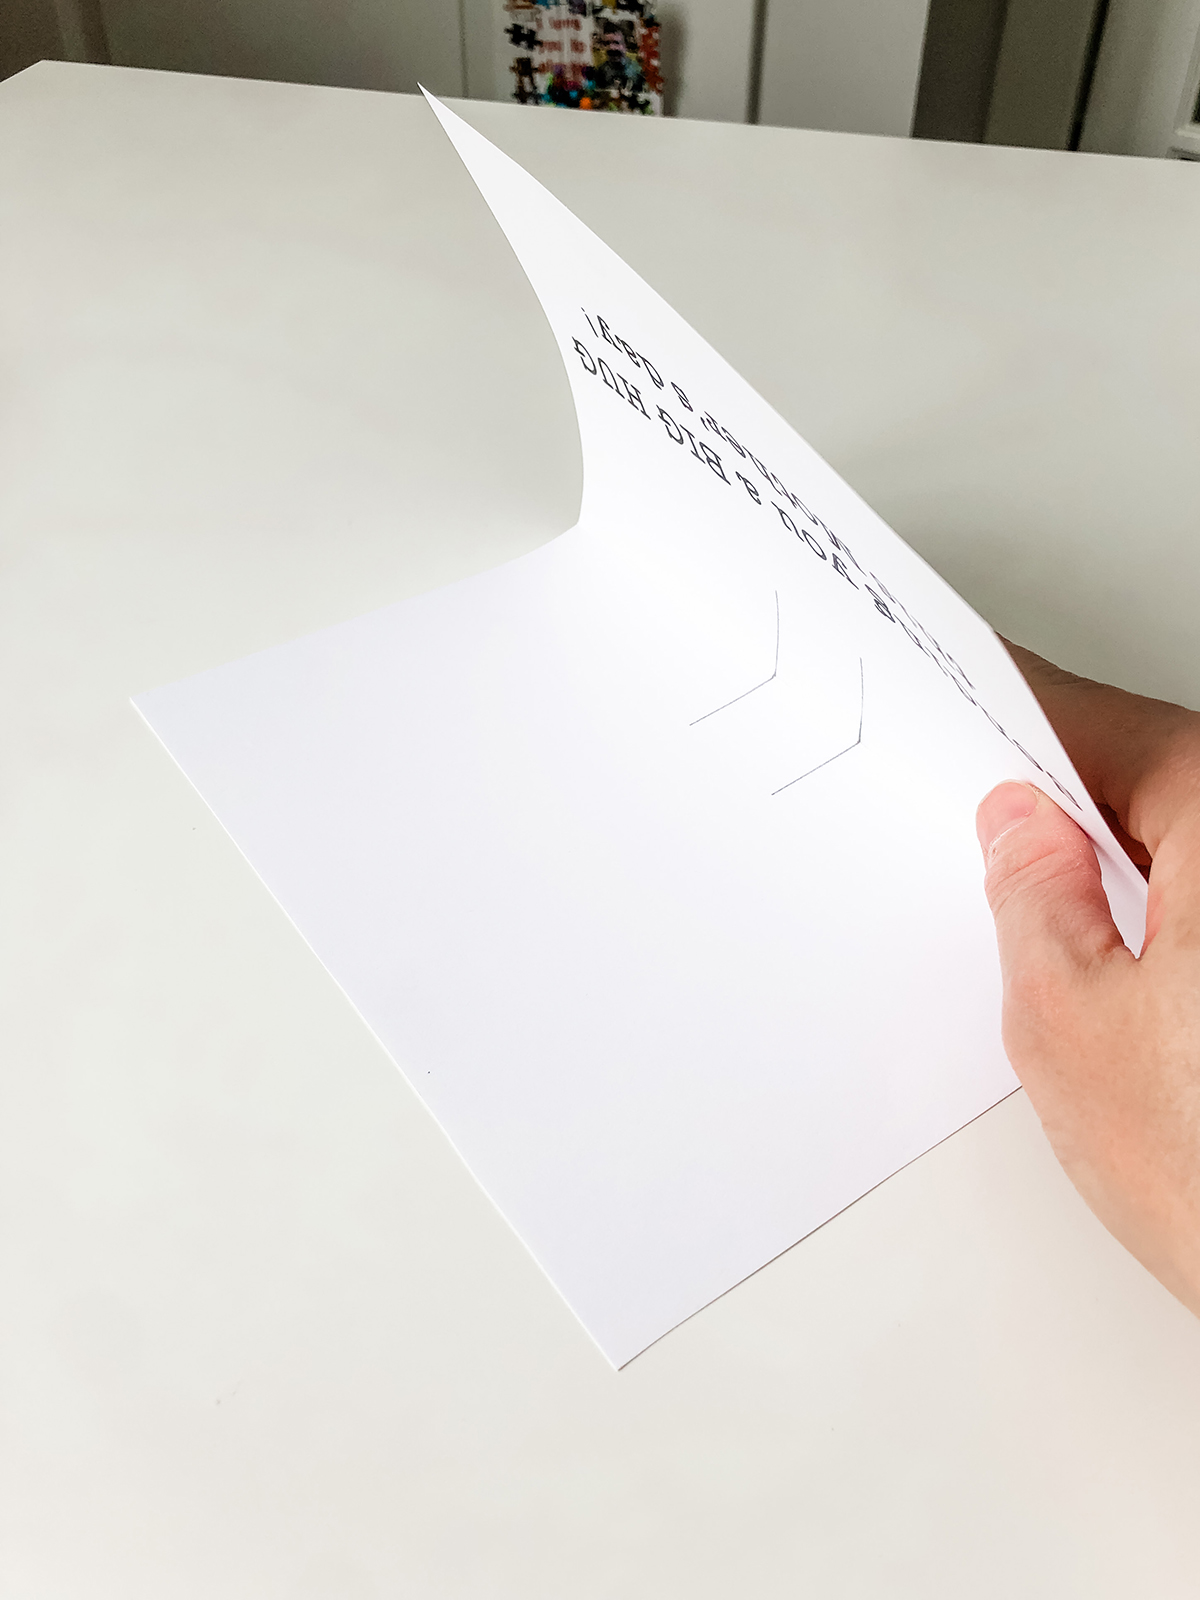
- Fold the inside of the card with the words facing the outside.
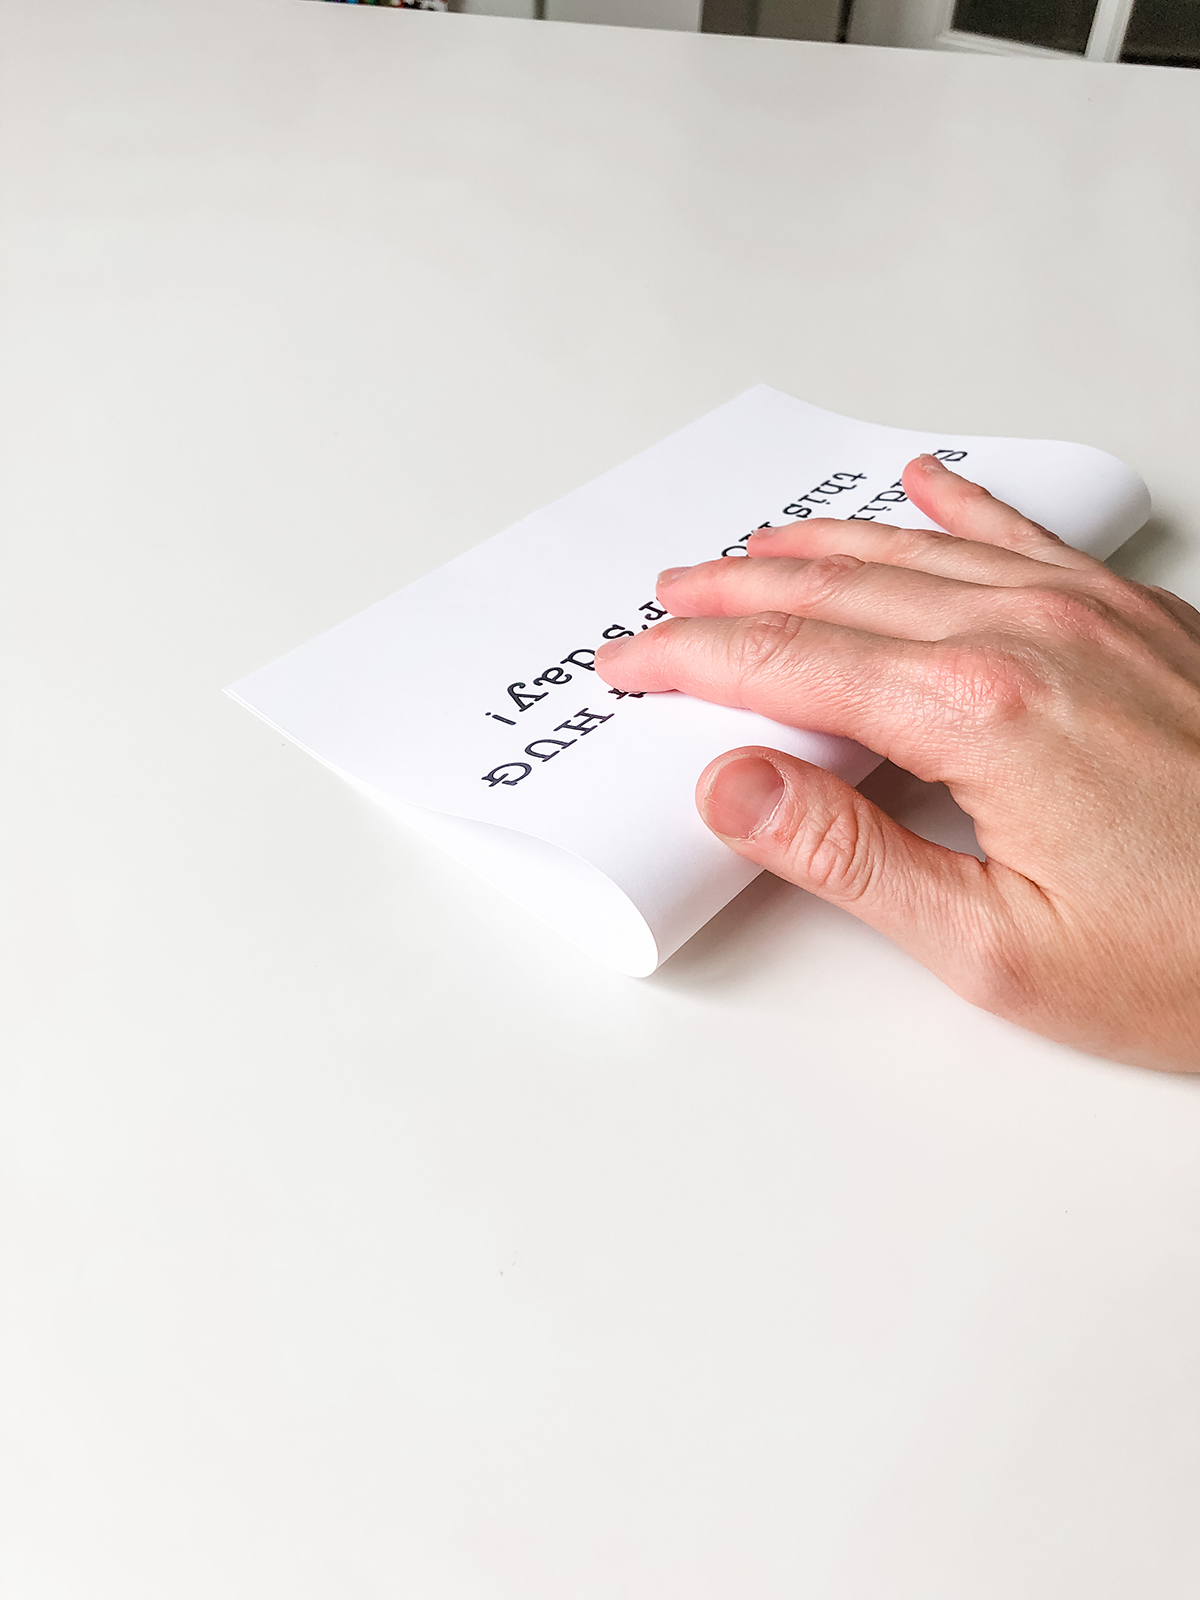
- Smooth the edge of the card to make sure it's folded well.
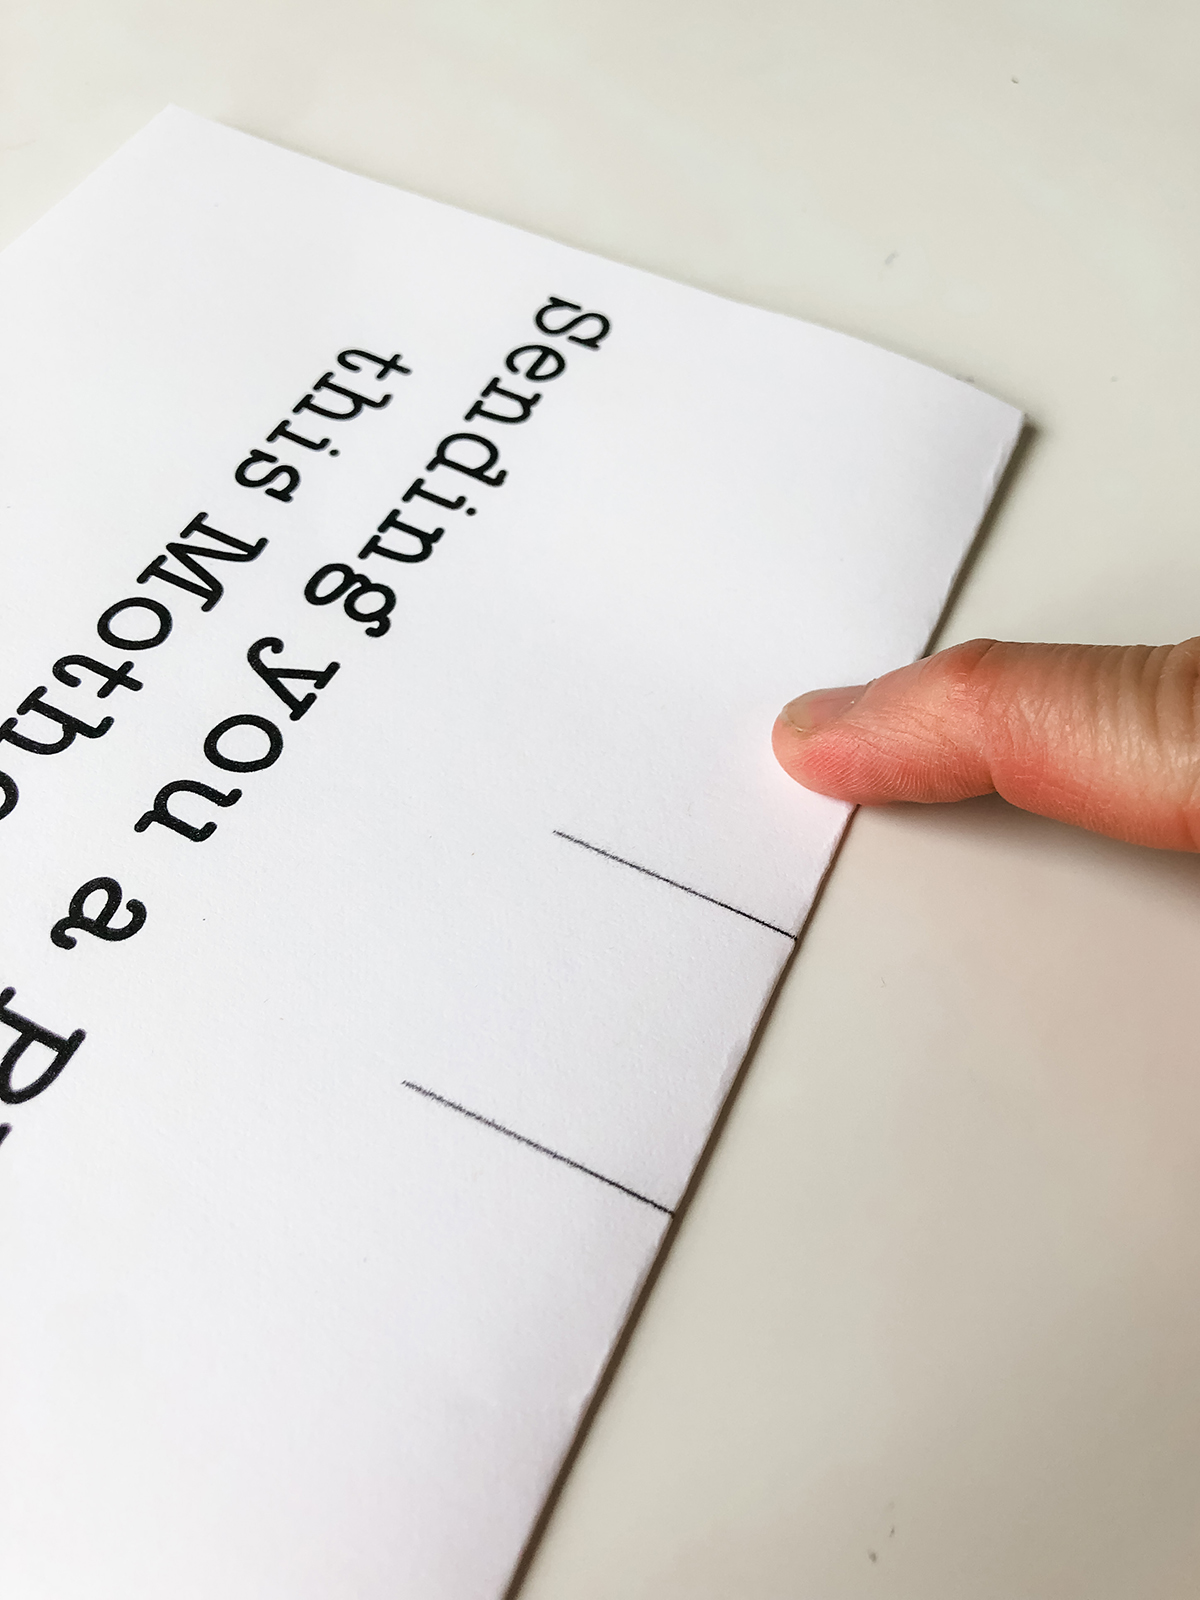
- Cut along the two center black parallel lines.
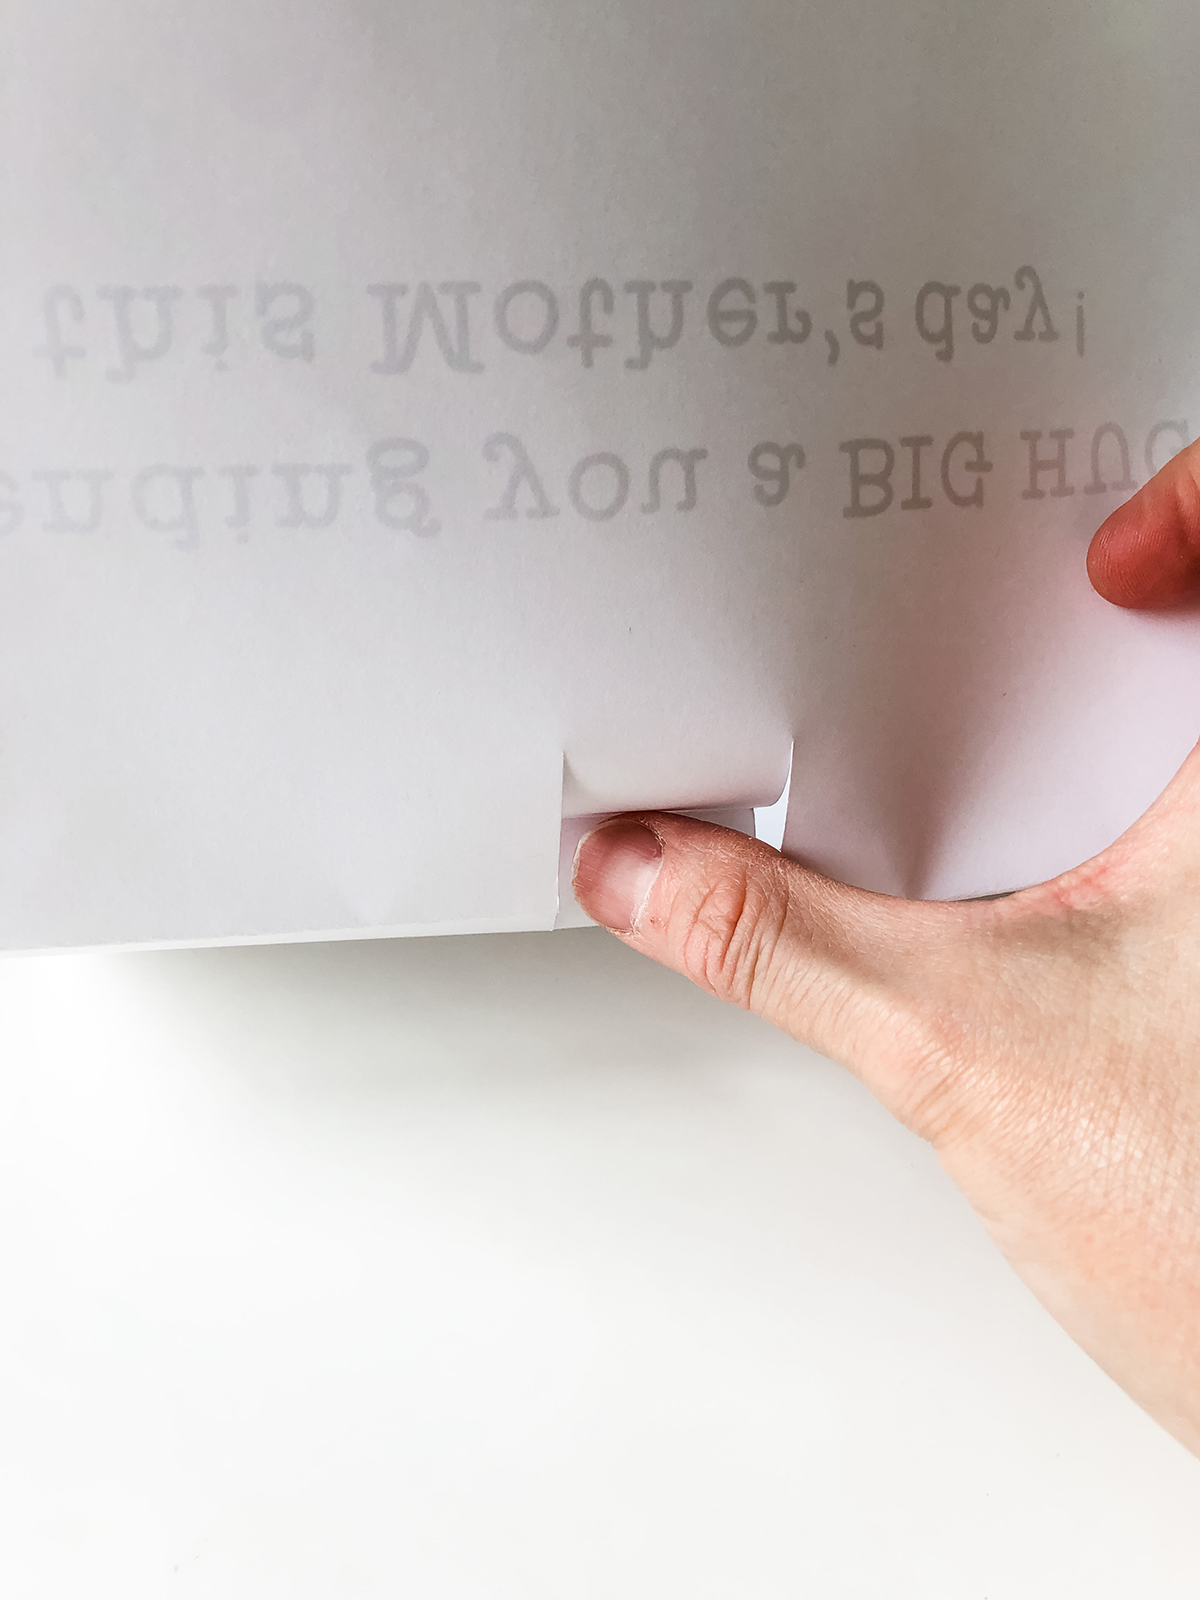
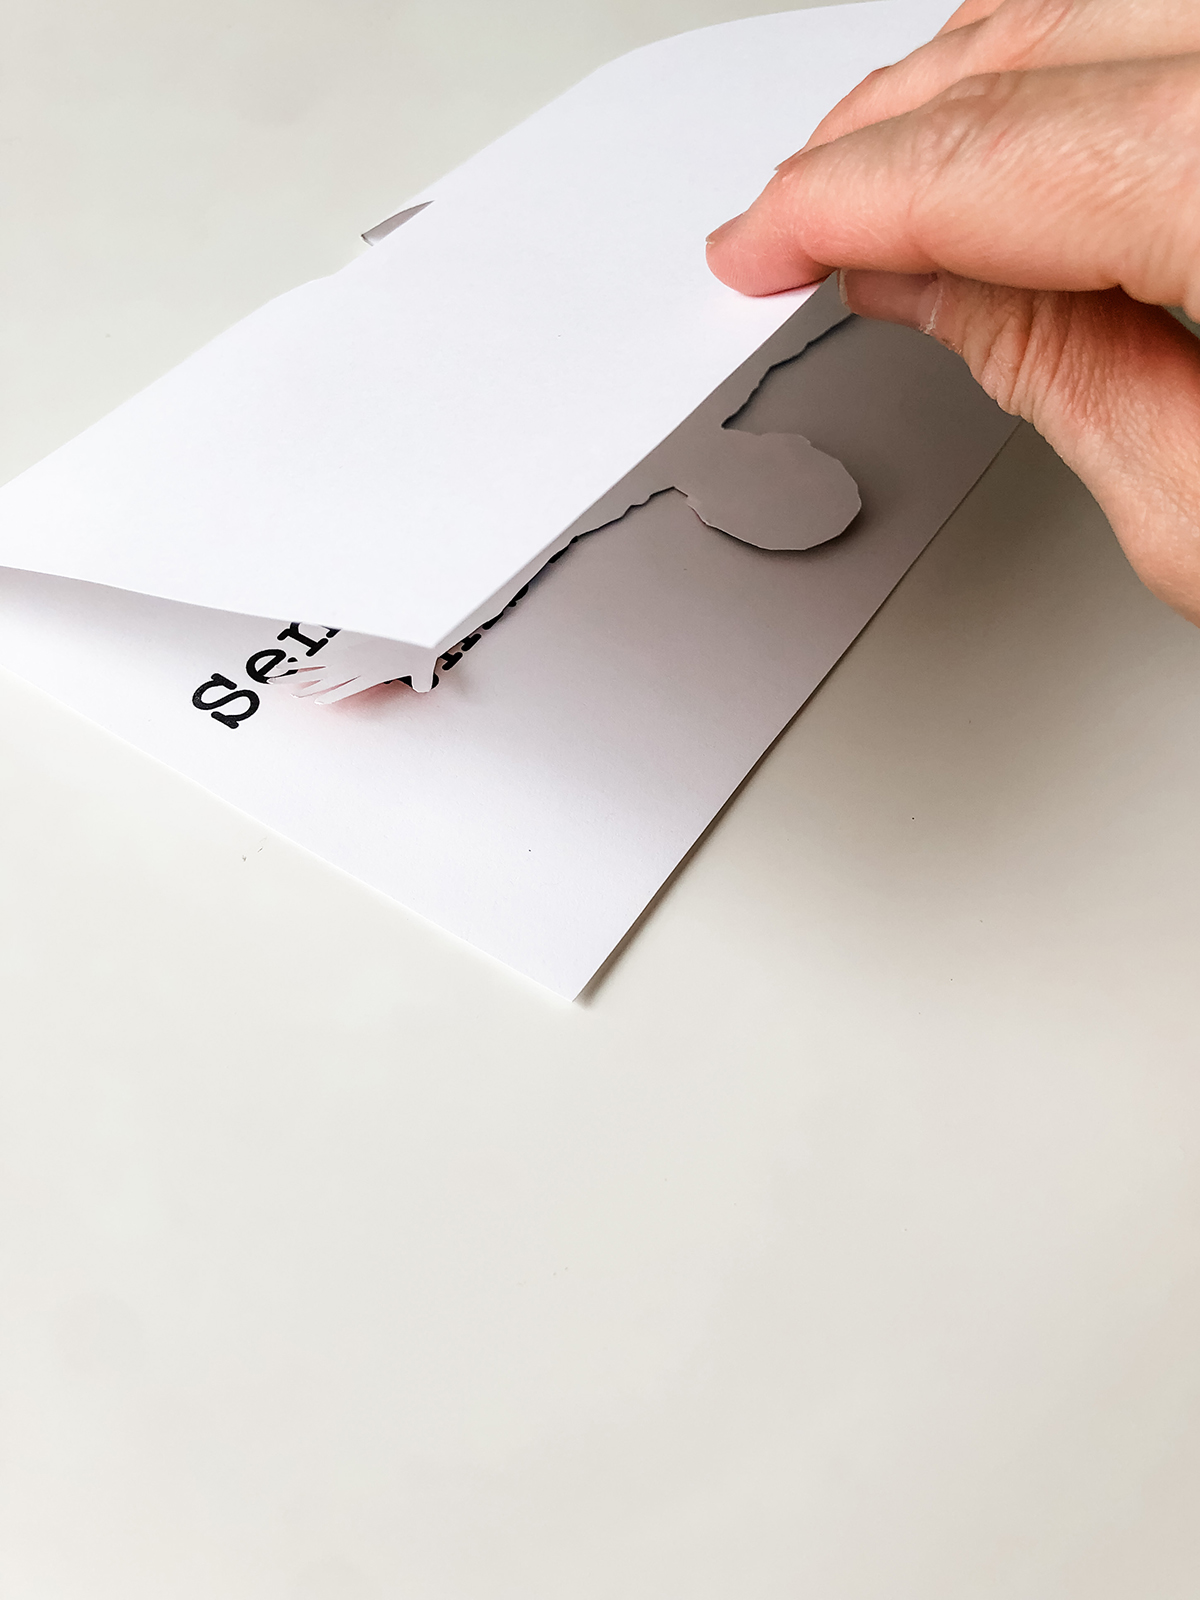
- Open the card and fold it now the other way with the words facing the inside.
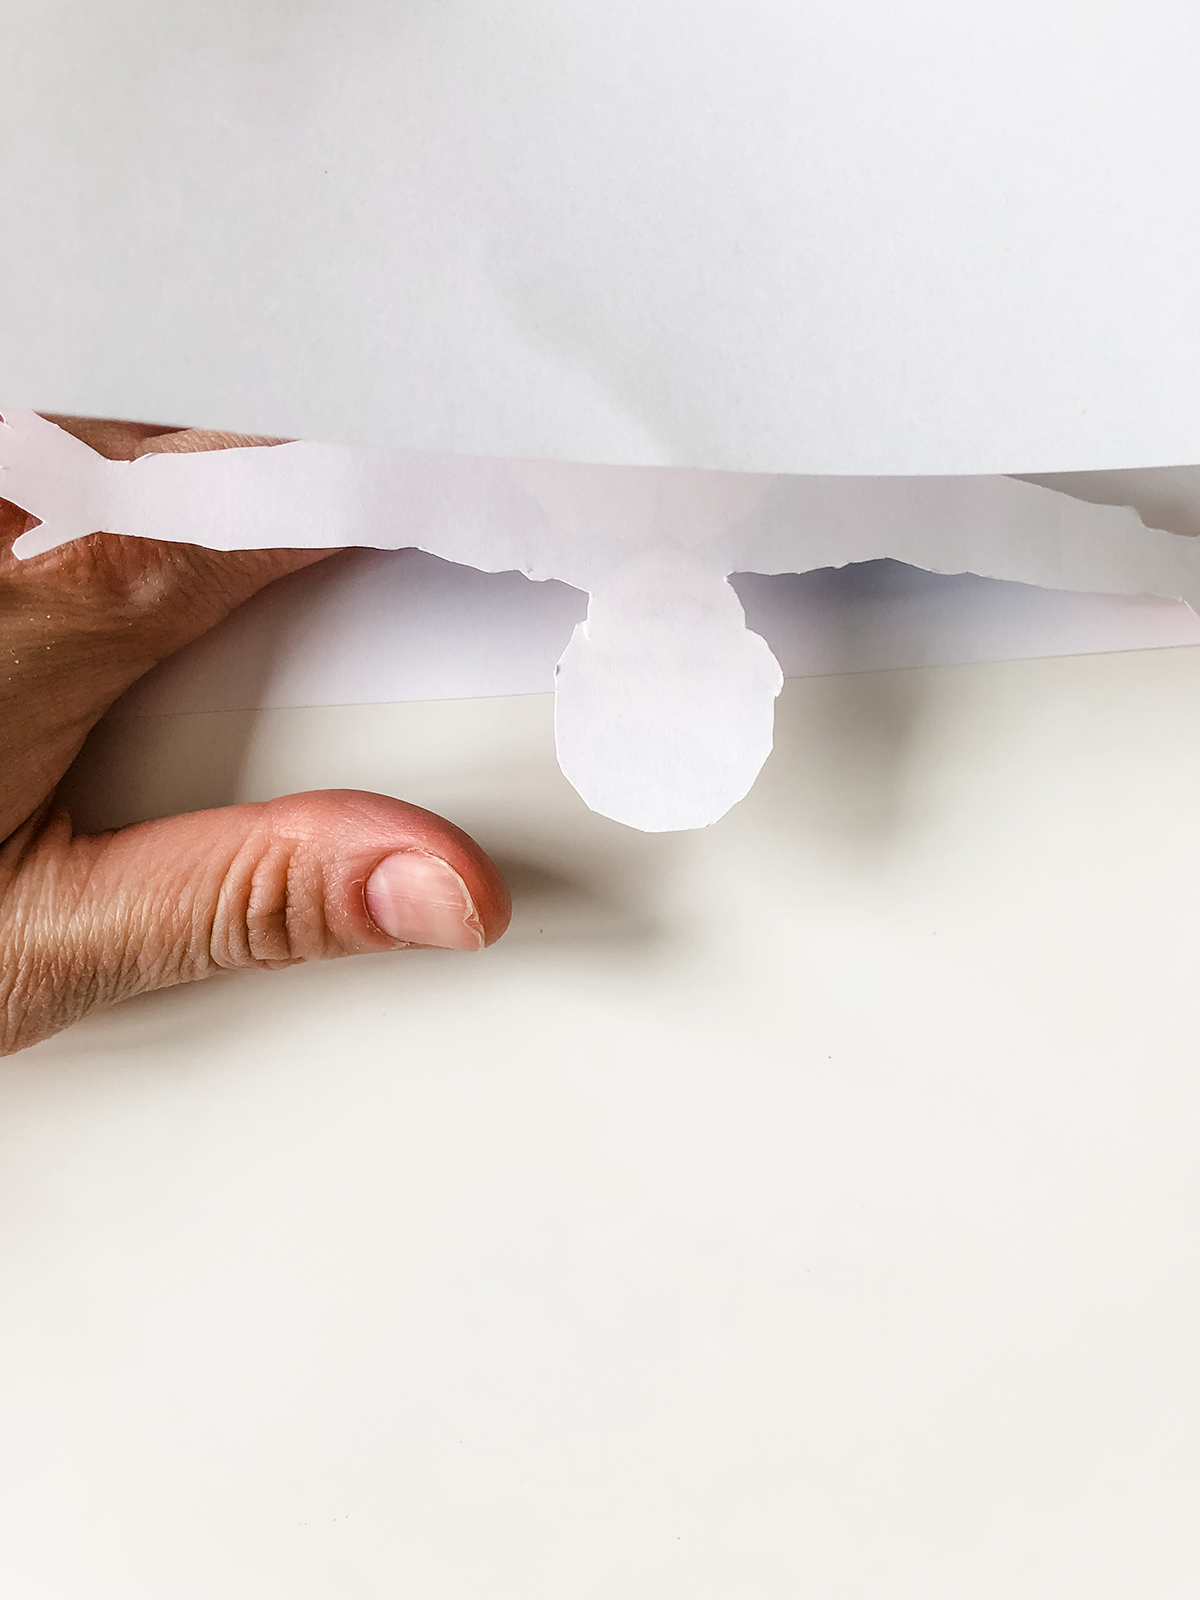
- Open the card back up and use a finger to push out the pop up rectangle you just cut in the opposite direction from the paper.
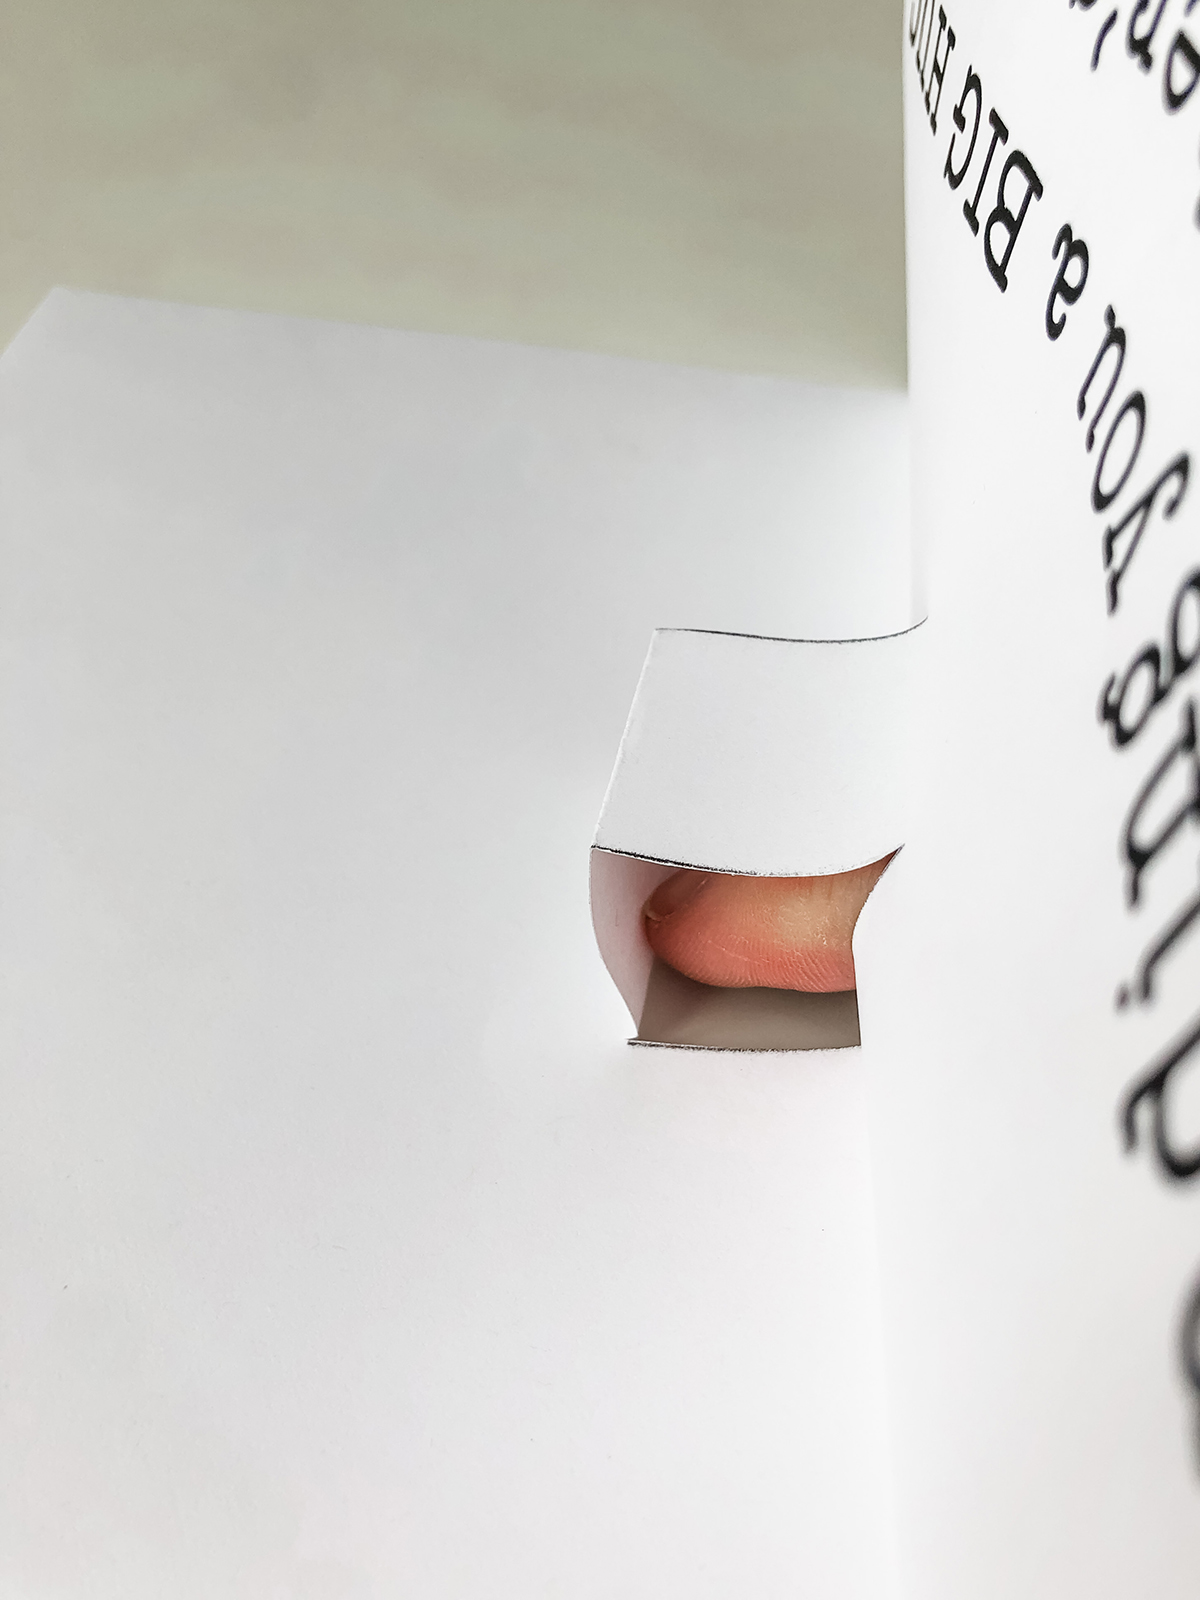
- Closed the card again and smooth the. edge to make sure the pop up is pressed firmly so it will pop up when opened again.
- First, make sure the size of the photo is correct. Place it up against the pop up and close the card. Make sure the entire photo is within the card. If it is not, trim the torso some.
- Use a glue stick to place glue on the lower half of the pop up rectangle (see pictures below).
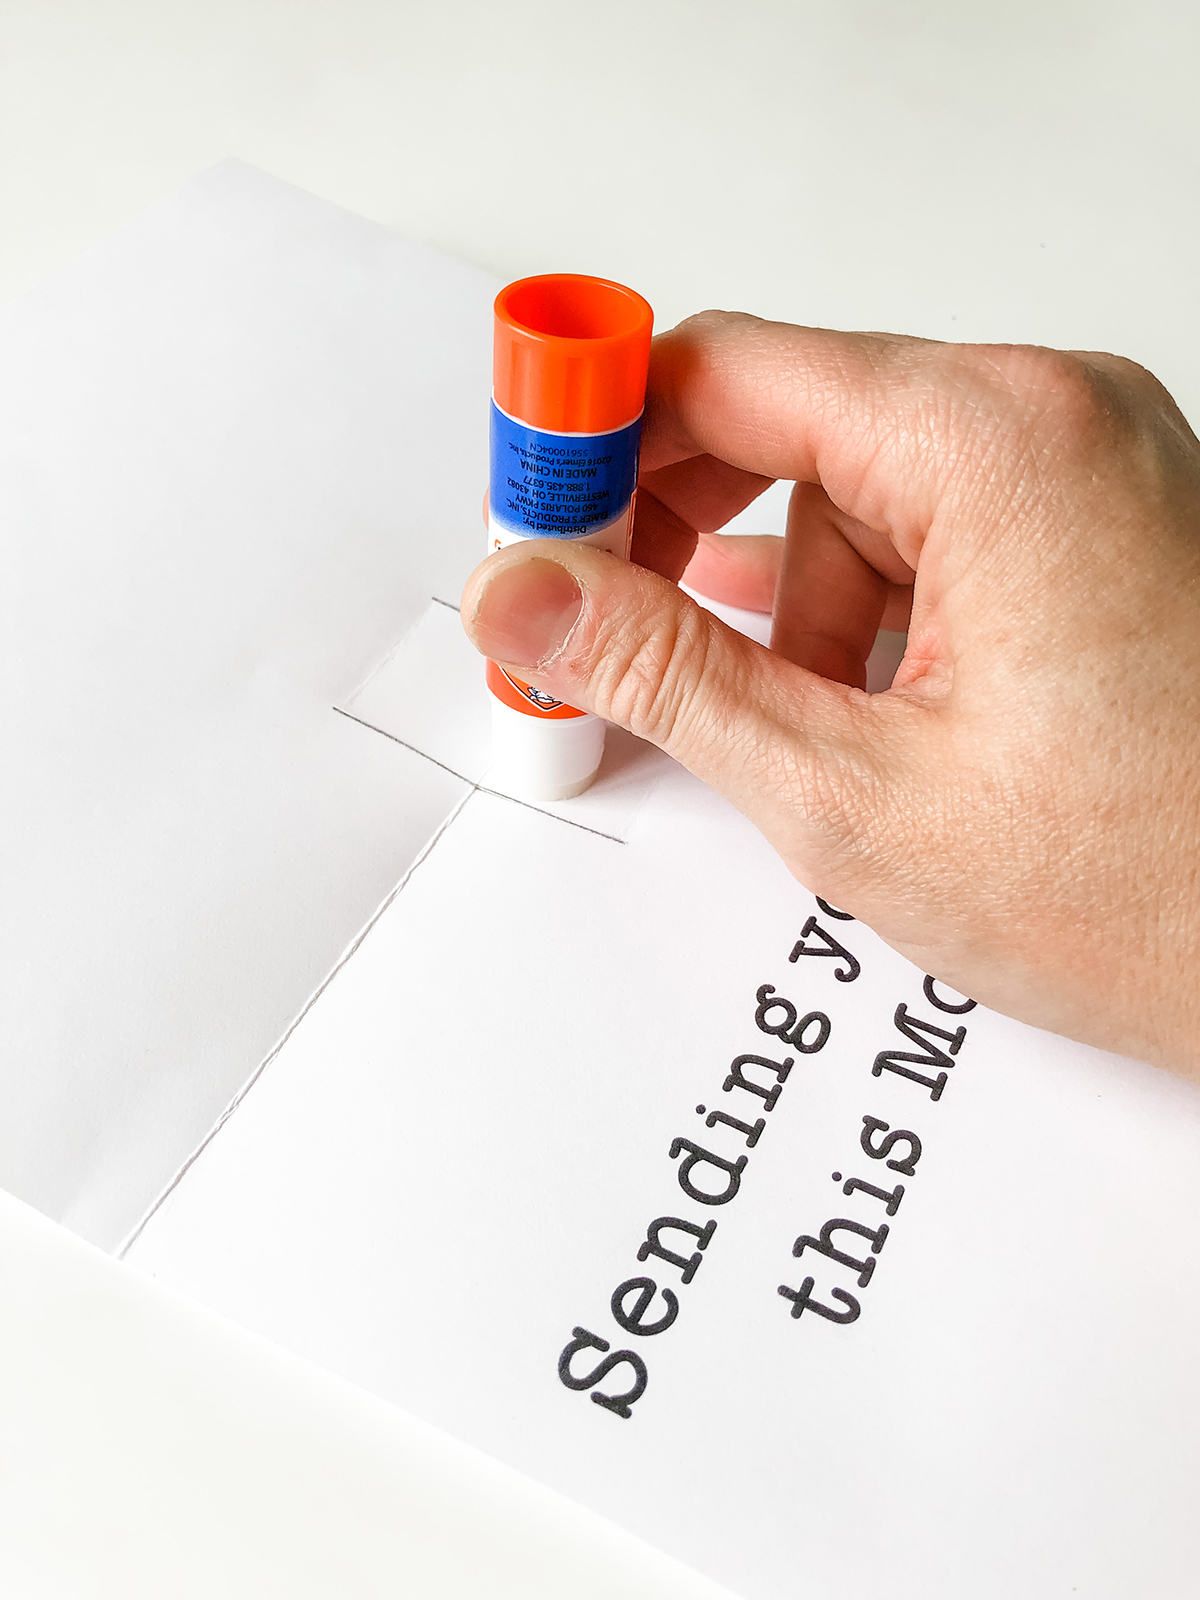
- Stick the photo onto the glue on the lower half of the pop up rectangle, the torso should be just touching the card below.
- Close the card and rub the back of the card to make sure the glue on the pop up adheres to the photo.
- Open up the card to test if the pop up works.
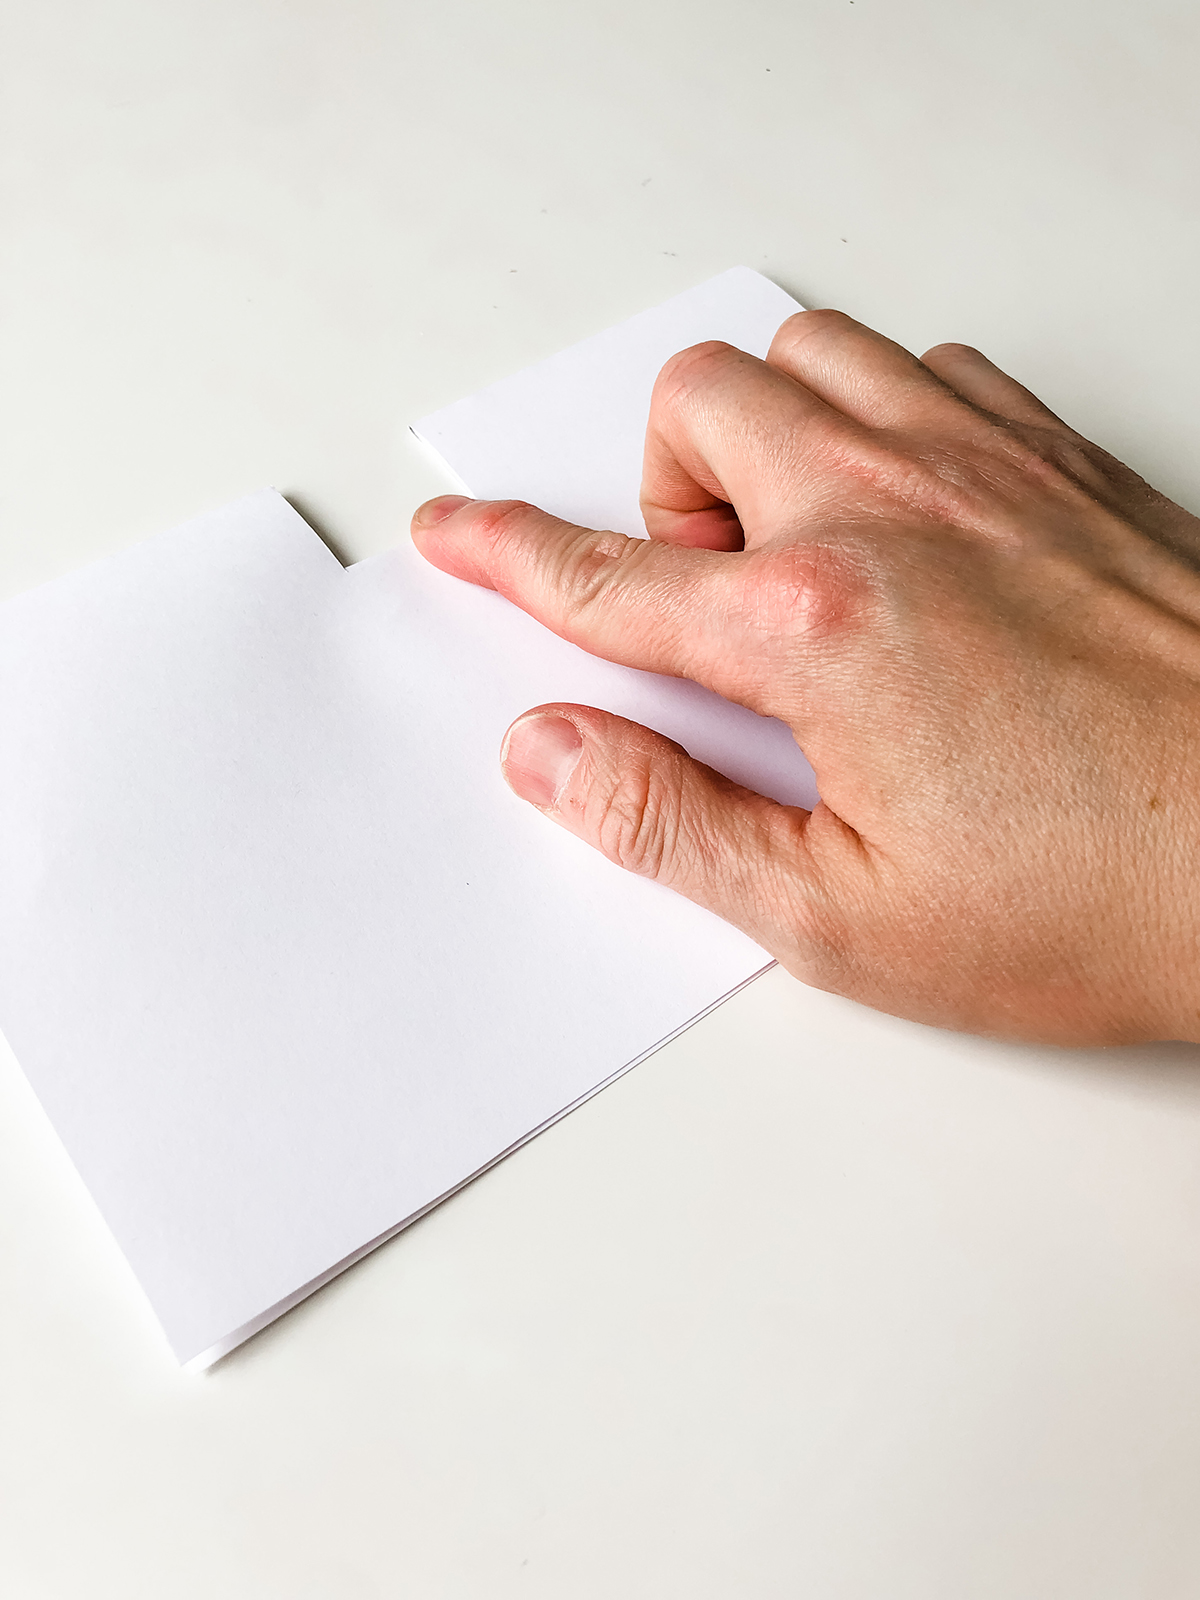
- Place the inside of the card into the middle of the card cover. Make sure the folded edge of the inside card is up against the folded edge of the cover.
- Place glue on the back of the inside cover one side at a time. Do not place glue anywhere on the back inside of the pop up rectangle.
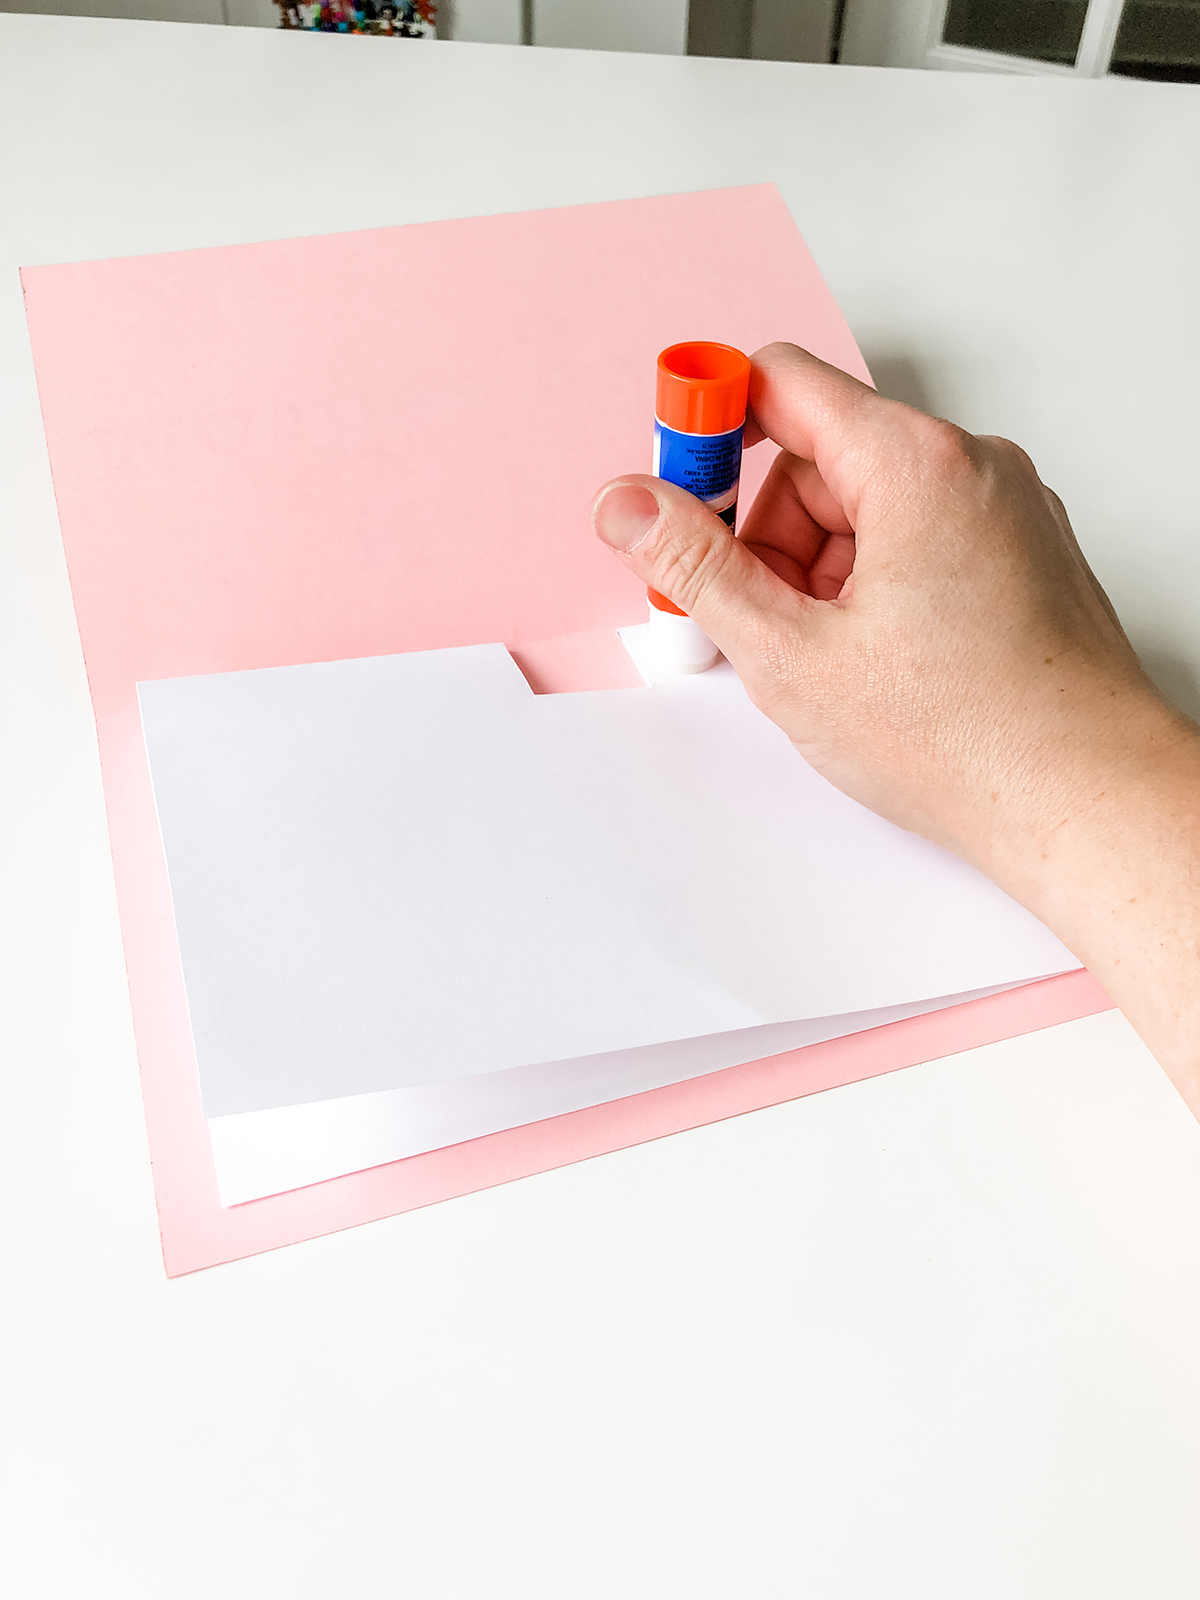
- Rub the cover to make sure it has really adhered to the inside of the card.
- Have your child add their signature and a personal message (if they'd like).
- You're done!

Copyright MOM ENVY 2022. Files may be used for personal use only. No commercial use of the file is available. Files may not be directly shared within Facebook groups, on websites, or in any other way. If using for educational purposes, the file may be printed and copied for classroom use. A link to the web page to download the files may be shared as well as one photo. The file may not be printed and then sold (including local yard sale sites and groups or at local craft fairs). The images may not be used in any way other than to share with a link to the original web page.