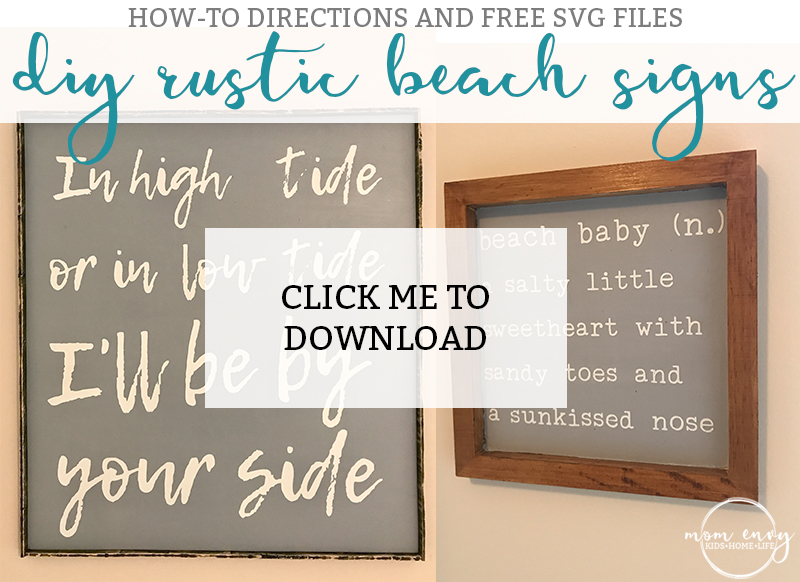
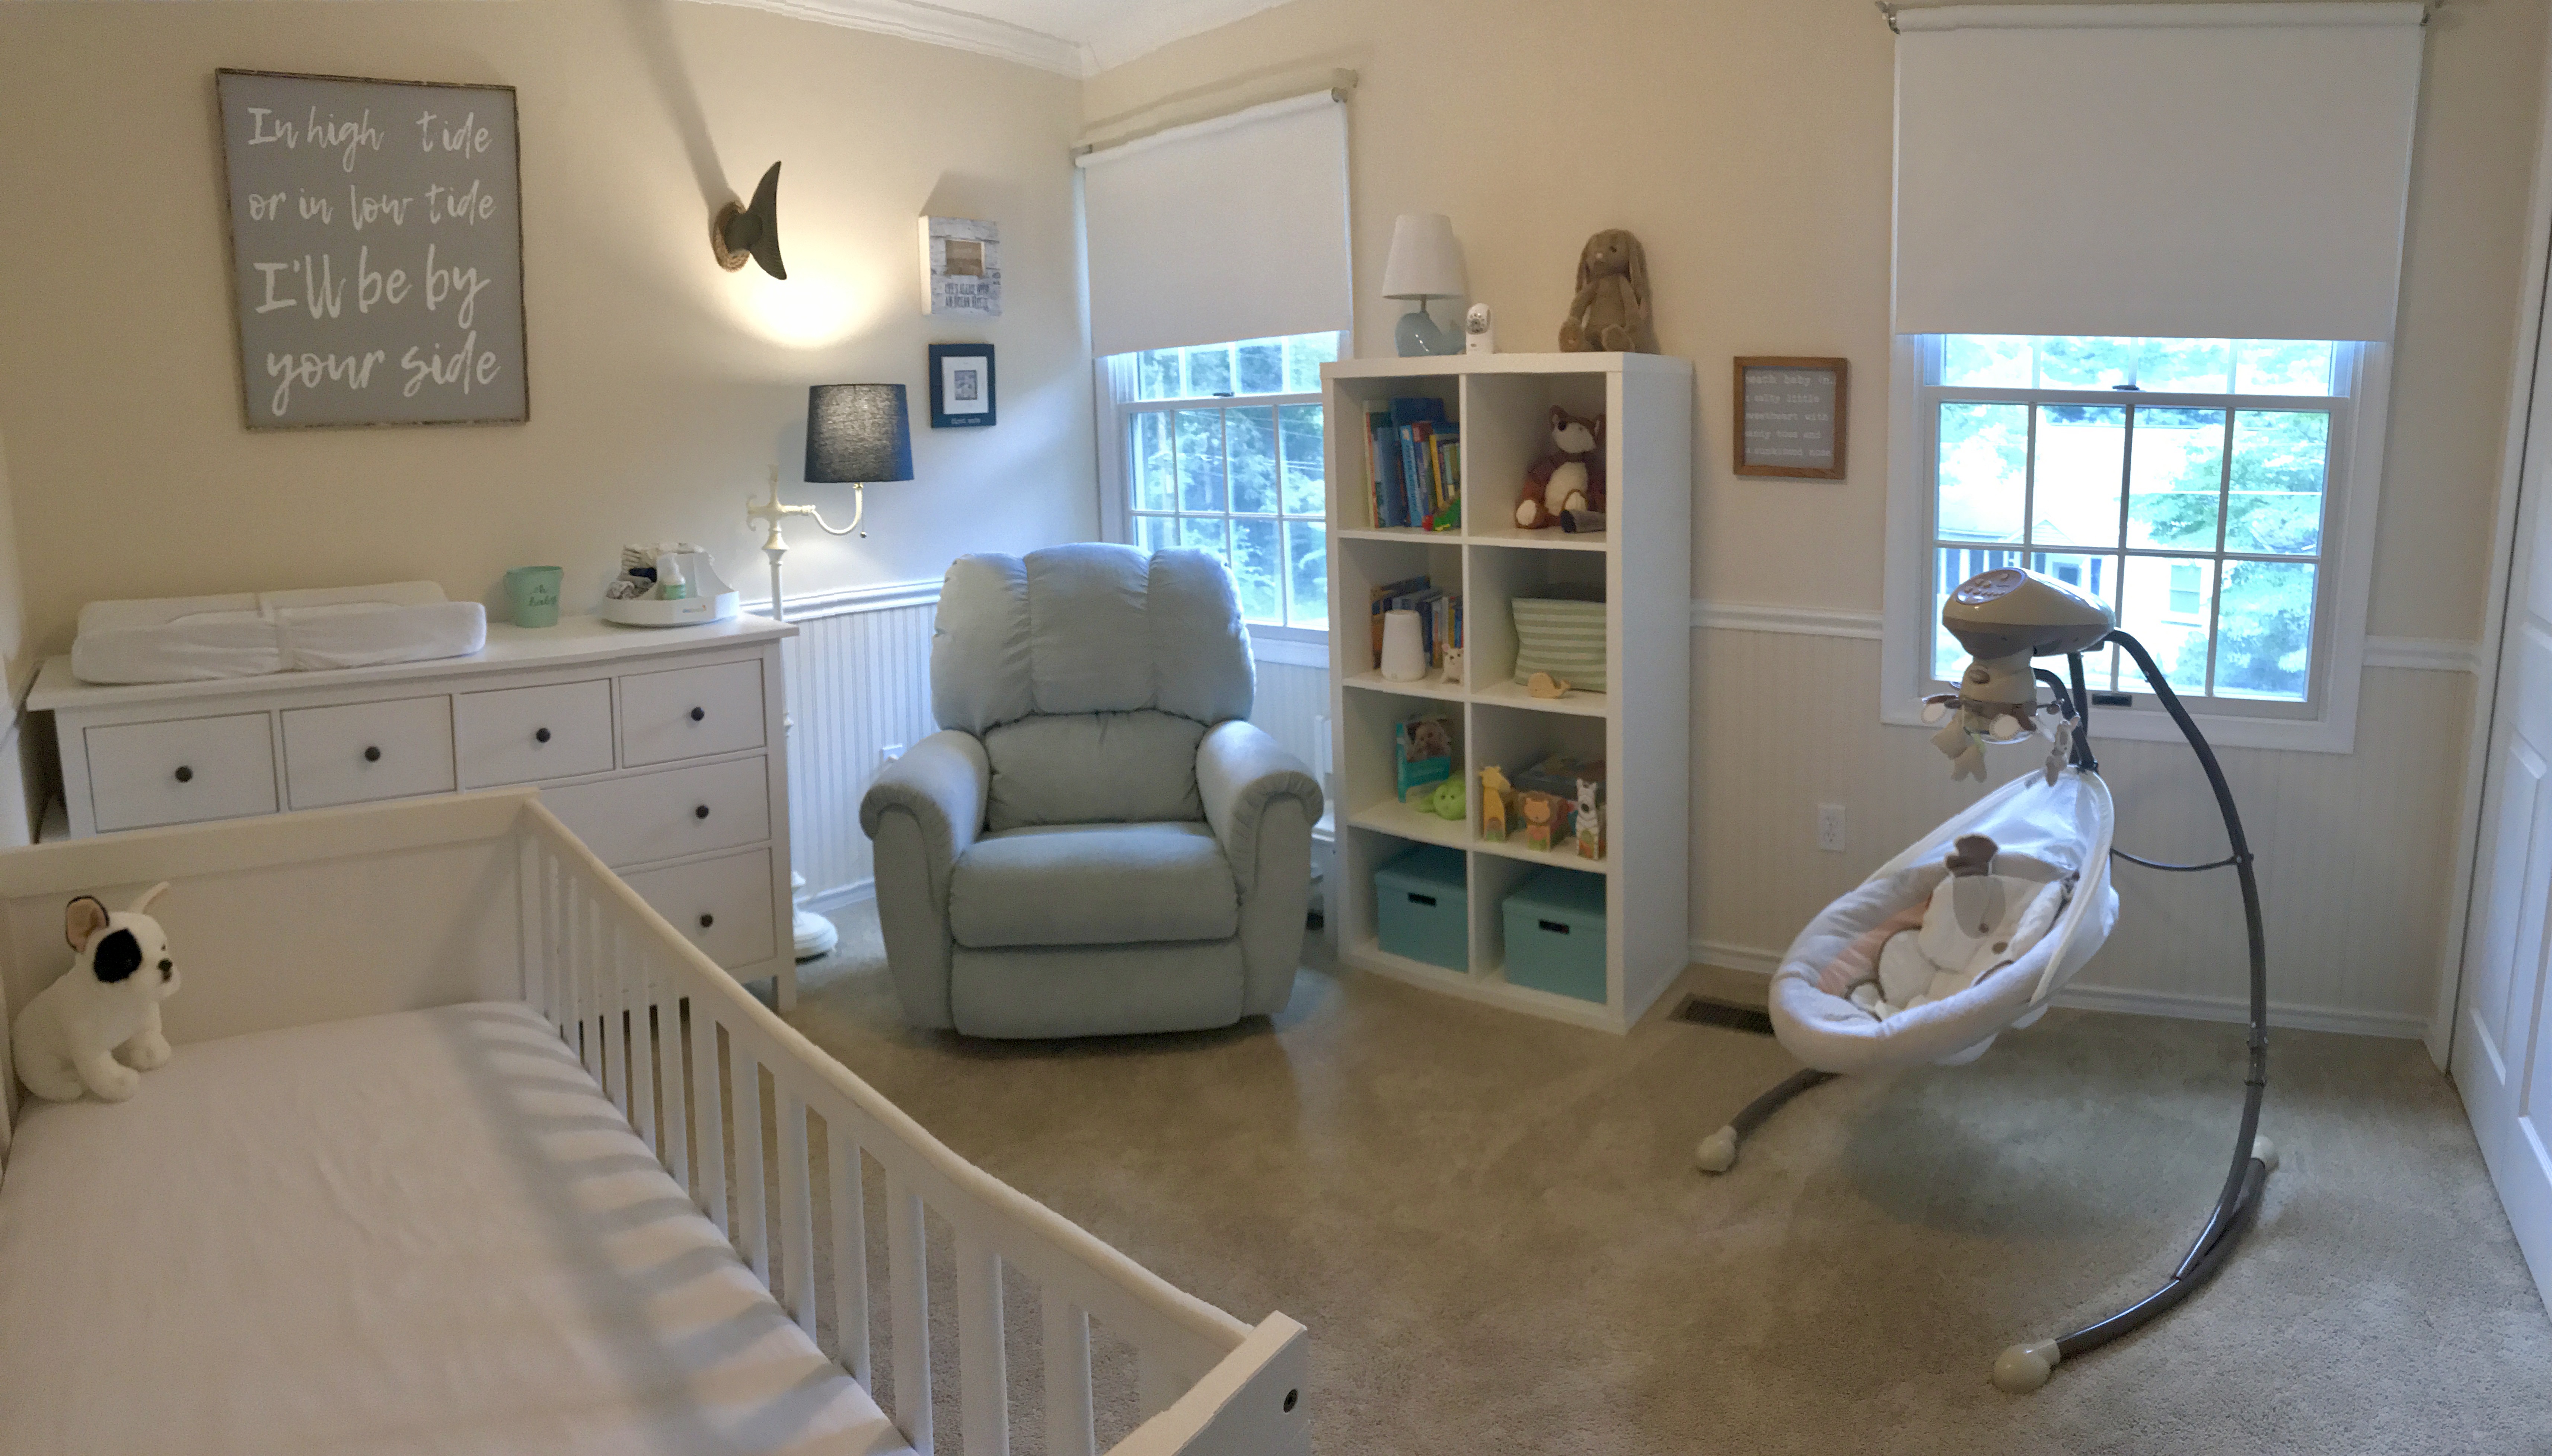
Here is the information and free SVG files from the Under the Sea Baby Shower. While the one sign is geared towards a nursery or kid's room, the other sign can be used for a couple or family. It would also be a great sign to give to a friend that is going through a difficult time.

![]()
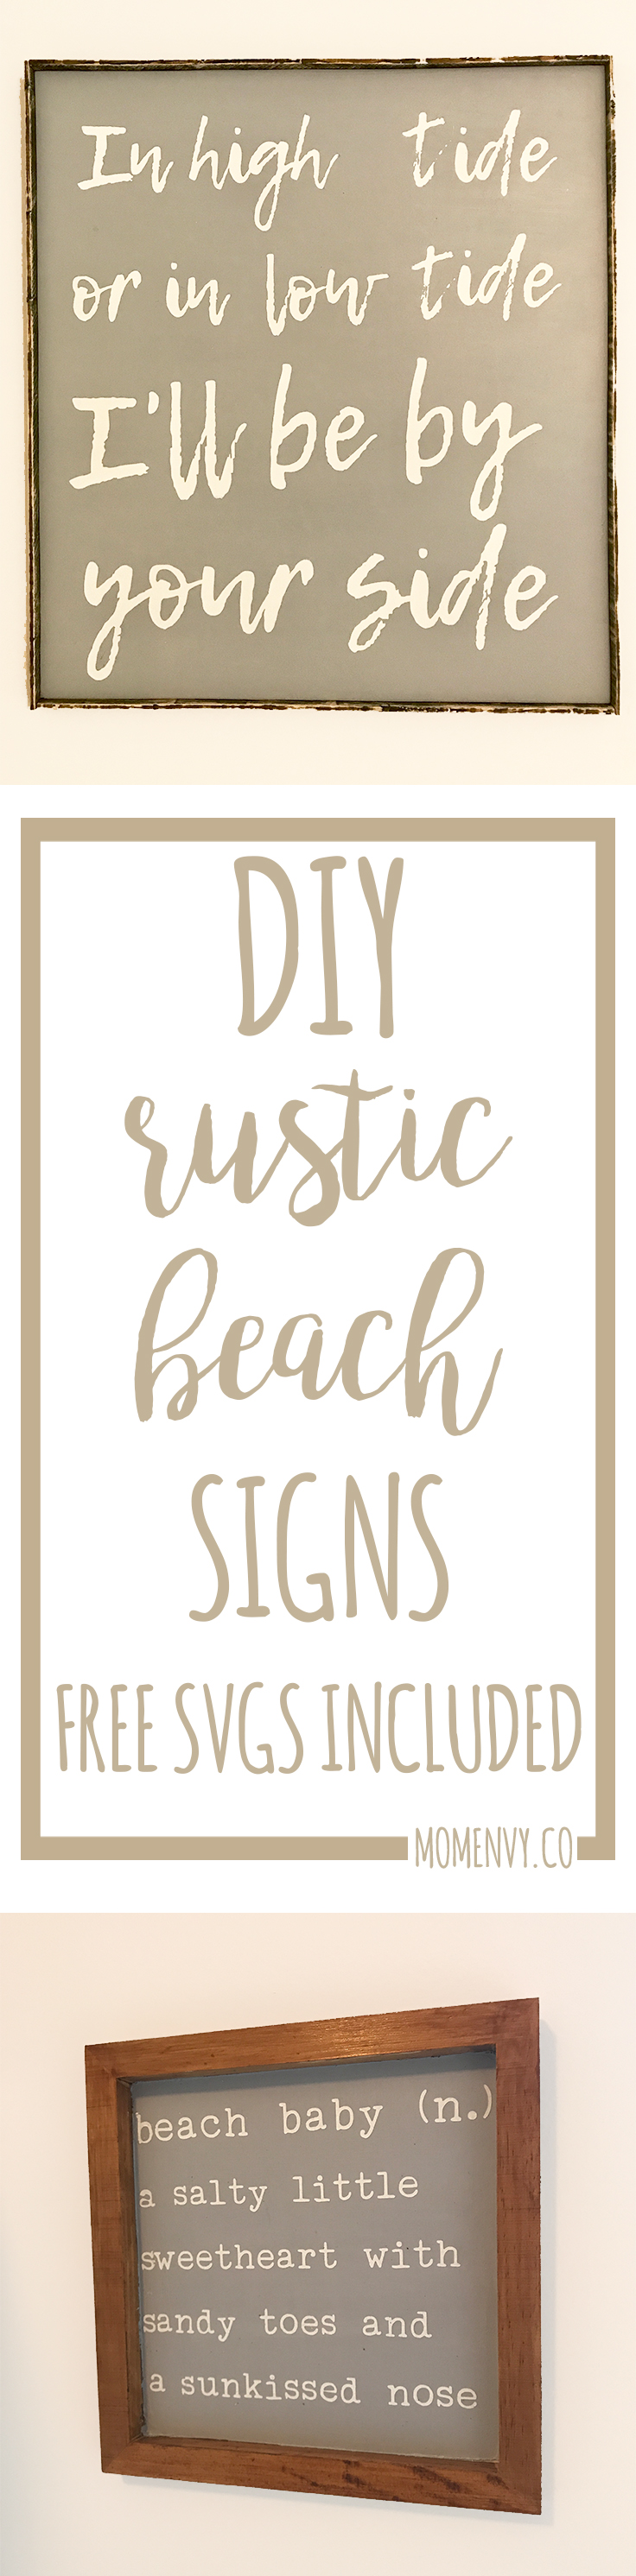
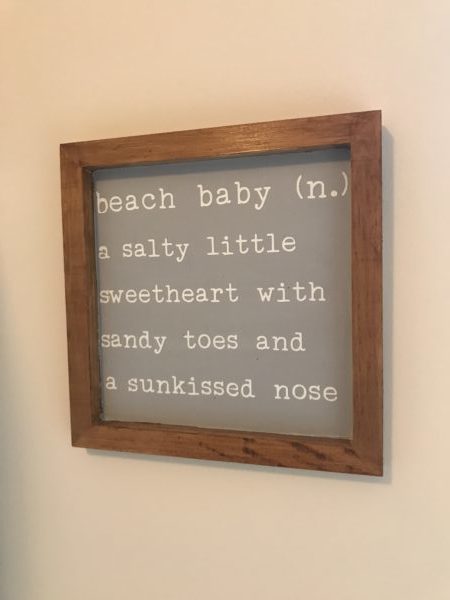
DIY Beach Baby Sign
Follow the directions for our Farmhouse sign, Let's Stay Home. Only use the SVG at the end of this post as your stencil.
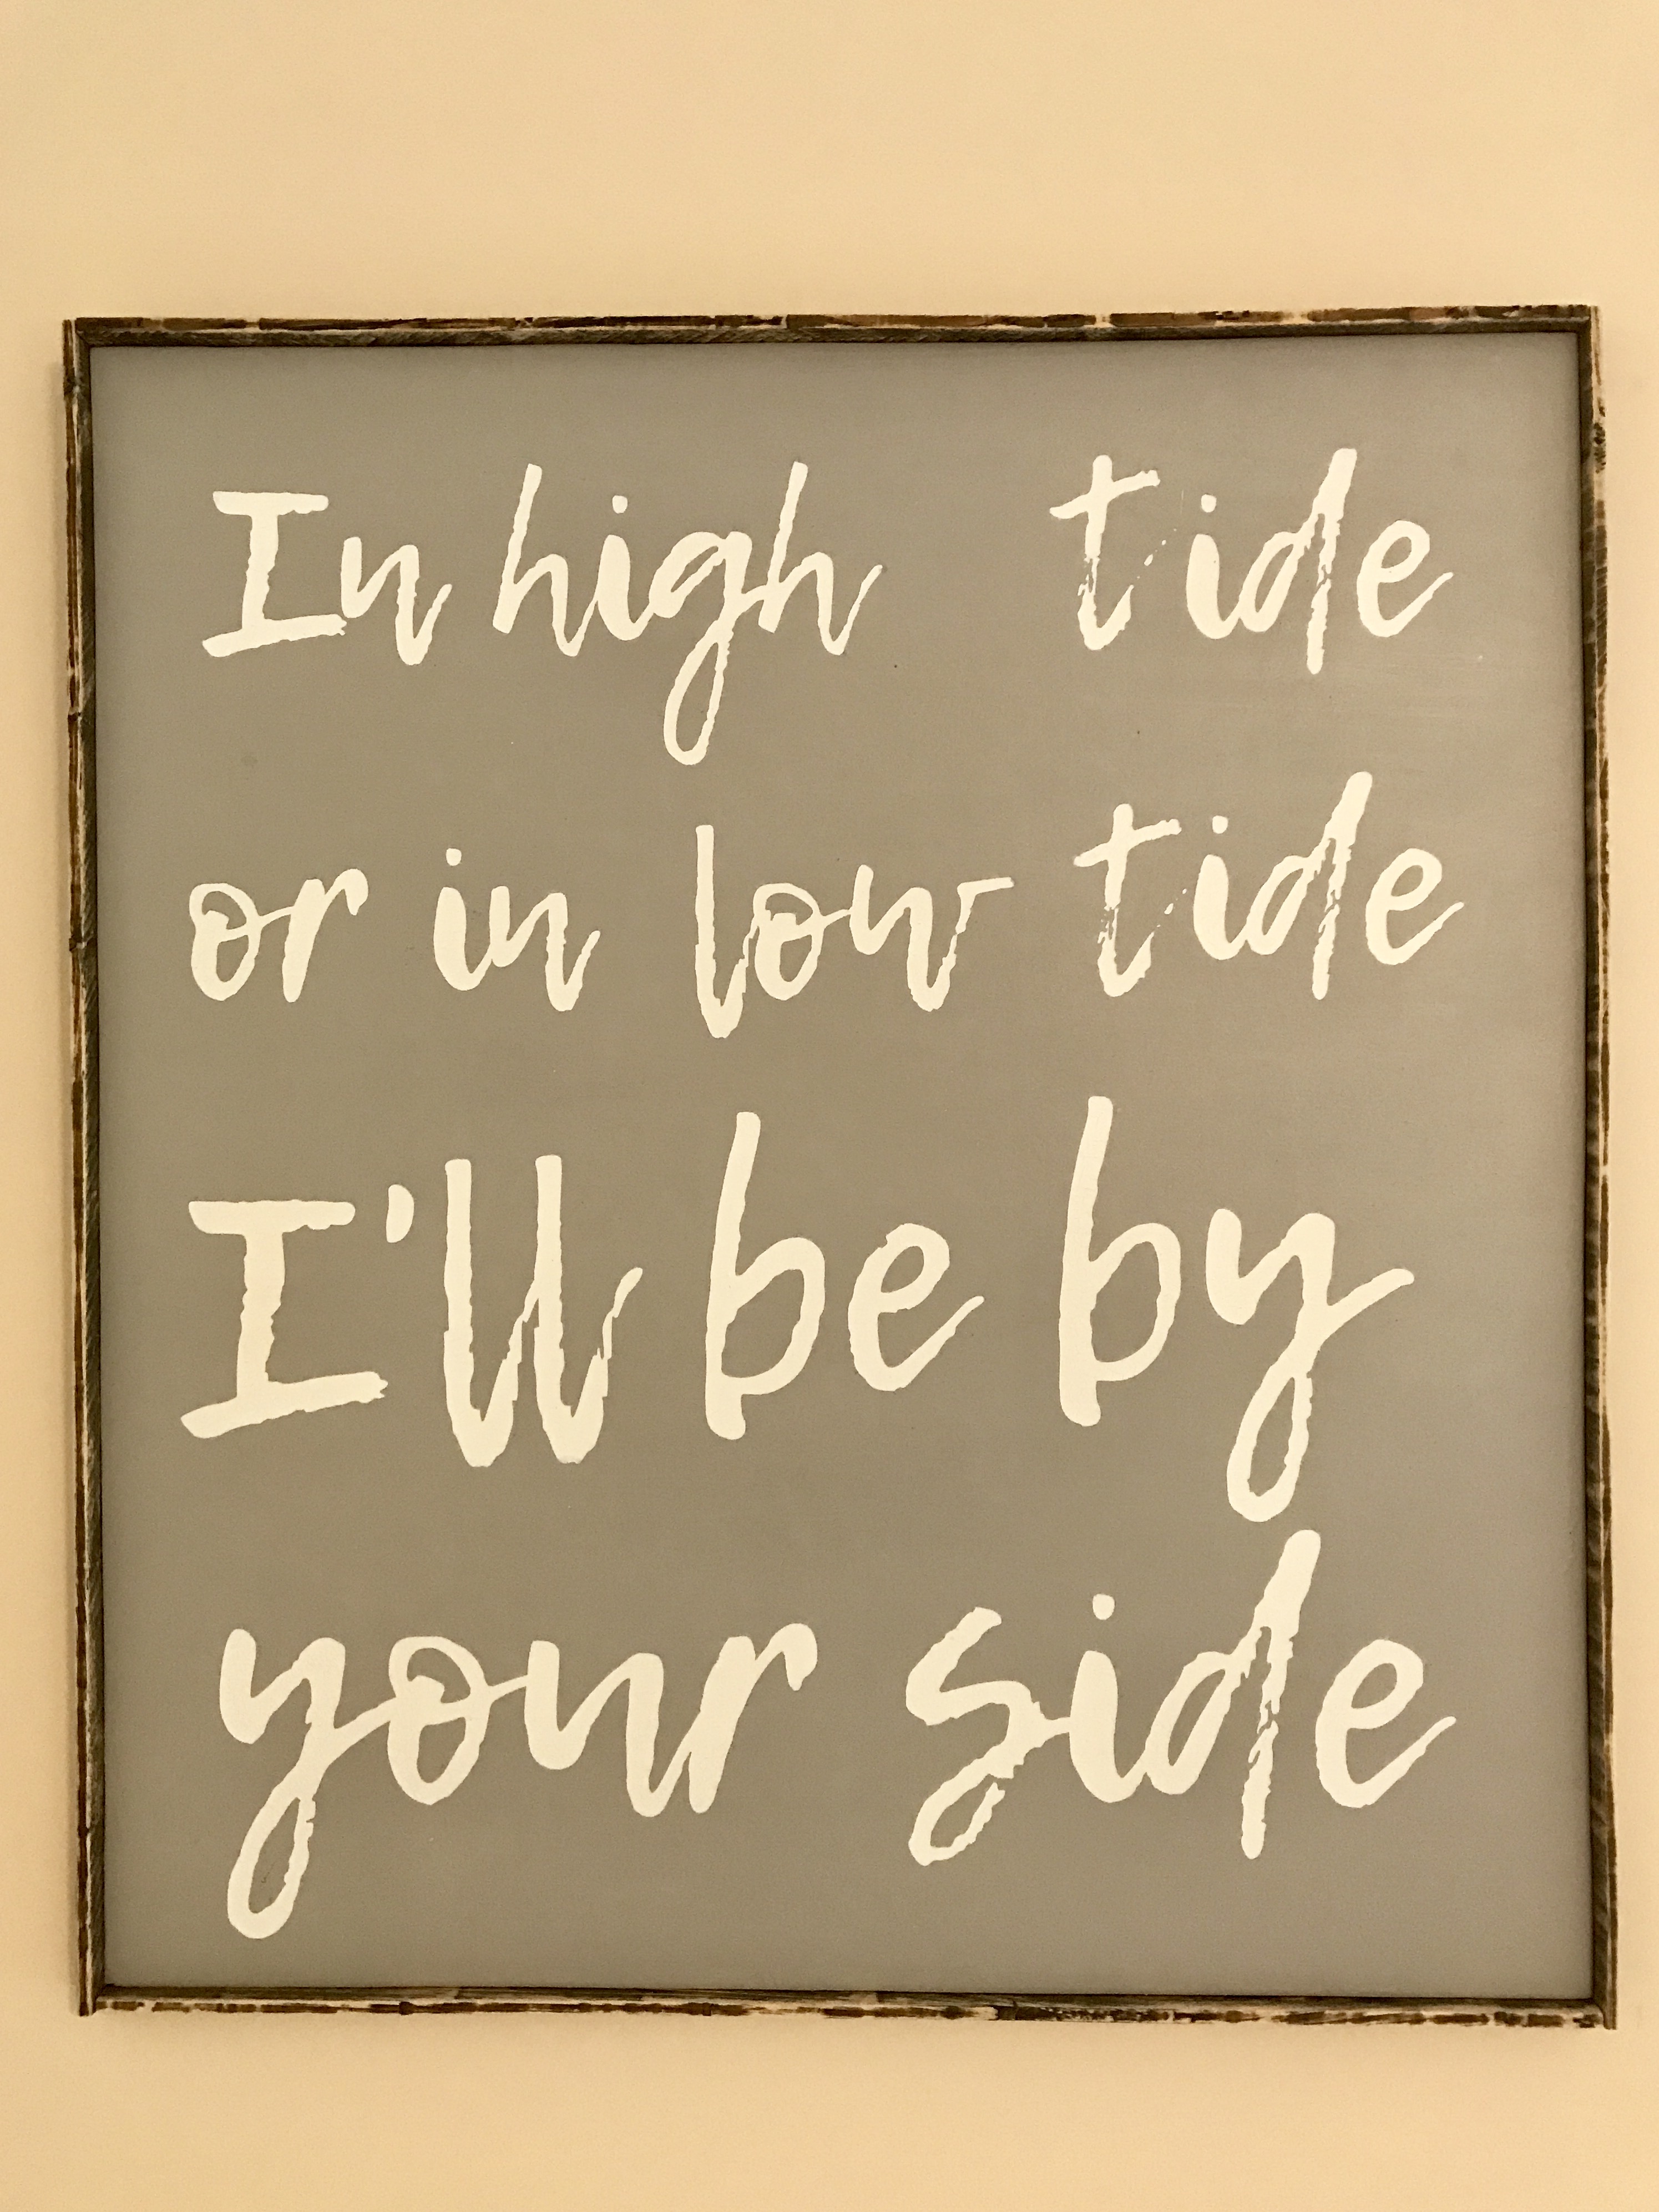
DIY High Tide or Low Tide Sign
As an Amazon Associate, I earn from qualifying purchases. I am also an affiliate for the HP ink program. Click here to read more.
This sign was made in a similar fashion to the Farmhouse, Let's Stay Home sign. Use the SVG at the end of this post as your stencil. Here is how this sign was made.
- Cut a piece of wood in your desired sign size (or use canvas). Sand the rough edges and the top of the wood where you will be painting.
- Paint a base coast using chalk paint (which will be the background of your sign). If you choose not to use chalk paint, make sure you have sanded and prepped the surface very well. Once it dries, paint a second coat if needed.
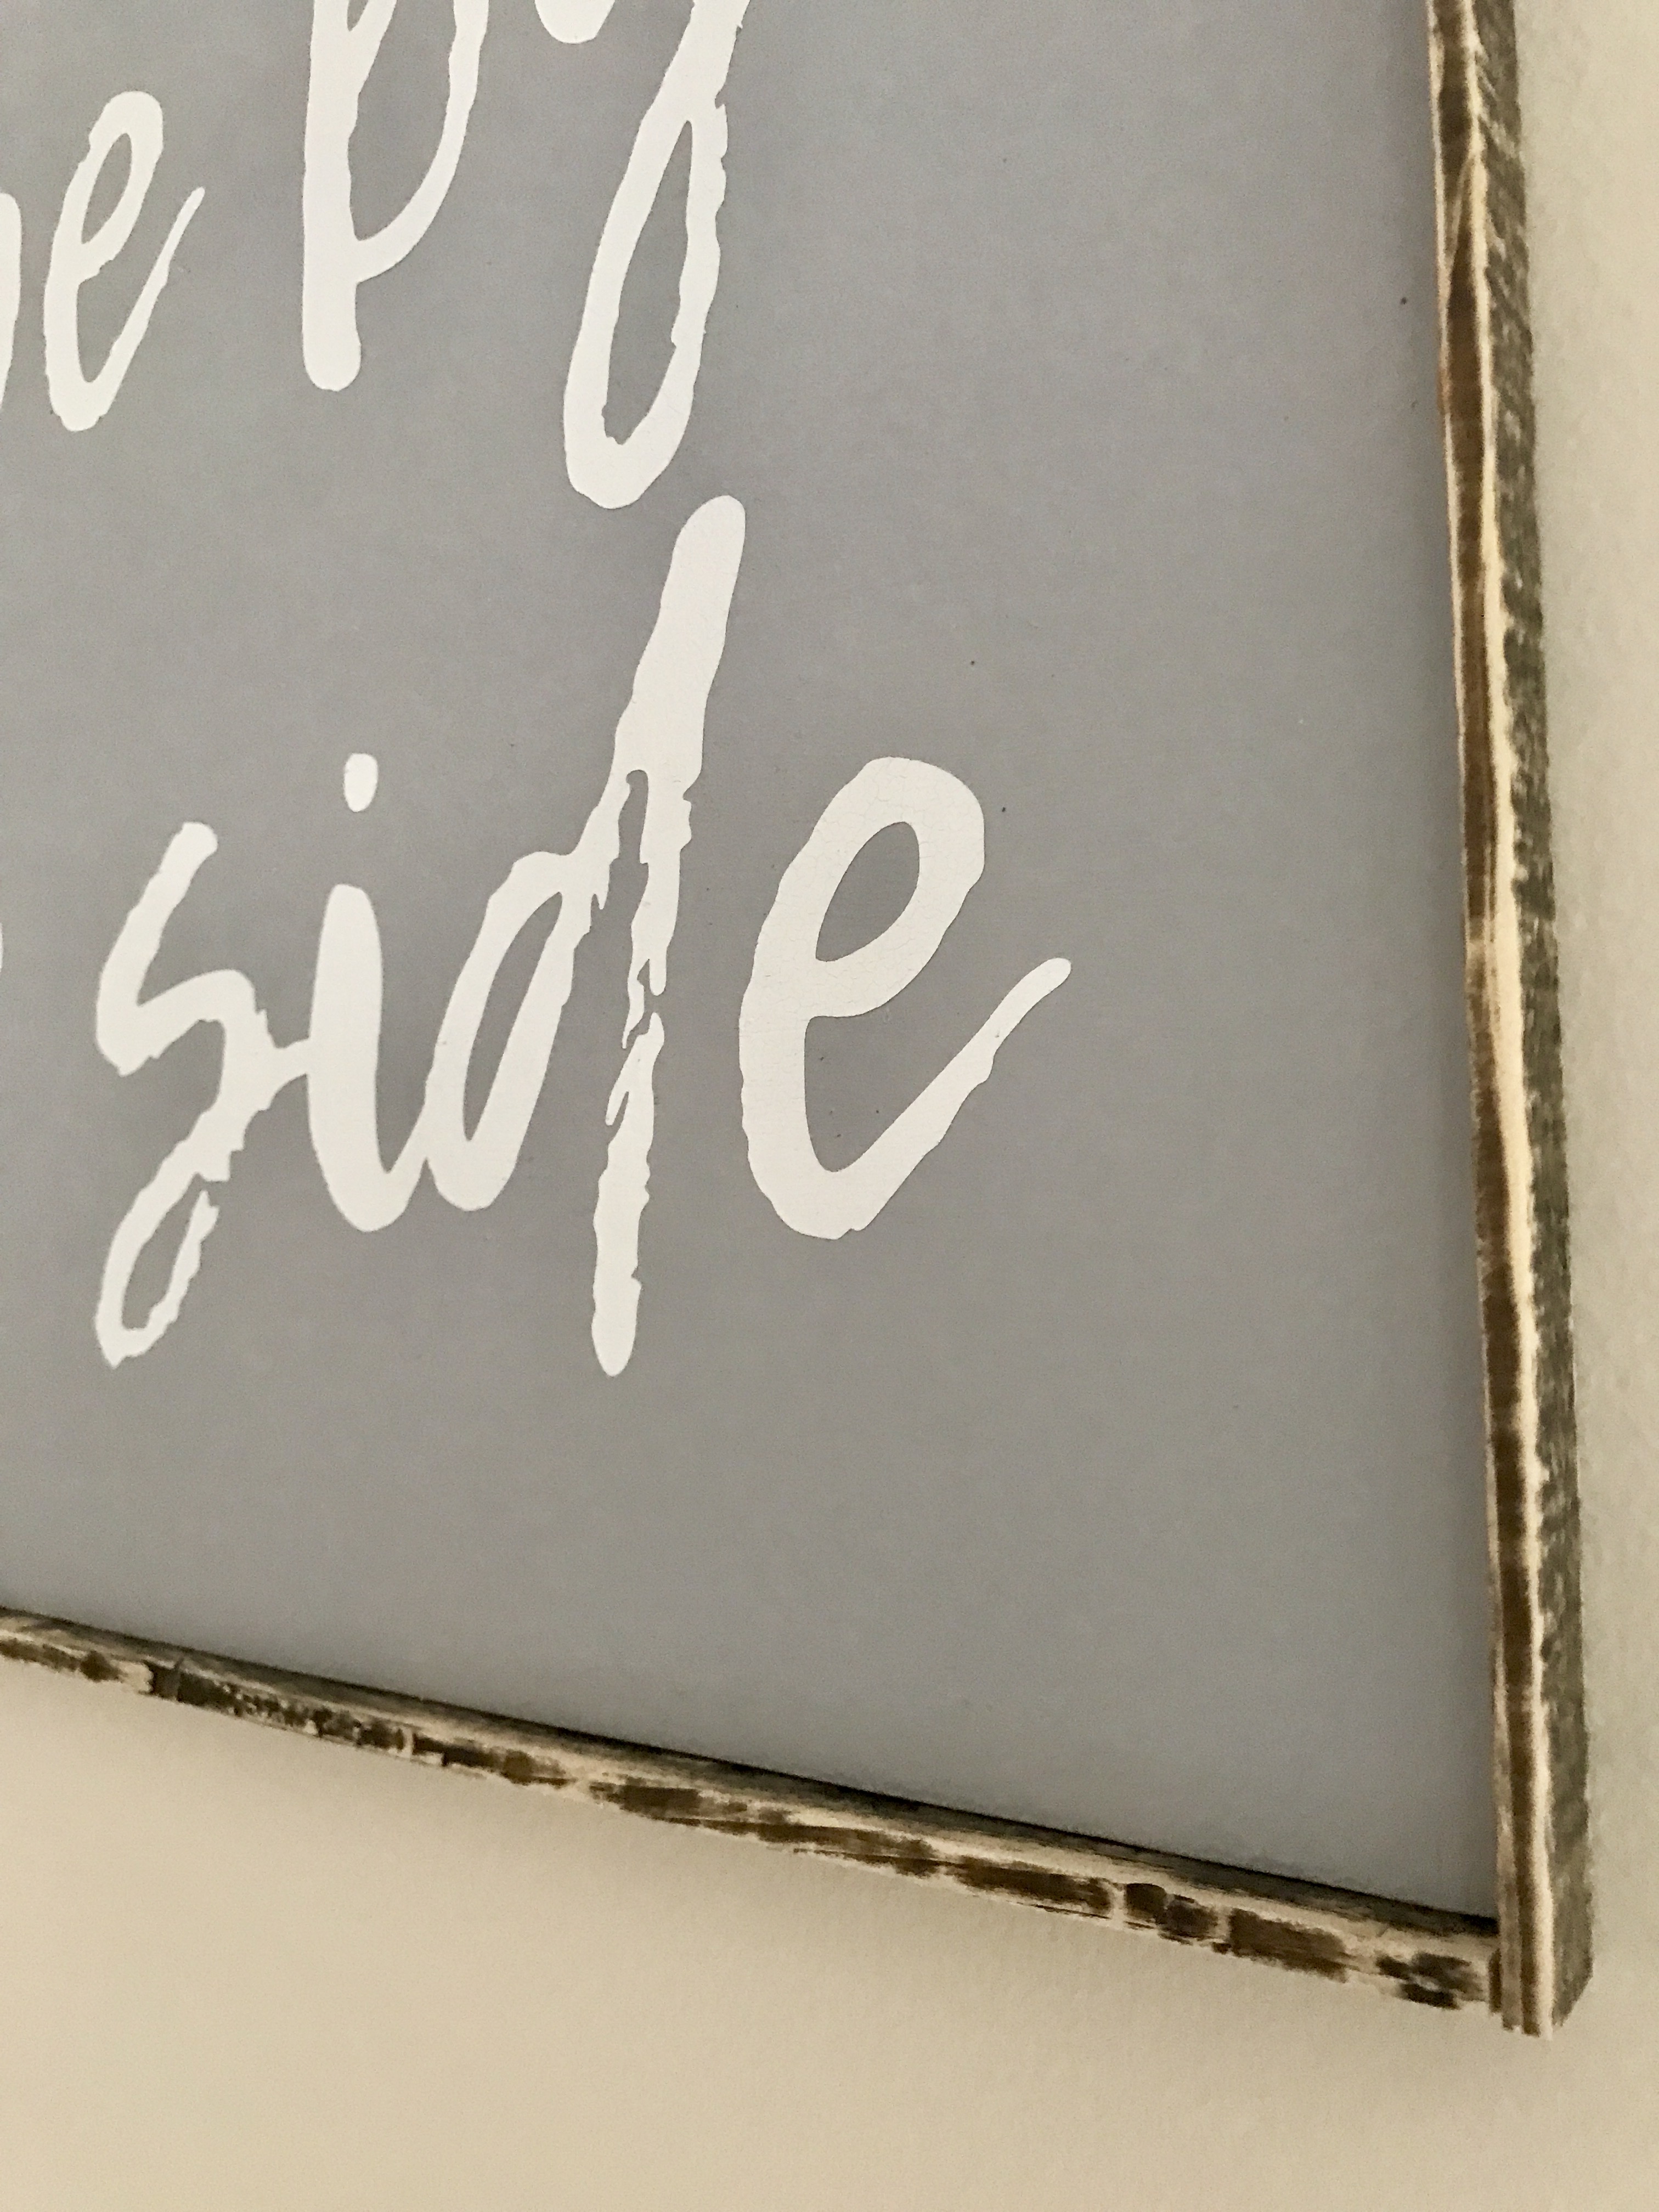
- Cut the stencil. I prefer stencil vinyl, the lines come out crisp and clean (as you can see in the sign above). The vinyl costs more up front but you get a large amount that will last a long time. The quality makes it so easy to work with - there's no need to touch up when you're done.
- Lay the stencil on your sign (try not to leave a space between high and tide like I accidentally did. It's why you should never lay vinyl in a rush with little ones running around).
- Paint a thin layer of of the base coat AGAIN. I know - it seems silly to paint a base coat of the paint again. But... it helps to seal the stencil and is part of what gives you such perfect, crisp lines. DO NOT SKIP THIS STEP. I am telling you - you don't want to skip this step.
- Once it dries, paint a thin layer of modpodge over the stencil portion only. This is not an absolutely necessary step. But, I feel like it gives me a better seal so if I have modpodge on hand, I always complete this step.
- Once it dries, paint a thin layer of the top coat.
- Once that layer dries, paint another thin layer of the top coat.
- Pull off the stencil vinyl (I wait until it dries, some people do it immediately).
- Paint a clear coat (using wax or a spray).
- If desired, add a frame. My Dad made the frame for me on this sign. He used scrap wood he had laying around. He stained it an espresso color. Then he went back and sanded it off to give it a beachy weathered look.