As an Amazon Associate, I earn from qualifying purchases. I am also an affiliate for the HP ink program and CJ Network. Click here to read more.
If you missed it yesterday, I shared my sister’s Under the Sea baby shower on the blog. The decor for my sister’s show was created by my Mom and me. Both of us have Silhouette Machines which made customizing it so simple.
For those of you that have never heard of one, it’s a machine that cuts vinyl and paper. The different types of vinyl can be used to make shirts, mugs, decals, stencils for signs, etc. For the shower, we used it to make: the baby blocks, the mugs, the vinyl labels on the containers, and the wood signs.
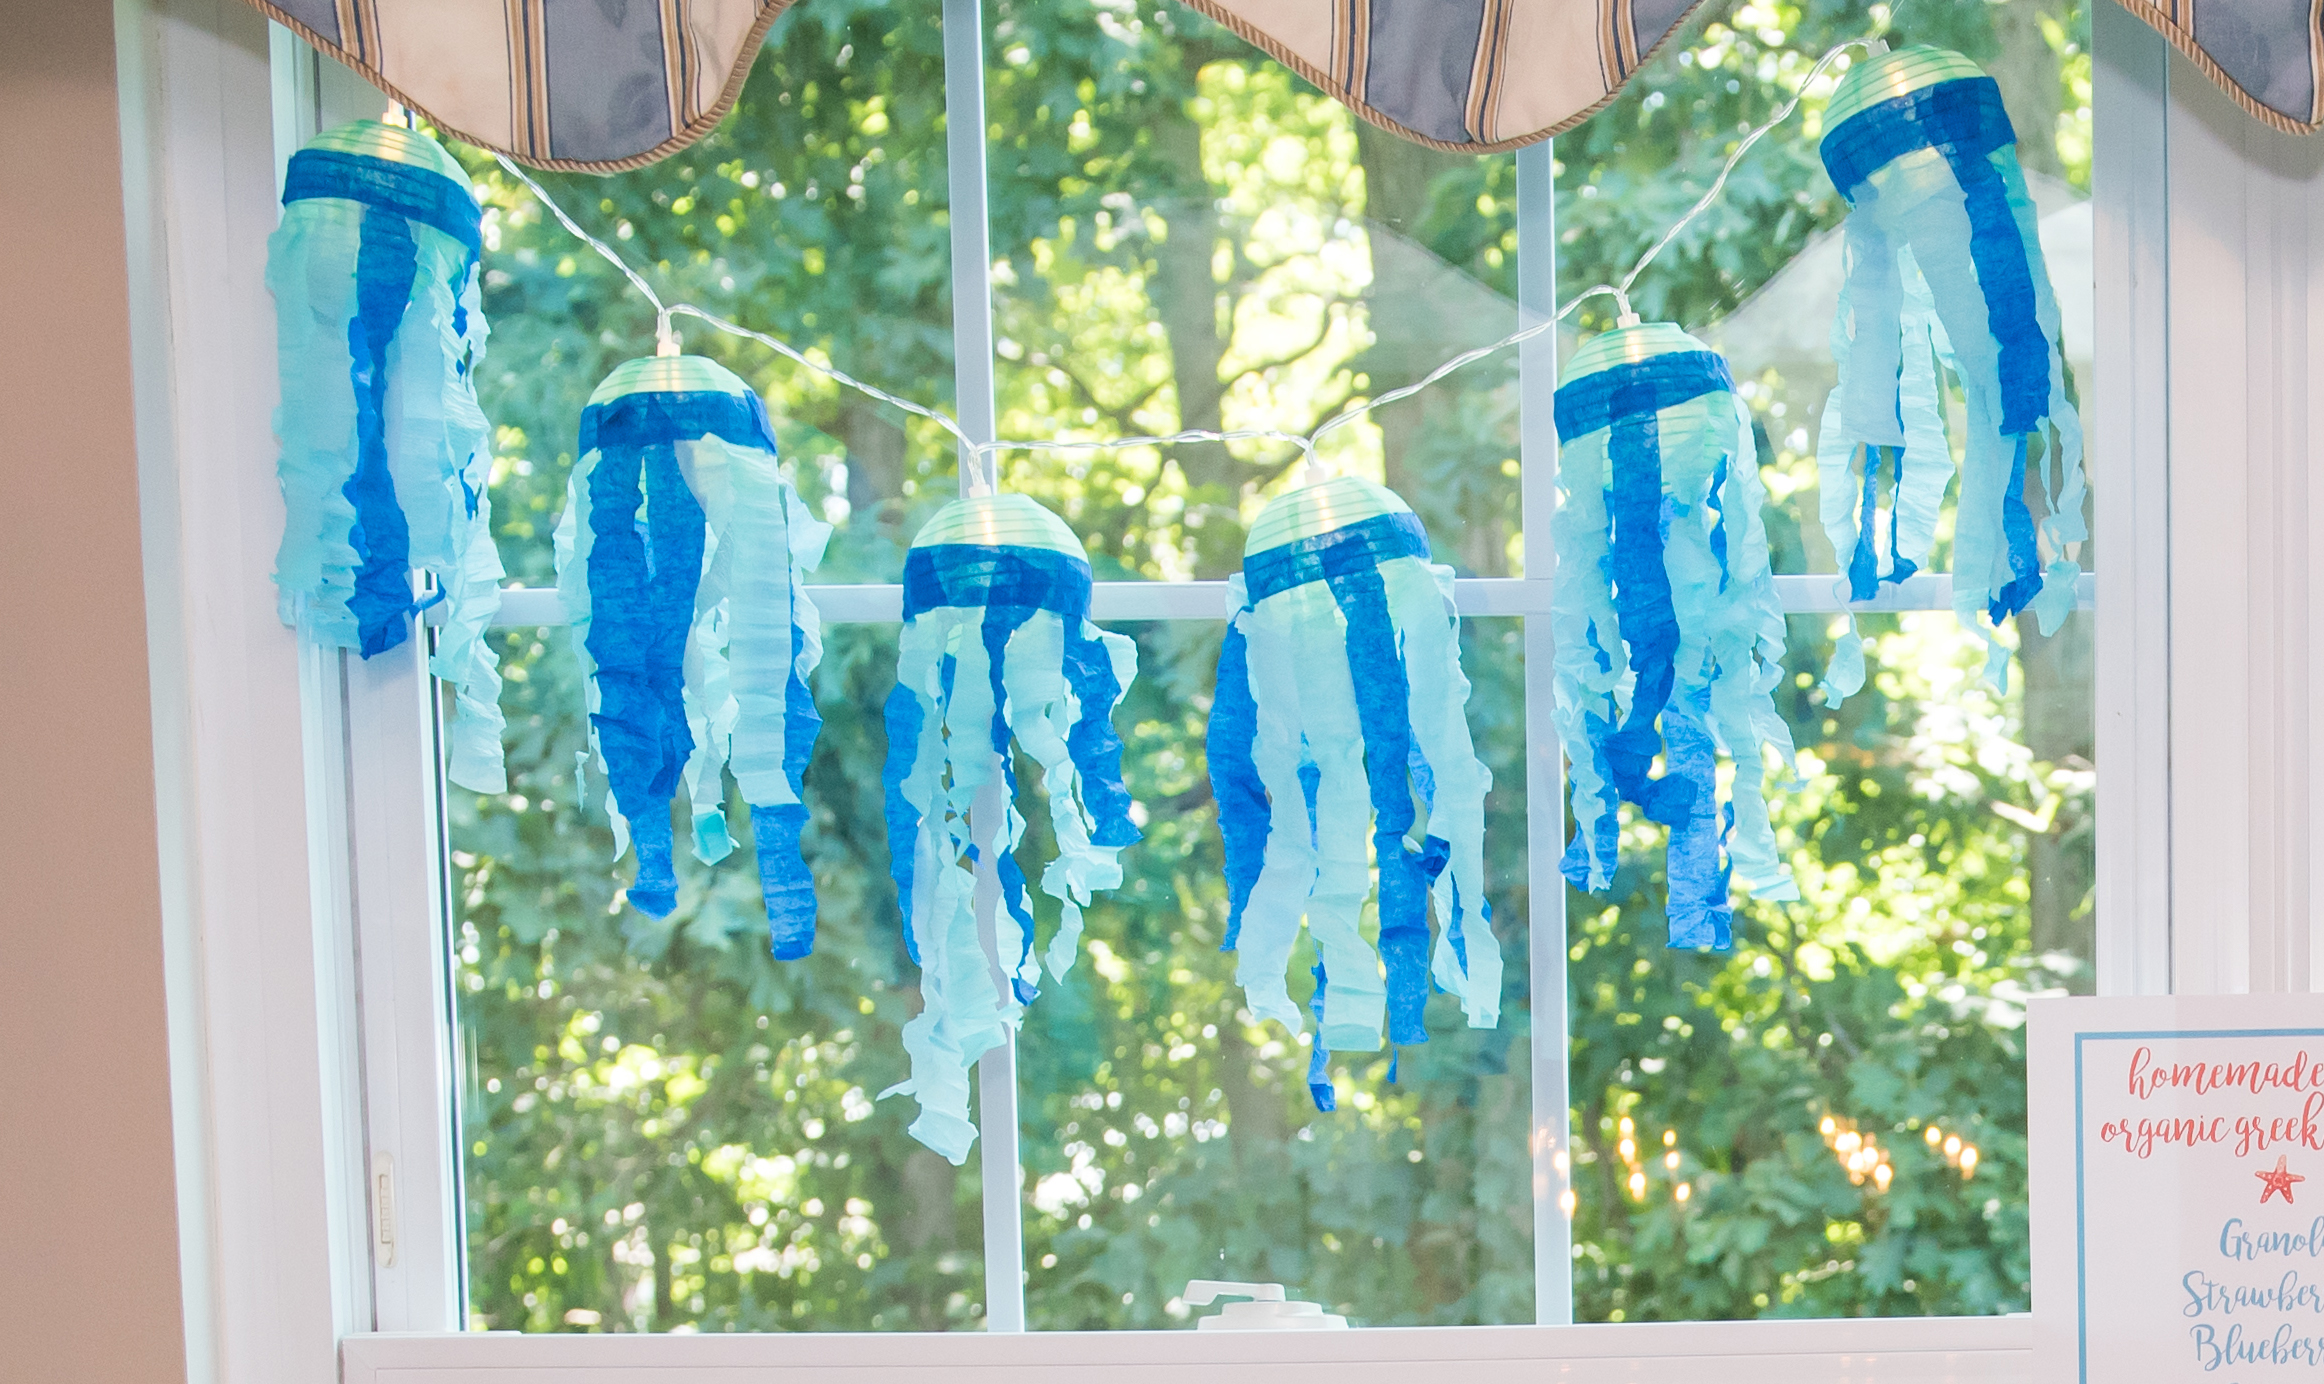
The DIY project that did not involved the Silhouette machine, were my jellyfish lanterns. If you type in beach baby shower or beach birthday on Pinterest, you will see lots of lantern jellyfish.
My problem was that I couldn’t find any good easy DIY videos to watch. I found one, but it involved sewing the streamers.
It said it required you to sew in a straight line, so I knew I’d have to find another way (seriously guys, I cannot sew in a straight line if my life depended on it.
I don’t think I will ever be patient enough to learn how to sew better). So after some trial and error, I figured out how to make my own and made a video to show you.
DIY Jellyfish Lanterns How To Video

Materials
- Crepe paper aka streamers in various shades of blue
- Paper lanterns (any size would work!)
- Craft glue like E6000, or hot glue
- Scissors
- Paper to cover your working surface (not required).
Directions
*Watching the video is much easier than reading the directions.
- Fold your crepe paper back and forth like an accordion. You should be making a fold about every 1/4-1/2 inch. It does not need to be perfect.
- When you can’t hold anymore of the folded crepe paper in your fingers, cut the streamers.
- Cut the folded crepe paper down the middle (you don’t want to go across it because then you will not get the desired effect. So make sure you cut it perpendicular with the direction you were folding.
- Unfold the crepe paper, but leave it slightly crumpled.
- Cut the crumpled up paper into strips of varying length.
- Repeat this with the other shades of blue.
- Take one piece of cut crepe paper. Place a small amount of glue on one end of a strip.
- Gently press the glue end up against the paper lantern at about it’s middle (almost like where it would be wearing a belt).
- Continue this process varying shades of blue and lengths until you gone all the way around the lantern.
- Next, using the darkest blue you have, measure out approximately the length of the lantern. Fold it over itself to make cutting quicker.
- Cut in a wavy line down the middle.
- Place a small amount of glue on one end of one piece of the dark blue crepe paper.
- Place it on the very top edge of the crepe paper you have glued on. You will be creating a belt like effect on the lantern.
- Continue to add a little glue and place the dark blue crepe paper in a band around the lantern. This is to cover up the top of where you glued the other pieces.
- Let it dry.
- Done!


