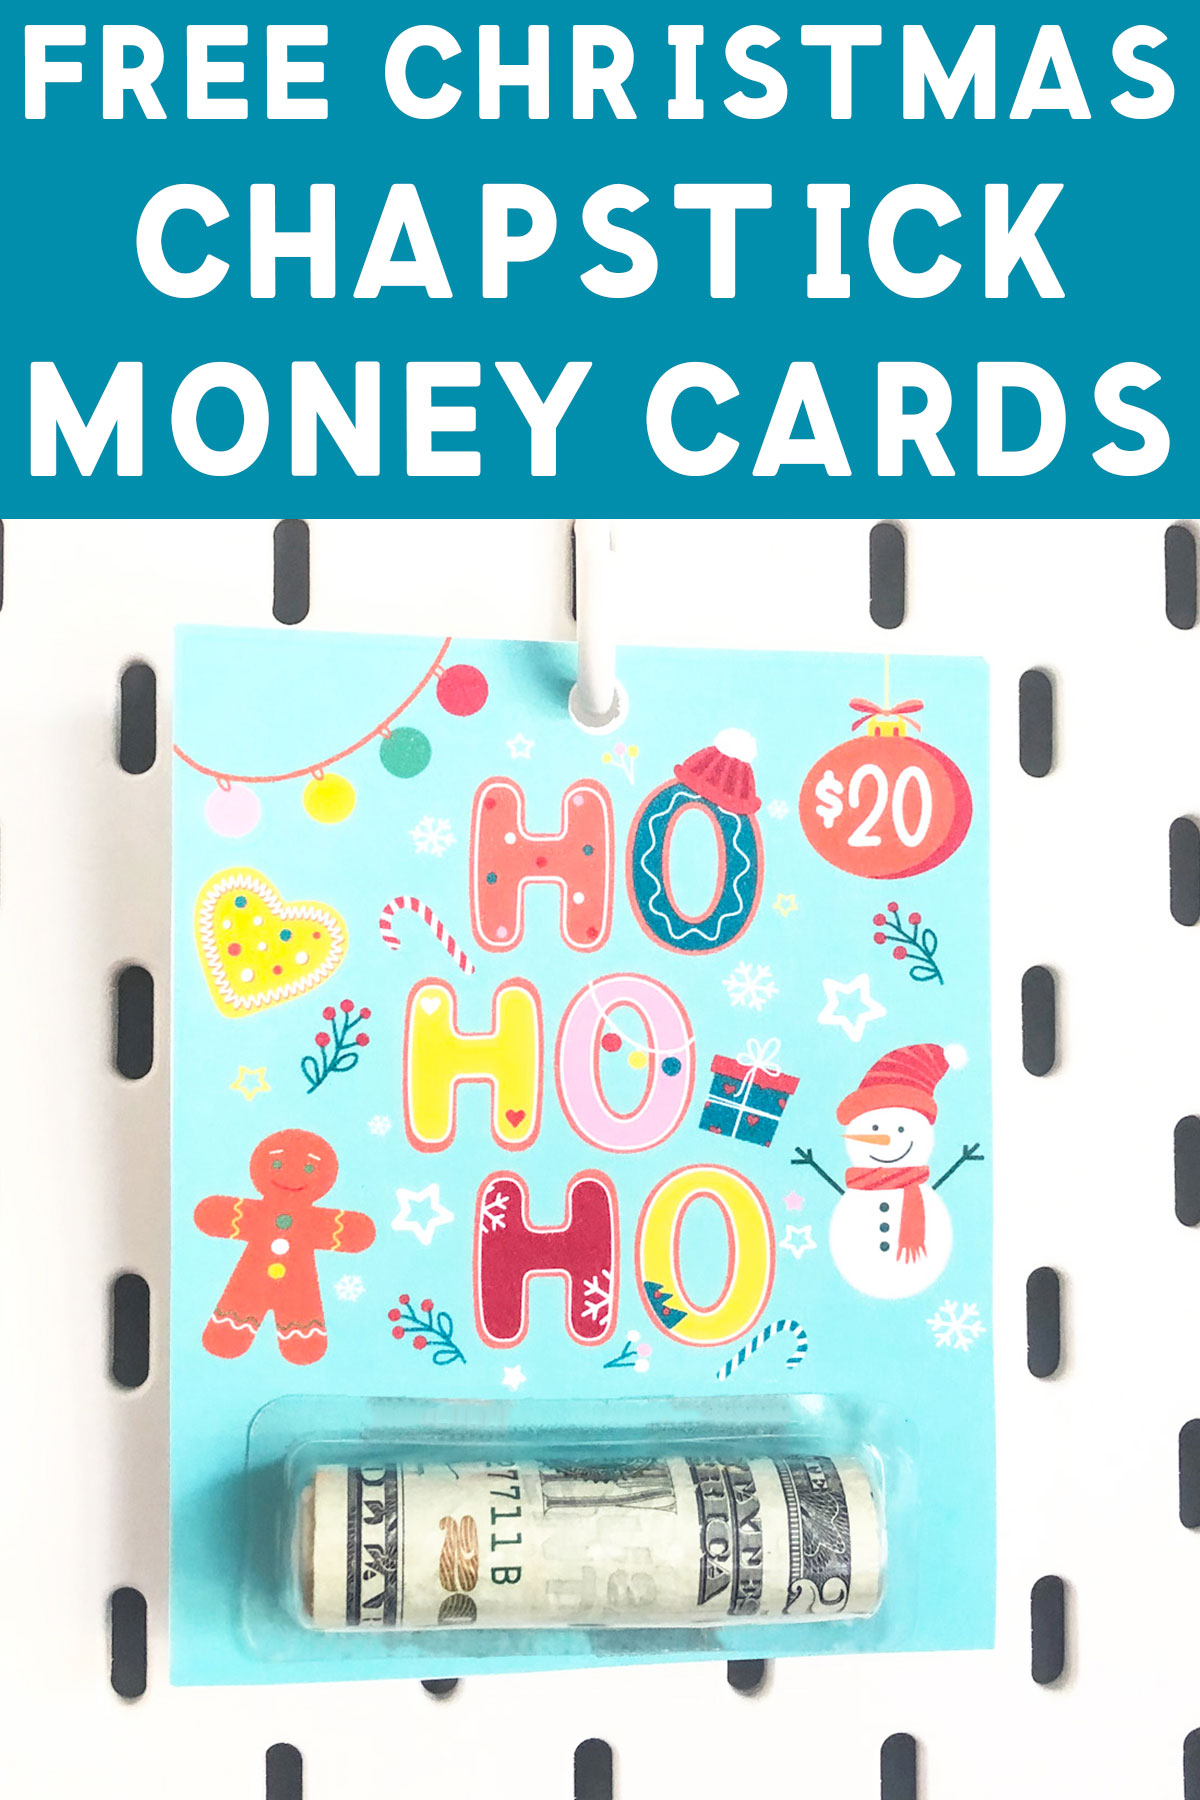
Use these free Christmas chapstick money cards to create an easy DIY last minute Christmas gift. The templates are so easy to use. They’ll turn the simple gift of giving money into something more special.
These chapstick money holders are super popular in all of the Cricut and Silhouette groups. They are being used for all sorts of occasions – weddings, birthdays, graduations, and more.
If you are looking for a birthday version, I created this birthday chapstick money holder card.
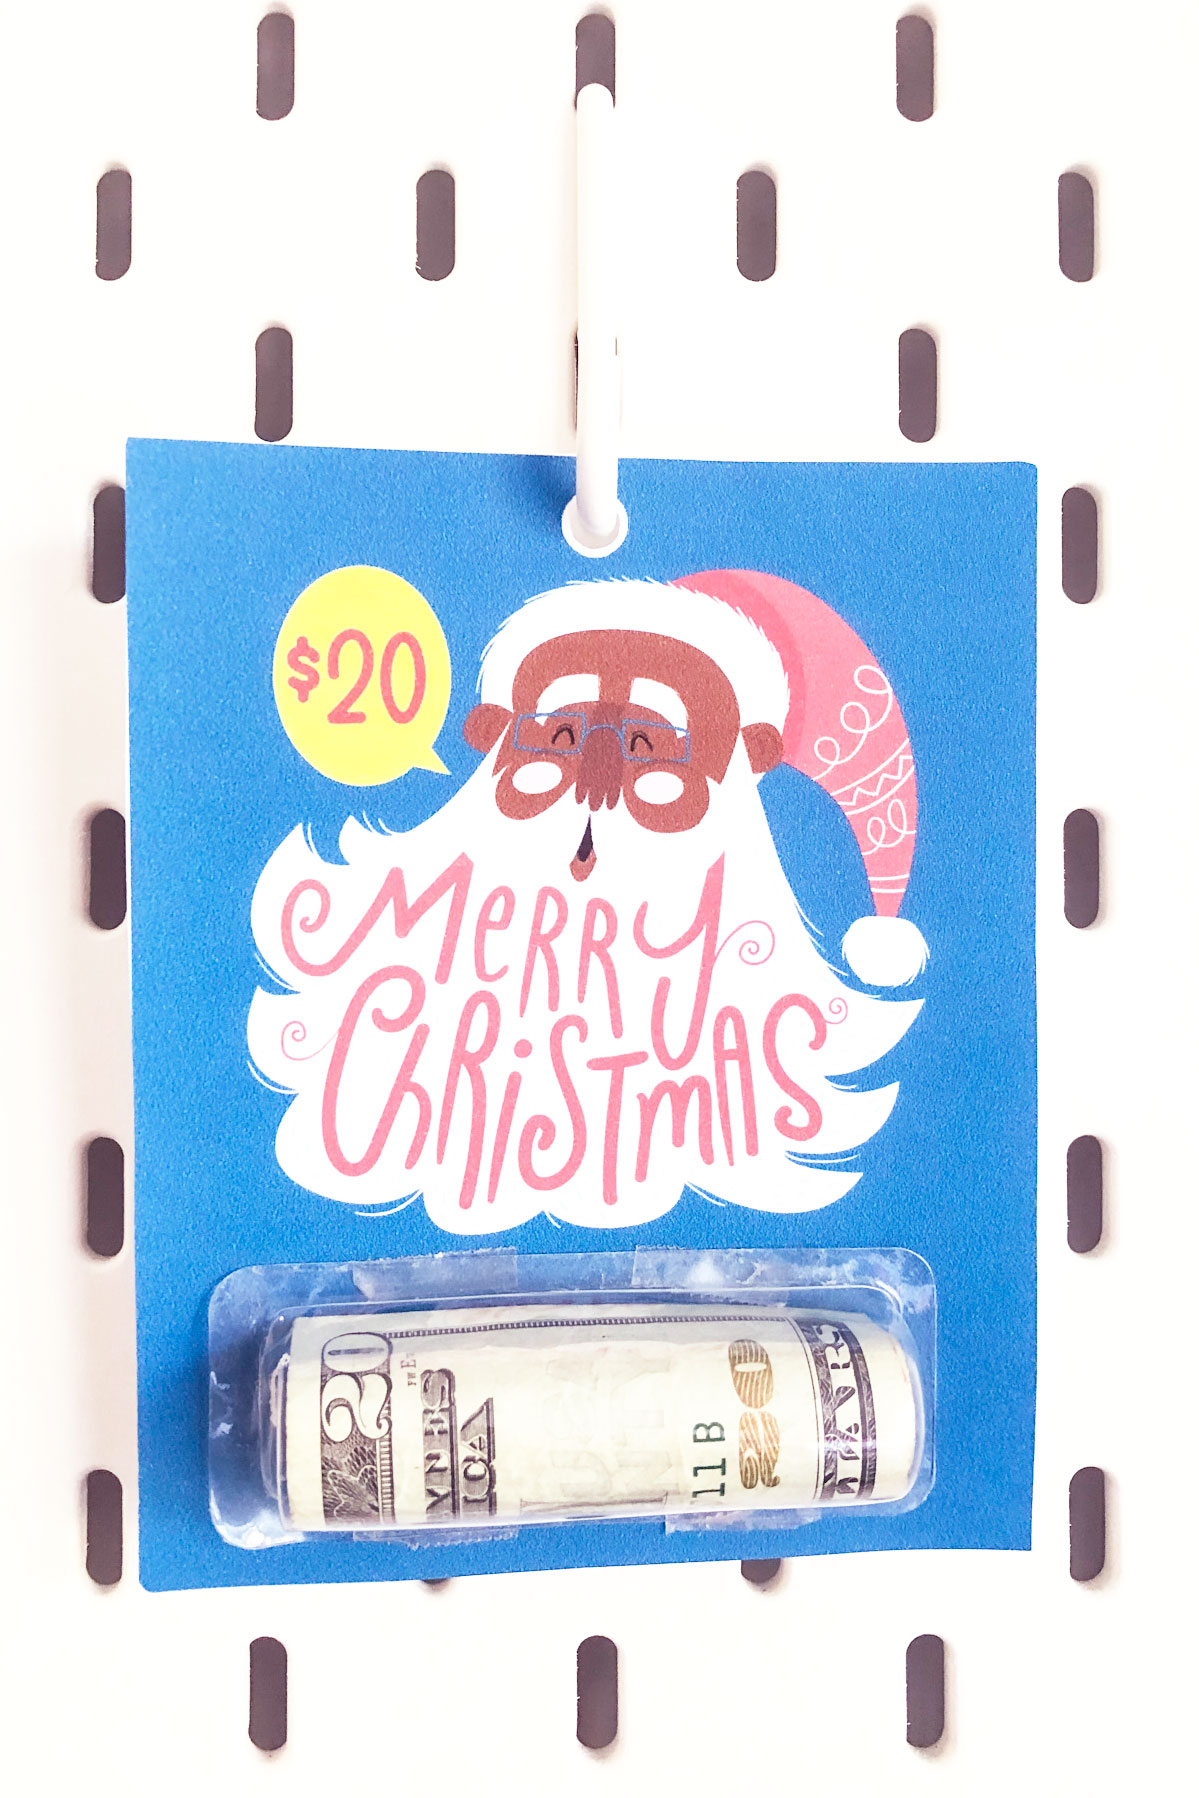
What Do the Free Christmast Chapstick Money Cards Look Like?
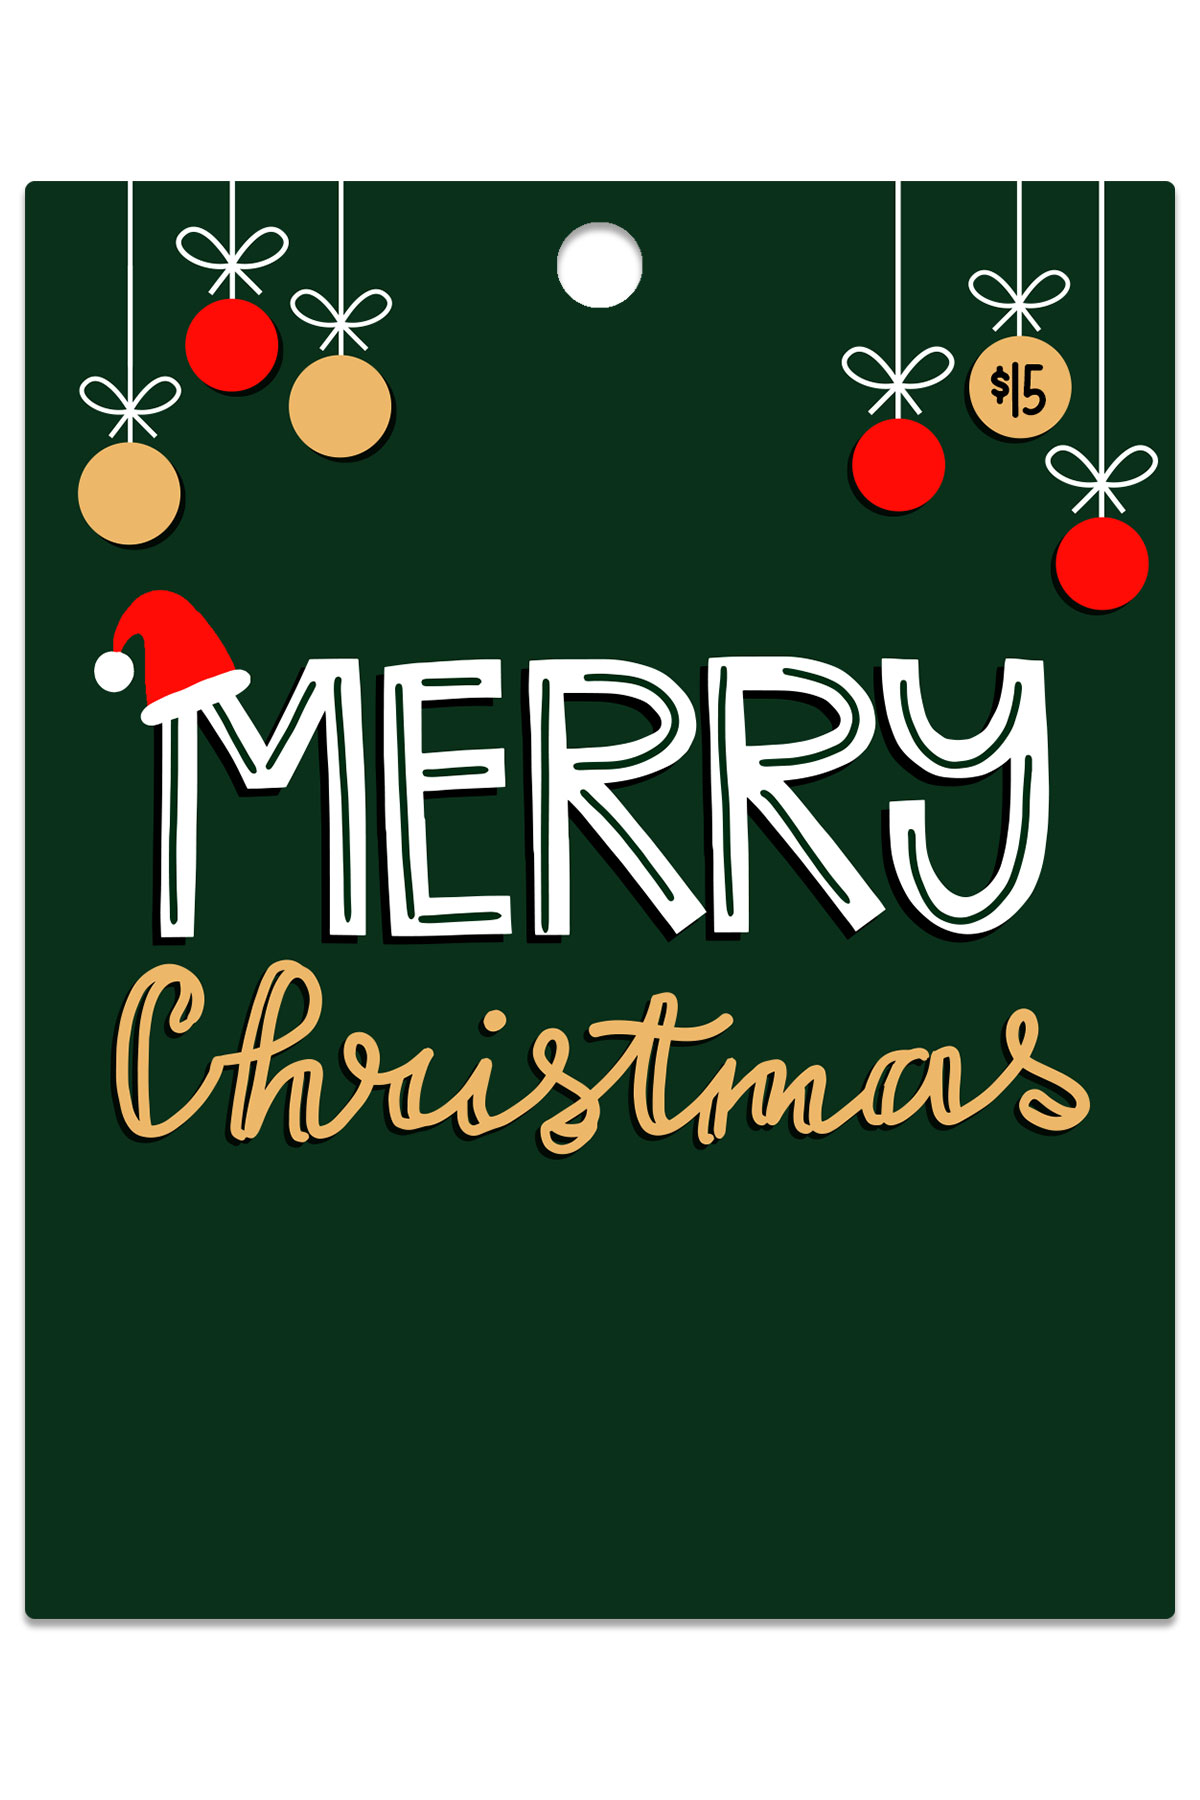
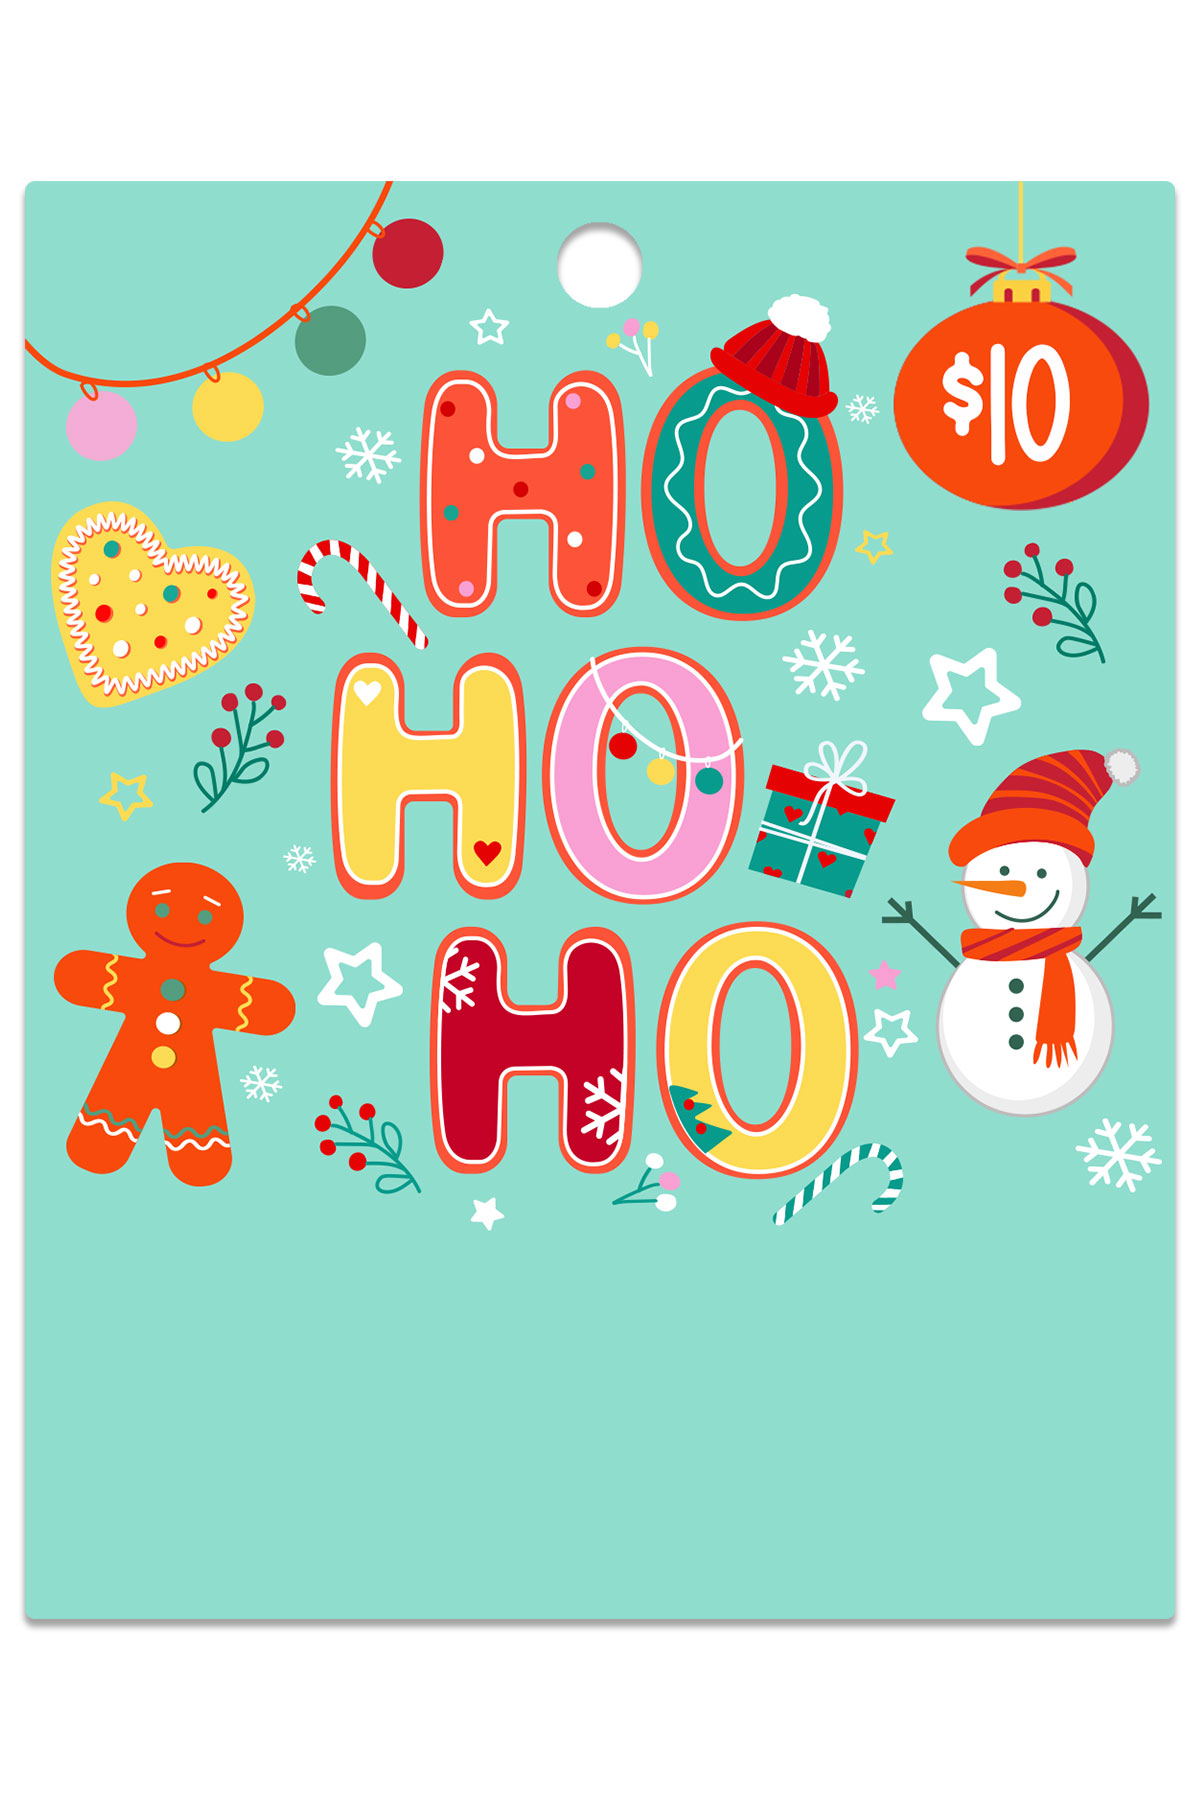
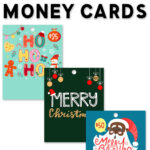
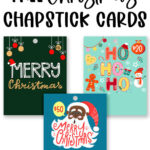
There are 3 different designs included in this set of free printables.
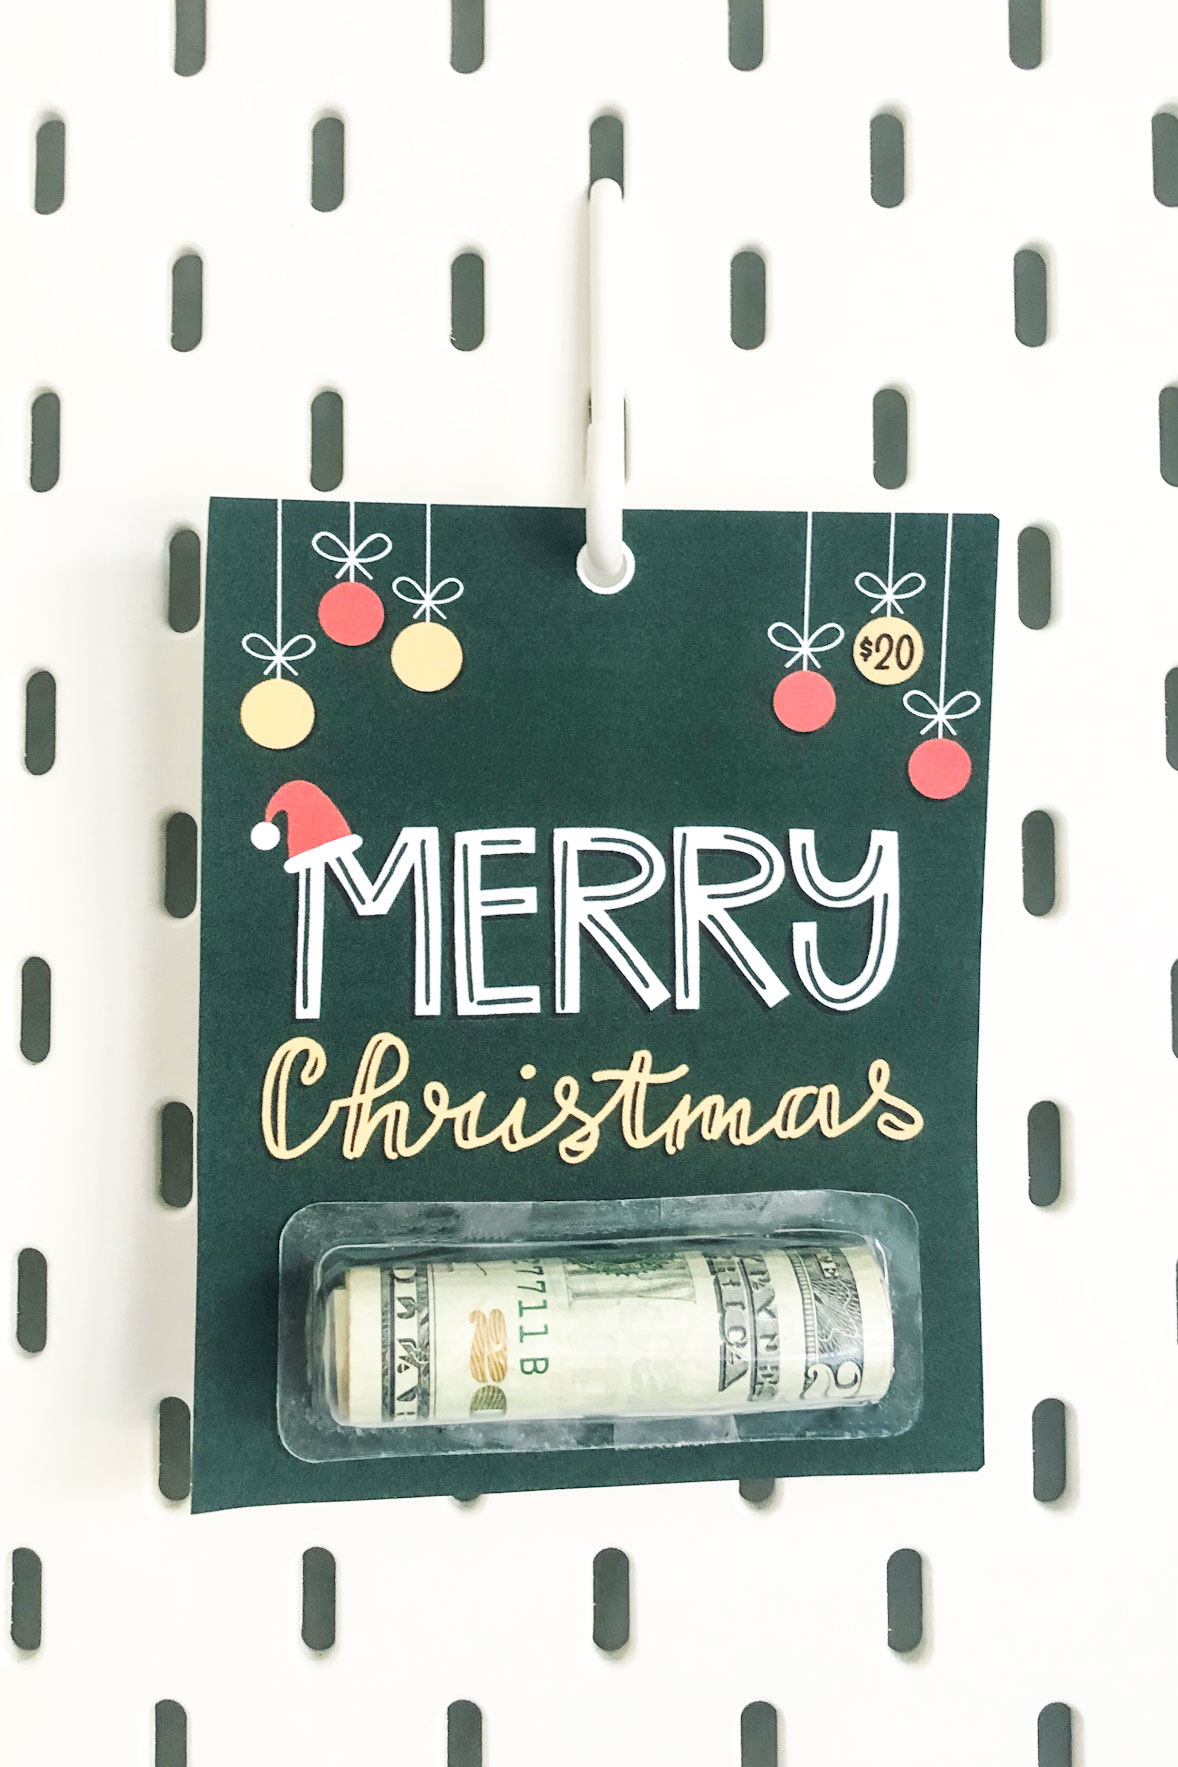
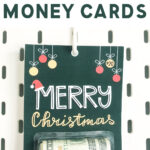
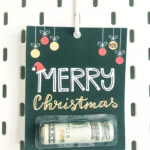
The first set is a simple dark green Merry Christmas card design.
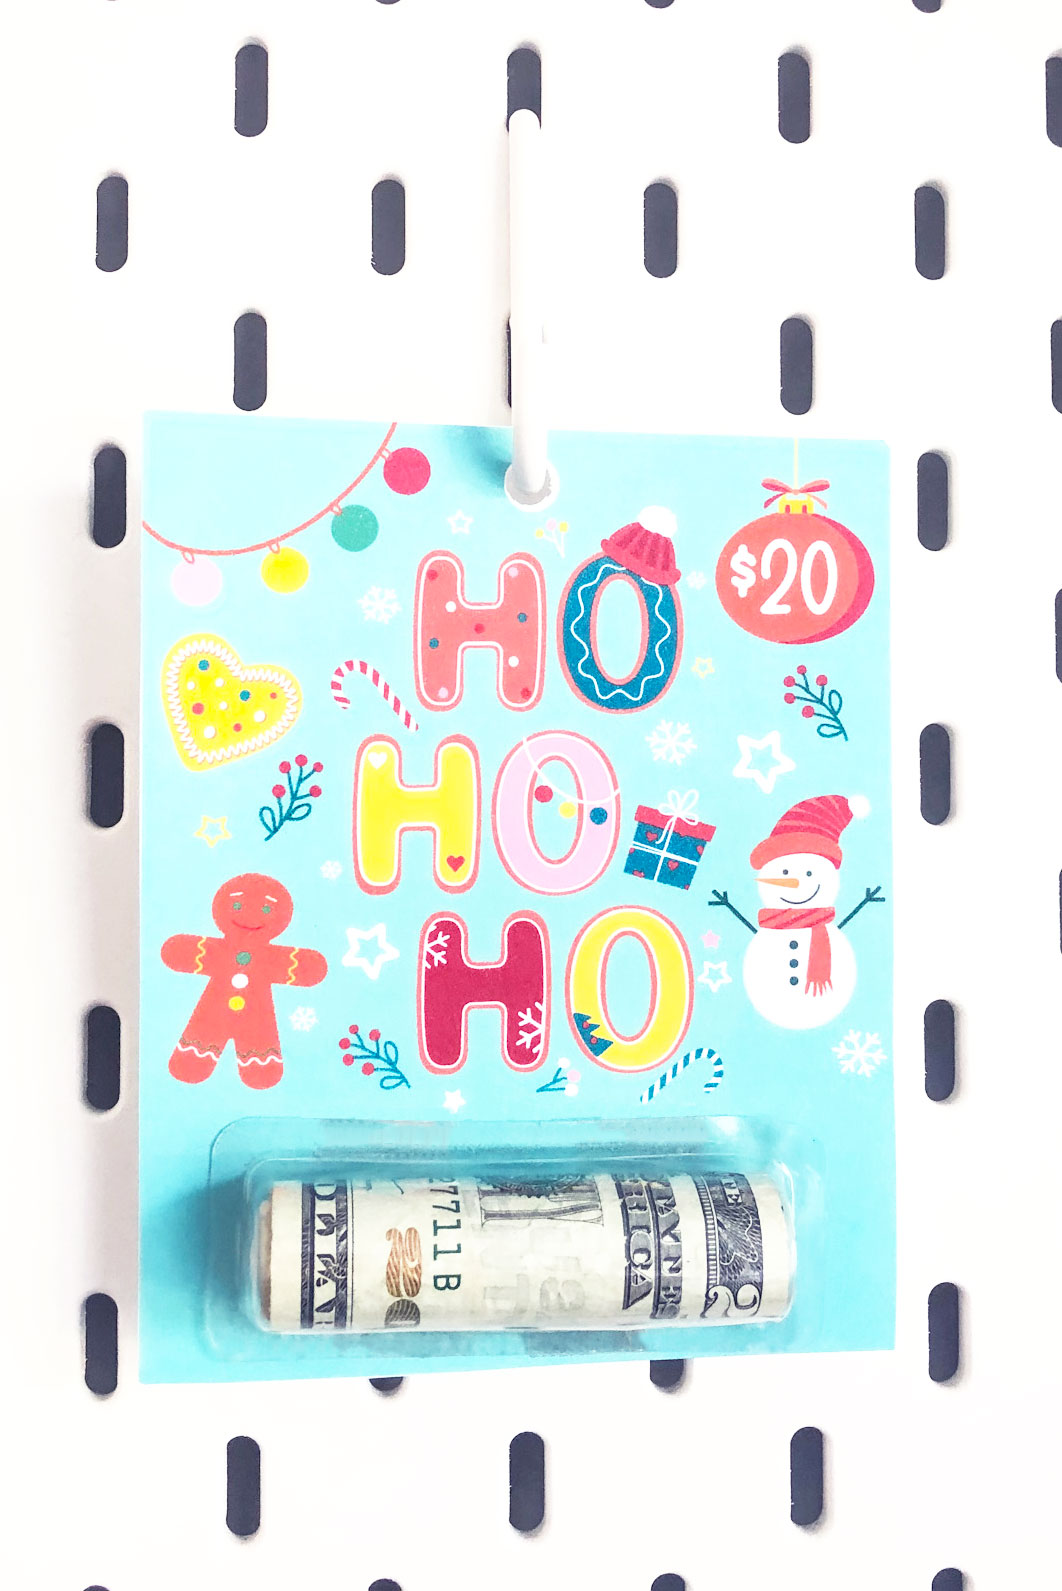
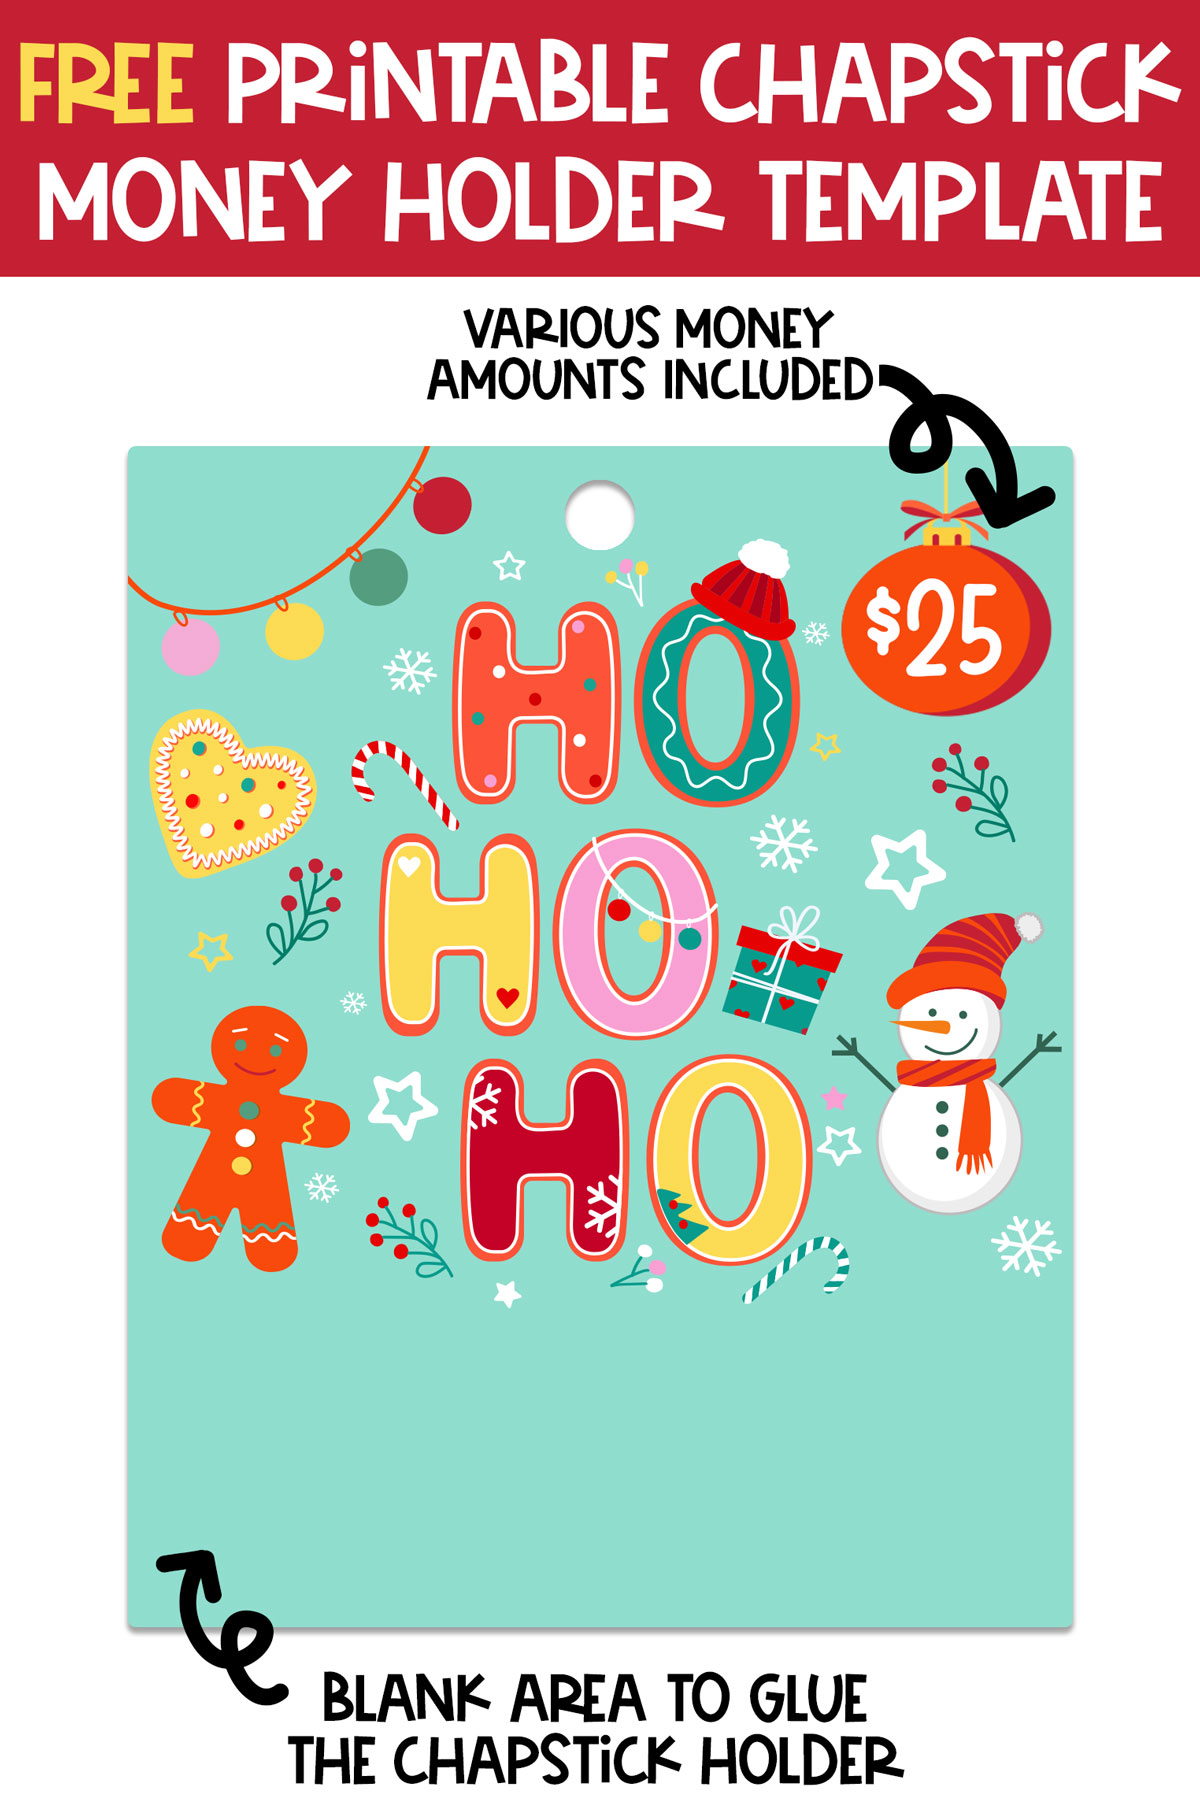
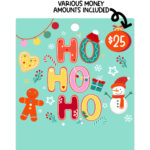
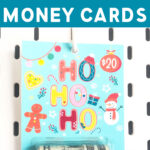
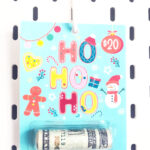
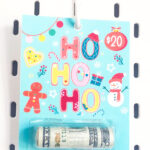
Second is this adorable Ho Ho Ho gingerbread design.
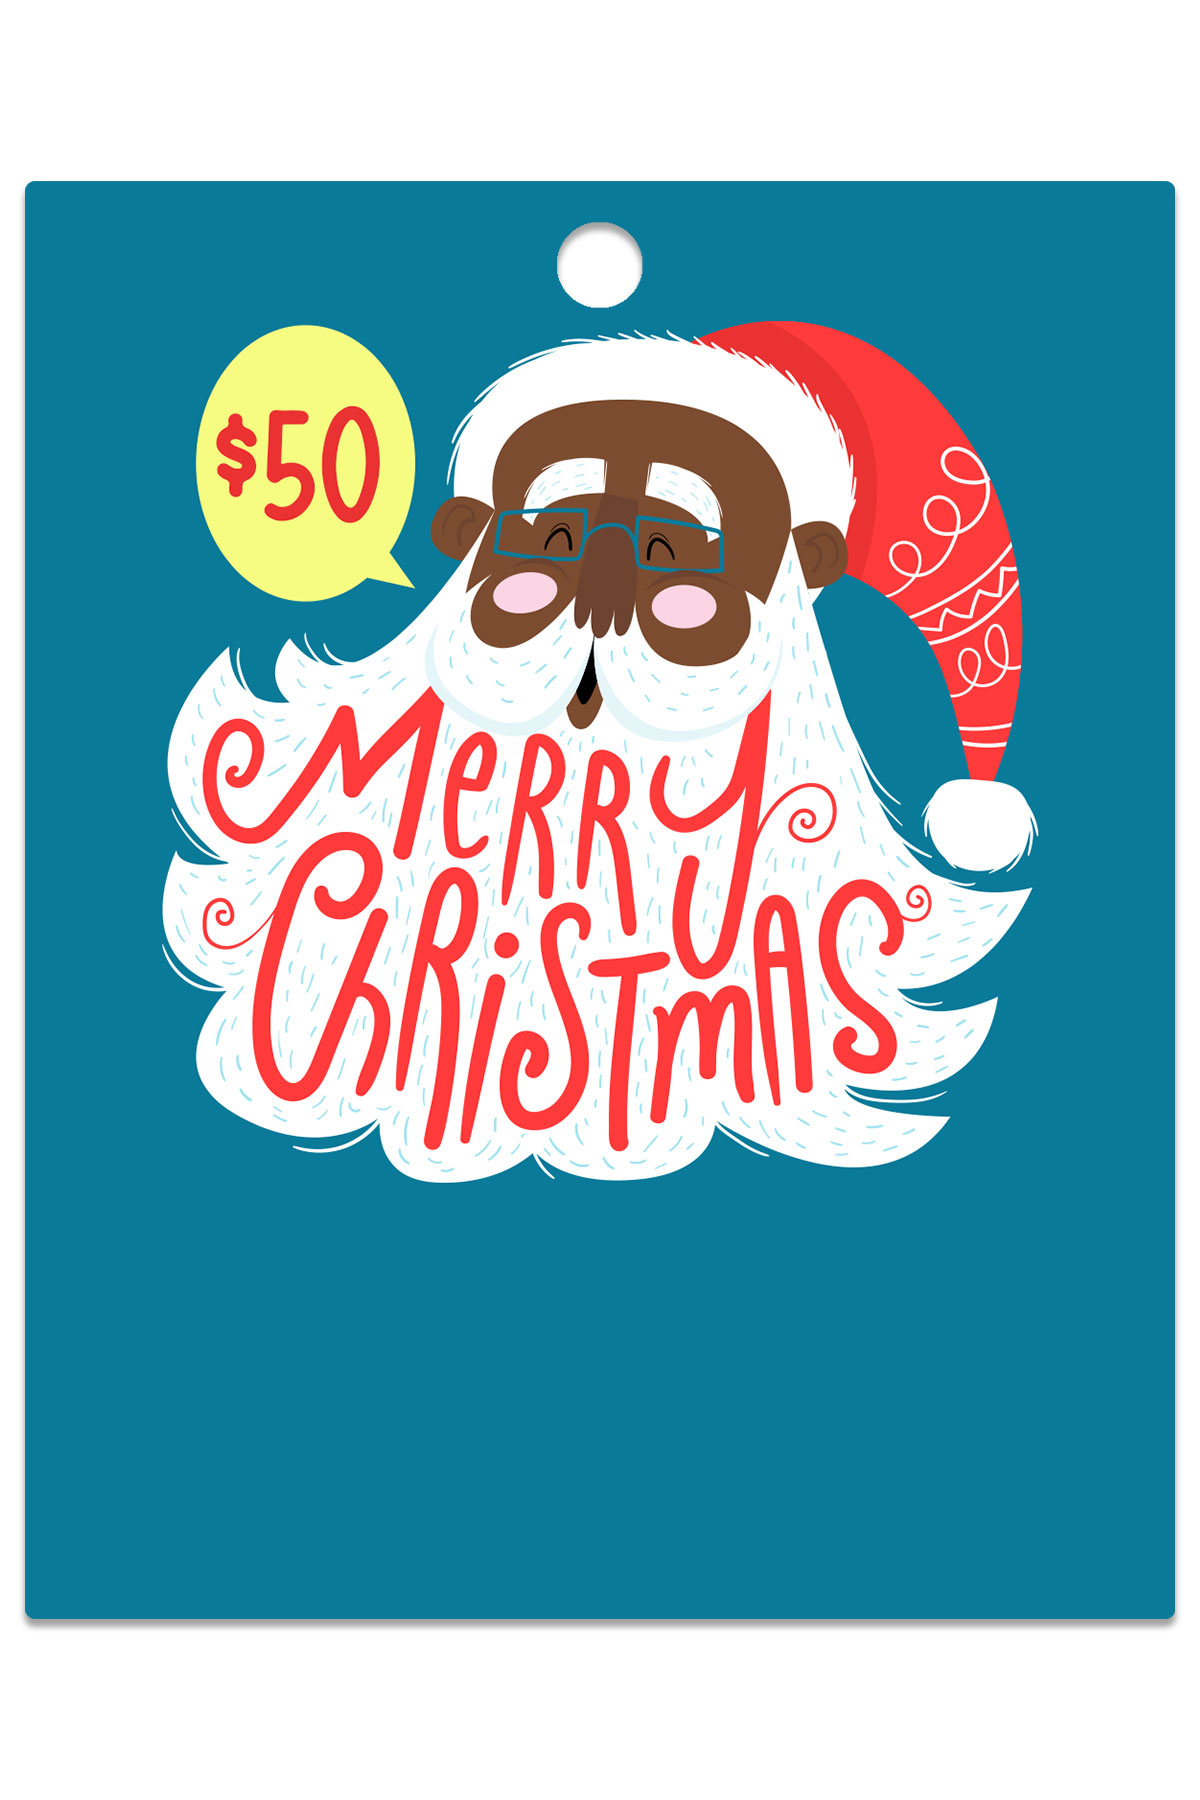
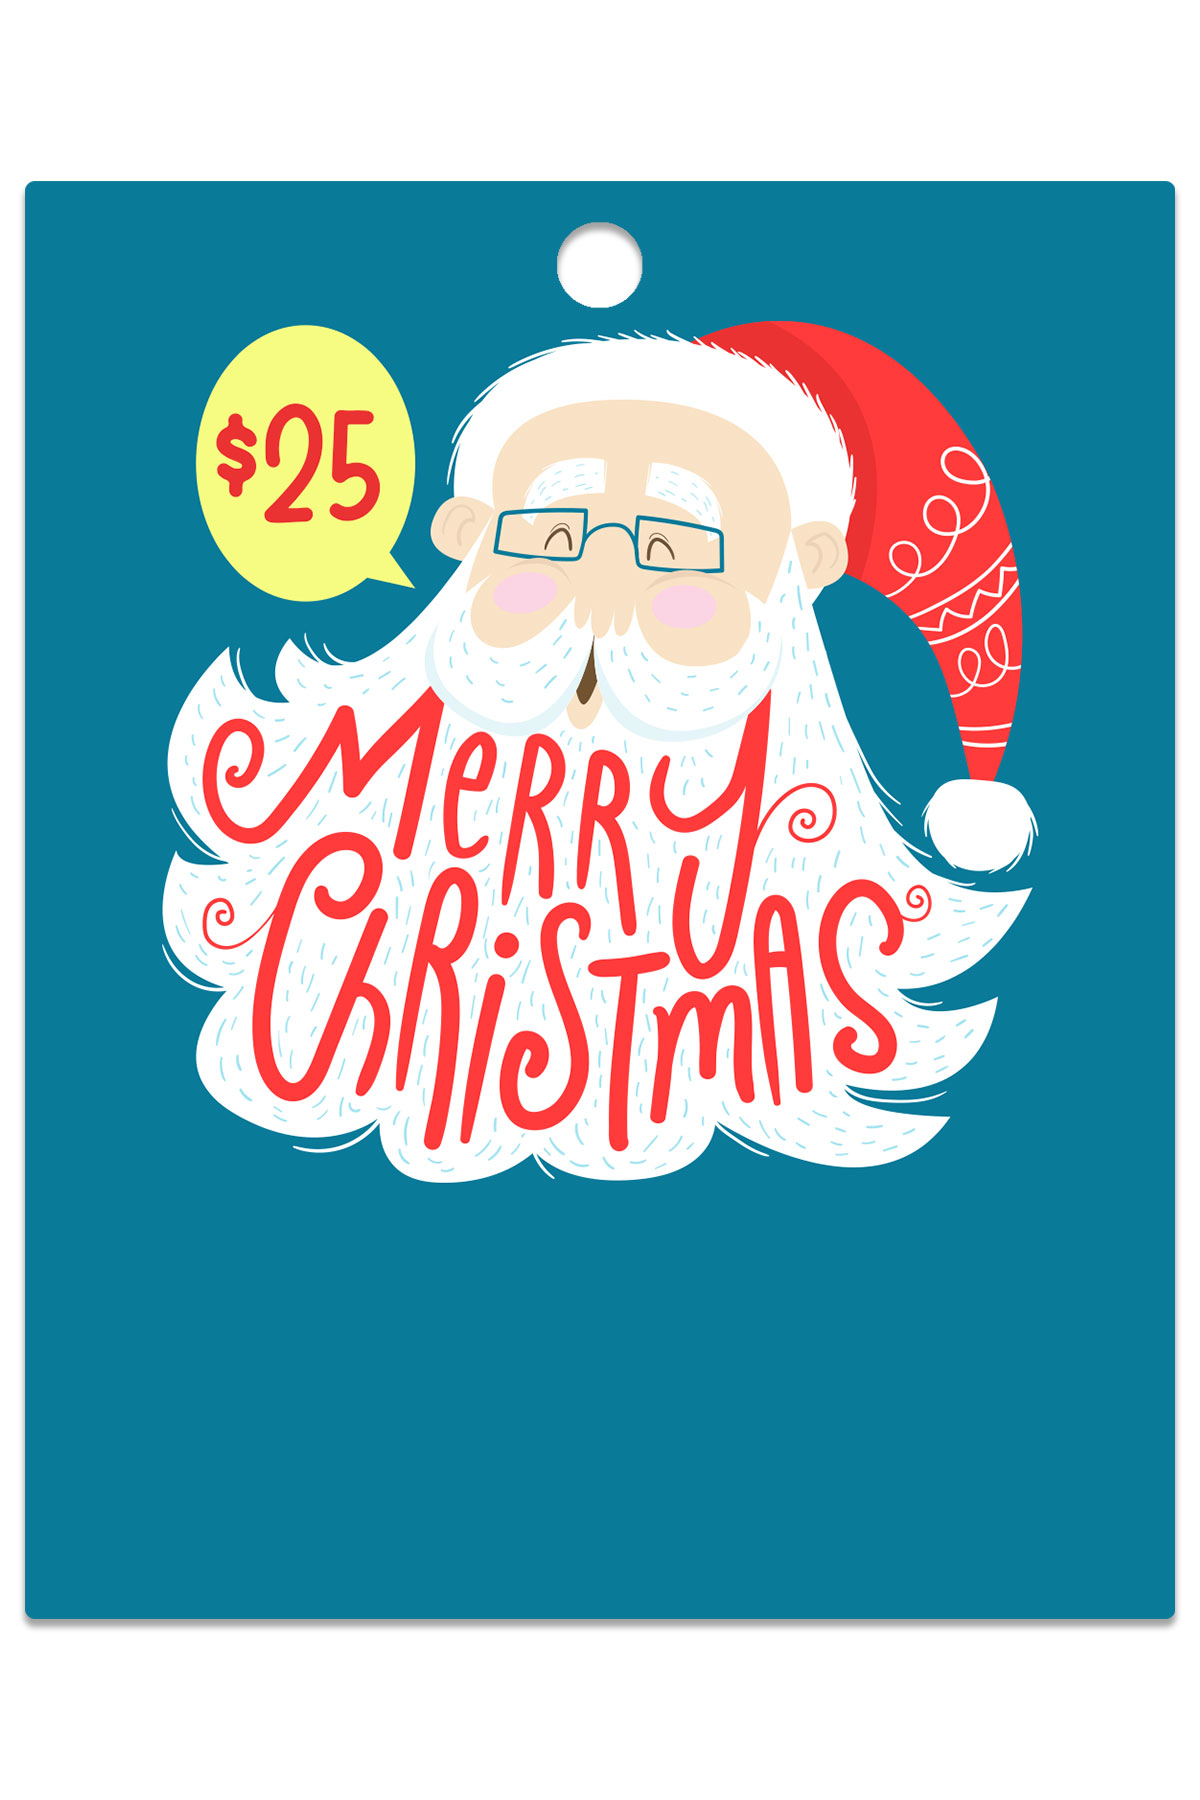
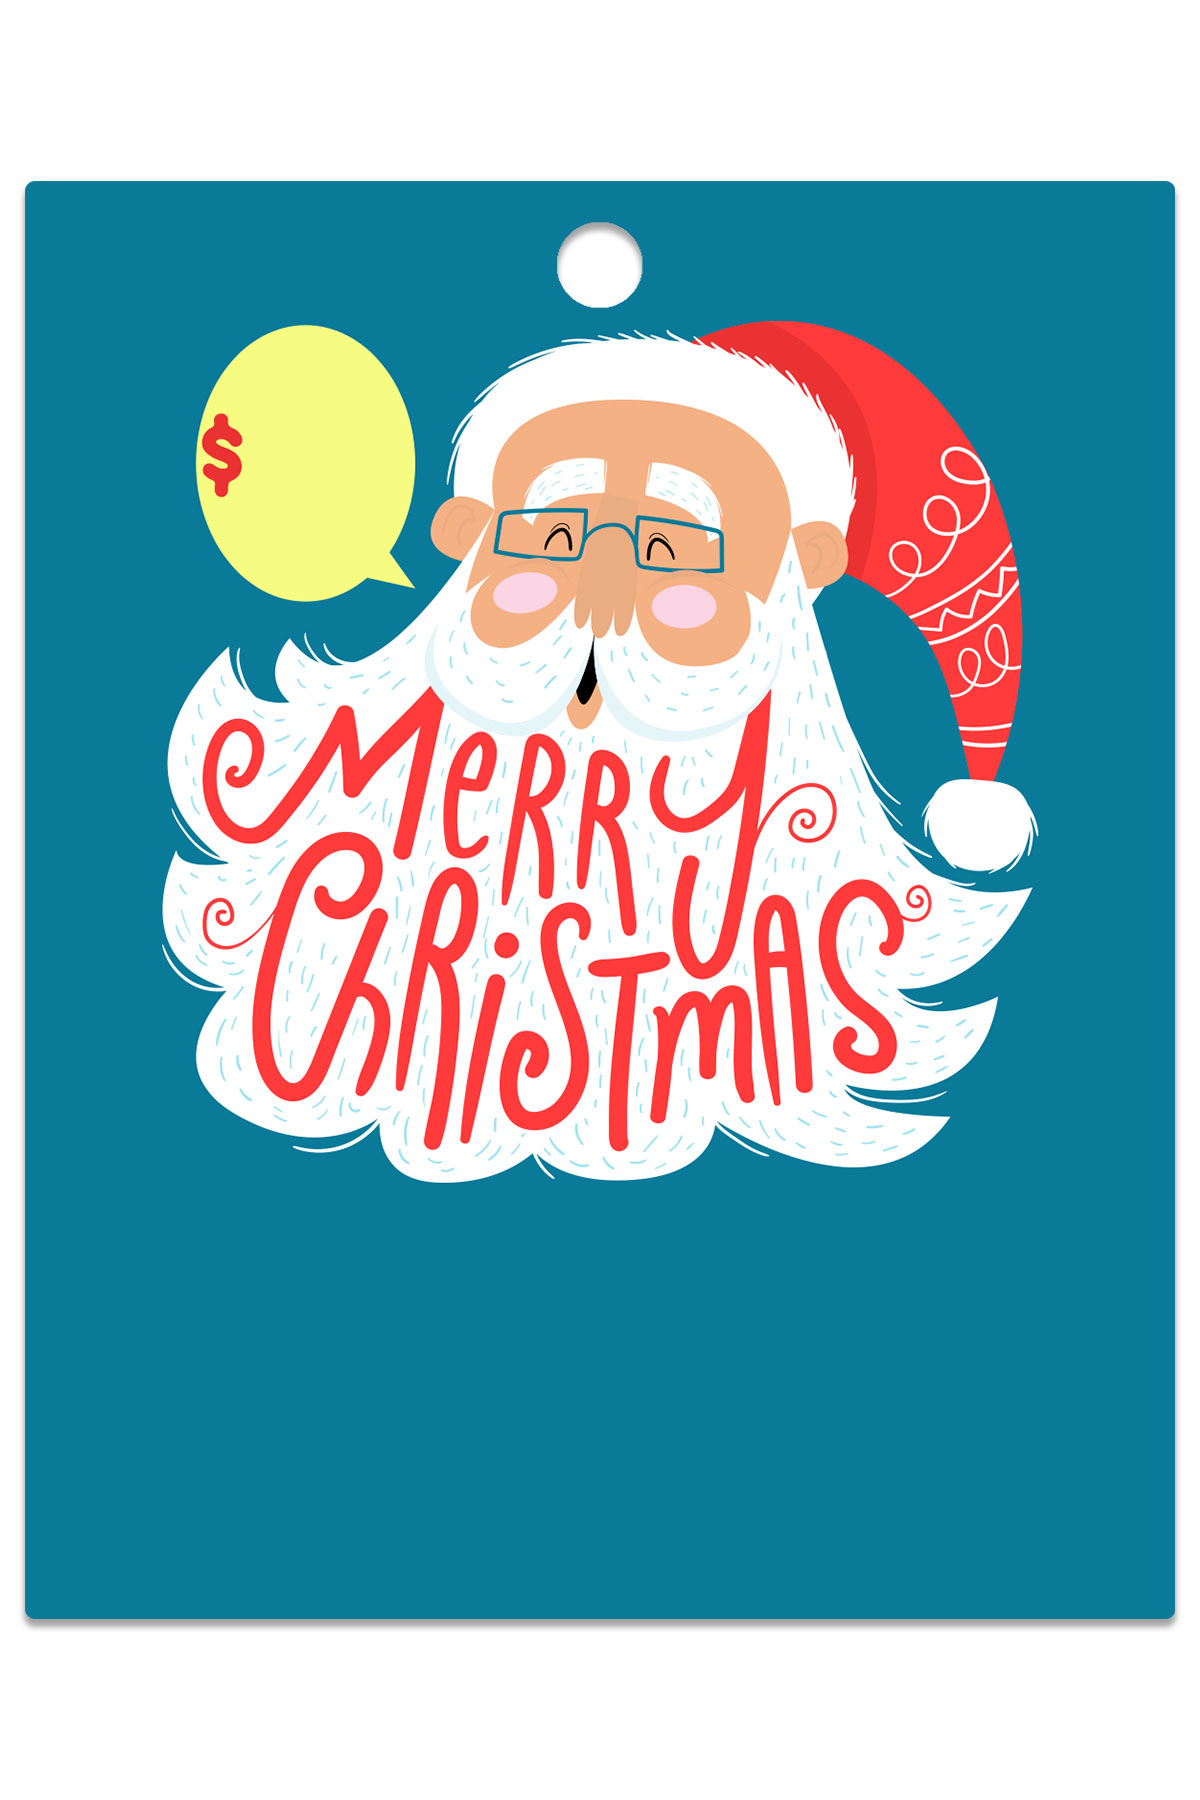
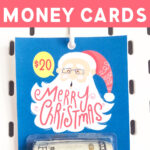
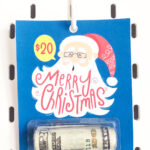
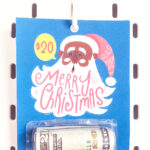
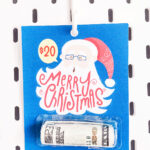
Lastly, there are 3 Santa Claus options. You have 3 skin tone options included in this printable set. I love that it looks like Santa is telling you what the amount of money is inside of the holder.
Do you Need a Craft Machine to Make the Christmas Chapstick Money Holder Template?
No, you do not need a craft machine. You can print the design out and cut it by hand. Just use a hole punch to punch out the white hole up at the top.
If I want to use a Craft Cutting Machine, Can I?
Yes, you can use a Silhouette machine (such as a Silhouette Cameo) or a Cricut Machine (such as a Cricut Maker) or any craft machine that can cut PNG files. Since they are PNG files, they will automatically create cut lines.
What type of Paper Should I Print on?
It depends on your method and how thick you would like your chapstick holder to be. Here are your two options.
1 – The Simple Cardstock Option
In this method, you print the design on thick card stock. This is the method I used to create my own money holder. It is a little flimsier than the second option but it is still great for a gift.
2 – The Multi-Layered Process
In this version, you’ll print the file on a piece of sticker paper or printable vinyl. Then, you’ll adhere the full sheet of the design onto a chipboard or kraft board and cut it out or use an Exacto knife.
If you want to use Print and Cut, you’ll need to print the sticker on sticker paper. Then, you will adhere the entire sheet of sticker paper onto the chipboard or kraft board.
Then, you’ll load the chipboard or kraft board onto the mat. And you’ll use a knife blade and the settings to match the thickness of your material.
This method will produce a much more formal-looking, complete look. It just depends on the type of look you are going for.
Where Can you Get the Chapstick Plastic Bubbles?
The chapstick plastic bubbles go in and out of stock often. When they are in stock, you can purchase the plastic bubbles online.
Do You Just Need One or Two Plastic Bubbles?
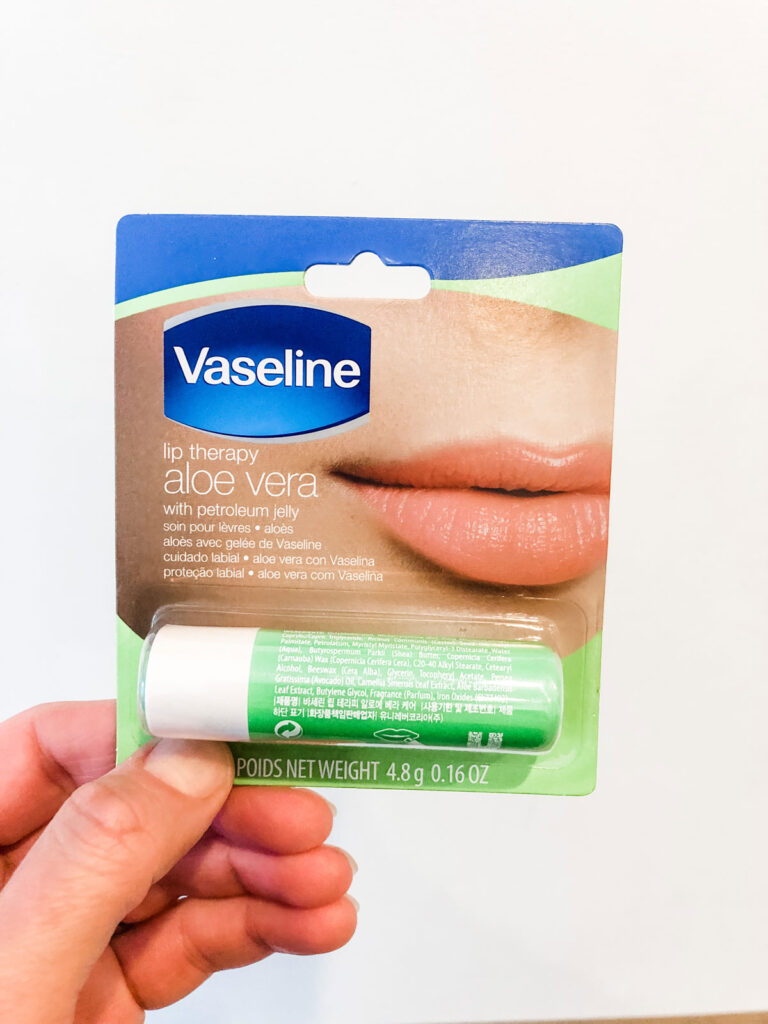
Don’t worry, there is a backup option. You can purchase a single chapstick from Dollar Tree!
How Do I Use a Dollar Tree Chapstick Bubble?
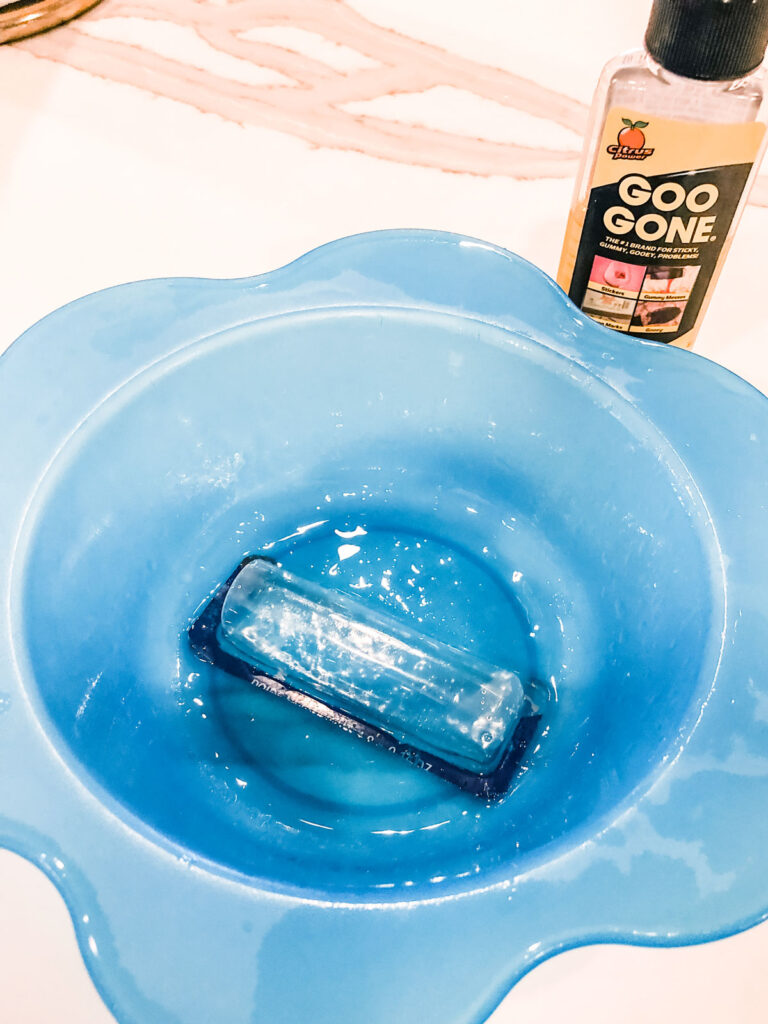
Gently remove the plastic bubble from the backing. Do not use a hairdryer – I tested this. It melted the plastic, and it did not help the adhesive come off.
Instead, soak the bottom part of the plastic bubble in a thin layer of Goo Gone or Acetone.
After it soaks for a bit, you can scrape the adhesive right off!
What Dollar Amounts are Available in the Cards?
There are multiple dollar amounts available. There is also a blank balloon that lets you put in any amount you’d like.
- $10
- $15
- $20
- $25
- $30
- $40
- $50
- Blank
Directions for How to Use the Chapstick Money Holder Template
Cardstock Method
- Print out the template on cardstock.
- Use the Print and Cut method or cut out the template by hand.
- Roll the money.
- Gently place the money in the plastic bubble.
- Use a small amount of clear adhesive around the bottom of the plastic chapstick holder. Make sure the adhesive dries clear.
- Place the chapstick holder in the large empty area at the bottom of the template.
- Gently press around the edges with your fingers to make sure it adheres to the cardstock.
Sticker + Chipboard or Kraft Board
- Print out the template on sticker paper or printable vinyl.
- Place the full page sticker (Do not cut out the template, place the full print and cut page on the chipboard or kraft board).
- Place the chipboard or kraft board on the mat.
- Use the Print and Cut method with a blade that is strong enough to cut through the chipboard (such as a knife blade).
- Roll the money.
- Gently place the money in the plastic bubble.
- Use a small amount of clear adhesive around the bottom of the plastic chapstick holder. Make sure the adhesive dries clear.
- Place the chapstick holder in the large empty area at the bottom of the template.
- Gently press around the edges with your fingers to make sure it adheres to the cardstock.
Tips for Downloading the Free Files
Below is an arrow that says Download Below. Underneath that is a large image that says Click to Download the free files.
Once you click that, you will enter the members-only password and click submit.
The page will reload the same image and now when you click the image that says Click to Download the free files, it will open the Google Drive folder containing the free files.
How do you get a members-only password?
You can sign up here to be a free Mom Envy club member.
The password will be sent to you within a few minutes. Make sure to check your spam and/or junk folder if you don’t see it.
Already a member but forgot the password? Don’t sign up again. Look at the end of any newsletter from me for the free password or just send me an e-mail here: [email protected]
Copyright MOM ENVY 2022. Files may be used for personal use only. No commercial use of the file is available. Files may not be directly shared within Facebook groups, on websites, or in any other way. A link to the web page to download the files may be shared as well as one photo. The file may not be printed and then sold (including local yard sale sites and groups or at local craft fairs). The images may not be used in any way other than to share with a link to the original web page.

Patti Anderson
Friday 27th of October 2023
I signed up, but I didn’t receive an email back.