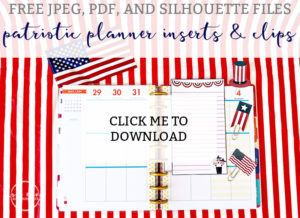
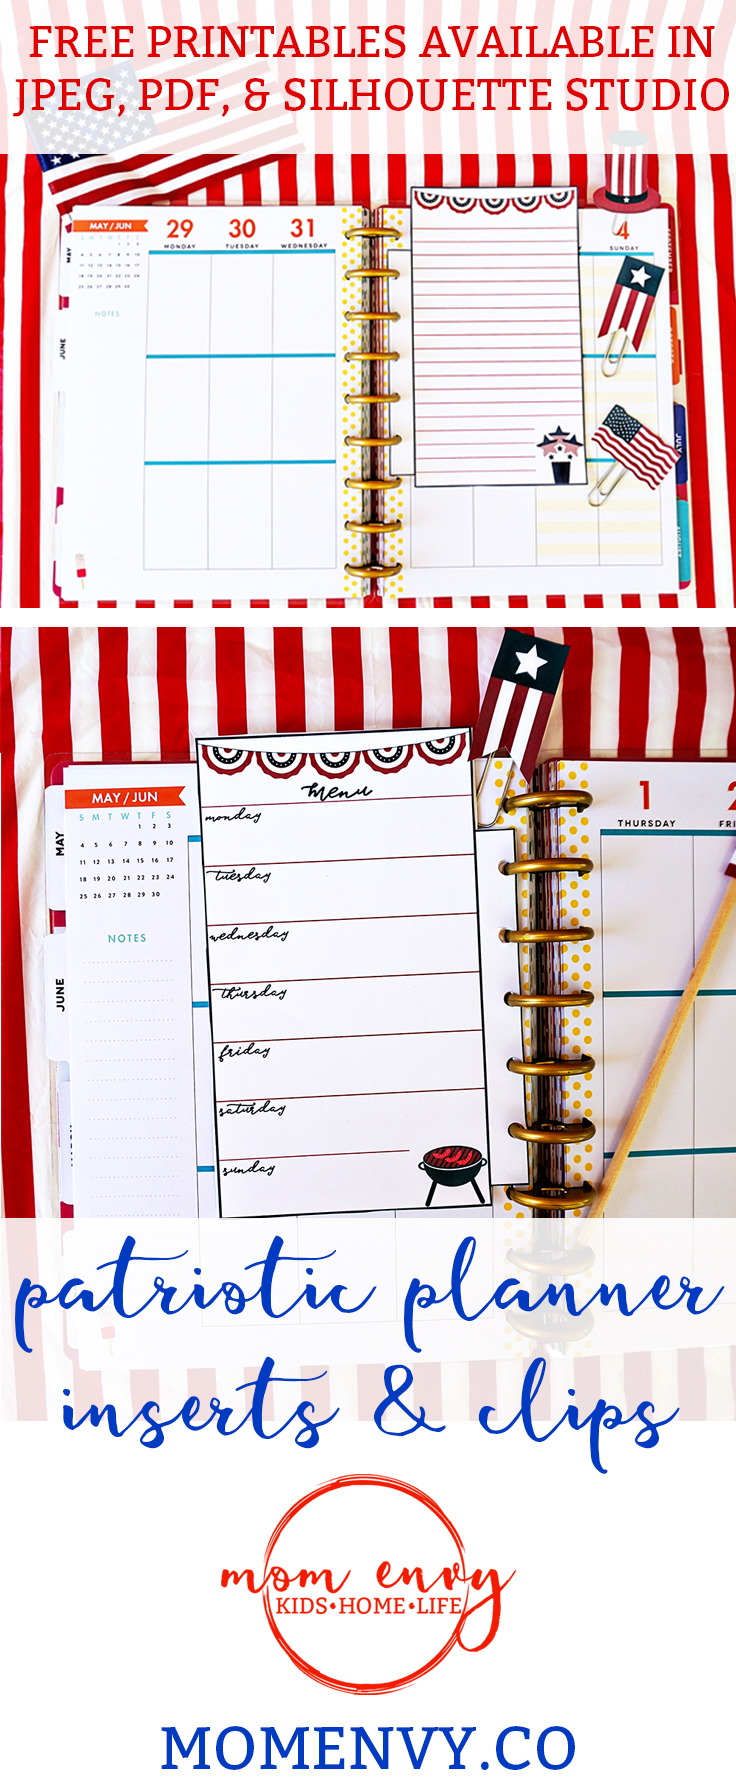
To end our patriotic-themed week, I have something special for my planner friends. Today I am sharing with you free printable inserts and paper clips.
As always, the planner inserts come in classic/mini size as well as big size. They can be used for Memorial Day, the Fourth of July, Labor Day, or for a military homecoming or event (or just because you felt like doing a red, white, and blue American-themed week.
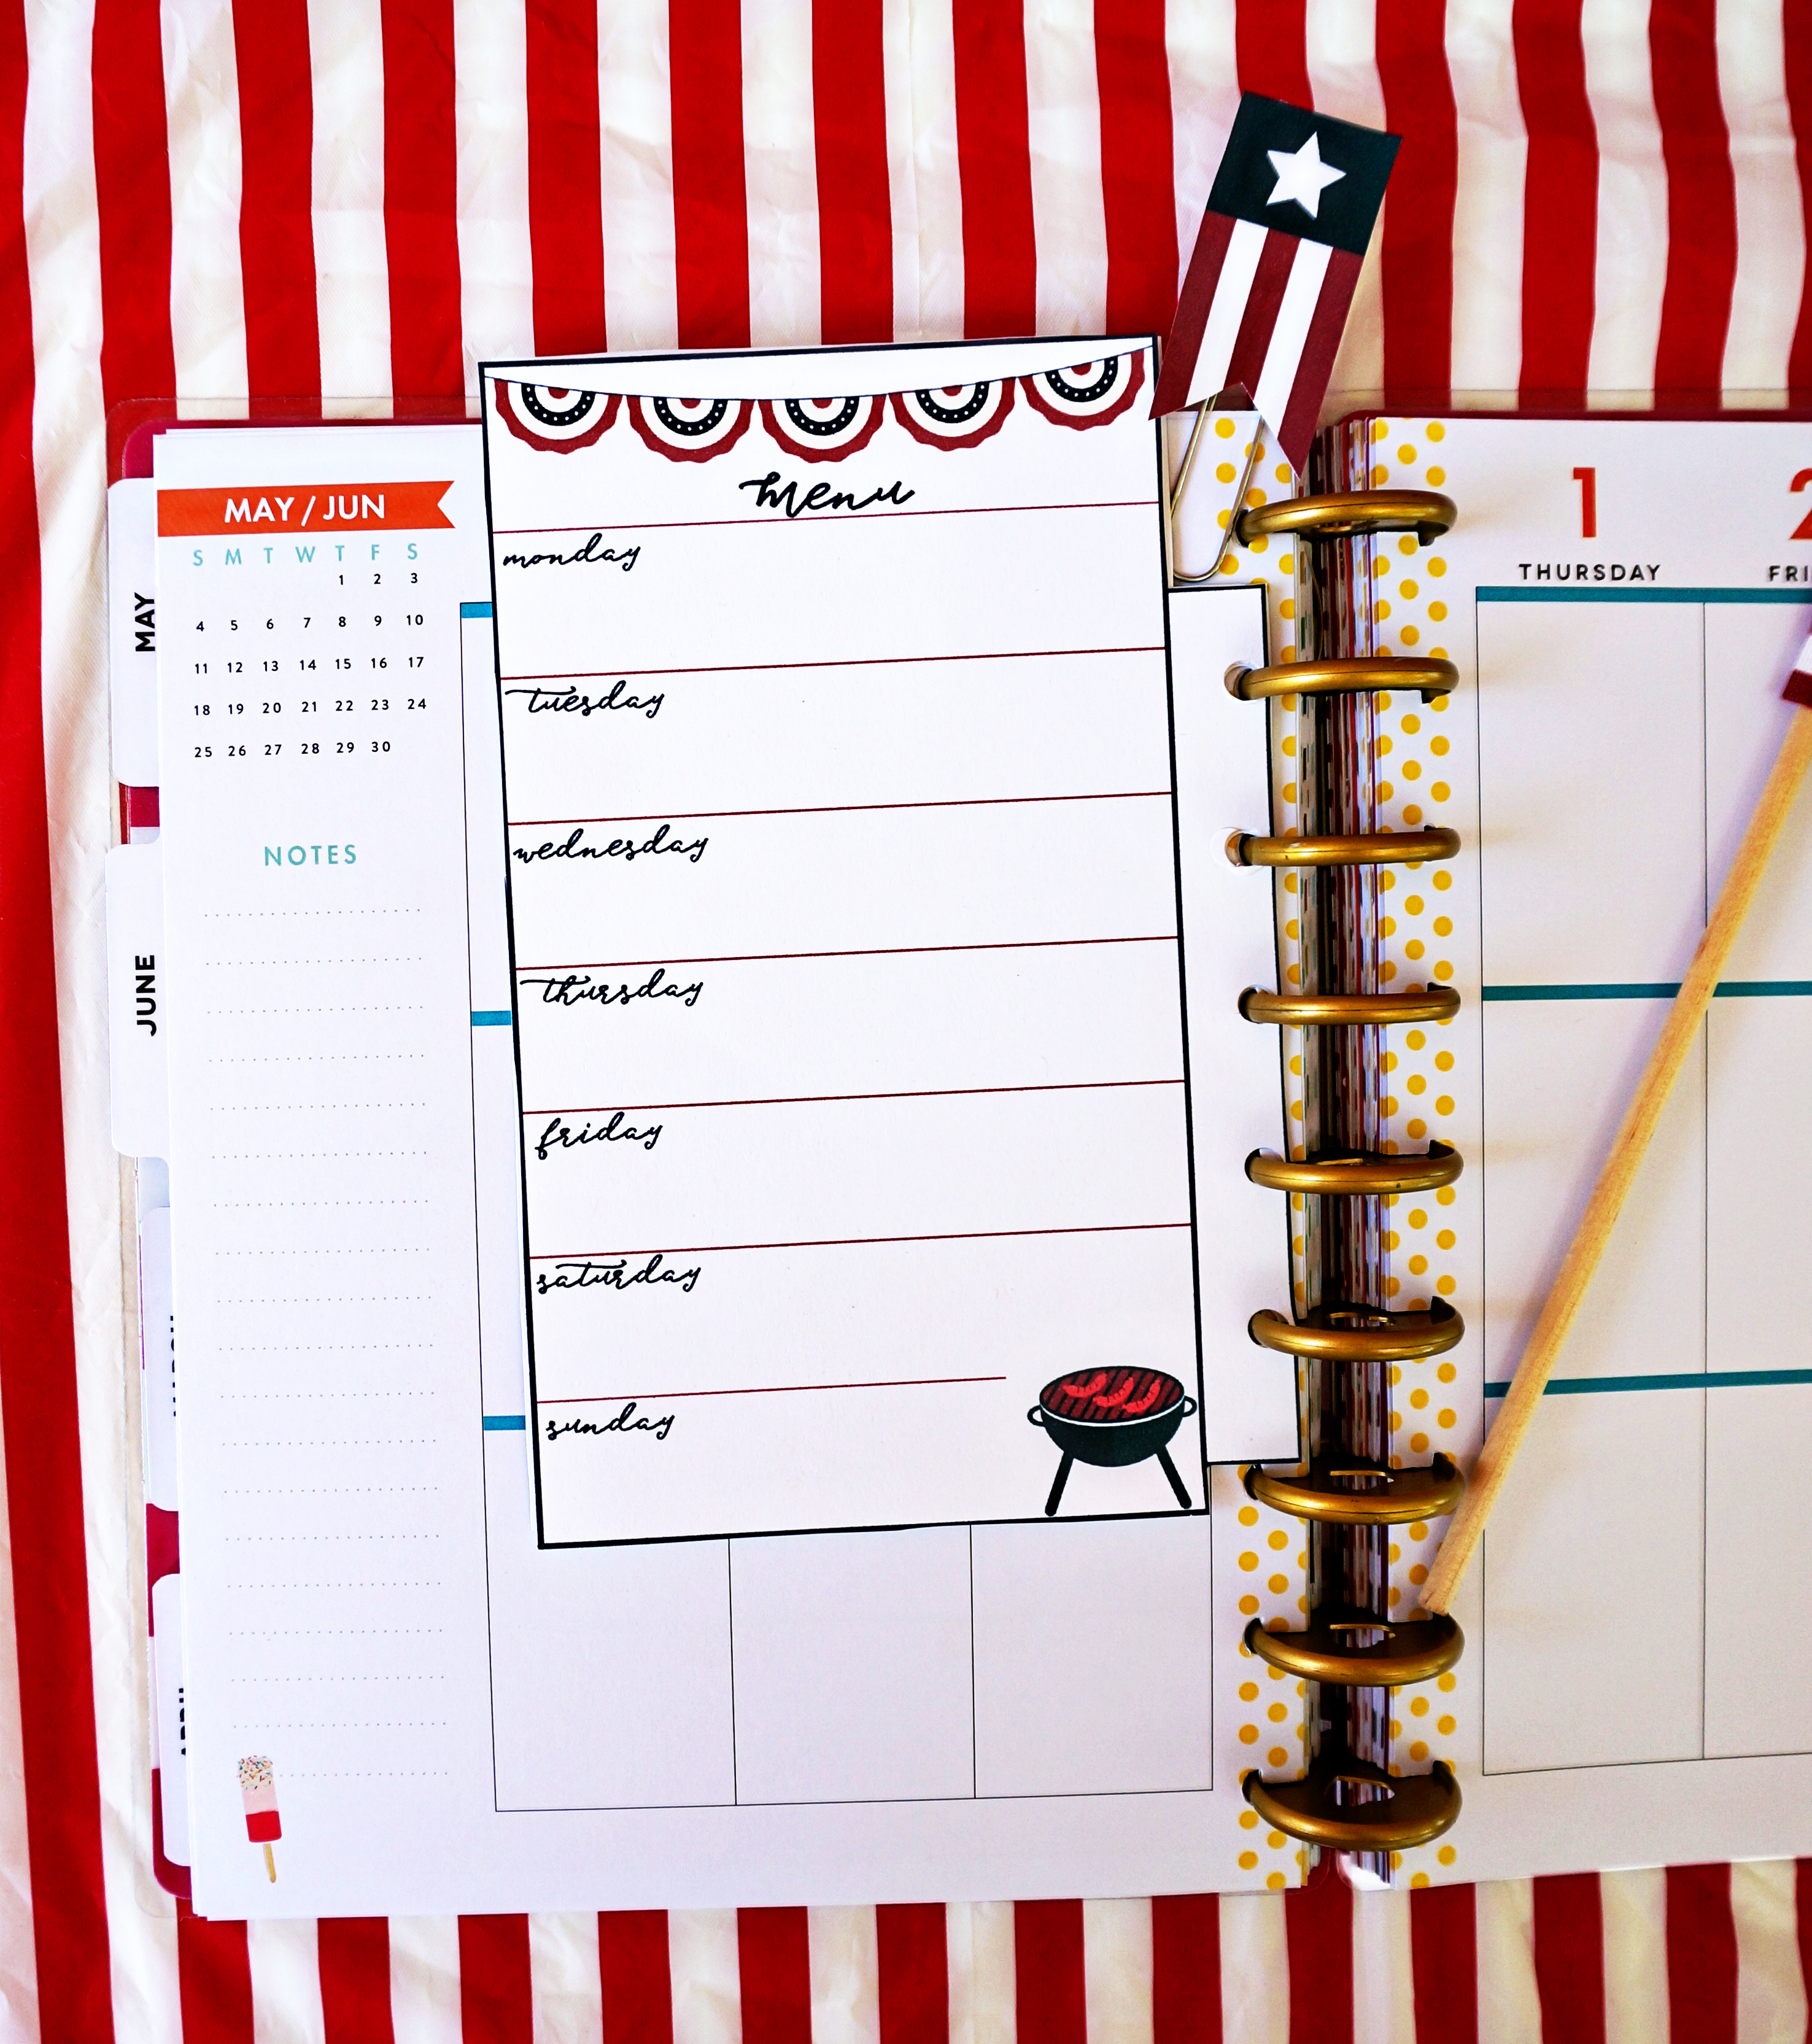
The paper clips include a star, a waving American flag, and a patriotic hat. In addition, I have created 3 options for the planner insert - lined, blank, and a menu plan. While I designed these for my Happy Planner, they can work for a multitude of other planners.
They come in a Classic/Mini size (it can fit in either), and a Big Size (for planners the size of a sheet of paper). Which theme should create inserts/clips for next? I still have flamingos on my upcoming list. I'd love to hear from you.
If you use a spiral or bound planner (such as an Erin Condren or Recollections), see how to use the inserts here.
If you use the clips/inserts, I'd love to see! Tag me on Instagram (@momenvyblog) or Facebook.

As an Amazon Associate, I earn from qualifying purchases. I am also an affiliate for the HP ink program. Click here to read more.
Free Patriotic Planner Inserts and Clips
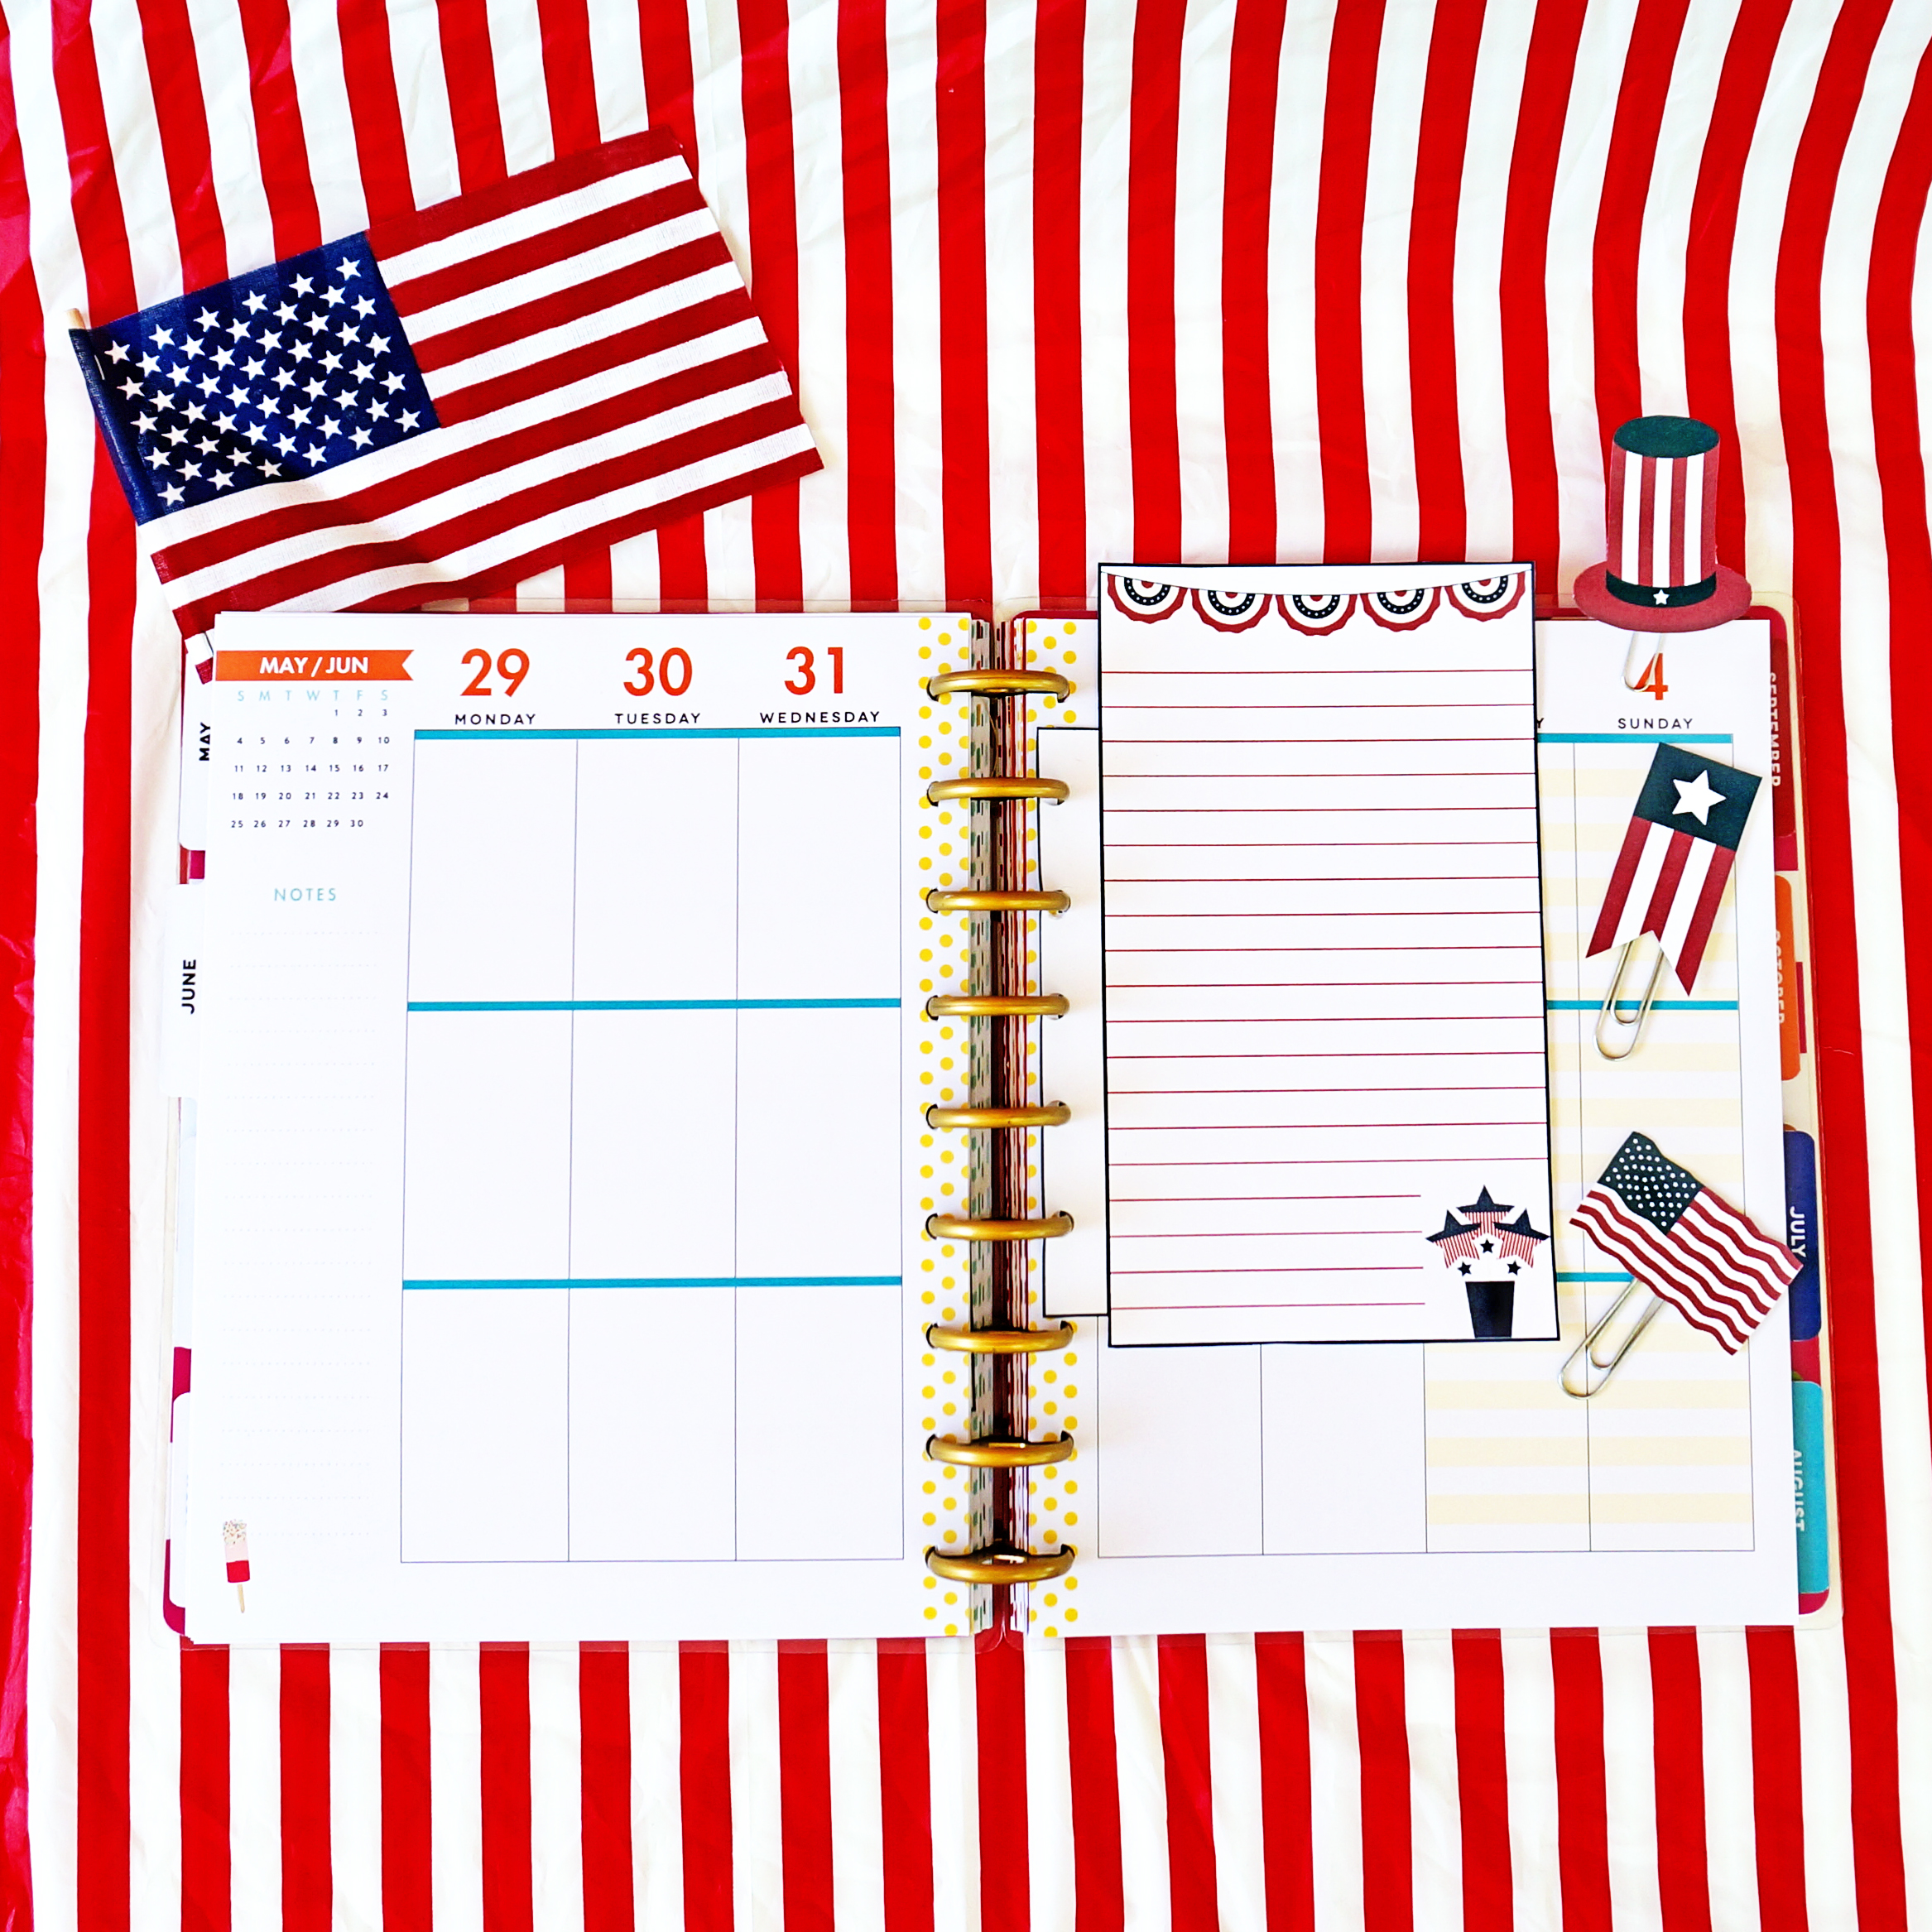
- Inserts are available in 2 sizes: Mini/Classic, and Big. Classic/Mini will fit most planners. Big will fit planners that are 8.5 x 11.
- Files are in JPEG, PDF, and Silhouette format.
- There are 3 available styles (see above).
Directions for the Planner Clips (this youtube video is helpful to watch)
- Print one front piece and one back piece (has a number 2 at the end) on cardstock for added durability.
- Print/Cut using the silhouette file or cut with scissors
- If you're going to laminate your clips, laminate the planner clips first in two separate pieces.
- Glue the paper clip to the back of one of the printed paper clip toppers. Make sure to glue the paper clip low enough that it will still work as a paper clip.
- Use more glue to place the other piece on top of the paper clip/first side. Make sure the image is facing out.
- This is the perfect glue for making planner clips. It's strong enough to hold. Hot glue also works well.
- Allow time to dry before use.
Directions for the Planner Inserts
- Print one front piece and one back piece (has a number 2 at the end) on cardstock for added durability.
- Print/Cut using the silhouette files or cut with scissors.
- Glue the front and back together using a strong glue or hot glue.
- If you want to laminate the insert (to use with a dry erase marker), glue first and then laminate.
- Hole punch in the hole punch area.
- Allow time to dry before use.
Tips and Tricks for Printing/Cutting
- Colors may vary. Printers print differently depending on many factors.
- Print on cardstock for added durability. (this is my favorite from Amazon)
- Simply download the files below, unzip, and print the files you need. Files are in three different sizes so pick the one that works with your planner.
- This is the perfect glue for making planner clips. It's strong enough to hold.
- Make sure you select one front and one back design for the inserts and clips (backs are all labeled with a 2 at the end).
- If you'd like to print the clips/inserts in another size, adjust the size percentage on your printer options page.
- The Silhouette file is set for a portrait (what I have). It can easily be used with a Cameo instead, just change the mat settings.