
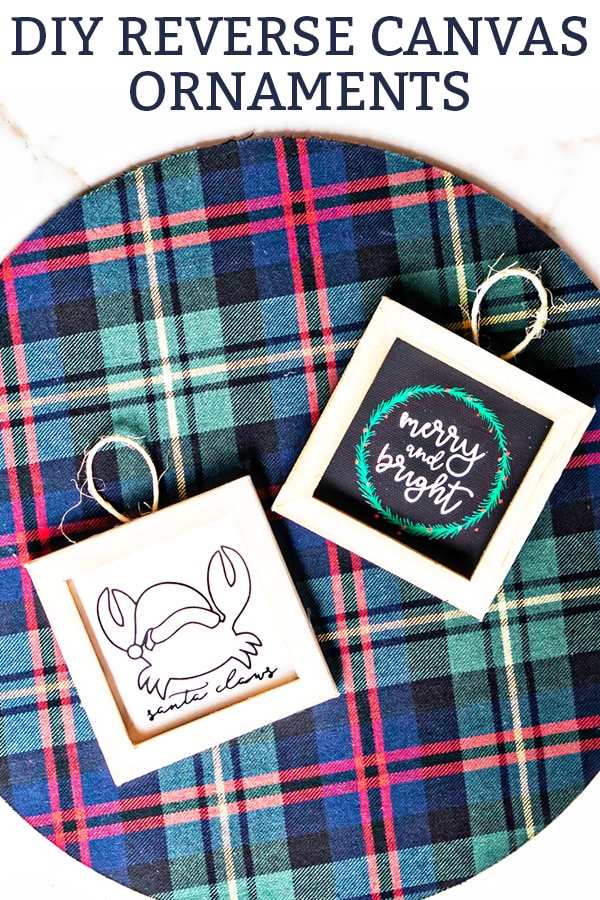
Reverse canvases have been all the rage this past year, so why not create a reverse canvas ornament? They're just as easy to create as reverse canvases. Plus, you won't even need a staple gun for these. Just some hot glue or E6000.
Another thing that is so great about these is you don't need to paint them. Now, you can stain or paint the frame but you don't have to; they look great on their own. So that makes these a super fast and easy DIY Christmas ornament. And you can customize them with any quote, saying, picture, etc. you'd like!
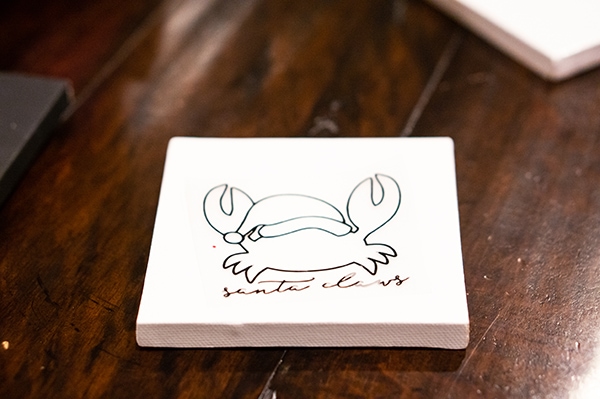
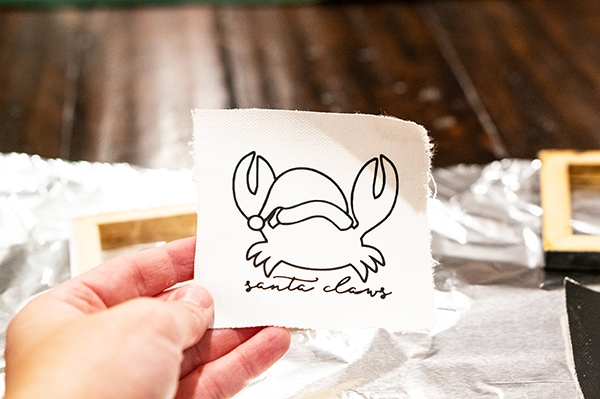
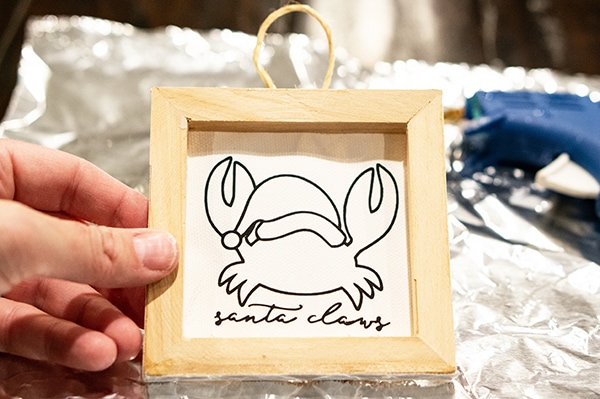
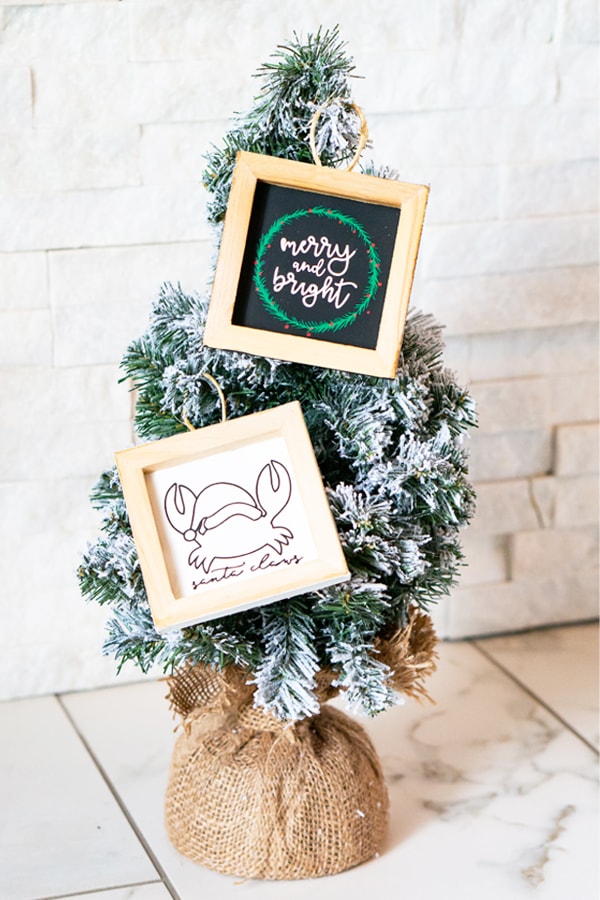
This ornament was created as part of an ornament blog hop and exchange. I was so excited to get the chance to exchange ornaments with fellow bloggers, Morgan and Sean, over at Charleston Crafted. Their home and Christmas decor have a coastal feel so the ornament I created for them was inspired by their style.
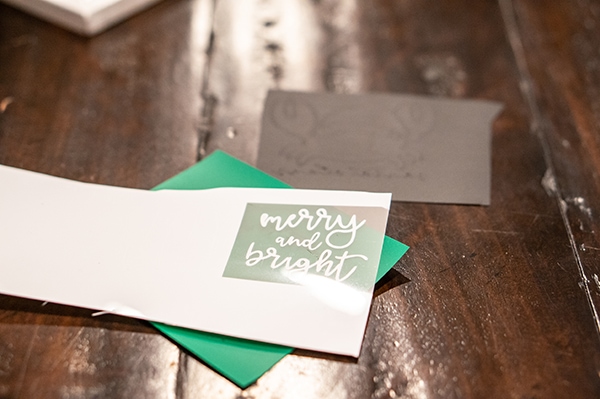
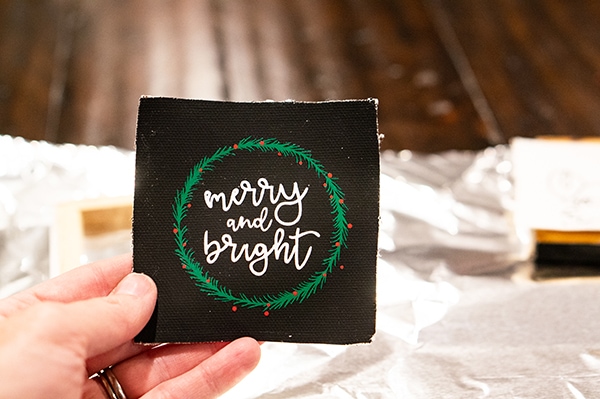
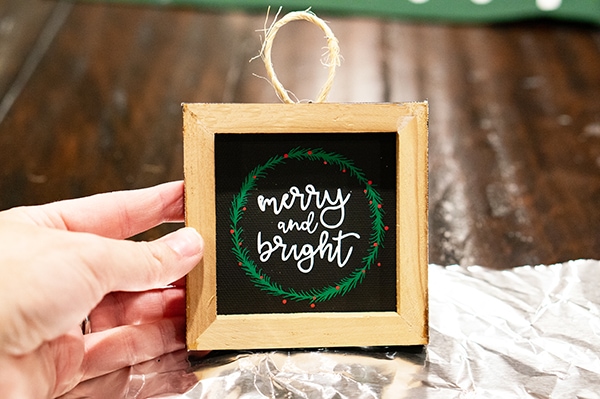
The second ornament I created was for a gift for a friend. I wanted something that screamed Christmas, and I think this ornament design totally fits the bill.
If you'd like to see the other hosts from the ornament exchange and many more ornament DIYs from the Ornament Exchange Link Party, click here.

Reverse Canvas Ornament
Materials
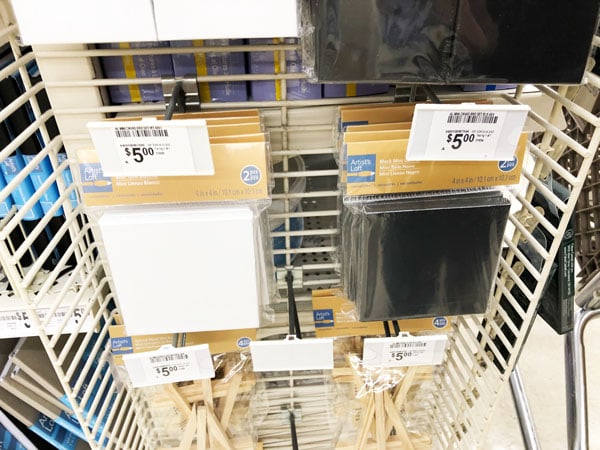
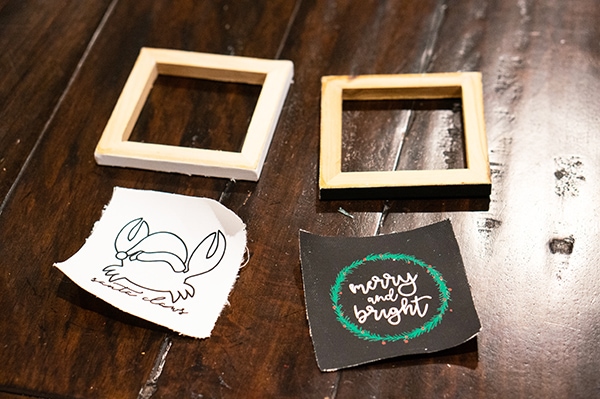
- 4in x 4 in or 3 in x 3 in canvas in black or white
- twine or ribbon
- hot glue or e6000
- HTV
- Exacto knife or sharp scissors
- sandpaper if staining/painting the frame
- paint or stain of painting or staining the frame
- felt for backing if desired. I wish I had backed mine with fabric because it would have been an easy way to make the ornament have a more polished look.
Directions
- Create the design for your ornament. make sure it will fit within the frame of the canvas when reversed.
2. Cut and weed the design. 
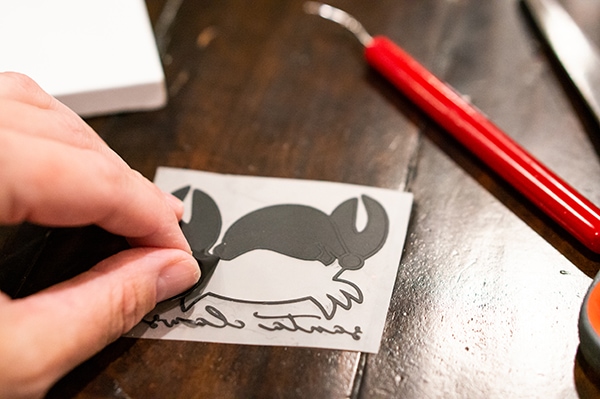
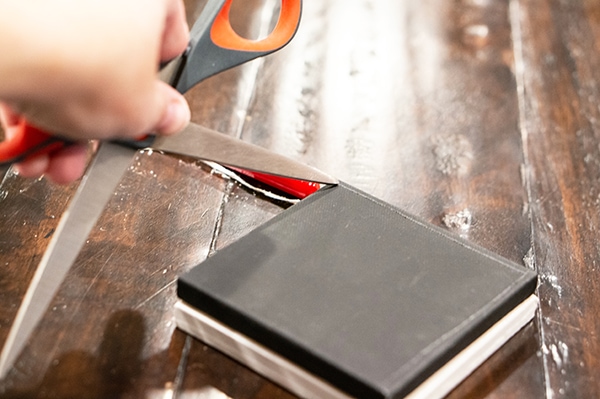
3. Using an Exacto knife or sharp scissors, score the entire canvas along the edge on the front. Go over your lines a few times if needed until it cuts through the canvas. (hopefully, you can do it straighter than me as you see below I wasn't the steadiest).
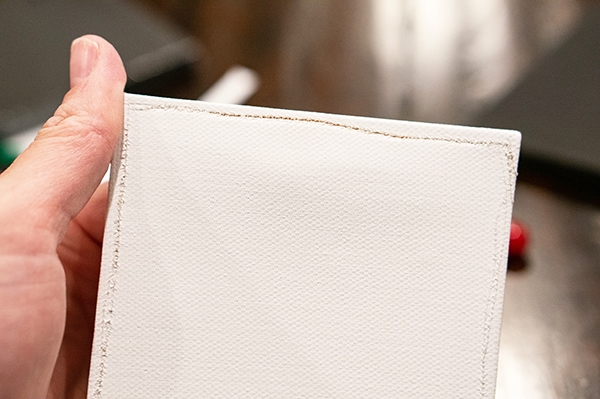
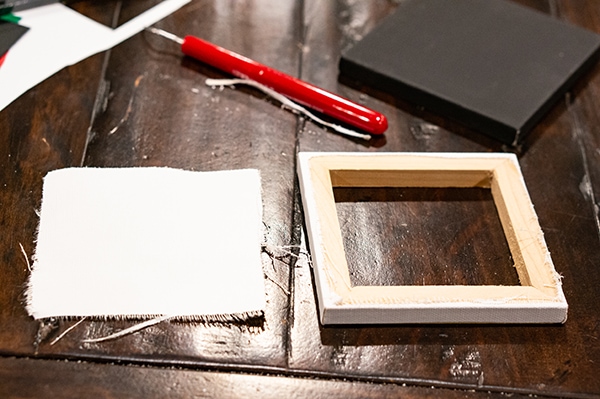
4. Peel off the canvas very carefully (you don't want to rip or stretch the canvas). 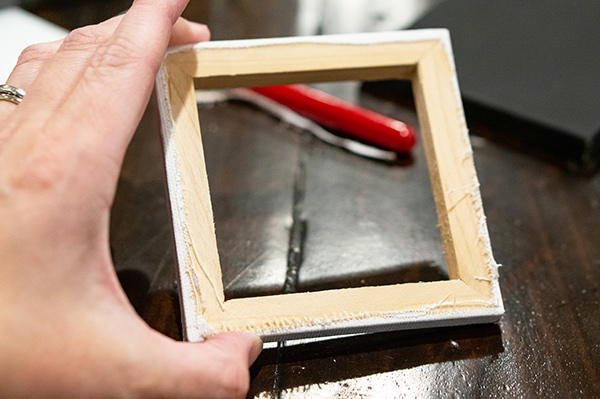
5. Heat press or iron the design onto the middle of your canvas.
6. If you're going to stain or paint your frame, this is the time to do it. Sand it well, then paint or stain it.
7. Place a ribbon of hot glue or e600 along the front of the wooden frame.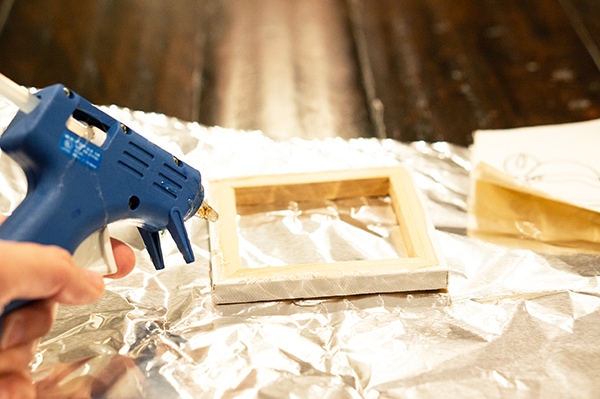
8. Carefully place the canvas on top of the hot glue. Make sure the canvas is centered and facing the correct direction (see below. The back of the canvas (blank) should be facing you when you glue it on the back. 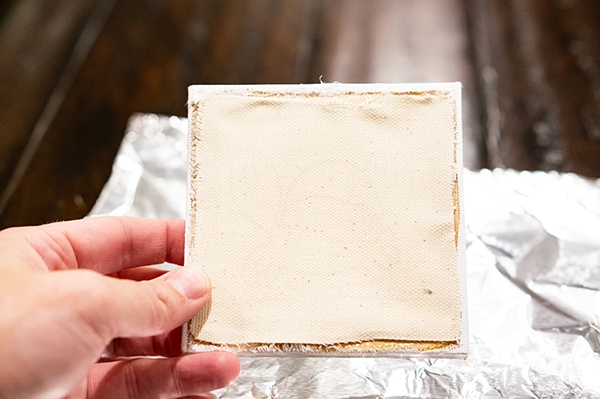
9. Using more hot glue, glue on a small loop of twine or ribbon to create a hanger. 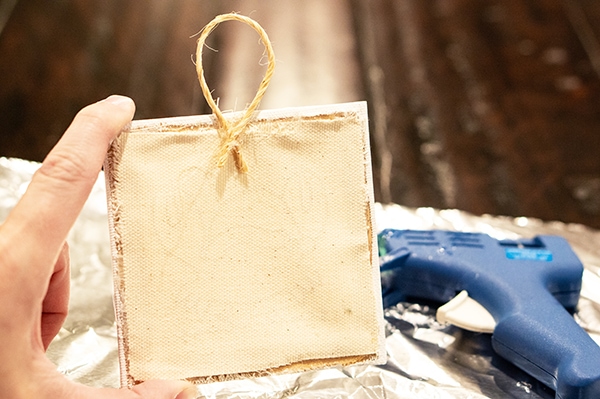
10. If you'd like a more polished look, cut a piece of felt the size of the back of the frame and glue it on.
FREE Ornament Cut Files for Mom Envy Members
Want an easy cut file for your wreath? I have this simple Free Christmas SVG and Silhouette file available to download. The files are for personal use only and may not be used commercially in any way. To download, sign up here for the password! HINT: If you're interested in more SVG files, make sure to sign up for the "All Things Mom Envy" group. Once you're signed up, download below using your members-only password.

![]()


These are adorable! Great idea to do reverse canvas ornaments.
Such gorgeous and unique ornaments!! Love them - pinned for later #2018ornamentexchange
Very cool idea! I love these, they came out great!
Kim
What a great idea! These are so cute!! Pinned.
Thanks so much!
SO cute! Thanks for sharing!
Thanks so much!
I'm a huge fan of reversed canvas! I love your idea to use them as ornaments, they look so cute!
Thanks so much!!
This is such a good idea. It is like 2 ornaments in one. How cool!
Thanks!!
What a creative way to use those tiny canvases!
Thanks so much!
Oh my gosh! that crab is hysterical!
Thanks, Janet!!
Such a clever way to make a frame around the image. I'm really in love with the crab ornament as it fits my tree theme this year. Thanks for sharing your tutorial on the ornament exchange. Pinned.
Very good idea, I love the technique. Very cute ornaments.
These are so cute! Absolutely perfect for an artistic person's tree!