
Have you ever thought about painting your bathroom vanity? Last week, we got you thinking about finally updating your outdated tile with tile paint. This week, I'll show you how easy it is to update a vanity with a little paint.
Are you a beginner? No problem. This is one of the easier DIY projects I have tackled (I have painted many cabinets over the years - including our kitchen).
Things have been moving along quickly in our master bathroom update. Here is what we got done this week:
- removed toilet
- removed vanity top
- painted the vanity
- prepped for flooring
- laid the flooring
- prepped for painting the walls
- painted one coat on the walls
I have a secret though; I can't take credit for all of this work. My Dad and husband did more than half of it. Many thanks to them for all of their work on the bathroom this past week.
I made a dumb mistake last week. I injured myself by tripping over a box. Yep, a box. (It's okay to laugh; it was a ridiculous mistake). So my Dad came to install the floor (he did many other things while he was here, too. I promise I didn't trip on purpose to get extra help).
So this week is just going to be a quick DIY for painting a vanity. If you're looking for a beginner DIY project, this one is for you!
Updating a Vanity with Paint
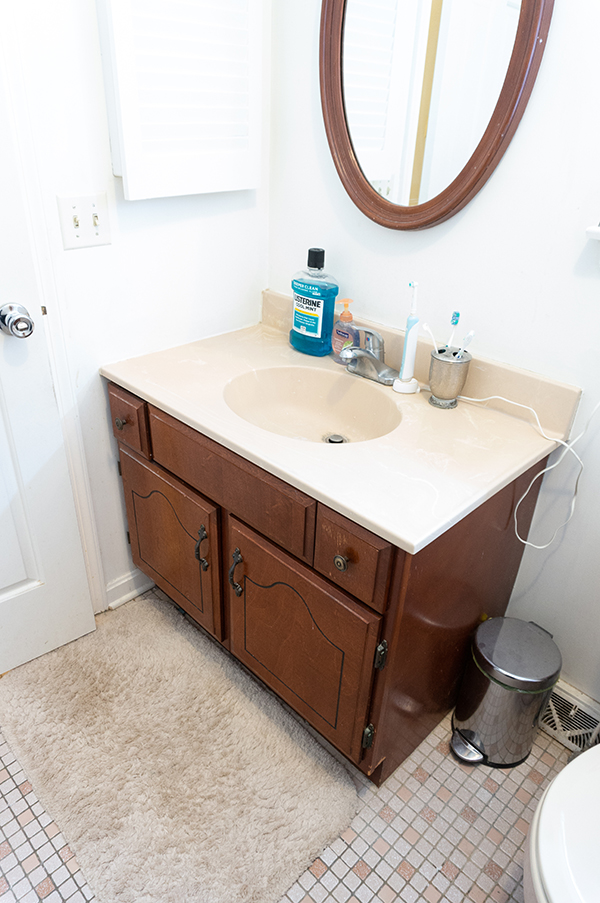
Our bathroom had a great wood vanity but the color was just kinda blah. Instead of tearing the whole thing out, we opted to paint the vanity. Why replace a vanity with great bones (and tons of storage - I love the two side drawers!), when you can just paint it.
To update our vanity, I chose chalk paint because it goes on easy and has a high-end finish. I went with a dark gray color that I love. Grey is now on the very short list for possible vanity colors in our new house.
Here is a little reminder of the before:
How to Update a Vanity with Chalk Paint
- If replacing the vanity top, remove it.
- Take off the doors, drawers, hinges, pulls, and knobs.
- Clean the vanity, drawer fronts, and doors.
- Degloss the vanity, drawer fronts, and doors with deglosser (chalk paint says there is no need to sand, but I find it adheres better if I at least degloss it).
- Tape off the walls, inner portion of the vanity, and vanity top (unless you've removed it).
- Paint two coats (maybe three) of the chalk paint.
- Use a wax or varnish to protect the paint.
That's it. It's a super easy update that costs very little.
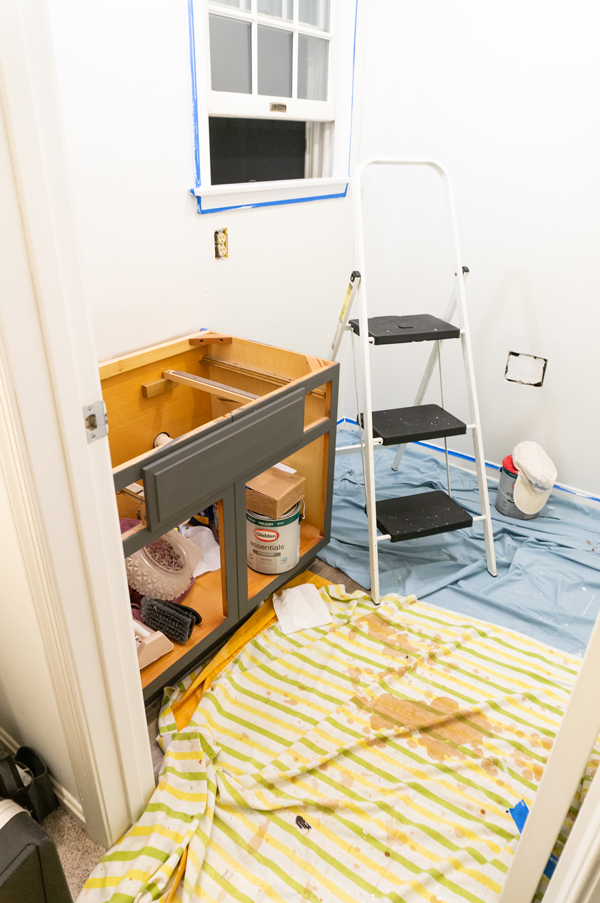
Here is a sneak peek of the after. The varnish layer wasn't quite dry enough to put the vanity back together. I promise to have finished pictures soon.
Vinyl Plank Flooring Sneak Peak
Have you ever heard of vinyl plank flooring? I am not talking rolled linoleum (although they have some amazing options for that now, too). If you haven't heard of it before, it's a great new 100% waterproof product that is made to look like wood flooring. It's what we plan to install in our new home instead of hardwoods.
Here's a sneak peek of what it looks like!

What's Next in the ORC?
- Second coat of paint
- Create toilet paper holder
- Create towel holder
- Make a new door for the medicine cabinet
- Paint bathroom vanity mirror
- Install lighting
- Create barn door
- Install barn door
- Install vanity at the end of the hall
- Finishing touches
Want to see what else we've done so far? Check out:
Week 1: DIY Bathroom Remodel - From Pink to Farmhouse
Week 2: DIY Bathroom Ideas - Farmhouse Bathroom Plans for the ORC
Week 3: Can You Paint Tile? You betcha! Let Me Show You How...
![]()
One Room Challenge - Spring 2018 Challenge

If you've never heard of the One Room Challenge before, make sure to check it out. Twice a year they select participants to redo a space in six weeks. Yep, six weeks. In addition, anyone can join as a guest participant (which is what I am doing now and also what I did when we made over our foyer in the fall). It's one of my favorite times of the year because I love to check out everyone's makeovers to get some new home inspiration. You can see all of the other guest participants entries for week one here. Here are the entries from week two.
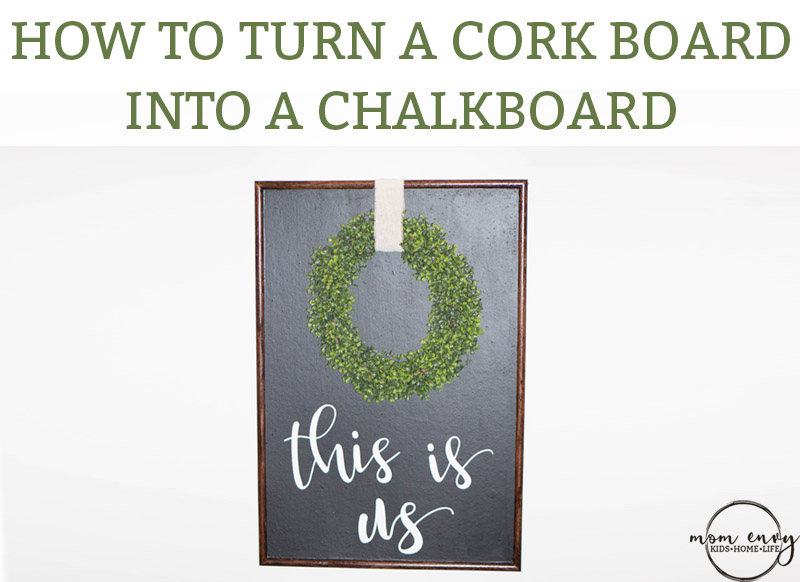
Click the image below to learn about the biggest makeover of our fall one room challenge - my easy corkboard turned chalkboard DIY.


One Comment