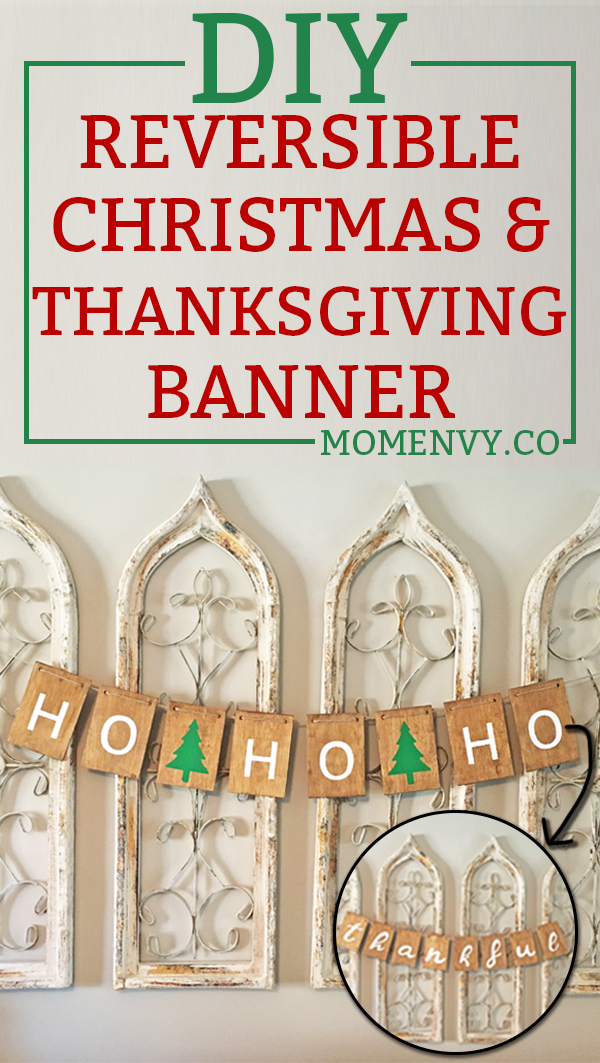
I have an extra special DIY today that's perfect for Christmas (and Thanksgiving). This DIY tutorial is actually brought to you by my parents. They are the handiest people I know (you should see all of the amazing DIY projects they've done over the years).
After ship-lapping two rooms, my parents had a lot of scrap plywood left over. My Mom had a great idea to create a reversible banner for Christmas and Thanksgiving.
I love decor that can be used for more than one occasion. It makes it easy to store and easier to change from one holiday to the next. Plus, it's a quick and easy project that will last for years to come.
To make it even easier, I have included the free Silhouette and SVG files so you can cut out the same stencils with your cutting machine.
Here's how you can make this adorable reversible Christmas and Thanksgiving banner!
DIY Reversible Christmas and Thanksgiving Banner Directions
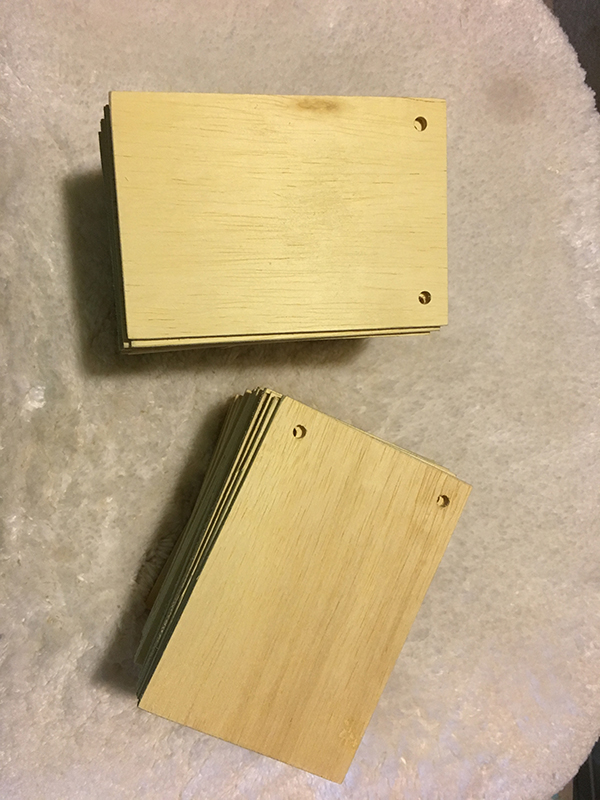
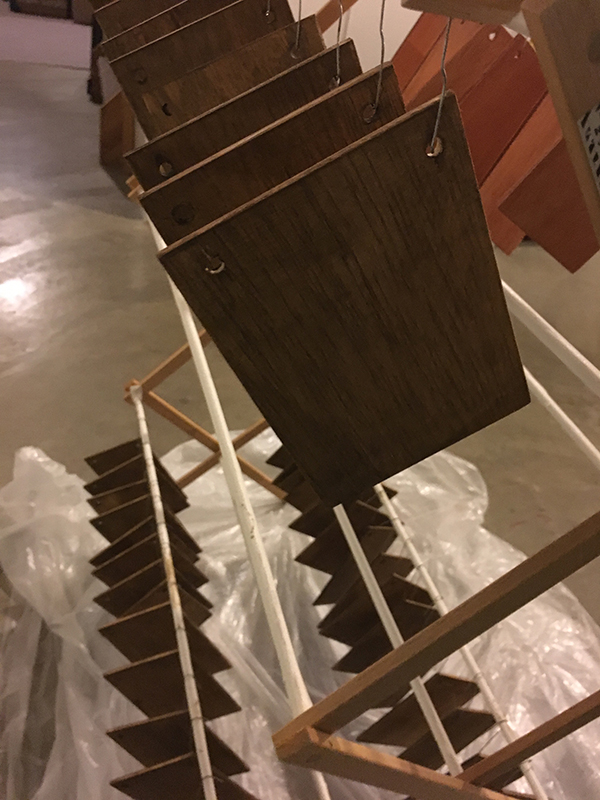
1. Use a miter saw to cut into 4.5 x 6.5 pieces.
2. Mark a spot in the upper right hand and left hand corner and drill a hole large enough to thread a cord through.
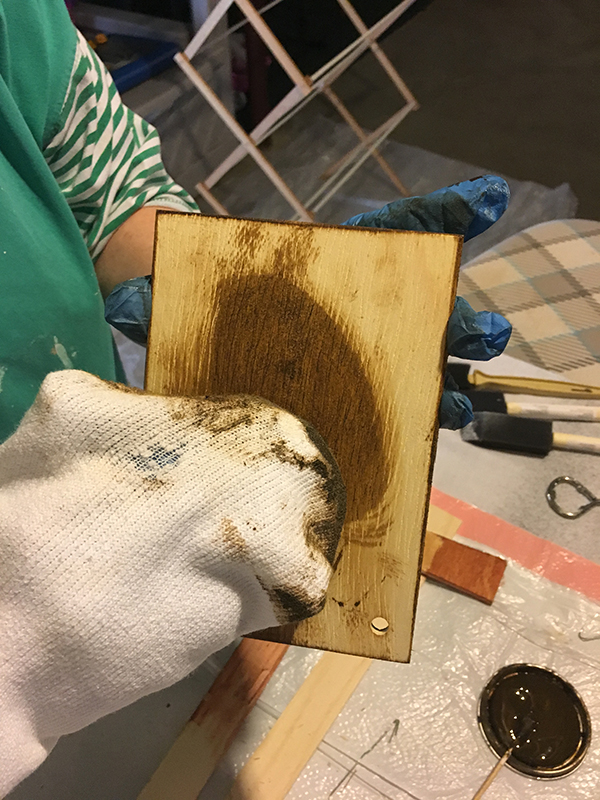
3. Stain or paint the wood. Allow ample drying time.
4. To allow you to paint or stain both sides at one time, you can set up a system to hang the banner pieces. If not, paint or stain one side, allow it to dry, and then do the other.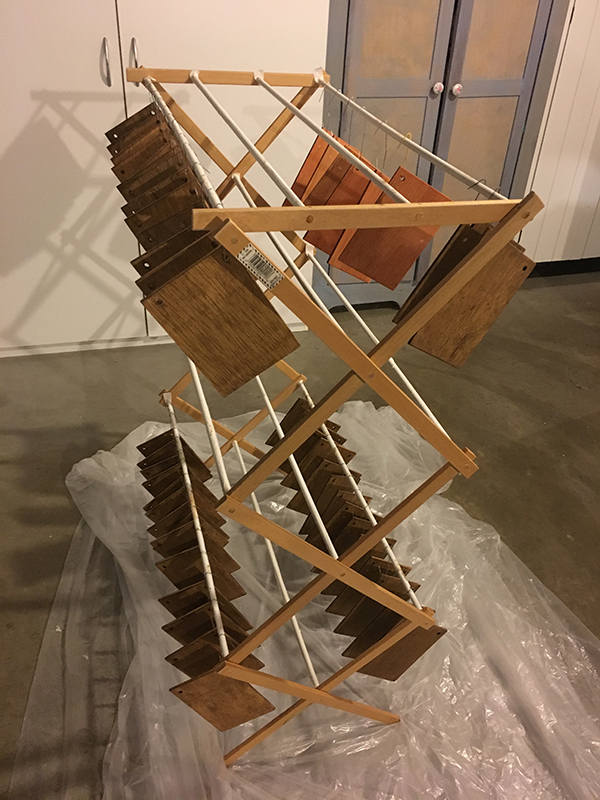
5. To hang your banner pieces to dry, first set up a drying rack.
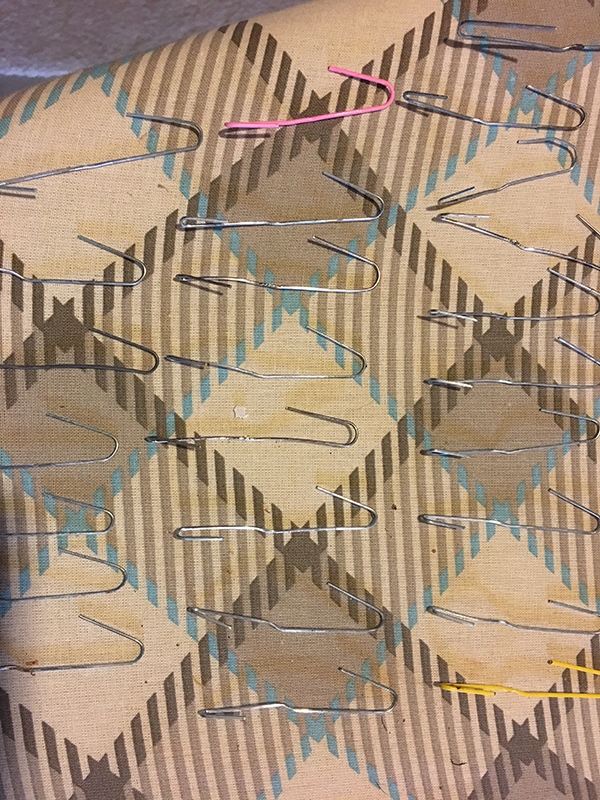
6. Unfold paper clips, leaving the books at both ends.
7. Place one paper clip through one hole and hang the other end from the drying rack.
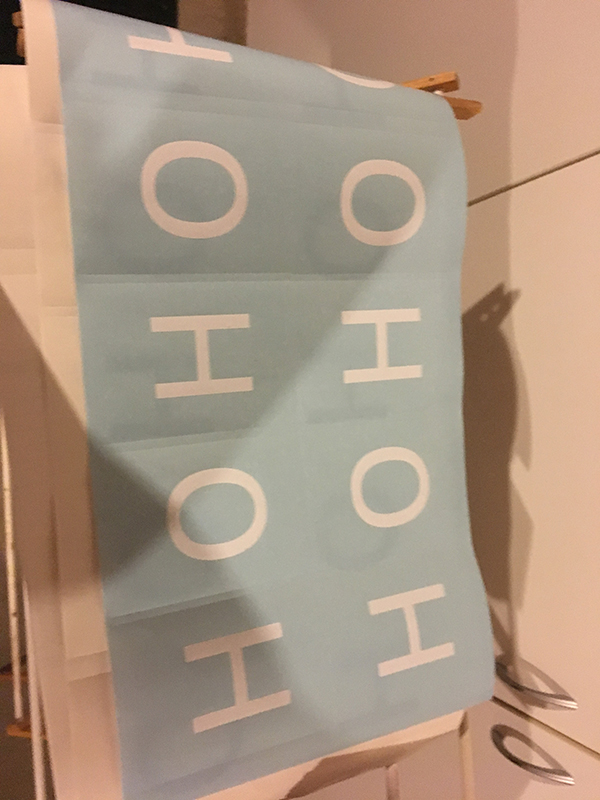
8. Cut out a stencil using a cutting machine.
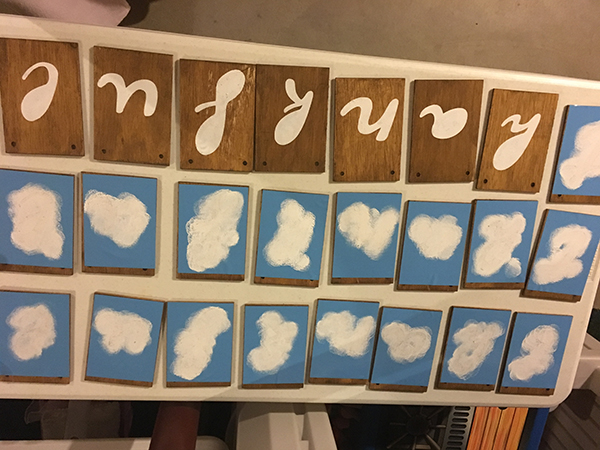
9. Place the stencil on each banner piece and paint two coats of paint.
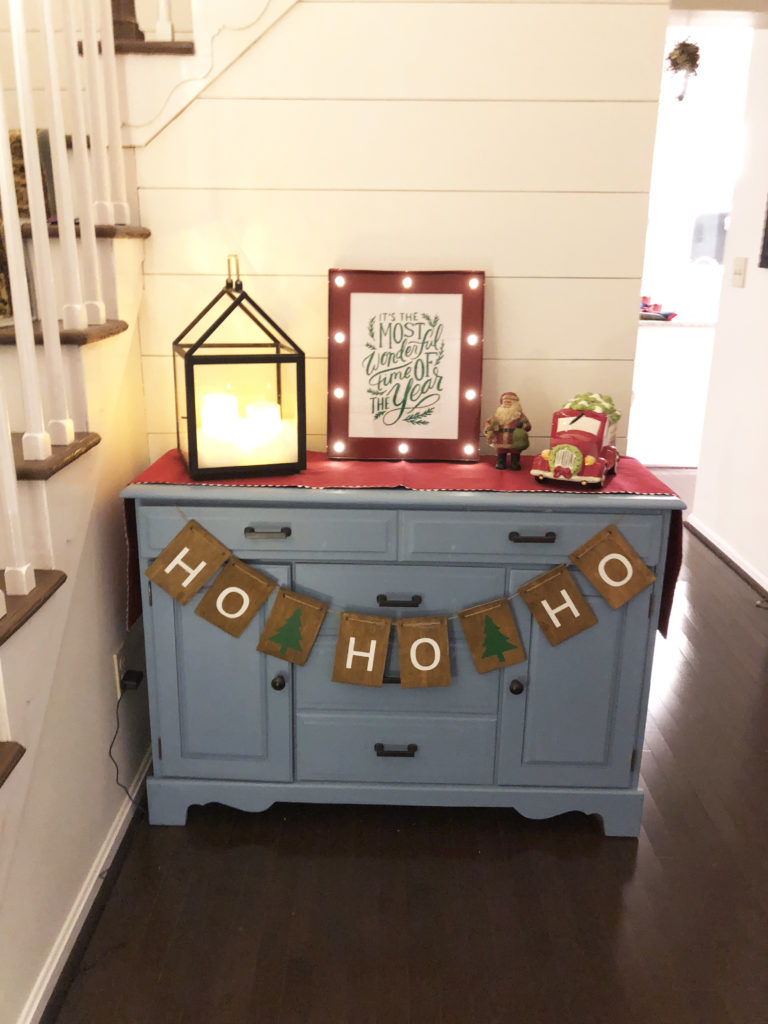
*Make sure if you're making the sign reversible that the letters are placed correctly on both sides so that you don't need to restring the banner when you change holidays.
10. Once dry, string a rope or cord through the banner.
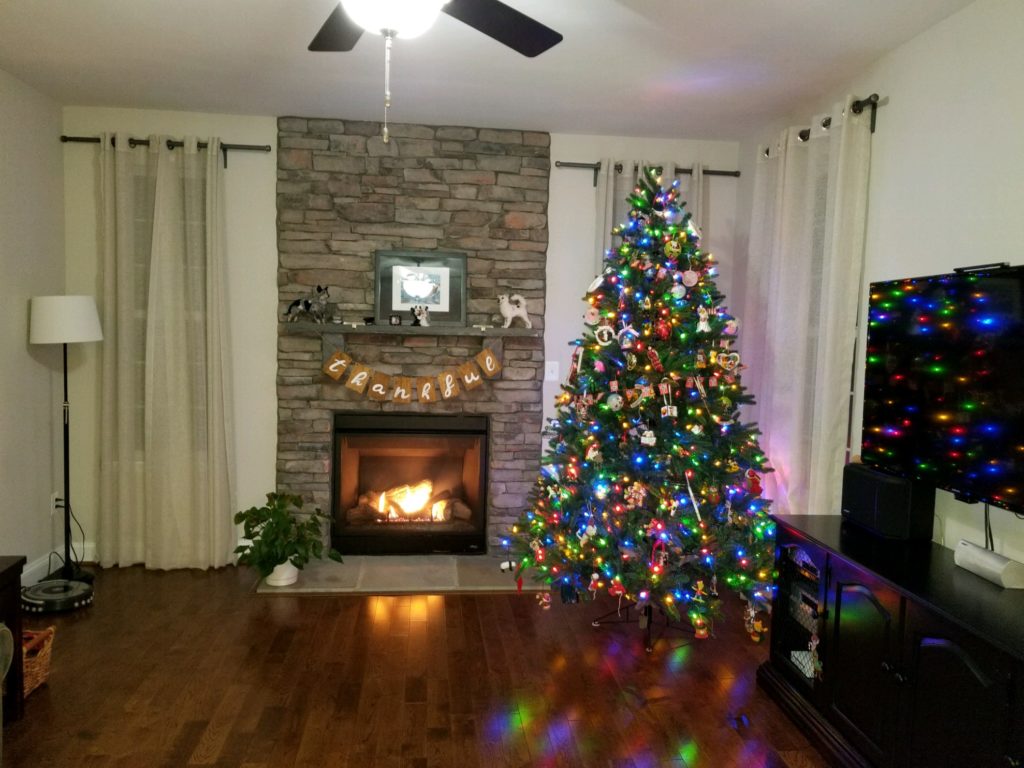
Examples of the Banners in Use
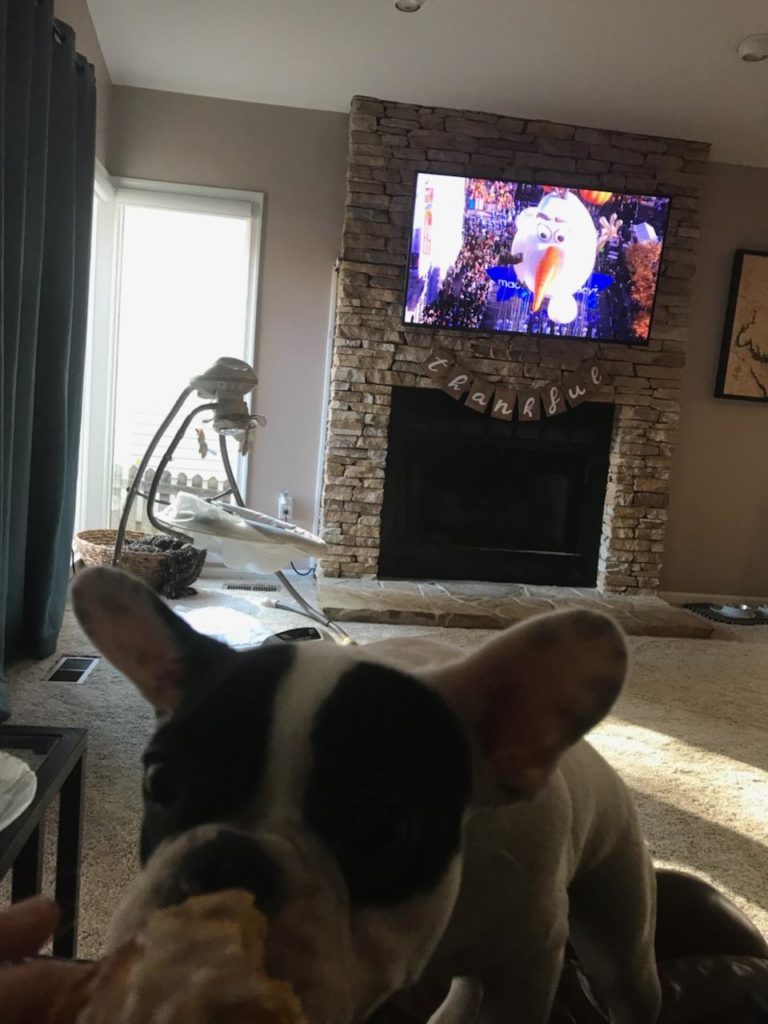
This is how my sisters and I used our banners in our homes. My parents made one for each of us.
![]()


Smiles all over! I love our banners and love even more that they were made of scrap wood, with leftover stain and some acrylic paint we had on hand. Even the roping was something we found in our workshop. I had rolls of vinyl on hand to make the stencils so in the end, the cost was minimal !