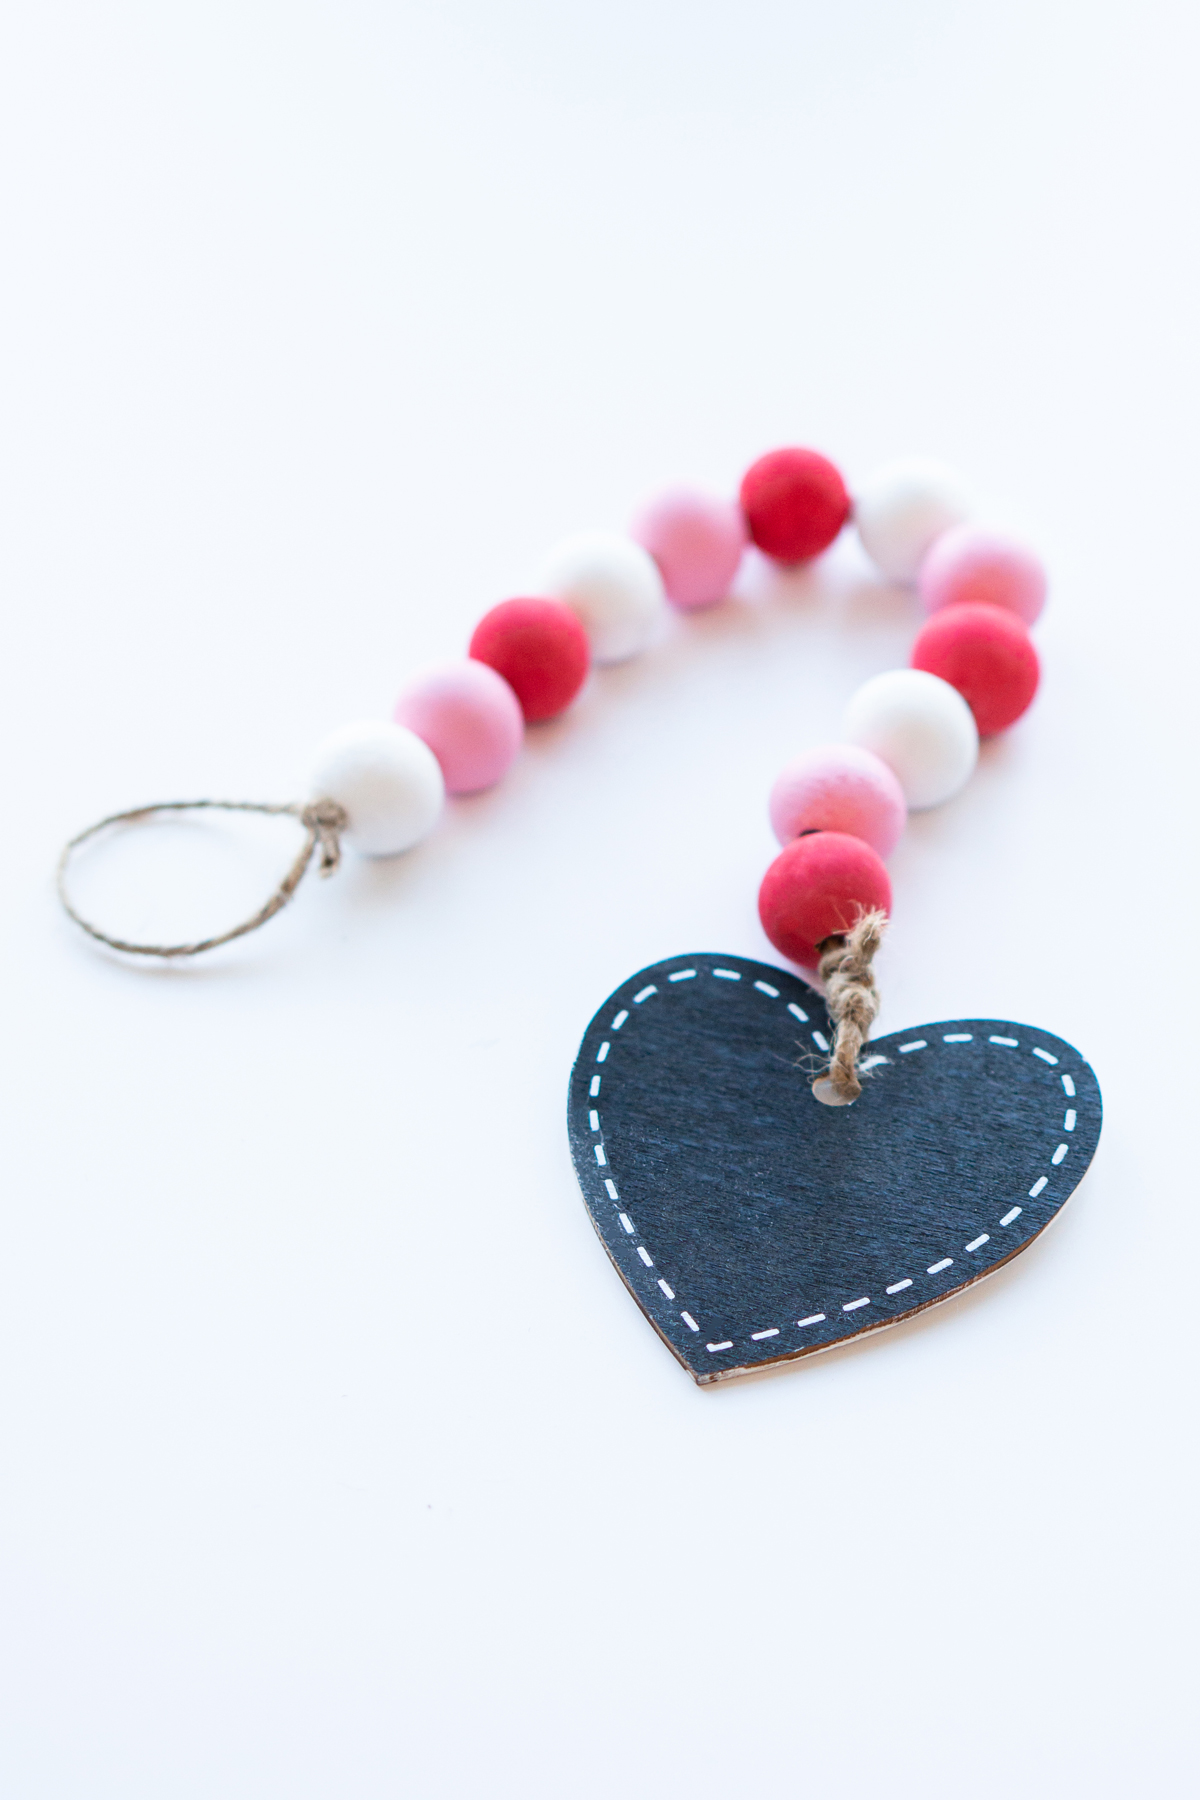
DIY Valentine wood beads are such an adorable option for Valentine’s Day farmhouse decor. While many people believe farmhouse decor is on its way out, there are still so many home decor trends that have stuck around.
Wooden bead garlands and strands of wooden beads are one of the items that have stuck around. I love using small single strands of small beads as an accent on a tiered-tray, draped over some books on a bookshelf, or laying on an ottoman tray.

No matter where you put them, they are a cute touch to any decor. This Valentine’s Day version is an easy project that you can create on your own. You won’t find these custom beads in any craft stores – they are one of a kind and made by you!
No matter what level of crafter you are, you can complete this easy and inexpensive DIY Valentine’s decor. If you aren’t comfortable with a craft machine (or don’t have one), you honestly don’t need it. Just paint the wood heart a solid color instead of adding a design.
As an Amazon Associate, I earn from qualifying purchases. I am also an affiliate for the HP ink program, ShareaSale, and CJ Networks. Click here to read more.
Customize your Heart Design or Leave it Blank!
The hearts that I got from The Dollar Tree were chalkboard paint on one side and blank on the other. You can make your heart have any design you would like or just leave it blank. Look how cute it looks with the black chalkboard without any design on it!

Where Can I Buy the Required Materials for the Valentines Day Beads
You can get the wood beads at Amazon, Michaels, and Hobby Lobby. Some Dollar Tree stores even have them.
The other materials (such as paint and the heart hanging piece) can be purchased at craft stores. Or, many of the materials are Dollar Store items.
Where Can I Get the Free Cut File for the Word Love?
You can click here to instantly download the free cut files. SVG, Silhouette, and PNG files are included.

Tip for Saving Paint for Extra Coats of Paint
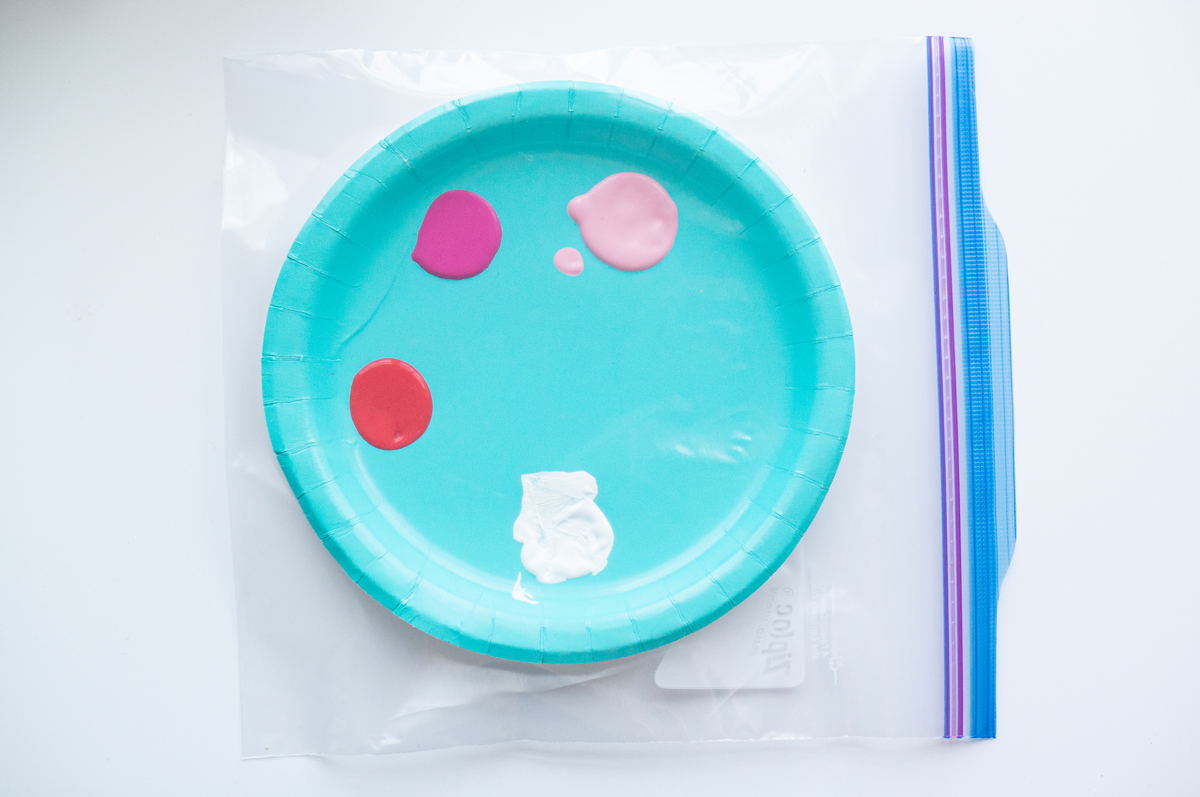
One of my favorite crafting tricks is to use paper plates as a paint palette. In-between coats, you can place the plate into a large plastic bag and put it in the fridge.
This will keep the paint fresh and ready to use for additional coats of paint. I use this trick for any DIY project that requires paint.
Can I Create Something Else with this Painting Bead Method?
Yes! You can still paint the wood beads to make your own Valentine wood bead garland or even string them on a wire ring to make your own Valentine’s day wooden bead wreath (the little heart would be so cute hanging from it!)

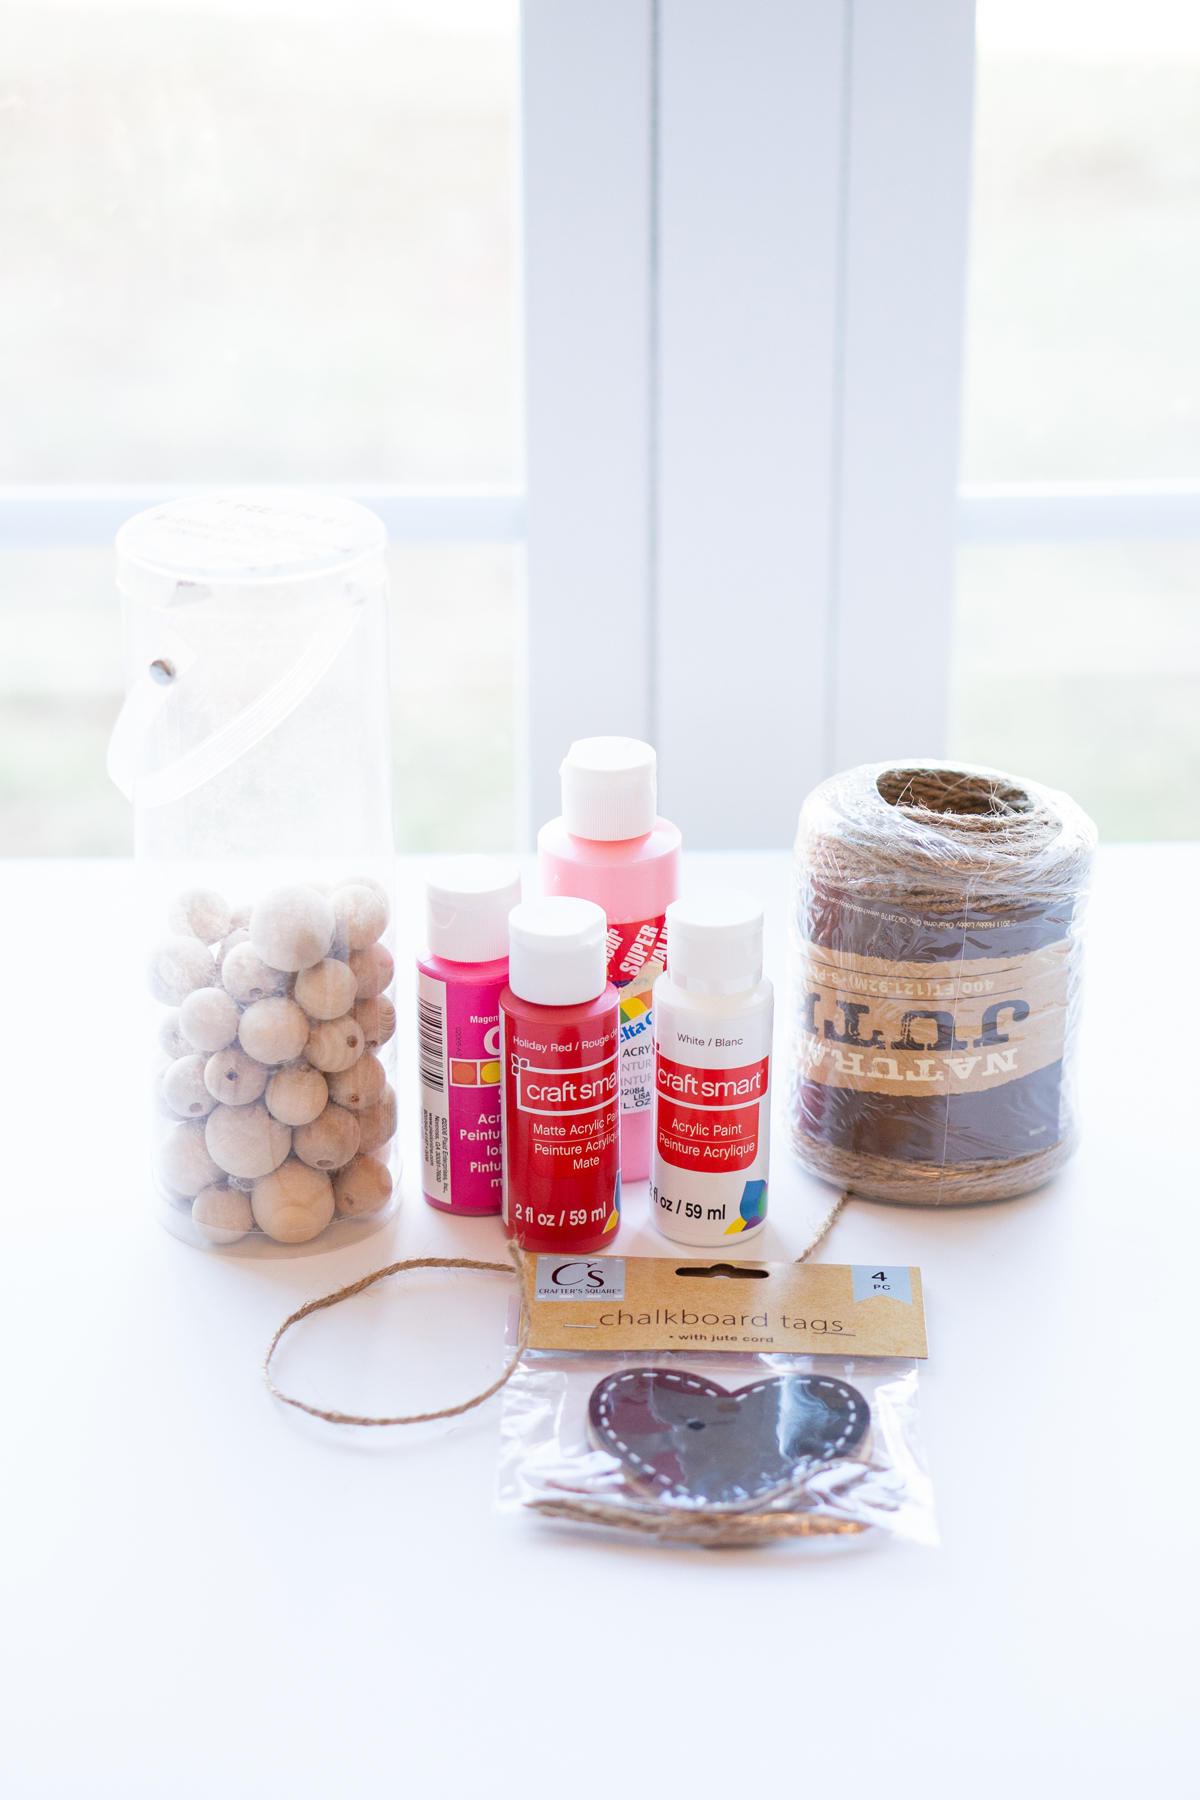
Materials for the DIY Valentine’s Day Wood Beads
- Wood beads
- Jute string
- Heart tag
- Acrylic paint in desired different colors
- Free cut file (or create your own)
Supplies & Tools Needed for the Beads
- Scissors
- Craft cutting machine
- Stencil material
- Transfer tape
- Burnish tool
- Weeding tool
- Paint brushes
- Hot glue gun (to help keep the edges of the jute from fraying)
- Painters tape
Directions for the Valentine’s Day Wood Beads
Here is a set of video directions for how to make your own beautiful Valentine’s Day decor beads.
Written Directions
- Determine how long you want your wood bead strand to be and count out how many beads you’ll need.
- String the beads on wooden skewers.
- Space the beads out on the sticks.
- Place something under each end of the stick OR place it within a plastic bin with open handles (see video or picture below).
- Tape the wooden skewer to the objects under each end using a small piece of tape.
- Use a paintbrush to paint the beads with acrylic craft paint.

- Repeat painting additional coats if needed (after each coat dries).
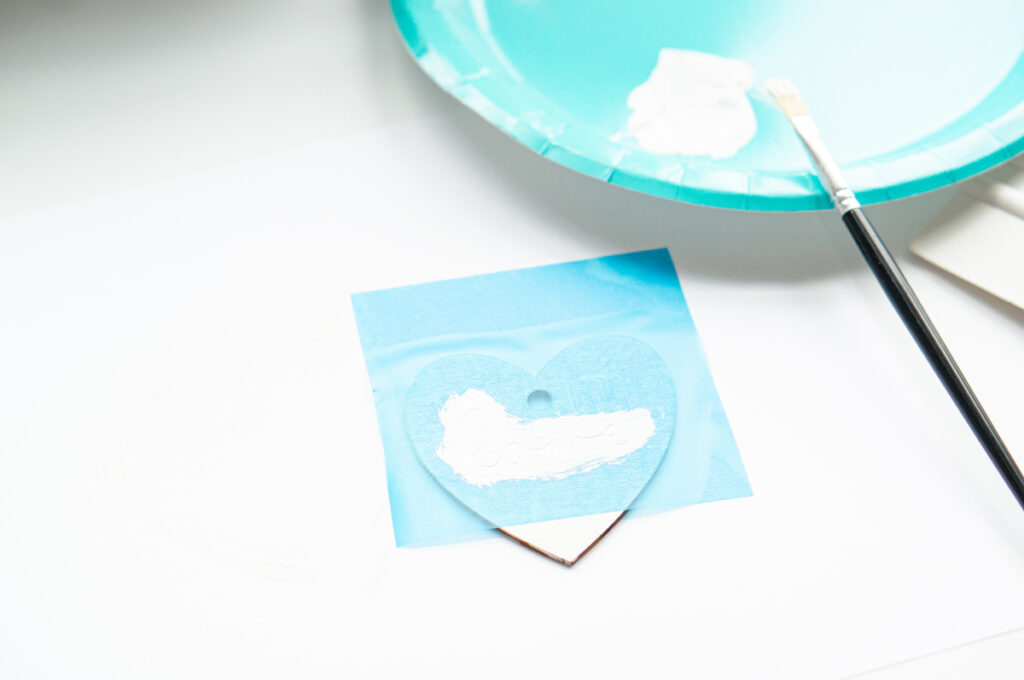
- Paint the base coat of your heart and let it dry.

- Cut out the stencil of the free design on your craft cutting machine (or make your own design).
- Weed the design.
- Place transfer tape over the design and transfer the stencil to the heart.
- Paint the base color over the stencil to seal the edges.

- Paint the design over the stencil.

- Let the beads and heart dry.
- Create a loop and tie a double knot at one end of the jute twine.
- Measure out enough twine for the desired length plus a little extra to tie on the heart.
- String the beads in alternating colors. If you are using different sizes for the beads, alternate large beads and small beads with each other.

- When you get to the end, tie the end with a double knot.
- Tie the wooden heart onto the end of your garland and double-knot it.
- Trim the jute.
NOTE: If you want to keep your jute from fraying, you can place a little bit of hot glue on the ends of the jute.
Looking for More Valentine’s Day Craft Ideas?
Want more Valentine’s Day fun, check out all of my Valentine’s Day crafts, decor, DIY gifts, printables, and more: Valentine’s Day

Copyright MOM ENVY 2023. Files may be used for personal use only. No commercial use of the file is available. Files may not be directly shared within Facebook groups, on websites, or in any other way. A link to the web page to download the files may be shared as well as one photo. The file may not be printed and then sold (including local yard sale sites and groups or at local craft fairs). The images may not be used in any way other than to share with a link to the original web page.


DIY Valentine Wood Beads
Learn how to make your own DIY Valentine's Day wood beads. This inexpensive project is so easy to do.
Instructions
1. Determine how long you want your wood bead strand to be and count out how many beads you'll need.
2. String the beads on wooden skewers.
3. Space the beads out on the sticks.
4. Place something under each end of the stick OR place it within a plastic bin with open handles (see video or picture below).
5. Tape the wooden skewer to the objects under each end using a small piece of tape.
6. Use a paintbrush to paint the beads with acrylic craft paint.
7. Repeat painting additional coats if needed (after each coat dries).
8. Paint the base coat of your heart and let it dry.
9. Cut out the stencil of the free design on your craft cutting machine (or make your own design).
10. Weed the design.
11. Place transfer tape over the design and transfer the stencil to the heart.
12. Paint the base color over the stencil to seal the edges.
13. Paint the design over the stencil.
14. Let the beads and heart dry.
15. Create a loop and tie a double knot at one end of the jute twine.
16. Measure out enough twine for the desired length plus a little extra to tie on the heart.
17. String the beads in alternating colors. If you are using different sizes for the beads, alternate large beads and small beads with each other.
18. When you get to the end, tie the end with a double knot.
19. Tie the wooden heart onto the end of your garland and double-knot it.
20. Trim the jute.
Notes
If you want to keep your jute from fraying, you can place a little bit of hot glue on the ends of the jute.
Recommended Products
As an Amazon Associate and member of other affiliate programs, I earn from qualifying purchases.
-
 Tenn Well Natural Jute Twine, 500 Feet Long Brown Twine Rope for Crafts, Gift Wrapping, Packing, Gardening and Wedding Decor
 -
 Apple Barrel Acrylic Paint Set, 16 Piece (2-Ounce), Best Colors Count
 -
 1000pcs Natural Wooden Beads, Round Wood Beads Unfinished Wooden Decorative Beads Loose Spacer Beads for Crafts Making 7 Sizes (20mm, 16mm, 14mm, 12mm,10mm, 8mm, 6mm)


