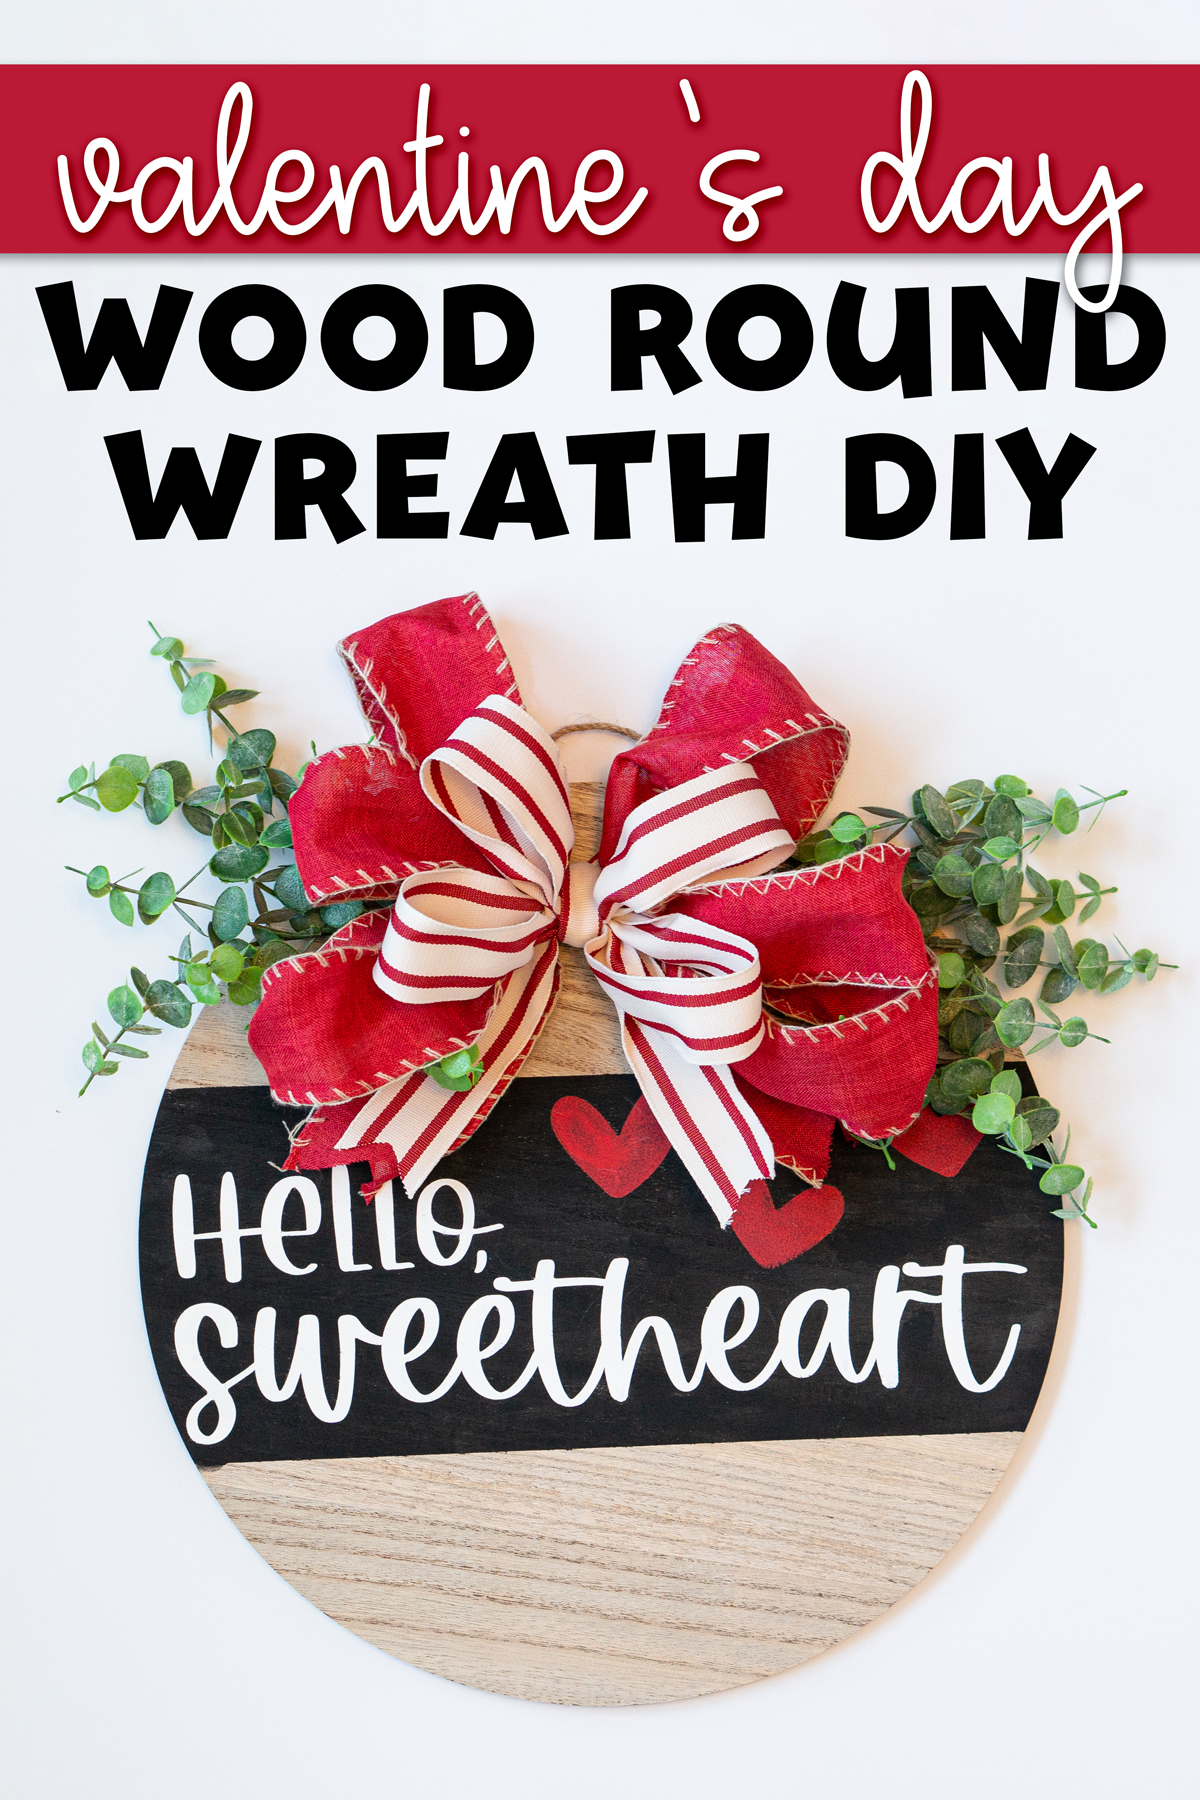
Make your own one of a kind DIY Valentine’s Day Wreath this year. It’s one of those perfect Valentine’s Day crafts that you can use for years to come.
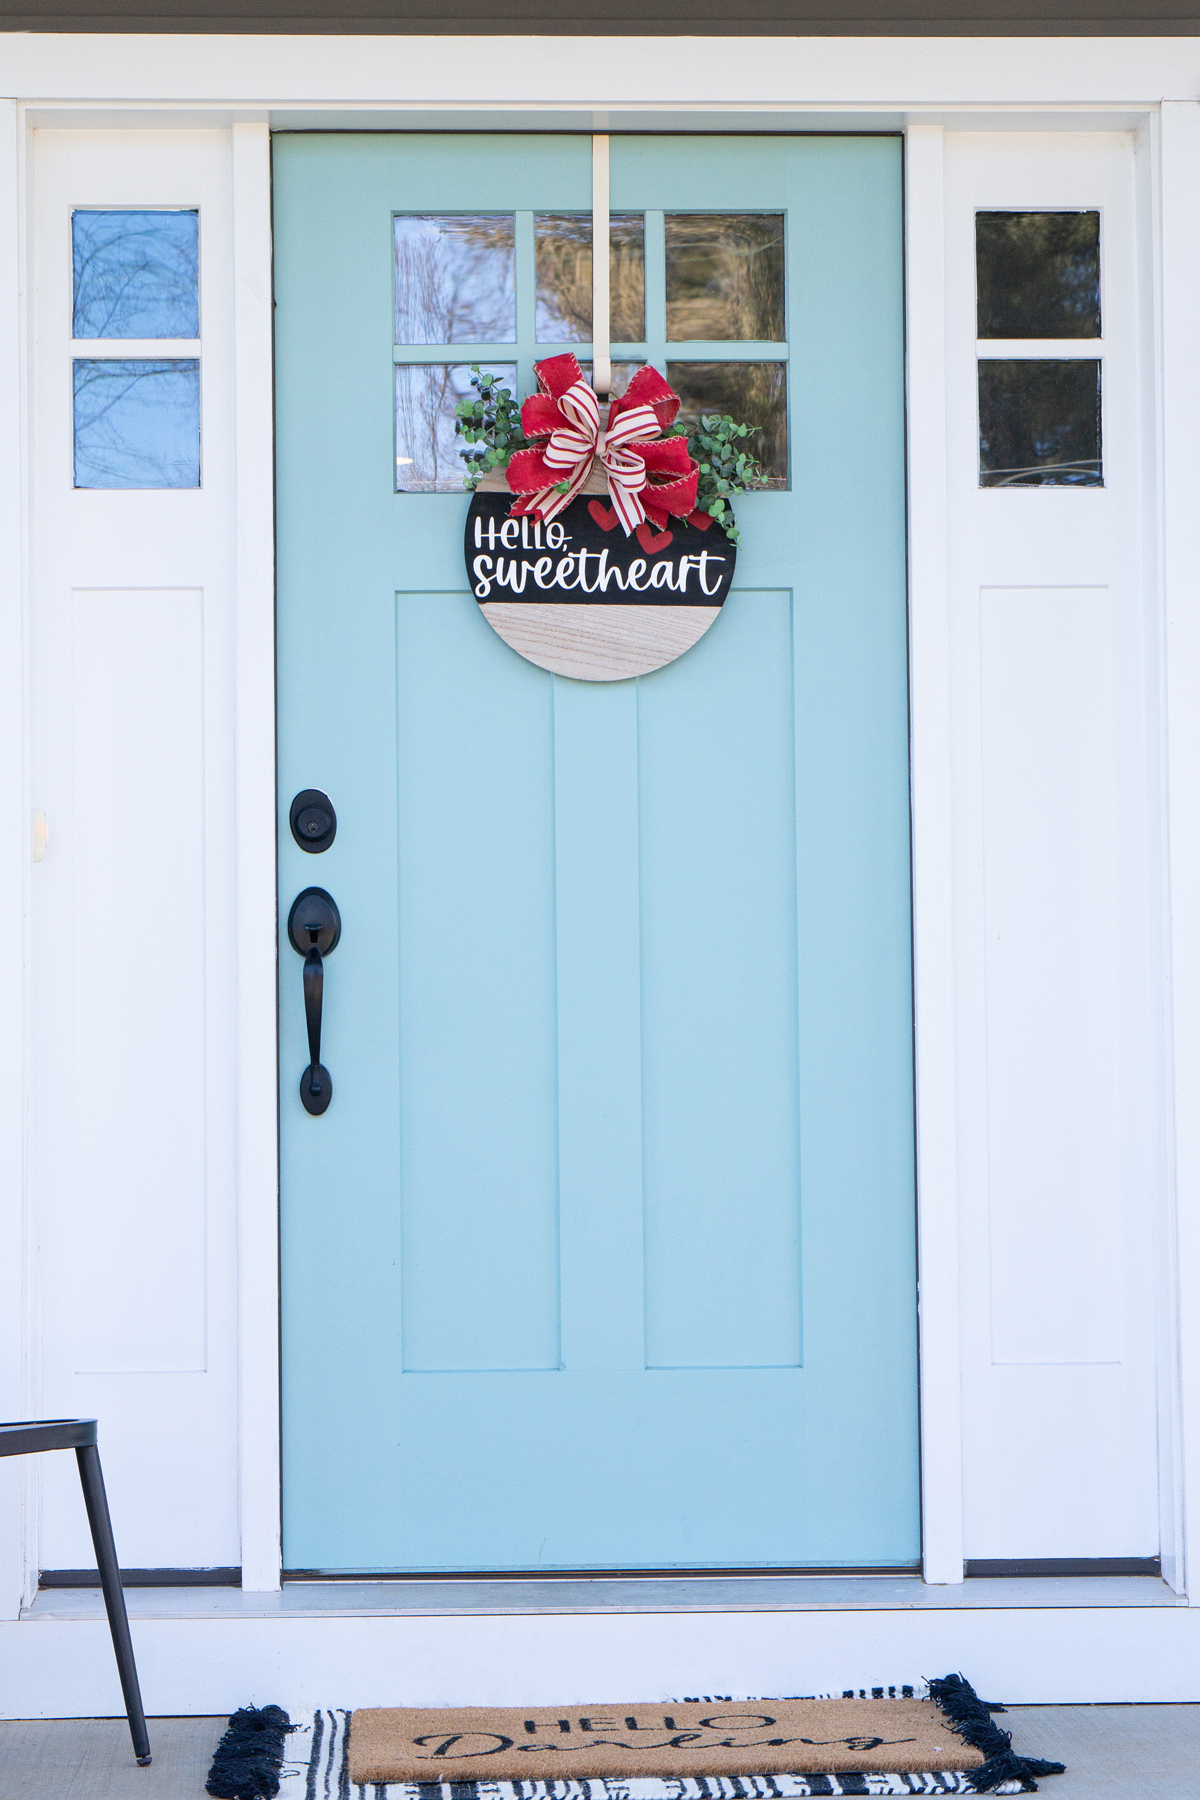
Instead of a traditional floral wreath, I made a DIY Valentine’s Day wreath using a wood round this year. Wood rounds continue to be a popular option for wall decor. Plus – they are adorable hanging on your front door.
With so many DIY Valentine wreaths out there, I wanted to make a cute wreath that was a little different than traditional wreaths sold in stores. Most Valentine’s wreath options are heart wreaths or are circular wreaths made of florals, conversation hearts, deco mesh, grapevine wreath form base, etc.
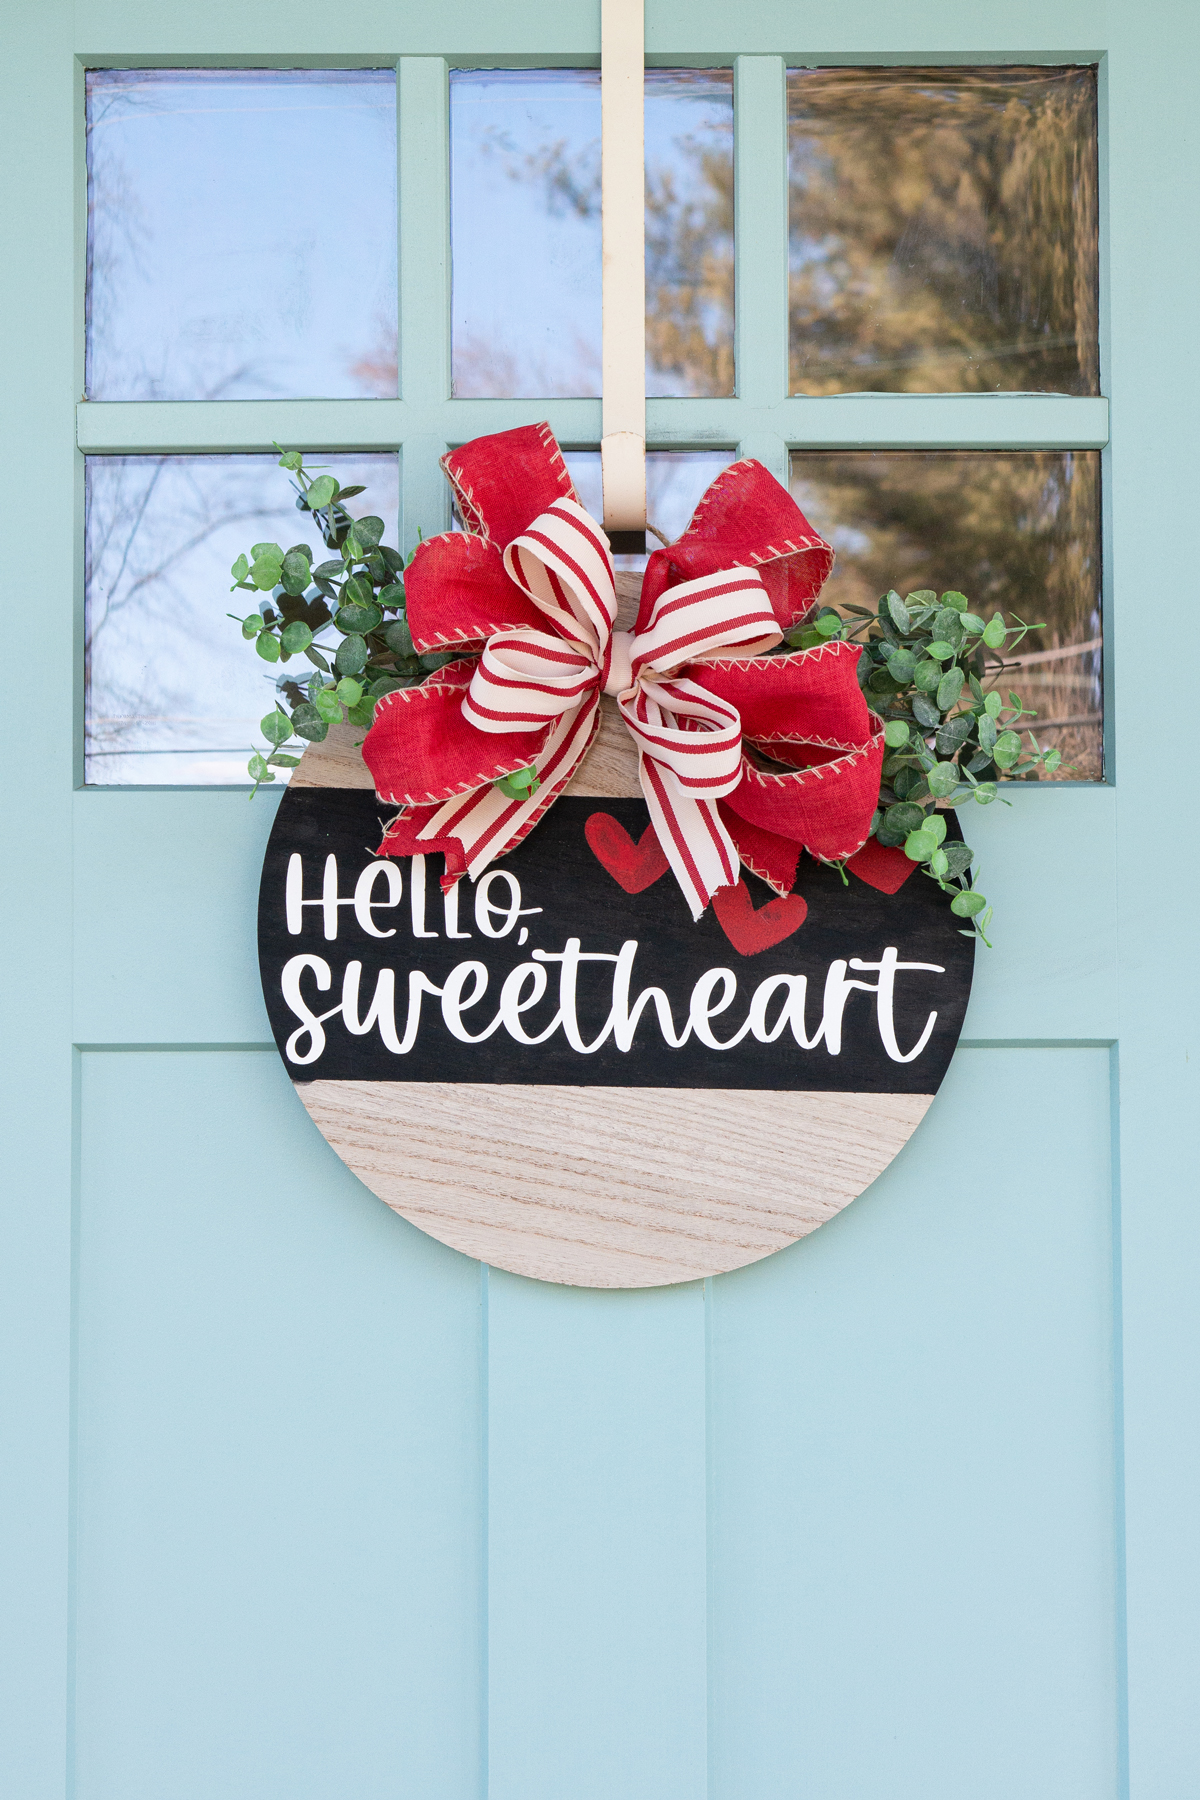
Wood rounds are a great way to create a unique wreath. They make the perfect base for wreaths. You can staple or hot glue decorations onto them to make a beautiful wreath or wall decor.
Just add some sort of hook to the back of the wreath so that it can be placed on a door hanger, hook, or nail. Some already come with something on the back to hang the wreath (mine from Michael’s did).
Creating your own Valentine’s day decorations is such a fun way to celebrate the season of love. You get to make something that is one of a kind and save money at the same time.
As an Amazon Associate, I earn from qualifying purchases. I am also an affiliate for xTool, the HP ink program, ShareaSale, and CJ Networks. Click here to read more.
Customize your Wreaths
Since you can customize the stencil design, you have endless options when it comes to personalizing the wreath to make it your own. But, if you like the design on my wreath, you can get it for free.
In addition, you could use wooden hearts instead of wood rounds to create your own DIY Valentine wreath. Or, you could add faux flowers instead of a large bow at the top or you could incorporate flowers with your bow at the top of the wreath.
Where Do I Get the Free SVG for the Wreath?
You can click here to download the design or you can download it at. the end of the blog post.
Host a Galentine’s Day DIY Decor Party
I love craft nights with friends. Making Valentine’s Day wreaths would be the perfect way to spend an evening crafting. Each attendee can make their own wreath using different colors, their choice of greenery, and even their own design.
If your wood rounds are going to have a base color (or base color with a solid color stripe), I suggest painting the base colors ahead of time so all that needs to be done is stenciling on the design, creating the ribbon, and attaching the ribbon and greenery.
What Level of Crafter Do You Need to be for this DIY Valentine’s Day Decor?
All of the steps aren’t necessarily for all skill levels. If you. are unfamiliar with using a craft cutting machine, this will be a more difficult task. If someone can make the stencil for you (or if you can purchase a premade one), you don’t need to be an experienced crafter to complete the remaining steps to make a wreath yourself.

Where Can I Buy the Required Materials for the Valentines Day Wreath
Can I Use Vinyl Instead of Painting the Design on the Wood Round?
Yes! You can use permanent vinyl for your design instead of painting it on.
Materials for the DIY Valentine’s Day Wreath
- Wood round
- 2 coordinating rolls of ribbon (any color you’d like – burlap ribbon, pink ribbon, red ribbon, etc.)
- Stain (if desired)
- Paint in desired colors
- Greenery stems
- Free cut file (or create your own)
- Floral wire
- Clear coat spray paint (non-yellowing) – if using outside, I suggest a UV protection
- Back of wreath hanger hardware
Supplies & Tools Needed for the Wreath
- Hot glue gun
- Scissors
- Craft cutting machine
- Stencil material
- Painters tape
- Transfer tape
- Burnish tool
- Weeding tool
- Staple gun
- Paint brushes or sponge dabbers
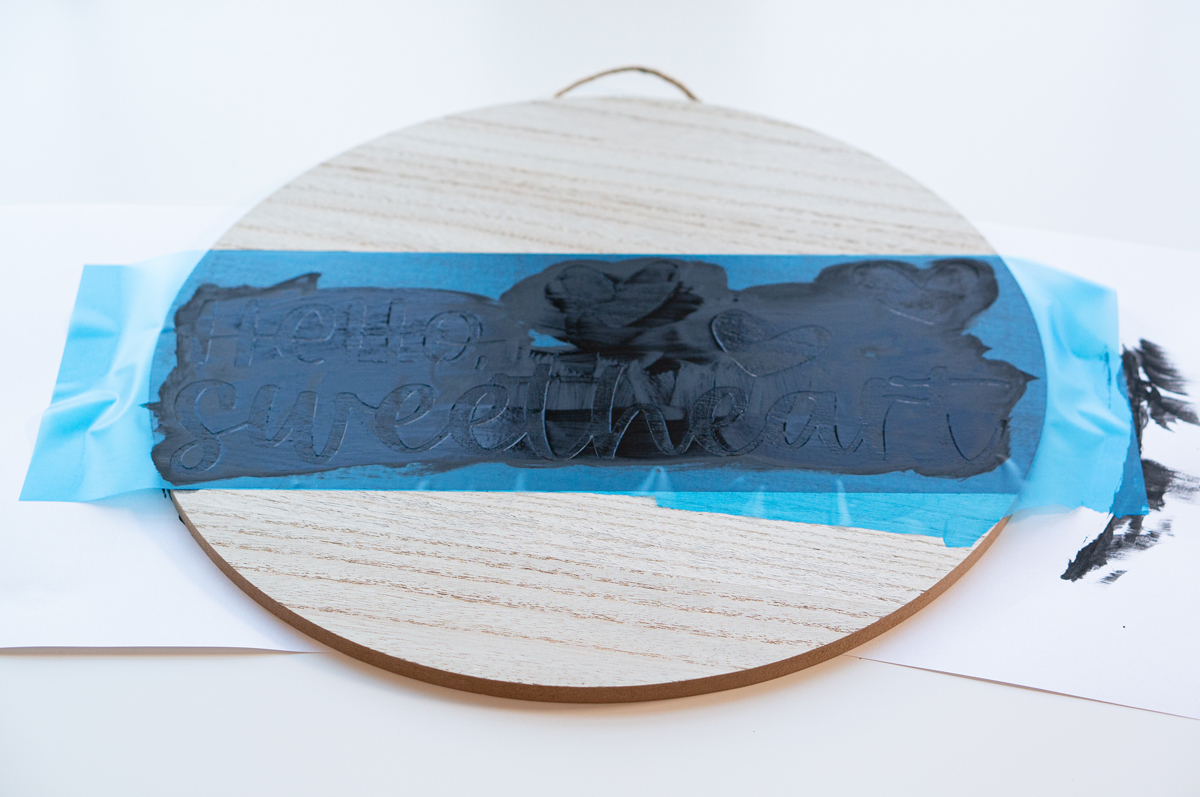
Directions for the Valentine’s Day Wreath DIY
Here is a set of video directions for how to make your own beautiful Valentine’s Day wreath.
Written Directions
- If staining or painting your wood round, complete that as your first step.
- Tape off the solid color rectangle (or use the rectangle stencil).
- Paint the base color for the rectangle.
- Cut out your stencil design.
- Weed your design.
- Place transfer tape over your stencil.
- Transfer the stencil to your wood round.
- Remove the transfer tape.
- Paint your base color over the stencil to seal it in and give you crisper lines.
- Paint your design over the stencil.
- Remove the stencil.
- Allow the design to dry.
- If adding a clear top coat, apply it now.
- Let the top coat fully dry.
- Place hanging hardware on the back of the wreath.
- Create a bow (see video).
- Place greenery and staple it on (or use hot glue).
- Attach the bow using the floral wire or hot glue gun.
Looking for More Valentine Craft Ideas?
If you are looking for more Valentine’s Day fun, check out all of my Valentine’s Day crafts, decor, DIY gifts, printables, and more: Valentine’s Day

Copyright MOM ENVY 2023. Files may be used for personal use only. Commercial licenses may be purchased for SVG and Silhouette cut files. Click here to purchase a commercial license for a file. No commercial use is available for printables. Files may not be directly shared within Facebook groups, on websites, or in any other way. A link to the web page to download the files may be shared as well as one photo. The file may not be printed and then sold (including local yard sale sites and groups or at local craft fairs). The images may not be used in any way other than to share with a link to the original web page.


How to Make a DIY Valentine's Day Wreath
Learn how to make your own DIY Valentine's Day wreath out of a wood round. It's a fun Valentine's Day craft that can be used as a front door wreath or as wall decor.
Materials
- Wood round
- 2 coordinating rolls of ribbon (any color you'd like - burlap ribbon, pink ribbon, red ribbon, etc.)
- Stain (if desired)
- Paint in desired colors
- Greenery stems
- Free cut file (or create your own)
- Floral wire
- Clear coat spray paint (non-yellowing) - if using outside, I suggest a UV protection
- Back of wreath hanger hardware
Tools
- Hot glue gun
- Scissors
- Craft cutting machine
- Stencil material
- Painters tape
- Transfer tape
- Burnish tool
- Weeding tool
- Staple gun
- Paint brushes or sponge dabbers
Instructions
- If staining or painting your wood round, complete that as your first step.
- Tape off the solid color rectangle (or use the rectangle stencil).
- Paint the base color for the rectangle.
- Cut out your stencil design.
- Weed your design.
- Place transfer tape over your stencil.
- Transfer the stencil to your wood round.
- Remove the transfer tape.
- Paint your base color over the stencil to seal it in and give you crisper lines.
- Paint your design over the stencil.
- Remove the stencil.
- Allow the design to dry.
- If adding a clear top coat, apply it now.
- Let the top coat fully dry.
- Place hanging hardware on the back of the wreath.
- Create a bow (see video).
- Place greenery and staple it on (or use hot glue).
- Attach the bow using the floral wire or hot glue gun.
Notes
Try to remember to attach your hanging hardware BEFORE you attatch your greenery and bow. Otherwise, you could damage your decor when putting the hardware on the back.
Recommended Products
As an Amazon Associate and member of other affiliate programs, I earn from qualifying purchases.
-
 CEWOR 50pcs Artificial Eucalyptus Stems Fake Eucalyptus Leaves Stems Real Touch Leaf Branches for Flower Bouquet Wedding Halloween Centerpiece Autumn Home Office Decor
 -
 2 Roll 20 Yards Glitter Hearts Wired Edge Burlap Ribbon Valentine Ribbon Valentine's Day Wired Ribbon for DIY Gift Wrapping Wreath Crafts Decoration, 2.5 Inch (Natural, Red, Pink)
 -
 6 Pieces Round Wood Circles Unfinished Wood Slices Cutout for Craft Door Hanger, Pyrography, and Painting (15 Inch)

