


Are you wondering how to make wooden earrings? Today I will teach you all about how to use the free SVG file set to create your own earrings.
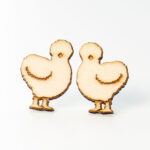
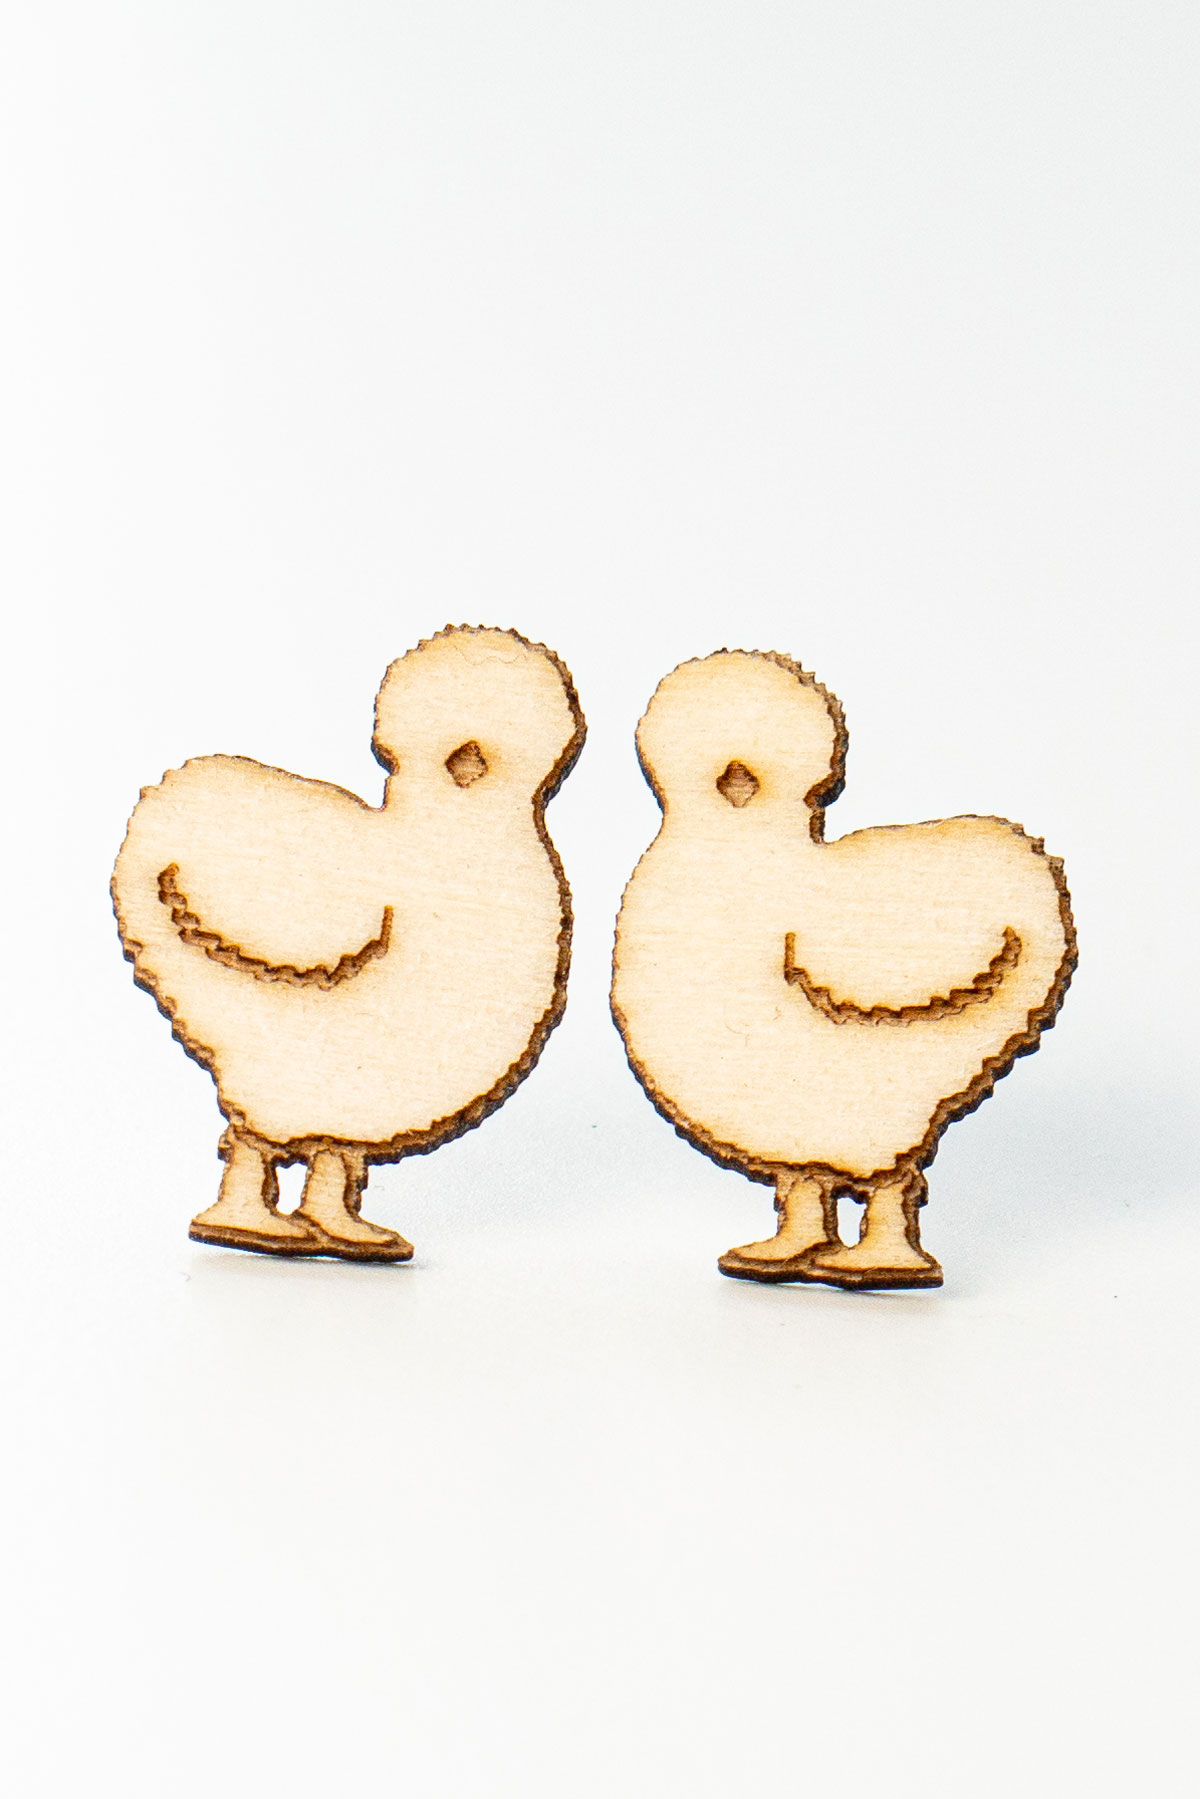
Wood earrings make such great gifts for your friends, family, teachers, and yourself. You can design your own earrings that have your favorite things or the recipient's favorite things included as part of the design. You'll see some of my favorites in the free files - both sloths and silkie chickens.
Creating wooden laser-cut earrings is one of my favorite projects I have done on my laser machine. I still can't believe that I can create my own design for my own pair of earrings.
This was my first time ever making my own wooden earrings. The best part is that it was way easier than I thought it could be - now I'm excited to make even more fun, different designs.
As an Amazon Associate, I earn from qualifying purchases. I am also an affiliate for xTool, the HP ink program, ShareaSale, Awin, and CJ Networks. Click here to read more.
Using an xTool M1 Laser Machine to Make Wooden Earrings
There are a few different ways to make them, but the easiest way to make detailed wooden earrings is by using a laser cutting and engraving machine.
Making jewelry is just one of the great benefits of using an xTool M1. If you want to find out more about the machine and what you can make with it, check out my full review of the xTool M1.
Why Choose a Laser Over a Blade Cutting Machine for Earrings?
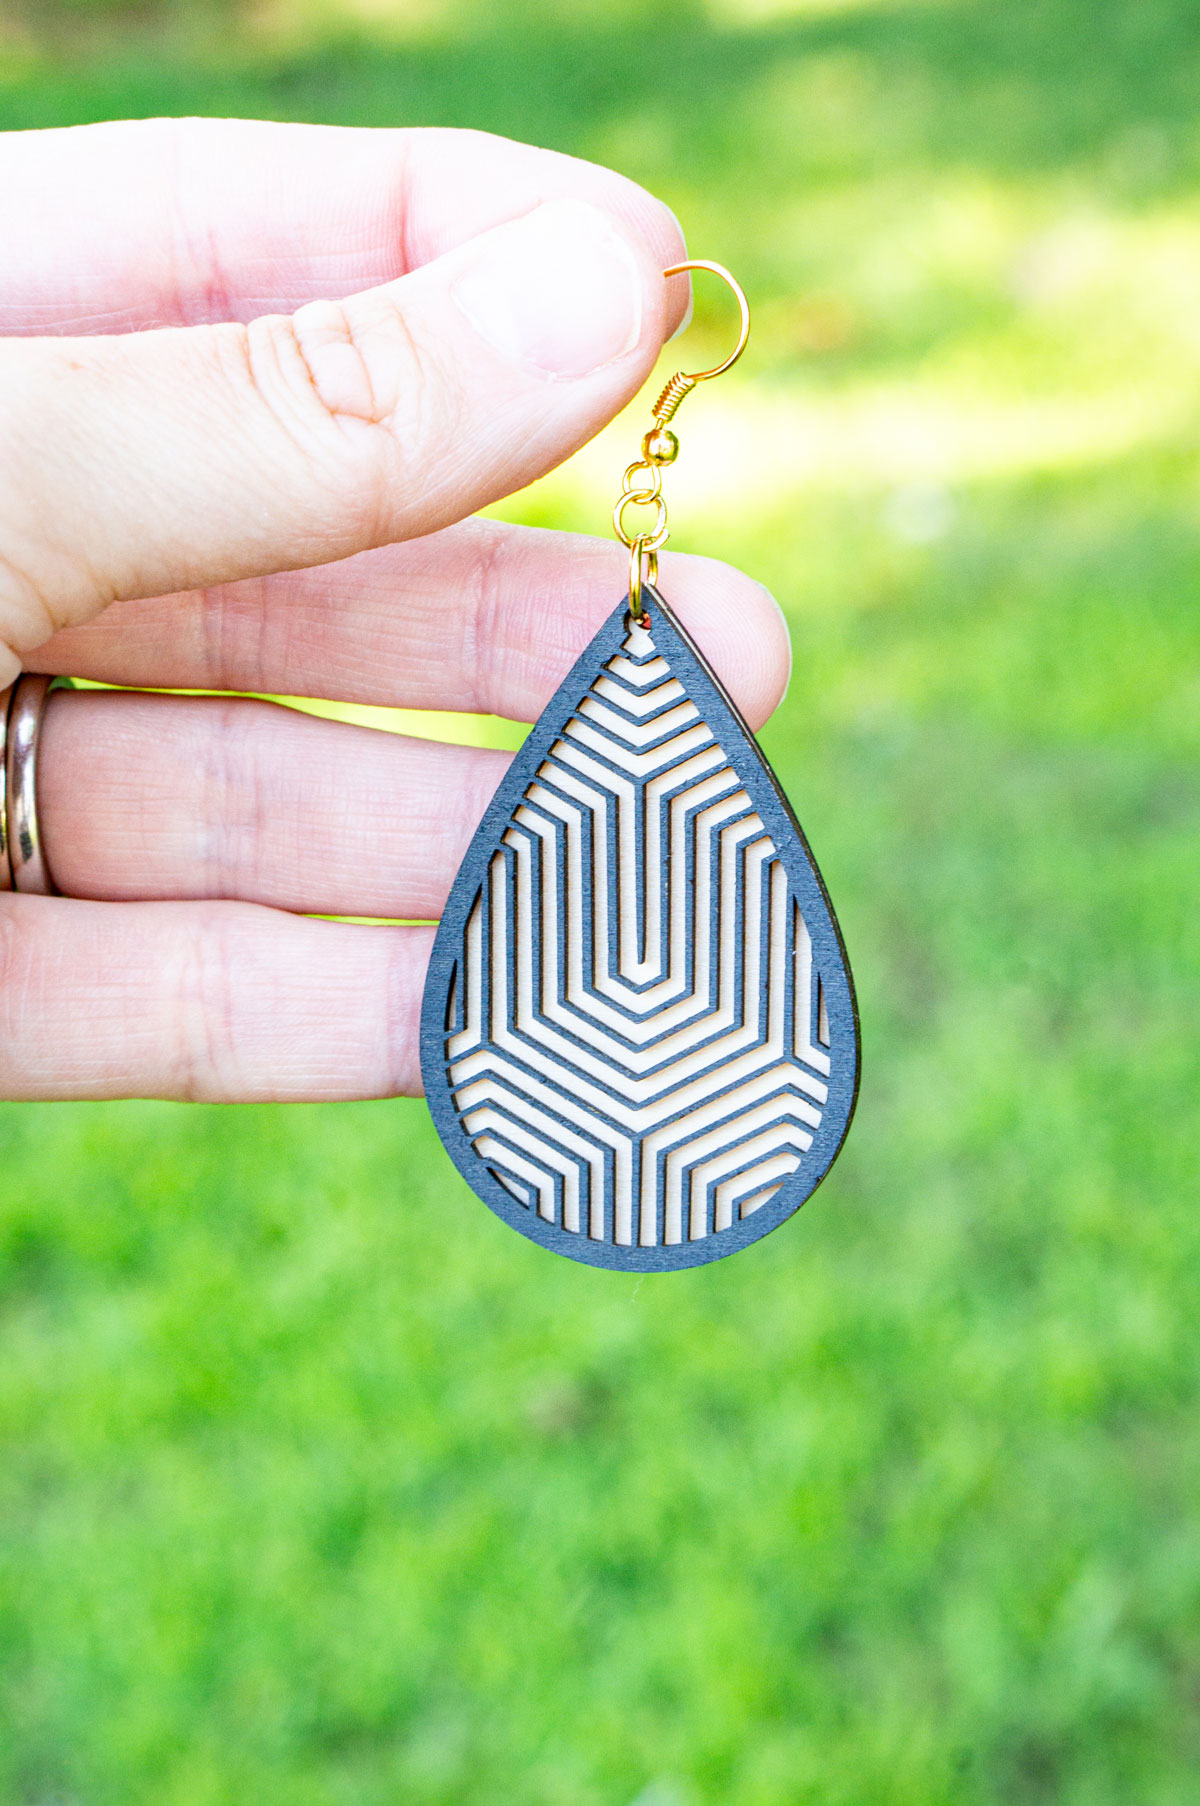
Laser cut wood earrings are professional looking, beautiful earrings. You can cut so much more intricate cuts using a laser machine.
Can I Still Use a Silhouette or Cricut Machine?
Yes. You can use both of these machines to cut very thin wood. But, you won't be able to make as intricate designs as with a laser.
I have both a Cricut Maker and a Silhouette Cameo and love both of them. You can make so many amazing projects with both machines. While they can make wooden earrings, for best results I feel a laser cutter is the best option.
If you want to make Cricut earrings, you'll need a Cricut knife blade. If you're using a Silhouette Cameo 3mm Kraft Blade for the Cameo 4 or the Deep Cut Blade or Kraft blade for the Cameo 3.
This tutorial is going to focus on using a laser cutter. If you have one of the above machines, you can still use the files included (I even included Silhouette Studio files for you!)
What Materials Do You Need to Make Wooden Earrings?
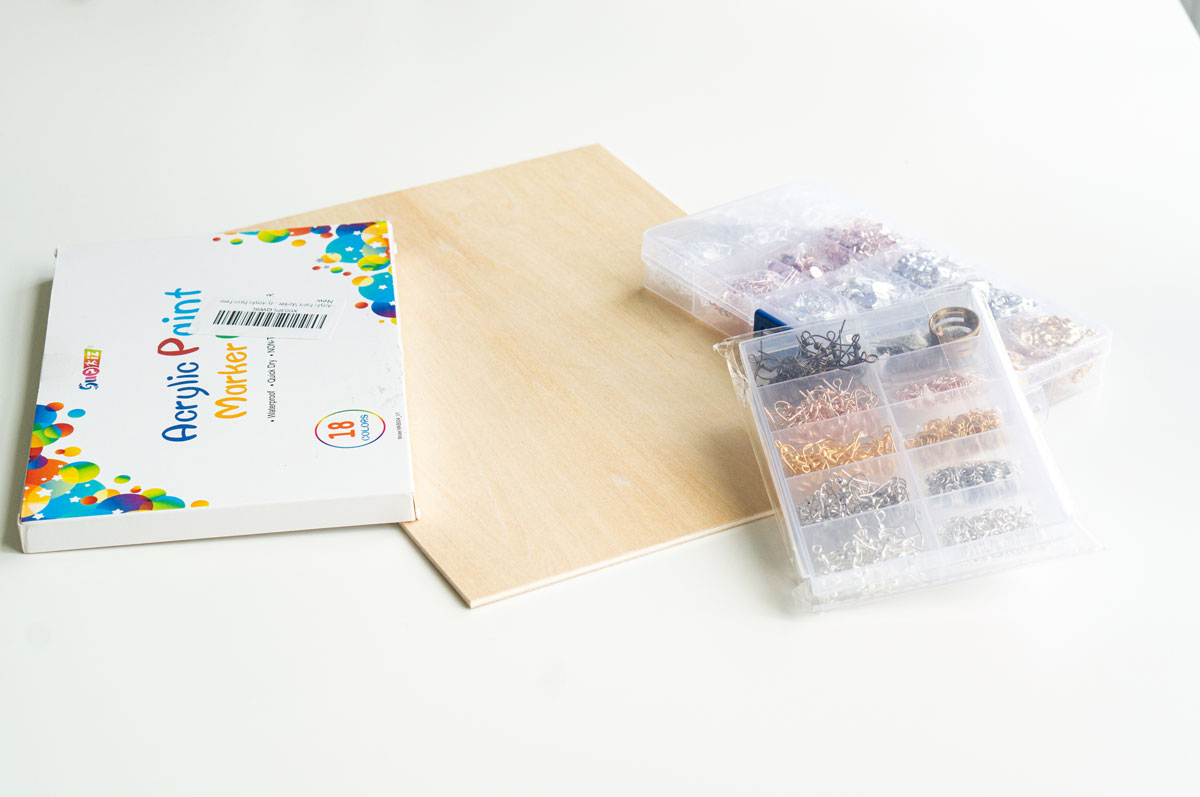
You will need the following materials
- earring hooks or earring studs
- earring jump rings (if using hooks)
- 1/16 or 3mm basswood plywood or balsa wood
- heavy duty glue (Gorilla clear glue, wood glue, or E6000 all work)
- wood stain (if desired)
- acrylic paint pens (if desired)
- non-yellowing clear coat (clear coat spray or mod podge)
What Tools Do You Need
- xTool M1 Laser engraver
- painter's tape or honeycomb pins to hold down the wood while cutting
- small flat nose plier

Free Wooden Earring Cut Files Included!
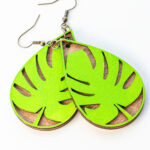
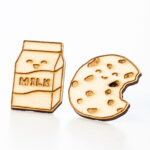
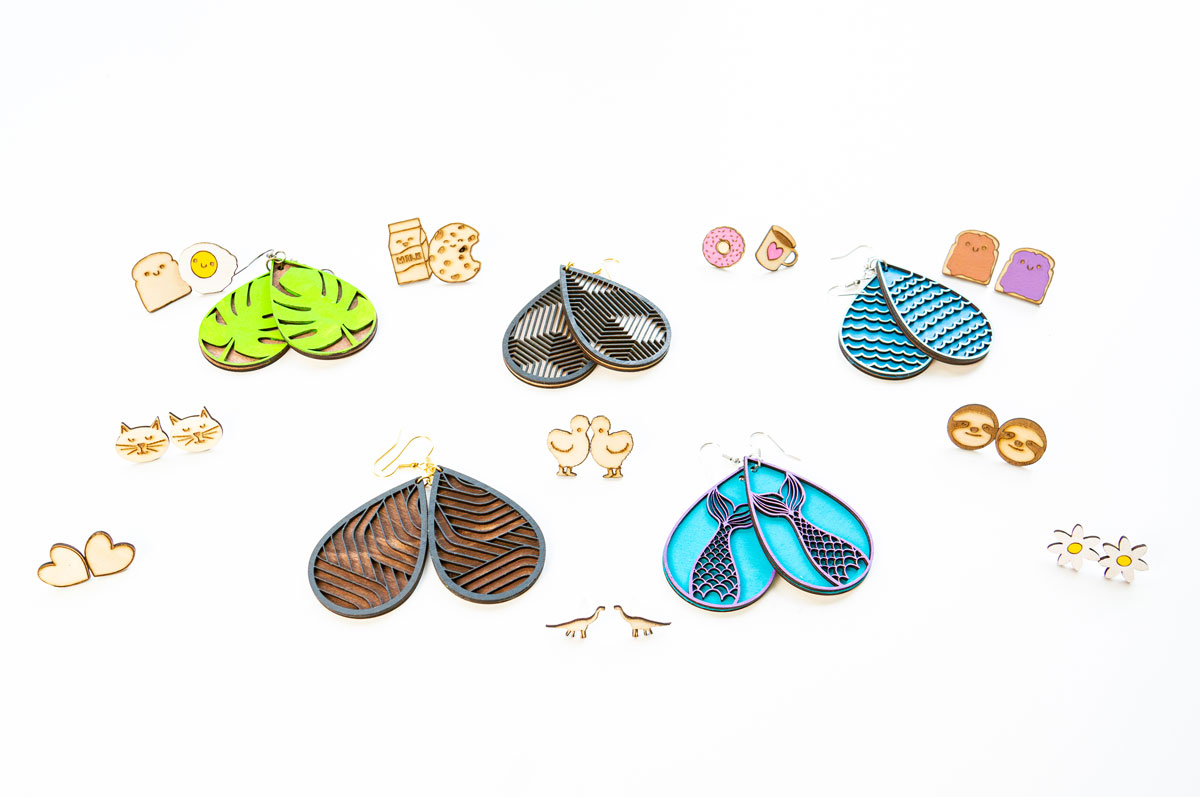
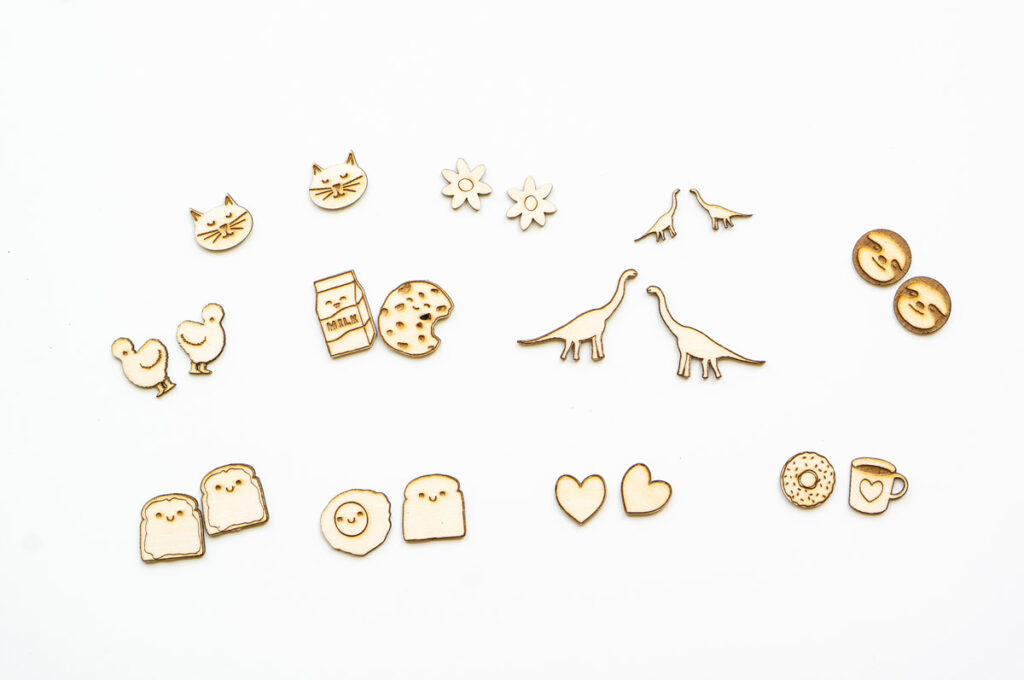
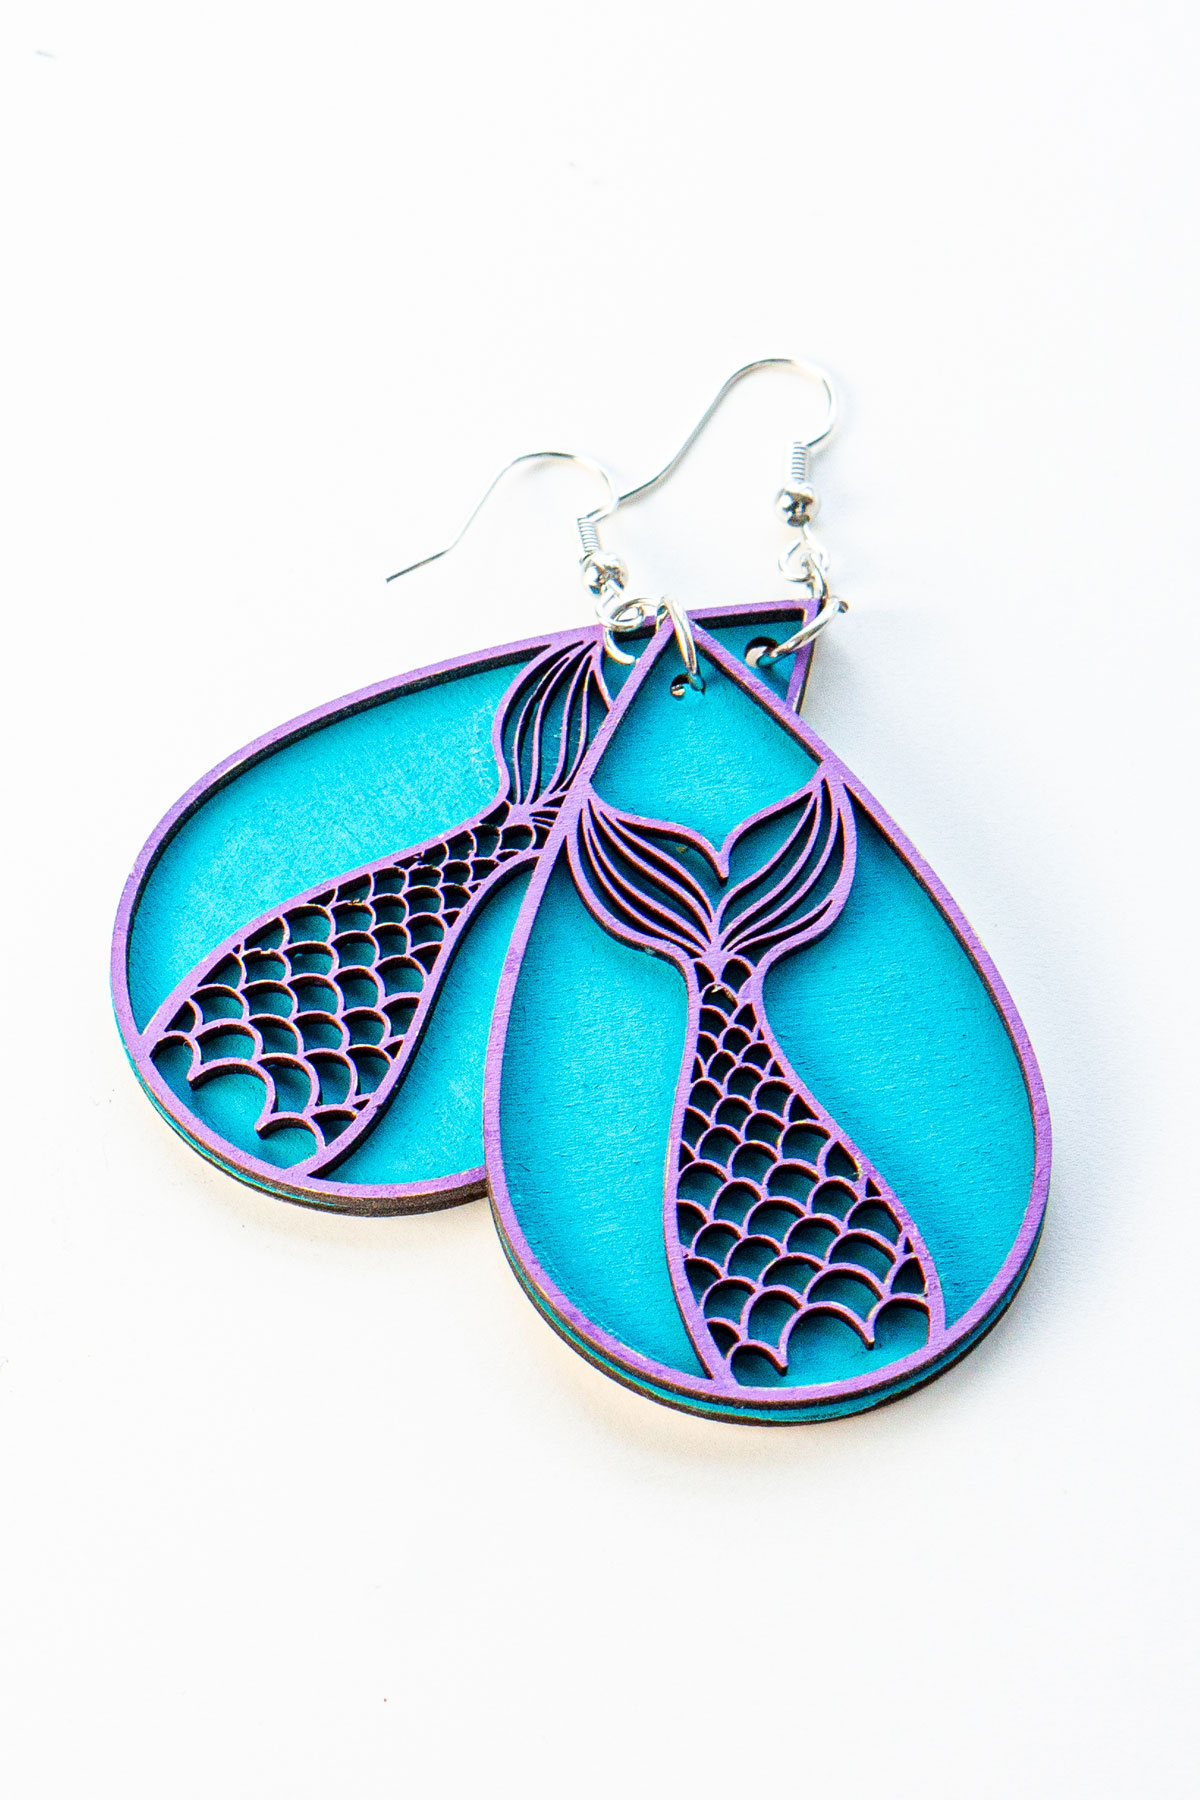
In today's post, I include a set of free cut files that you can use to make your own new earrings. It includes a set of designs of teardrop earrings and a set of stud earrings. See all of the designs in detail below.
Click here to get an instant download of the free Wooden Earring Cut Files
How to Make Wooden Earrings
Watch the video below to learn how to make wooden earrings. If you prefer to read directions, scroll down to the end of this post to read how to make the earrings.
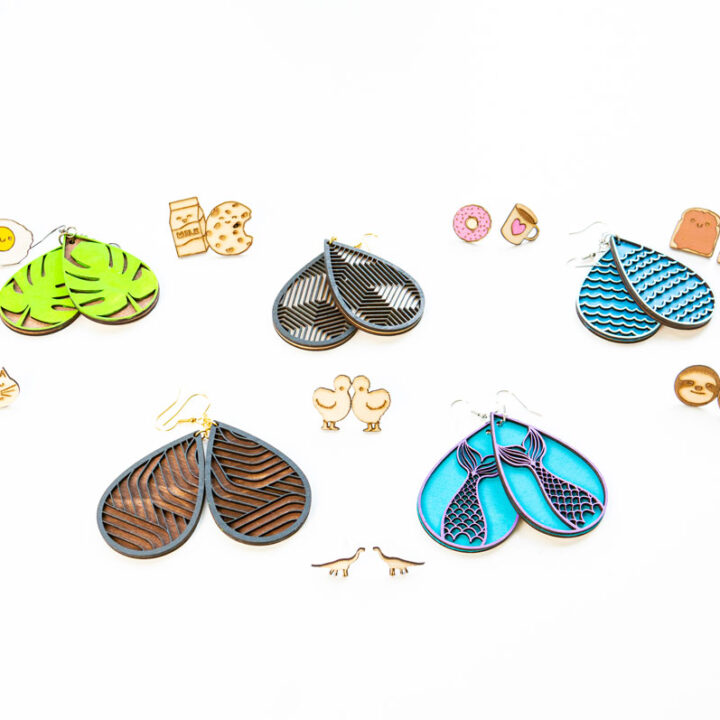
Here is What Each of the Wooden Earring Designs Look Like
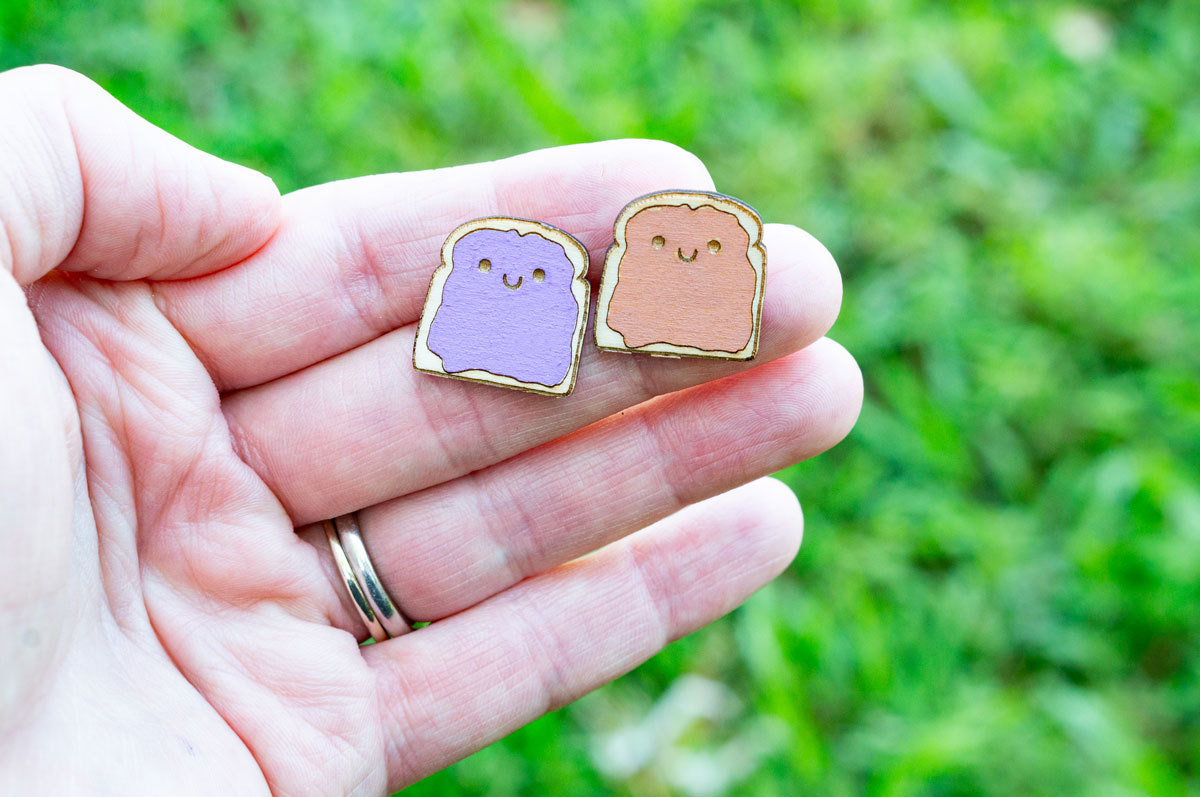
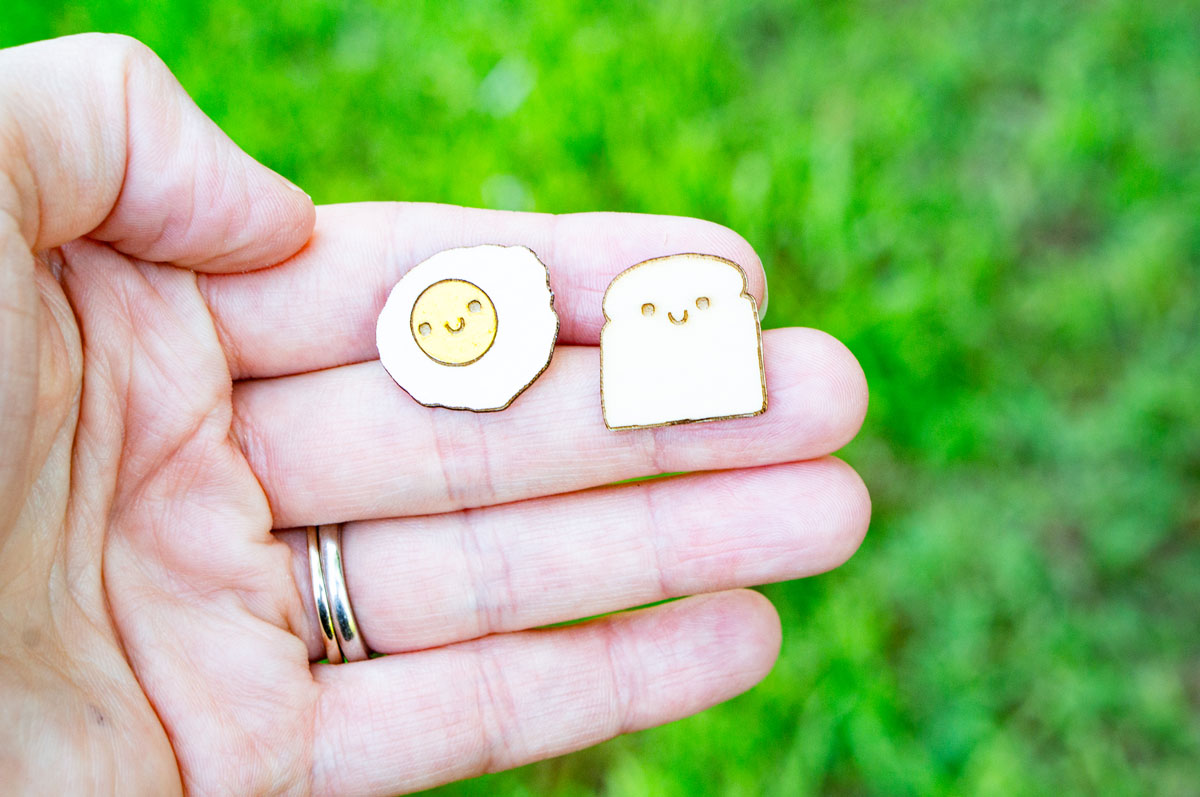
The dangly earrings come in a tear drop shape and the studs come in lots of different shapes. Each of the stud earrings are hand drawn designs by me.
Can I Put Resin on Top of the Earrings?
Yes, you can make resin earrings. I have seen lots of crafters use UV resin to create water-resistant earrings. Since I have younger children in the house and I also have asthma, I do not use resin due to the fumes. But, it is an option.
What Wood Types Are Best for Making Wooden Earrings?
I suggest either 1/16 or 3 mm thin wood. It's best to use a softer wood. There are a few types of wood that work, I suggest using basswood or balsa wood. But you can also use pinewood or sheets of Cricut wood veneers.
Can I Use Acrylic Instead of Wood?
Yes, you can use a different material like acrylic with the teardrop earring designs. Acrylic will not work for the stud earrings. Just remember, the M1 is a diode laser and cannot cut through clear acrylic - it can only cut through solid acrylic colors.
What File Types Come Included in the Set of Free Wooden Earring SVGs?
- SVG format
- xTool Creative Space
- PNG format (transparent background)
- Silhouette Studio format
What Programs Can You Use the Free Files with?
You can use the following programs with the free wood earring files:
- xTool Creative Space
- Lightburn
- Cricut Design Space
- Silhouette Studio
- Any program that will support SVG & PNG files
Save an Extra $80 with My Special Mom Envy Coupon Code!
xTool has been gracious enough to give me my own coupon code for my readers!
Click here to use my coupon momenvy80 to get an extra $80 off a laser machine!
xTool Spring Sale
Right now, xTool is running a Spring Sale where you can save hundreds.
Can I Purchase a Commercial License?
Yes! These free files are for personal use only unless you purchase a commercial license. If you're looking to purchase a commercial license, click here to purchase.
Want to See Other xTool M1 Projects I've Completed?
Click here to see all of my xTool M1 Laser tutorials and information.
Want More Free SVG Files?
When you sign up for my Members-only club, you'll get my free members-only password to gain access to my hundreds of free designs. There are tons of freebies for your next project.
Just make sure to check your junk folder because oftentimes the sign up email ends up there. Here is the link to all of my free SVG files on my site.

Copyright MOM ENVY 2023. Files may be used for personal use only. Commercial licenses may be purchased for SVG and Silhouette cut files. Click here to purchase a commercial license for a file. No commercial use is available for printables. Files may not be directly shared within Facebook groups, on websites, or in any other way. A link to the web page to download the files may be shared as well as one photo. The file may not be printed and then sold (including local yard sale sites and groups or at local craft fairs). The images may not be used in any way other than to share with a link to the original web page.


How to Make Wooden Earrings with an xTool M1
Learn how to make wooden earrings using an xTool M1 laser machine. The laser machine creates high quality wood earrings.
Materials
- earring hooks or earring studs
- earring jump rings (if using hooks)
- 1/16 or 3mm basswood plywood or balsa wood
- heavy duty glue (Gorilla clear glue, wood glue, or E6000 all work)
- wood stain (if desired)
- acrylic paint pens (if desired)
- non-yellowing clear coat (clear coat spray or mod podge)
Tools
- xTool M1 Laser engraver
- painter's tape or honey comb pins to hold down the wood while cutting
- small flat nose plier
Instructions
- The first step is to download the free earring cut files or to design your own. Click here to download my free designs.
- Place your wood sheet onto your xTool M1 laser's base plate or honeycomb.
- Turn on your laser and connect it to your device.
- Refresh your screen capture what is inside of your machine.
- Select the material type of your wood sheet.
- Click on the design and change the settings based on the wood sheet.
- Make sure to have any lines that are cutting, set to cut. And any lines that are supposed to score, set to score. And any lines that are supposed to engrave, are set to engrave.
- Place the your design on the screen capture of the wood where it looks like it will successfully fit on the wood sheet. Make sure it is the correct size for the earring sizes. you want to make.
- Click on framing in the bottom right-hand corner of the screen to make sure that the design will cut within the wood sheet,
- Press the blinking light on the machine to watch the framing.
- If the file needs to be adjusted, adjust it and then frame again.
- Once you like the placement, click the start button.
- Press the blinking light on the machine to start.
- Monitor your machine during the process to ensure that there are no fires or sparks.
- Once the cut job is complete, remove the wooden earrings from the baseplate.
- Save any large remnants of wood and toss all of the small, scrap wood pieces.
- Paint or stain your earrings (if desired).
- Allow the earrings to dry.
- Apply a clear coat (with spray or modpodge)
- Allow the clear coat to dry.
- Once dry, use the glue to adhere the layers of the teardrops on to each other. If creating studs, use the glue to adhere the studs onto the back of the earring.
- Allow the glue to dry. Once the glue dries, the stud earrings are complete. Once the tear drops are dry, continue to the steps below.
- If making teardrops, use pliers to open up a small jump ring.
- Place the jump ring on the small hole near the top edge of the earrings.
- Close the jump ring.
- Open another, jump ring.
- Place it onto the other jump ring.
- Then, add a earring hook. Make sure it's facing the right direction,
- Close the jump ring.
- Now you've made your own jewelry!