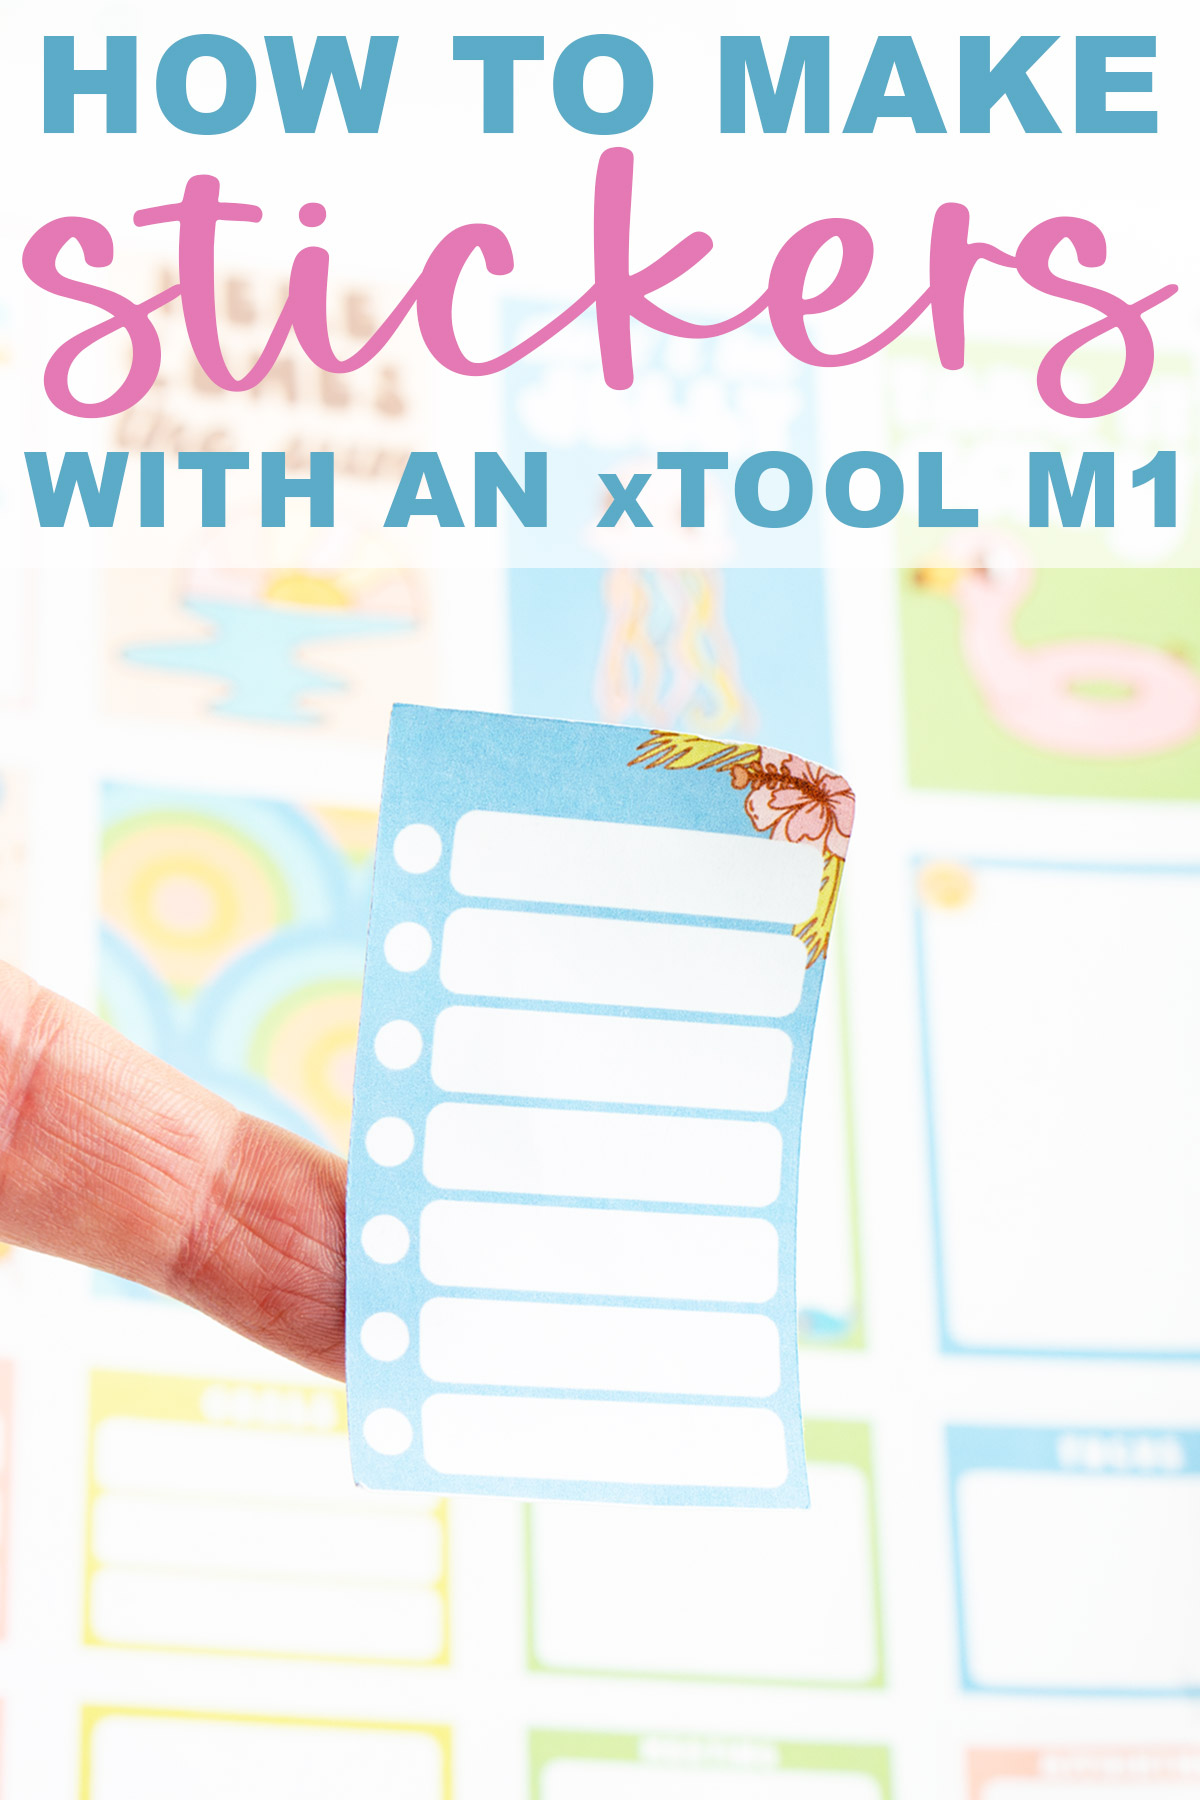


Are you searching to find how to make stickers with an xTool M1 laser machine? I'm here to show first time M1 users how to create their own printable stickers.
For today's post, I'll be creating a set of summer vibes themed planner stickers. But, this tutorial can be used to make any type of sticker. If you want to make waterproof stickers, I suggest checking out the tips further down in the post.
Cutting stickers is a great first project for M1 beginners. With so many different projects you can do on this machine, you have lots of great options for a first project. This one requires such few materials, it's a great first choice.
Are you new to the M1 world? Let me first start by telling you a little bit about the machine.
As an Amazon Associate, I earn from qualifying purchases. I am also an affiliate for xTool, the HP ink program, ShareaSale, Awin, and CJ Networks. Click here to read more.
The Hybrid xTool M1: Blade Cutting, Laser Cutting, and Laser Engraving Machine in One
The best thing about the M1 is just how versatile it is. Small businesses and crafters alike will love the hybrid laser cutter, engraver, and blade cutter. Unlike other laser cutting machine brands, this machine is not only a diode laser machine but it's a classic craft blade cutting machine as well.
First, the laser beam portion of the machine can be used to engrave tumblers, cut wood, make wood earrings, engrave wood, and so much more. It can handle a very wide range of materials (like over 300 of them).
In addition to the laser module, the blade cutter can handle various materials such as paper and it can even cut through thicker materials, too, such as faux leather or thin wood.
Read my Full Review of the xTool M1
Want to learn more about this powerful machine? Read my full review of the xTool M1 machine. I'll explain more about the different types of materials you can use, the various big and small projects you can do, the price-point compared to other machines and my honest opinion about the machine.
Get Your Own xTool M1 (or other xTool Laser Machine!)
I have been so happy with my xTool M1. It is the perfect machine for someone who is looking to learn how to use a laser for the first time. It is ready to plug and go right away and is so user-friendly.
I like to think of the xTool M1 as the next upgrade to a Silhouette or Cricut machine. It's perfect for hobbyist or someone looking to start a small laser business.
If you are more serious about starting a laser business, there are more options that would help you scale your laser business even quicker.
Click here to check out the amazing sale!
How to Make Stickers with an xTool M1
Watch the video below to learn how to make stickers with an xTool M1. If you prefer written directions, scroll down to the end of the post to see the directions.
How Do You Download the Free Stickers from the Video?
Click here to get to the page to get the free downloads.
Or, scroll down to the end of the post to find the download button. It's under a green arrow that says DOWNLOAD BELOW and the image itself says Click to Download.
Can I Use this Same Set of Directions to Make Individual Stickers on an M1
Yes! You can use the same method to make stand-alone, traditional stickers on the M1.
Here are 2 Tips for Creating Individual Stickers:
Tip 1: If you want them to be waterproof, I do suggest adding some sort of protective layer like a laminate layer, on top of the sticker paper. After you print the sticker sheet, put the laminate layer on, then place it in the machine to cut.
Tip 2: if you want to have individual stickers, I would increase the cut pressure setting so that you are cutting out the stickers completely rather than a kiss-cut.
Which Cutting Mat Do You Need?
You'll need the blue cutting mat. The green sticky mat is meant for fabric, and the blue one is meant for paper.
How is the M1's Blade Cutting Different than Other Craft Cutting Machines?
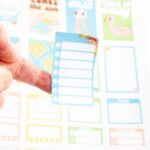
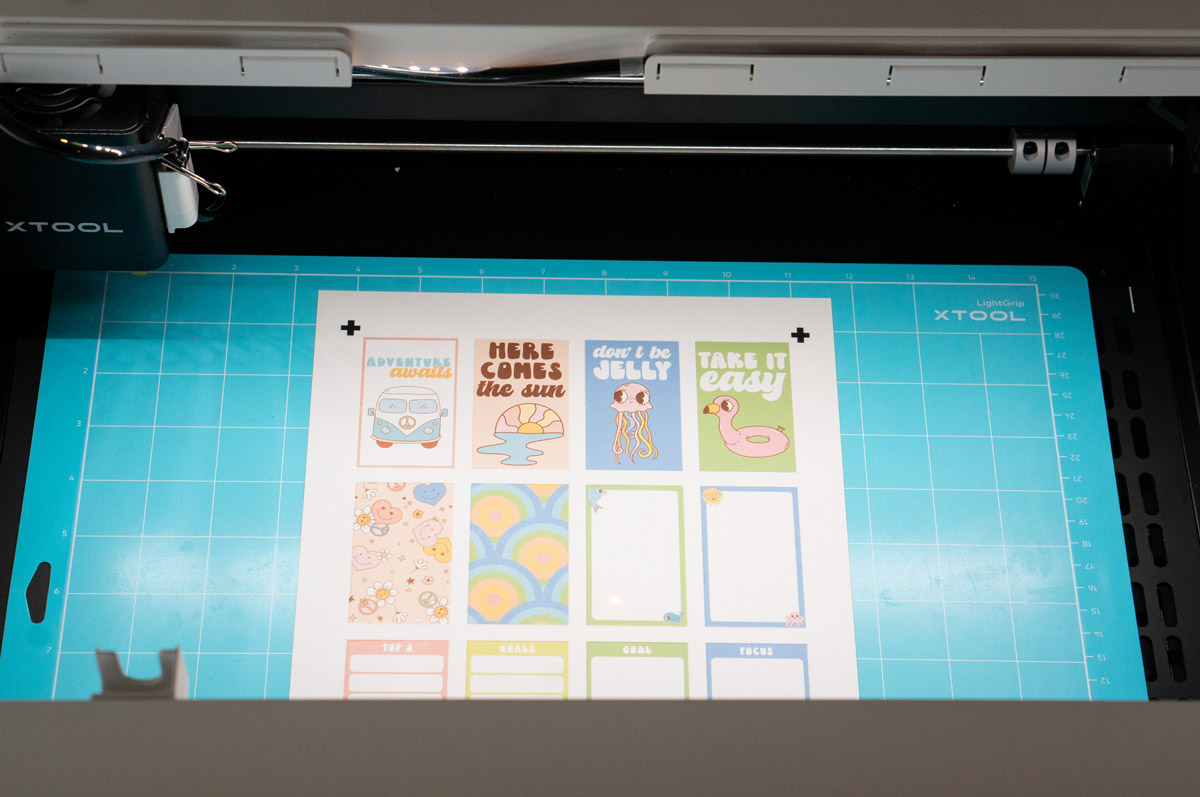
For starters, the blade housing is magnetic making it so easy to install the blade. Plus, it has a smart camera built inside the machine. Instead of loading a mat into the machine, you use the high-resolution camera to take an image of your sticky mat with the sticker paper on it.
Does the xTool M1 Have a Huge Learning Curve?
Like all crafting machines, you'll need to read up on the machine and watch some youtube videos to learn the ins and outs of how to use the machine. The good news is that the machine is growing in popularity which means there are more and more tutorials out there for how to use it.
Plus, you can find ready-made designs on their website under the xTool community and there are some great Facebook group options where. you can get some amazing inspiration.
Can the Machine Use Bluetooth to Cut?
Yes! After you do the initial setup with the USB cable, you can use Bluetooth. This really helps in its ease of use - you don't have to worry about having your computer located next to your machine.
Is Air Assist Needed to Cut Stickers?
No, you do not need to use the air assist when using the blade. It will not benefit you in any way.
Do I Need to Use the Exhaust Pipe When Cutting Stickers?
No. There are no toxic fumes when using the blade. You don't need to put your vent pipe out the window or use the air purifier. You can use the machine in your craft room without any sort of exhaust hose hooked up.
Hint: Don't Trust the Estimated Time
One downside of the machine is that the estimated time for the projects is not correct. So just be prepared when you're doing your craft projects that you may need more time to complete the cut job than what the machine predicts.
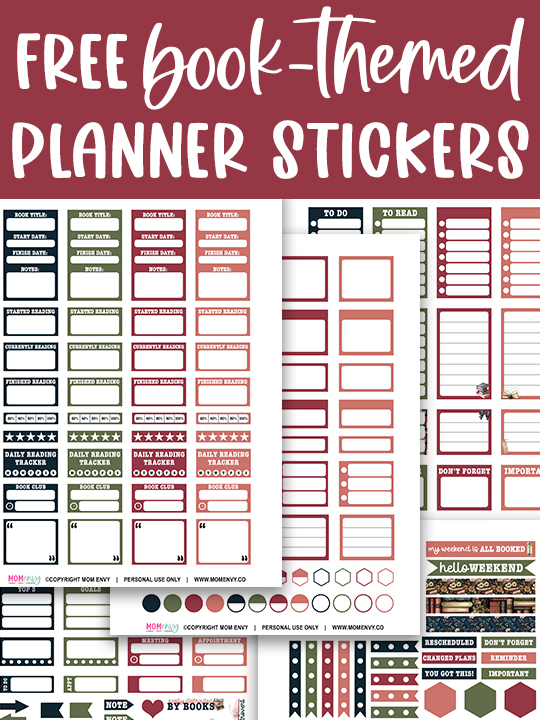
What is Included in this Set of Free Summer Vibes Planner Stickers?
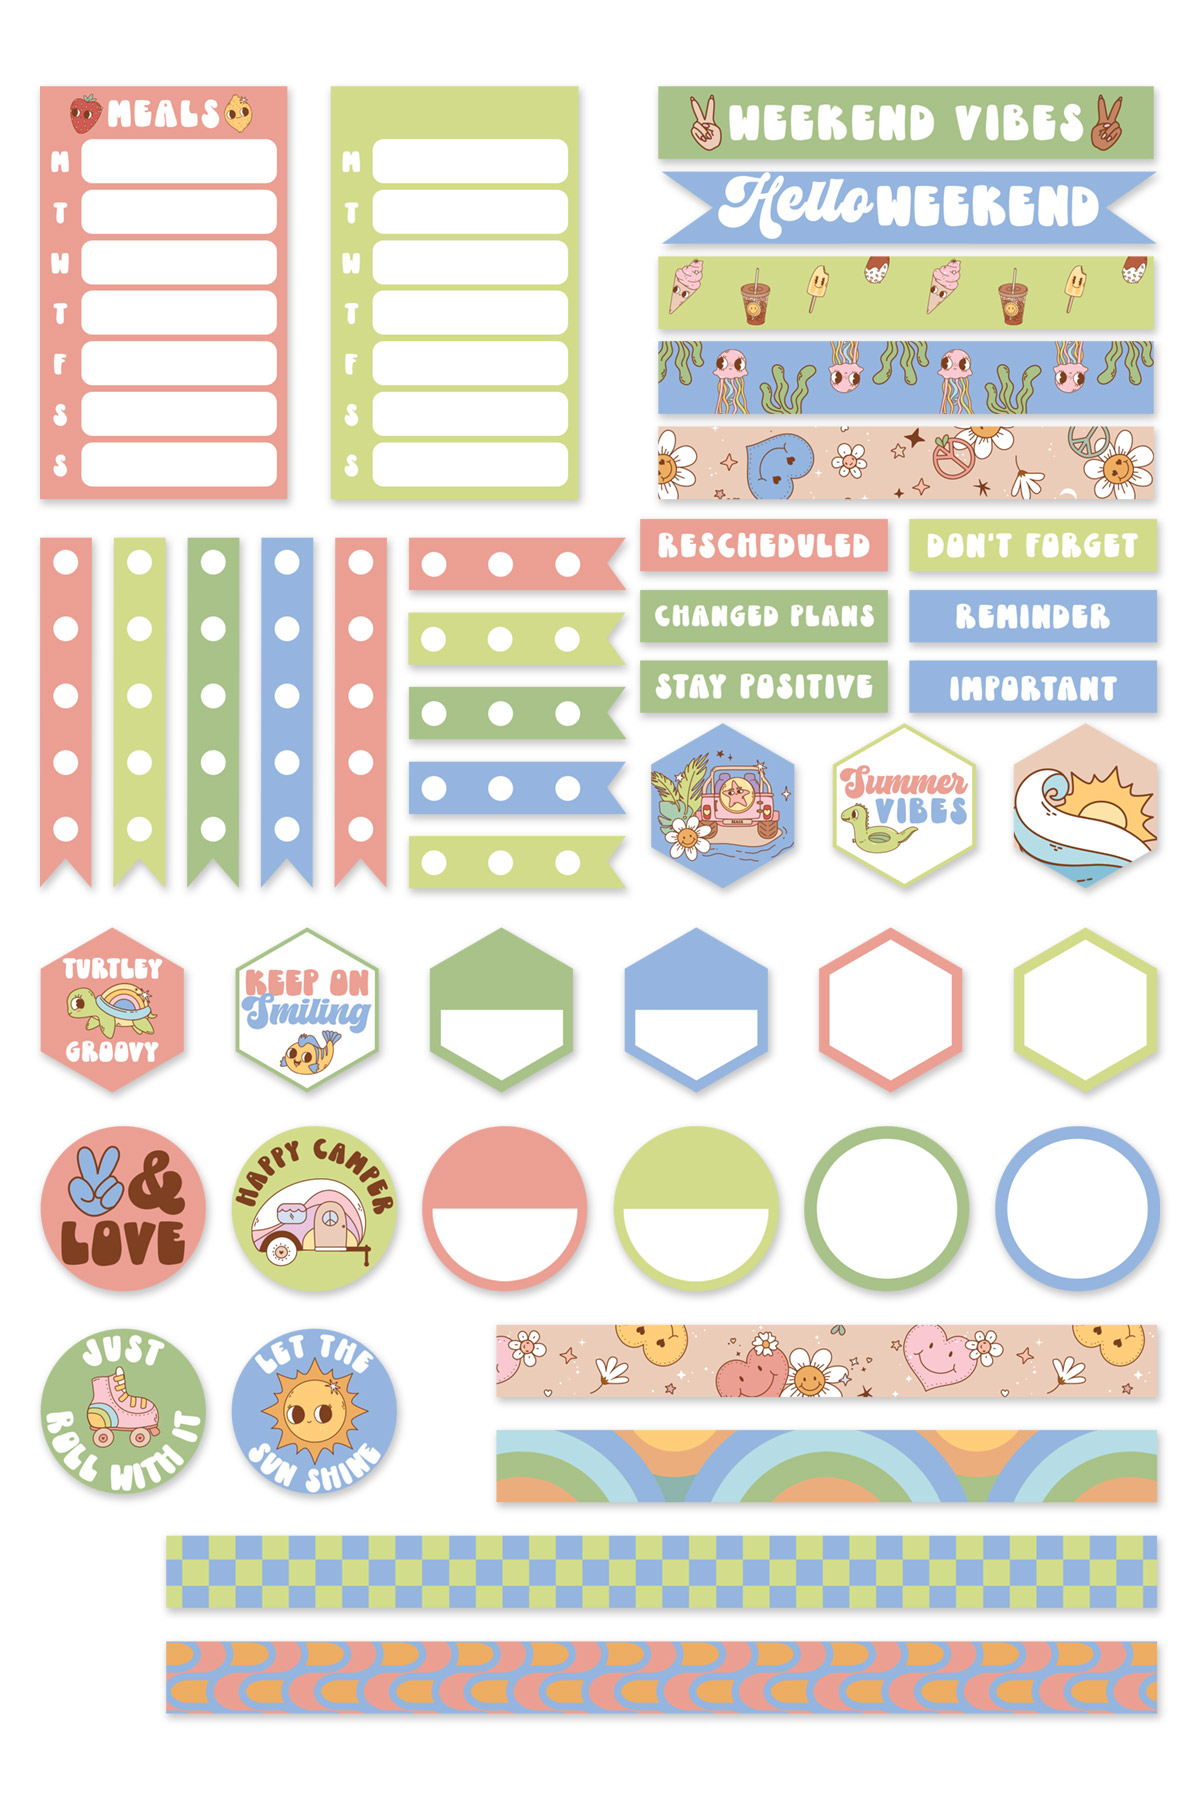
You'll get three full pages of printable stickers or a set of 98 individual PNG stickers to use if you are a digital planner.
What Do the Designs Look Like?
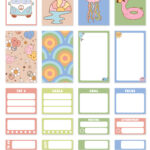
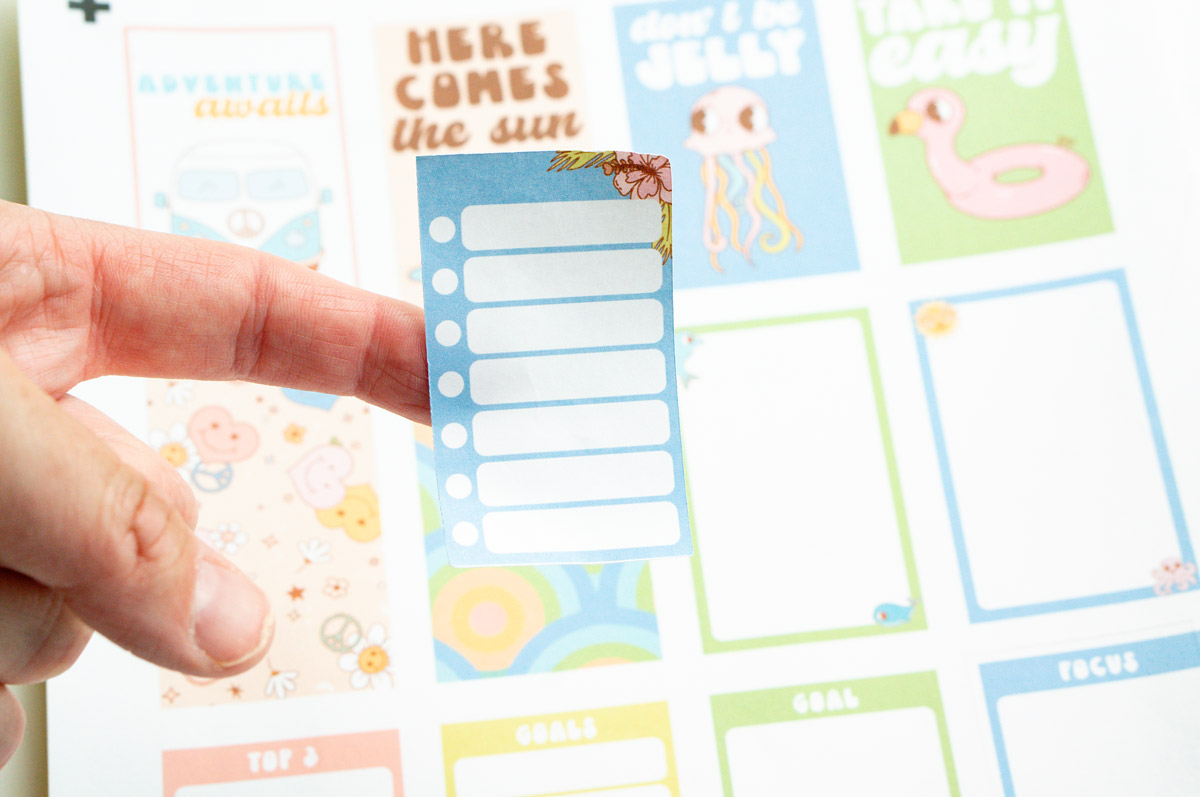
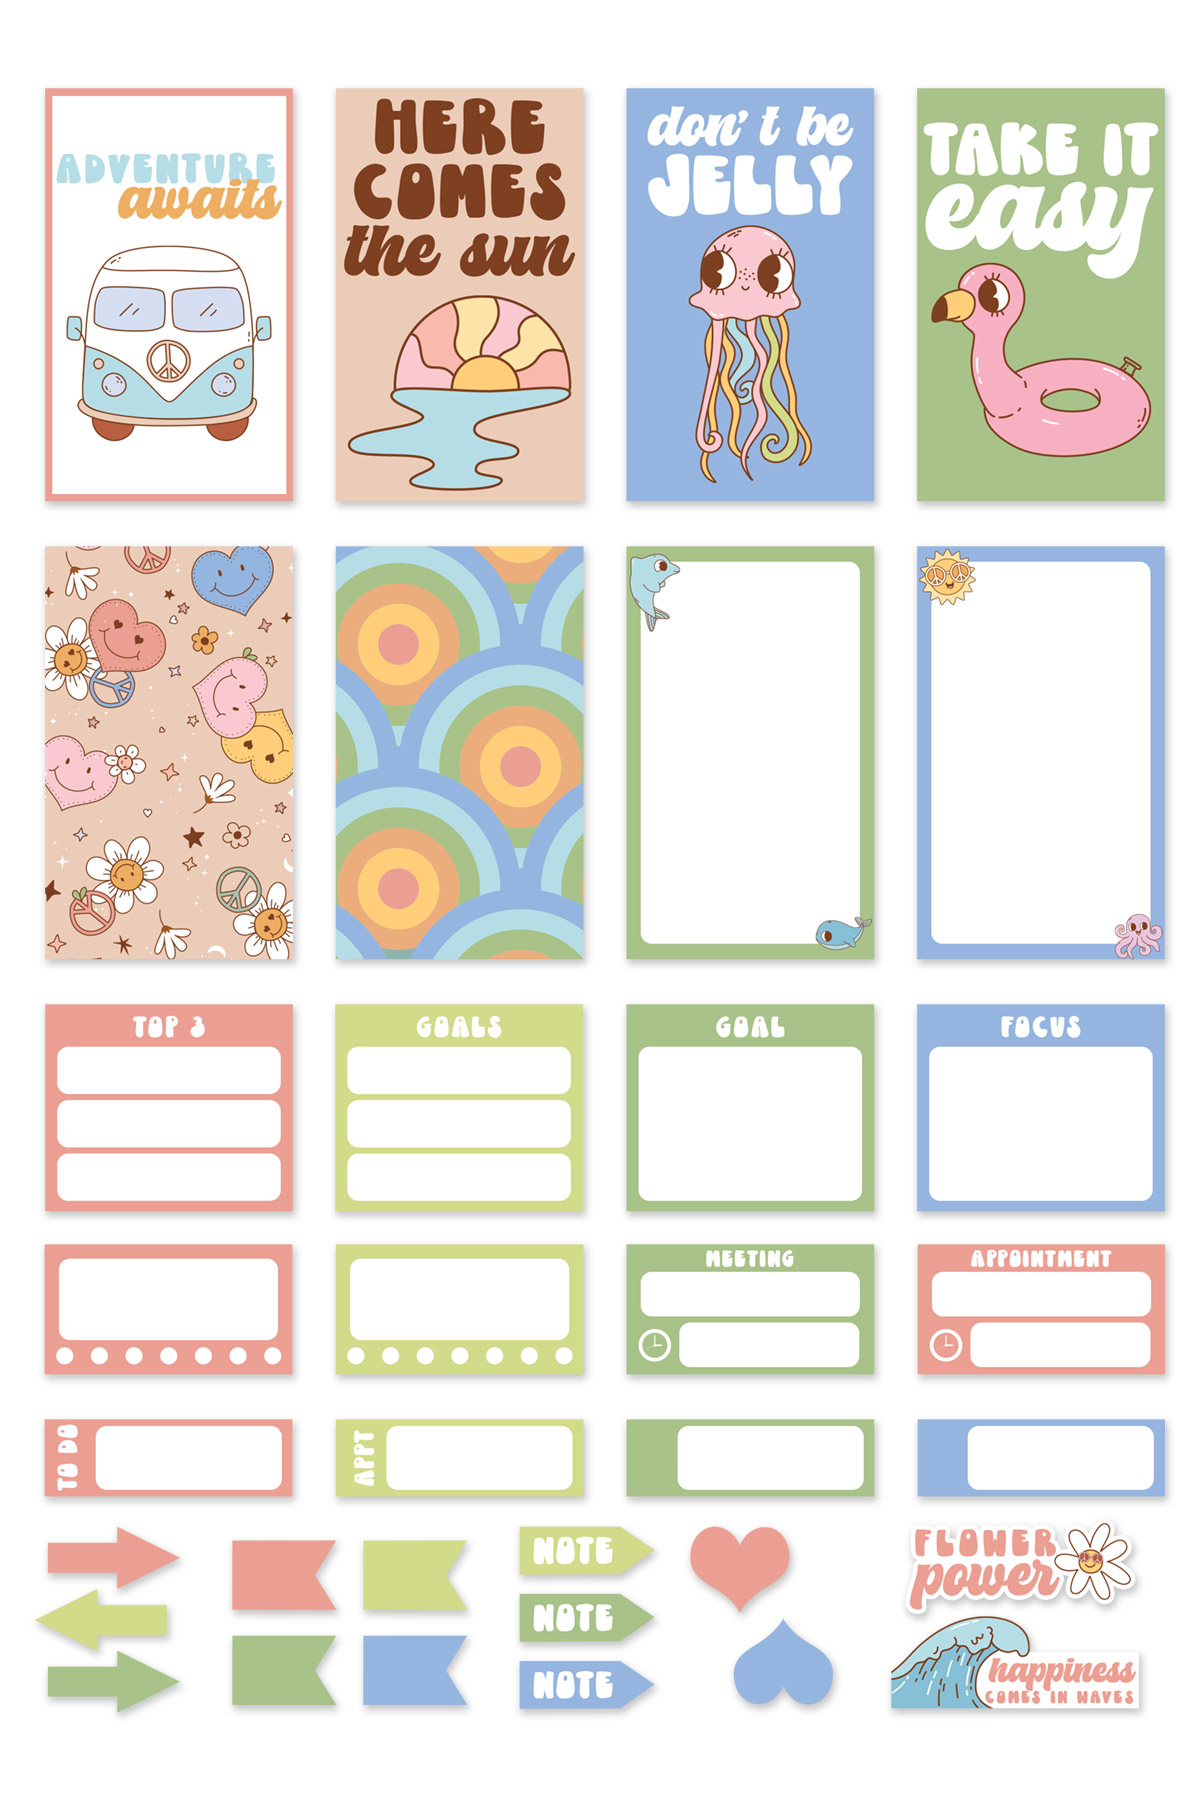
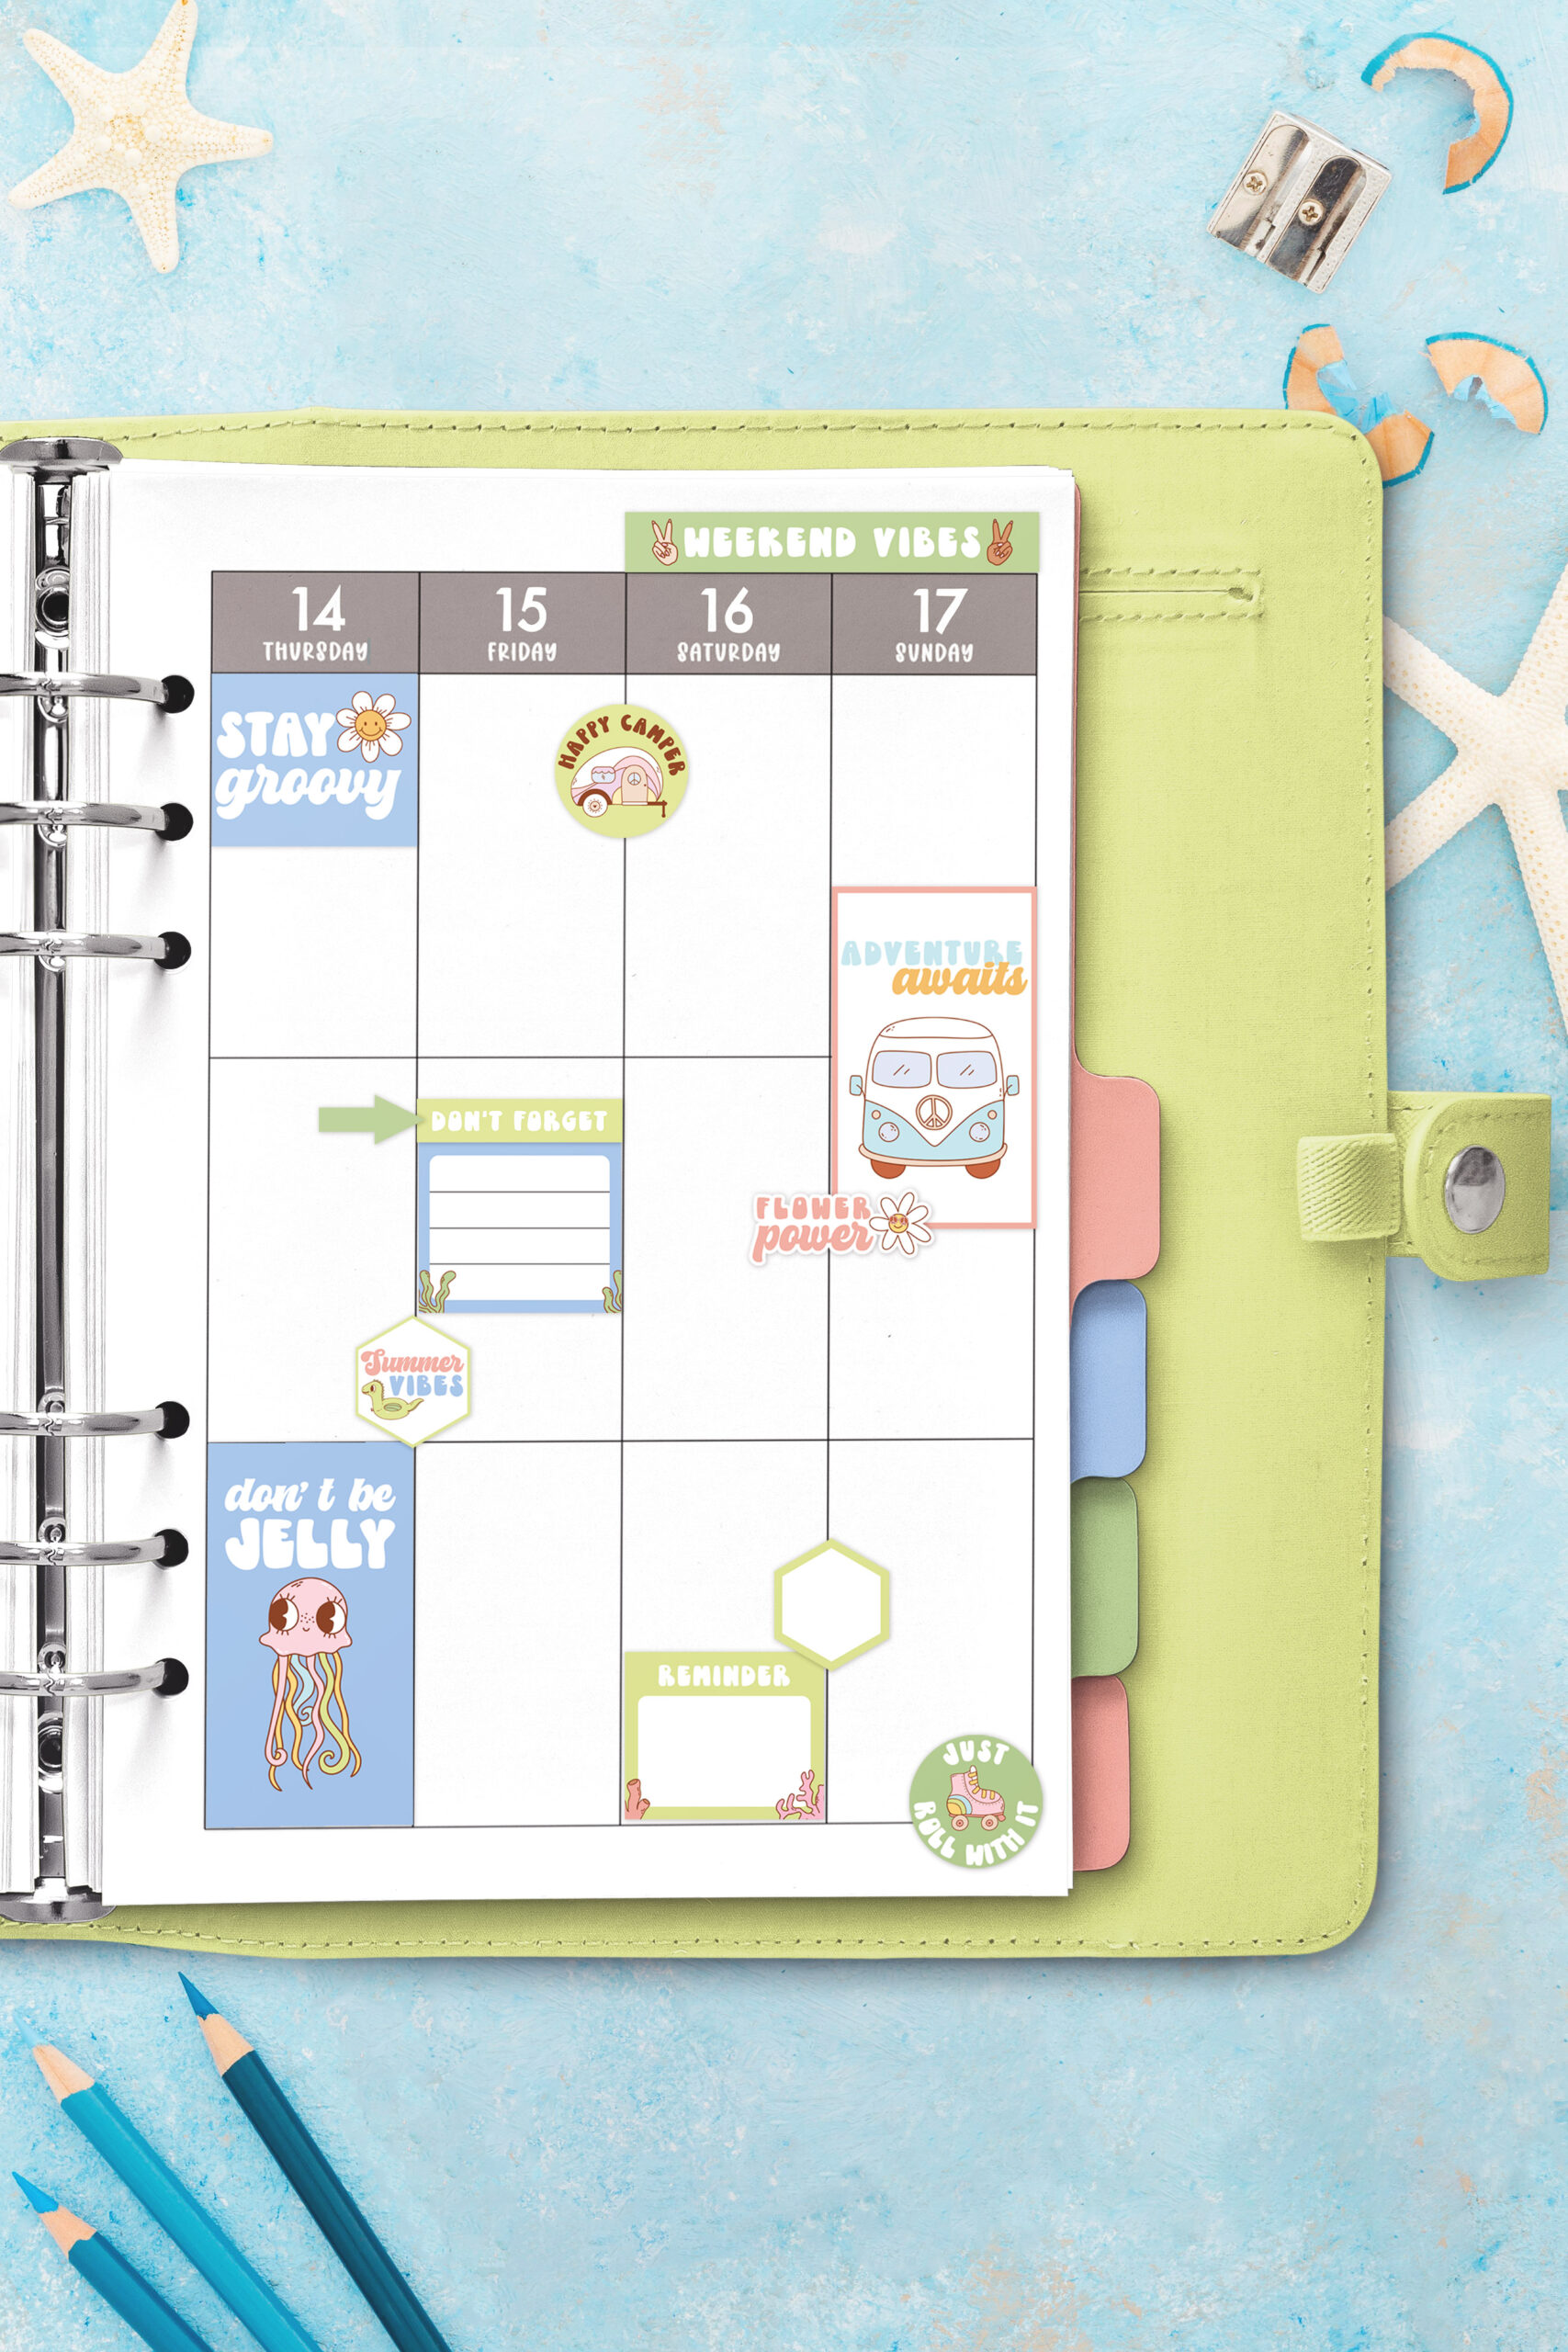
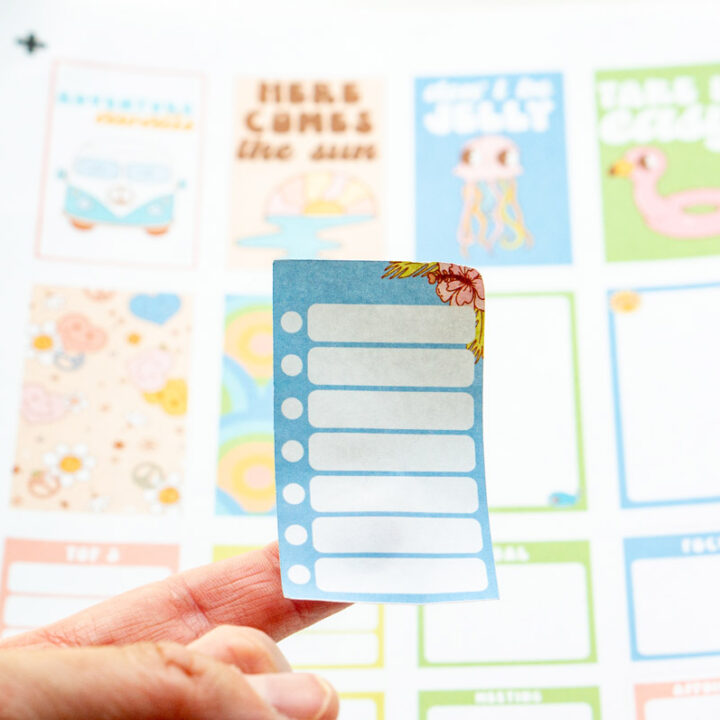
The designs are inspired by a groovy 70's vibe that has made its way back into fashion. Bright colors, quirky doodles, and fun groovy quotes. You'll get traditional-style planner stickers (menu planner, to do list, etc.) and cutesy stickers (quotes, hexagons, etc).
Here is what each page in this set of stickers looks like.
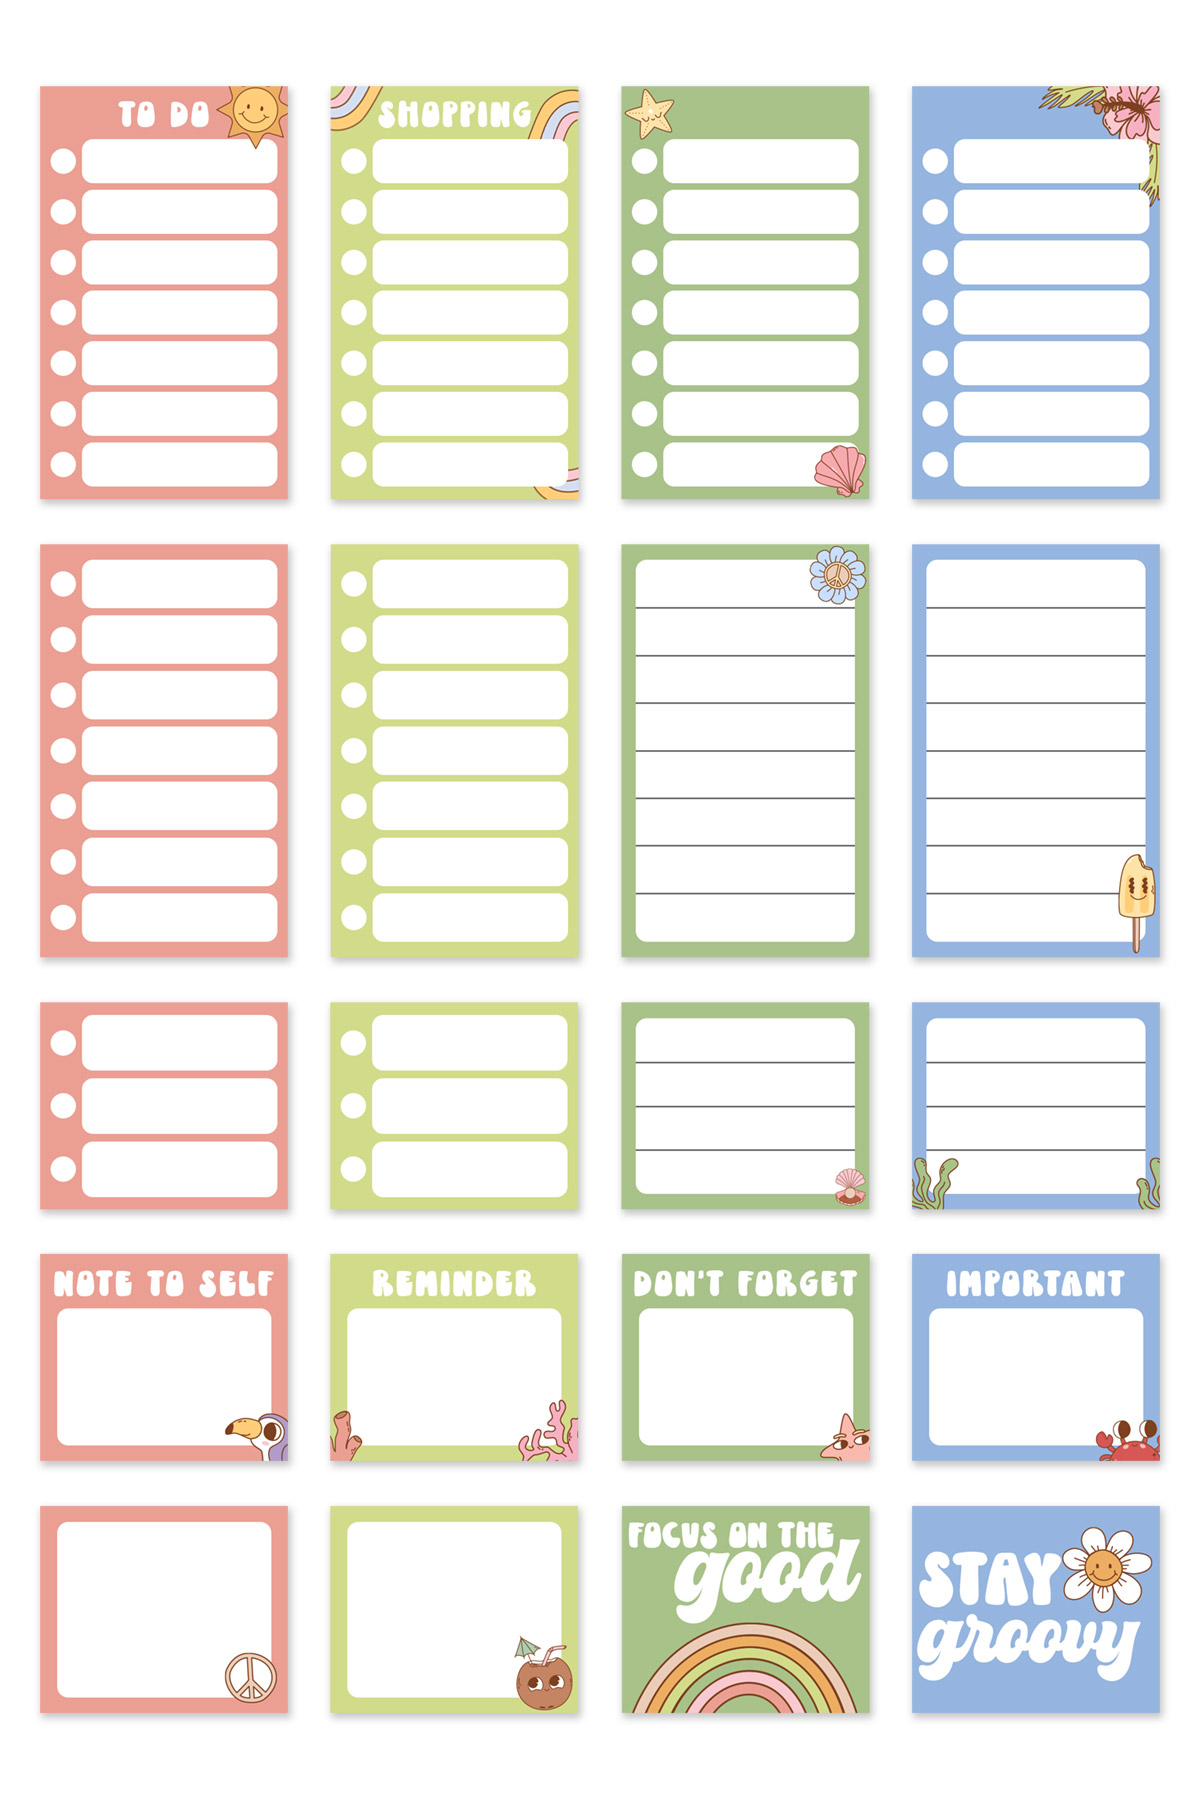
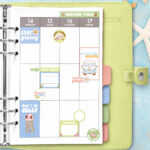
If You're a Paper Planner
If you use a paper planner, this set includes printable stickers you can make on your own home printer (or have them printed at a store). They work with The Happy Planner, Erin Condren Planner, Recollections Planner, a bullet journal, and more.
If You're a Digital Planner
Don't worry, we've got PNG files to use as digital stickers included in the set, too. You can use them with the most common digital planning apps including Goodnotes, Notability, ZoomNotes, Zinnia, Noteshelf, Penly, Xodo, etc.
Do you prefer to use the lasso tool while digital planning? Use the full-page PNG or JPG sticker sheets and lasso the stickers you want.
What File Types are Included?
- xTool Creative Space files
- JPG
- PNG - full page
- Individual PNGs of each sticker
- Cricut-ready cut files
Are the Stickers Sunday or Monday Start?
You'll get both options included in your set of free planner stickers. Make sure to print the ones that work best with your planner.
What Size Planners Can You Use the Planner Stickers In?
They are designed to fit perfectly into a Happy Planner Classic vertical planner. But, they can fit with any medium size planner or any other planner size.
Can I Print the Stickers in a Different Size?
If you have a different size planner, you can easily resize the stickers to be smaller. Just print them at a smaller percentage or if you are using the xTool M1, Silhouette, or Cricut files, just hold down shift and drag them so that the image is smaller.
If you print them larger instead of at their actual size, they will not all fit on one letter size sheet. So, if you'd like the stickers to be larger, I would suggest using the individual PNG stickers so that you can place them in xTool Creative Space Software, Silhouette Studio, or Cricut Design Space and make them as large as needed.
What is the best printable sticker paper?
For this tutorial, I used the xTool sticker paper from the materials kit in the bundle. It comes with so many amazing, different materials. You can check out the bundle here.
Can You Use Another Type of Cutting Machine?
Yes, you can. Even though this post is showing you how to cut the stickers on an M1, you can use any other major blade-cutting machine on the market - a Cricut machine (like the Cricut Explore, Cricut Maker, or Cricut Joy), a Silhouette machine (Silhouette Cameo or Silhouette portrait), and Brother Scan n Cut.
If are you considering a machine but are unsure which one to choose, check out my post on the xTool M1 Hybrid Machine or my post on the Cricut vs. Silhouette.
Tips for How to Cut Planner Stickers with a Cricut
Cricut has now allowed you to print and cut larger files. But, in case you are unsure of how to do that, I have included half sheets in a separate folder for you that can be cut even if you don't enable the larger print and cut settings.
You can view the video directions here for how to print and cut planner stickers on a Cricut
Tips for How to Cut Planner Stickers with a Silhouette
You can view the video directions here for how to print and cut planner stickers on a Silhouette.
Do I have to have a Cutting Machine to Use the Stickers?
No. You can cut the stickers by hand if you don't have a machine. If you are cutting by hand, this precision cutting tool or gyro-cutter can help make it easier, or simply use a pair of scissors.
Can I buy the printed stickers?
Unfortunately, no. I do not sell printed copies of these stickers. There is no physical product included, you will be getting a free digital download.
Want more planner freebies?
I have so many free printables on my site. Join the free email Mom Envy club to get the members-only password. You'll gain access to all 300+ free files on my site.
If you're looking for more free planner stickers, free digital stickers, and planner printables, check out my planner category here.
xTool's 3rd Anniversary Carnival Sale!
Right now, xTool is hosting a 3rd Anniversary sale from September 20 to October 6. You can grab the xTool M1 (which I used for this project) for a great price.
Machines are up to 60% Off, plus 4% cashback!
It's the perfect time to grab the xTool M1 for a great deal. There are multiple bundle options to save even more.
The M1 Pricing will be:
- xTool M1 10w basic - $949
- xTool M1 10w deluxe(RA2 pro)- $1199
- xTool M1 All-in-one bundle - $2042
Click here to check out the amazing sale!
Want More M1 Tutorials and Freebies?
Check out all of my laser Engraver + cutter + blade Cutting Projects here under my laser machine category.
Copyright MOM ENVY 2023. Files may be used for personal use only. No commercial use of the file is available. Files may not be directly shared within Facebook groups, on websites, or in any other way. If using for educational purposes, the file may be printed and copied for classroom use. A link to the web page to download the files may be shared as well as one photo. The file may not be printed and then sold (including local yard sale sites and groups or at local craft fairs). The images may not be used in any way other than to share with a link to the original web page.


How to Cut Stickers with an xTool M1
Learn how to cut stickers using an xTool M1 hybrid laser engraver & cutter and blade cutting machine. You'll use the blade cutting portion of the machine to cut out a set of free planner stickers.
Materials
- sticker paper
- printer ink
Tools
- xTool M1 (or other cutting machine)
- sticky cutting mat
- printer
Instructions
- Download the free files here.
- Open the xTool Creative space files.
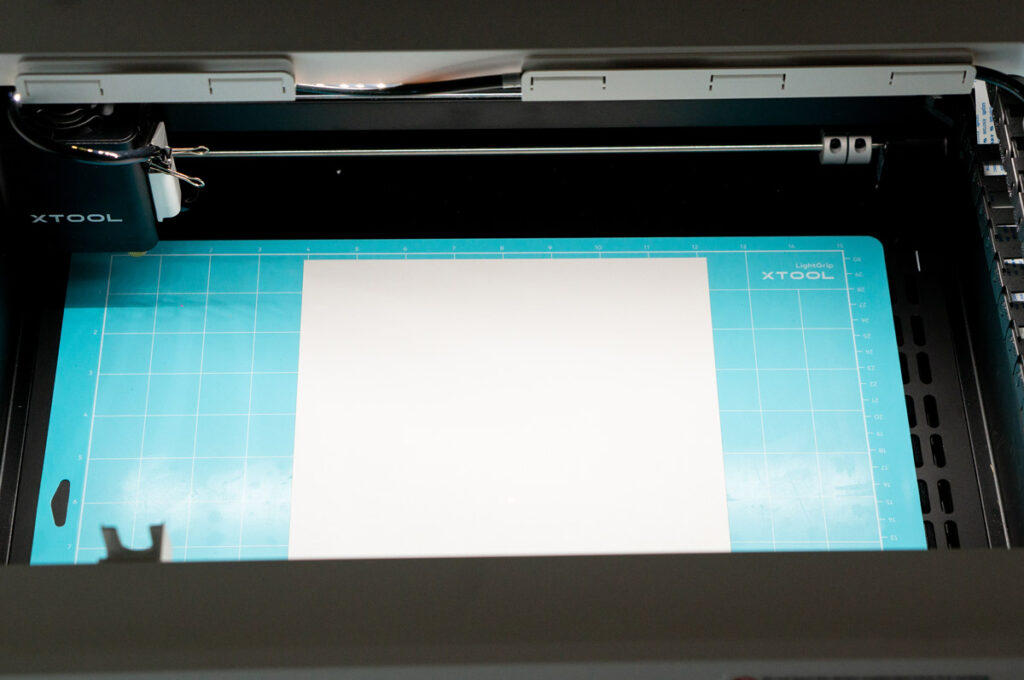
- Remove the plastic carrier sheet from the back of the blue cutting mat.
- Place the blue sticky mat on the base plate of the machine.
- Remove the top plastic carrier sheet from the blue cutting mat.
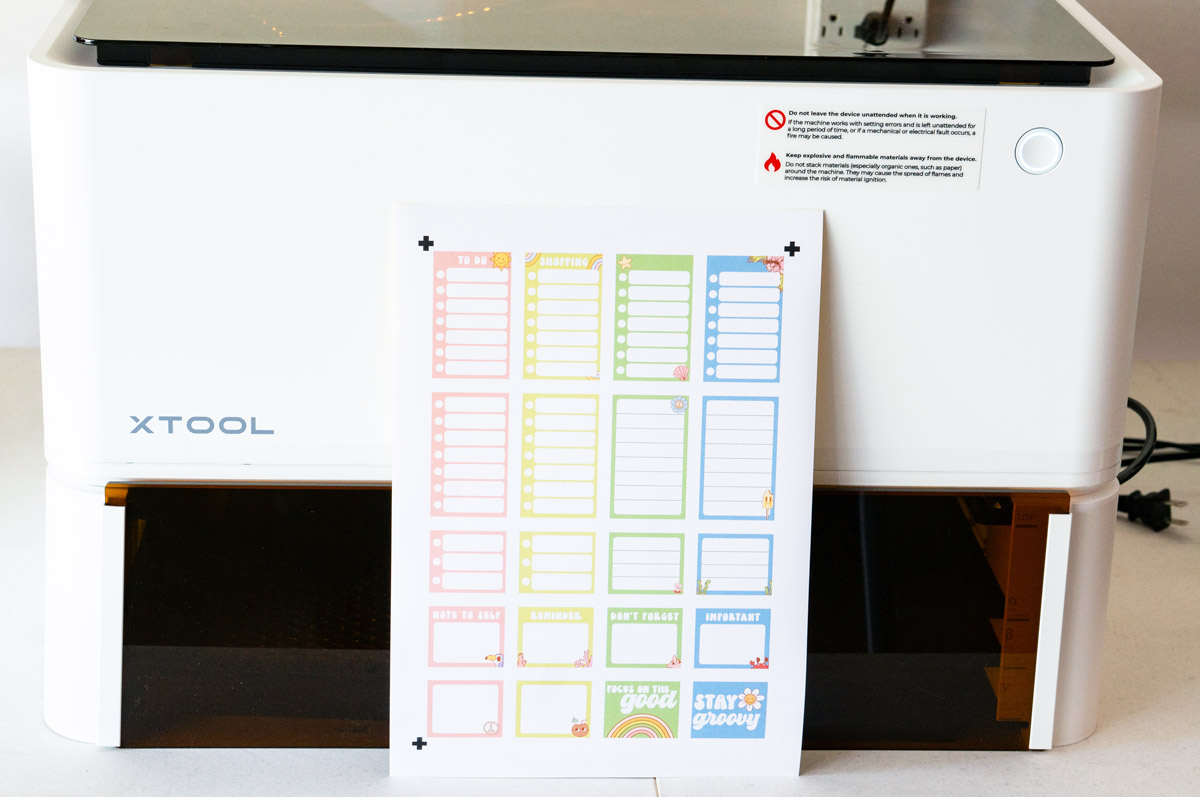
- Place a piece of sticker paper in the center of the mat (pay attention to its location).
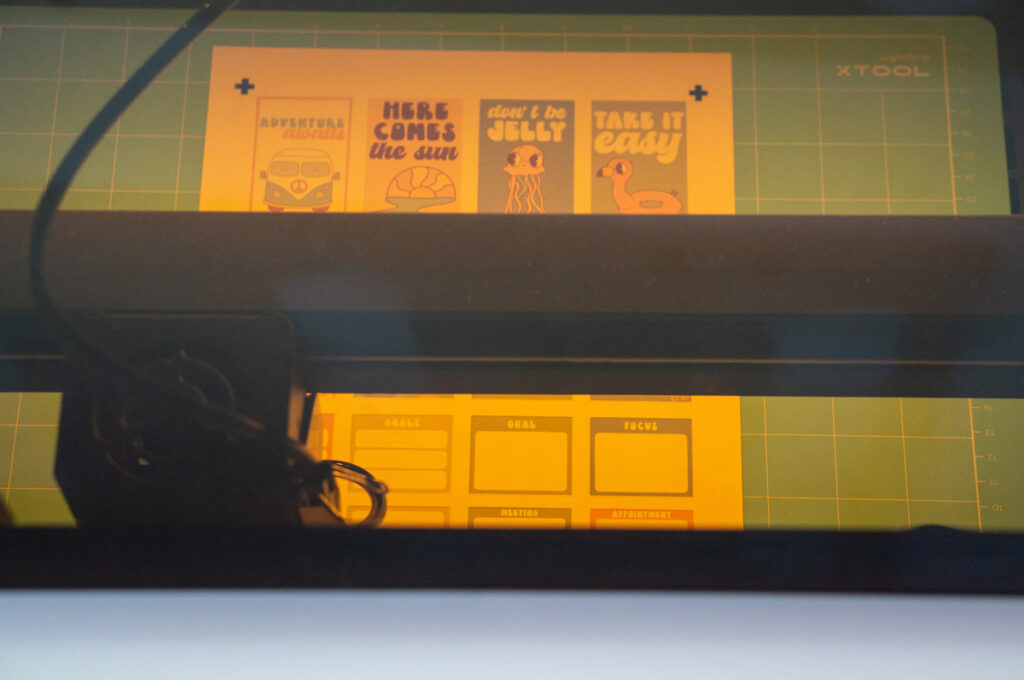
- Refresh the image capture of the machine.
- Select the blade print & cut setting.
- Select the material (white sticker paper).
- Place the stickers and sticker outline in the middle of the page.
- Click start to get to the print dialogue.
- Click framing to make sure the stickers will fit within the paper.
- Press the blinking button on the front right of the machine to complete the framing. If the framing is correct, move on to print.
- Click print.
- After the stickers print, place the sticker paper back onto the sticky mat.
- Make sure to place the stickers in the same place where you had it before.
- Click next.
- Click the blinking button on the front to start the cut.
- Once the cutting is finished, remove the sticker sheet from the mat.
Notes
If you want to create waterproof stickers, add an extra layer of lamination on top of the sticker paper before cutting the stickers with the machine.
The cut pressure may need to be adjusted based on your individual machine.