I can’t believe we are already in week four of the One Room Challenge. The last four weeks have flown by.
Before getting into our sideboard project, I wanted to give you all a quick background on our stairs. I got a few e-mails asking me about where the post was on refinishing our stairs and where we got our stair runner from. I thought it was best to take a minute to explain.
Refinishing Carpeted Stairs
We refinished our stairs years ago when we first moved in. Do you remember that Pinterest craze that got everyone started ripping the carpet off of their stairs? After we moved into our house I knew I had to do my stairs.
I am not going to lie, it was a lot of work. My Mom did the first part of taking off the carpet and pulling all of the staples out of the wood floor (I had something going on medically and couldn’t do it at the time).

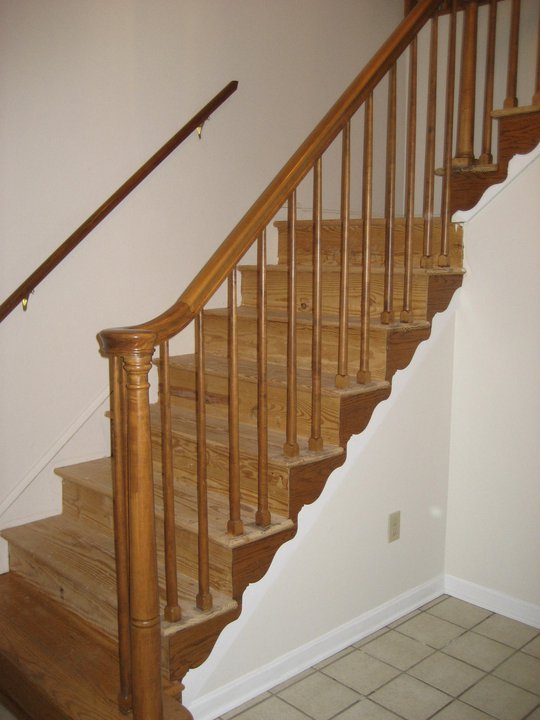
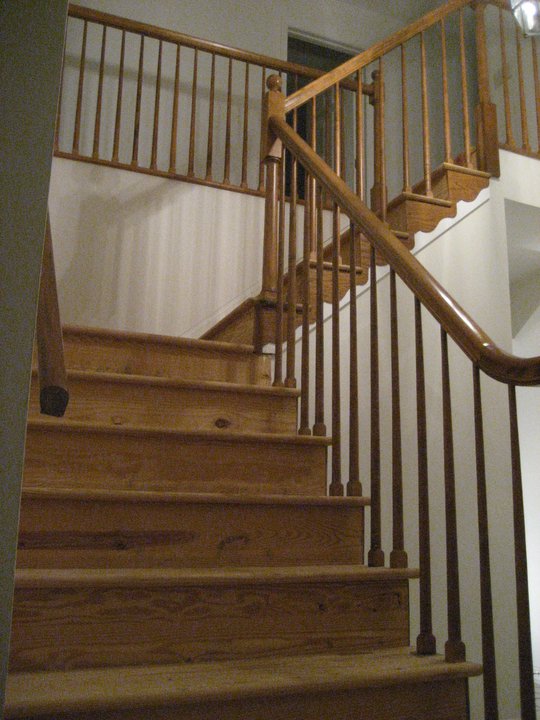
Then, I sanded and painted the stairs. I tried to stain the stairs but it was a major fail – the quality of wood just wasn’t great and didn’t take the stain well. If I did it today, I would probably try one of the newer gel stains.
In addition, we had to install a piece of plywood on the landing because it was not even with the stair treads or trim.
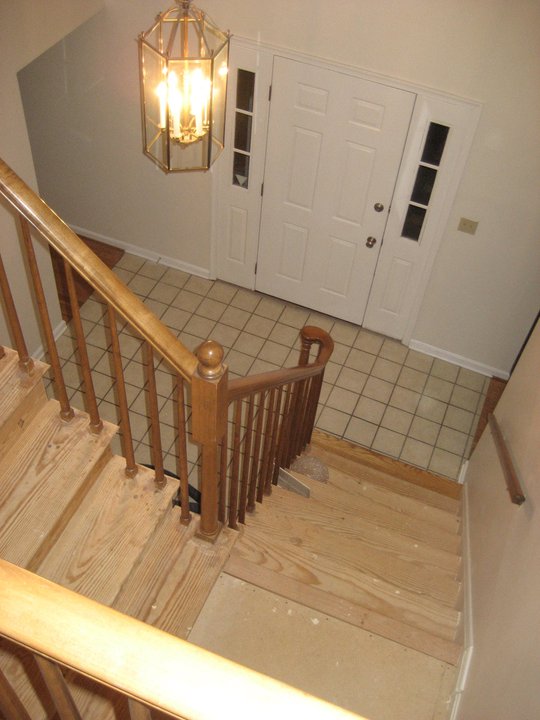
To paint the stairs, I decided that it was best to start with dark brown color first. I taped off the stairs where necessary and painted the tops of every tread and the top banisters dark brown.
Next, I let it dry completely. Then, I taped the stairs so that I could paint the bottom rails and the rest of the stairs white.
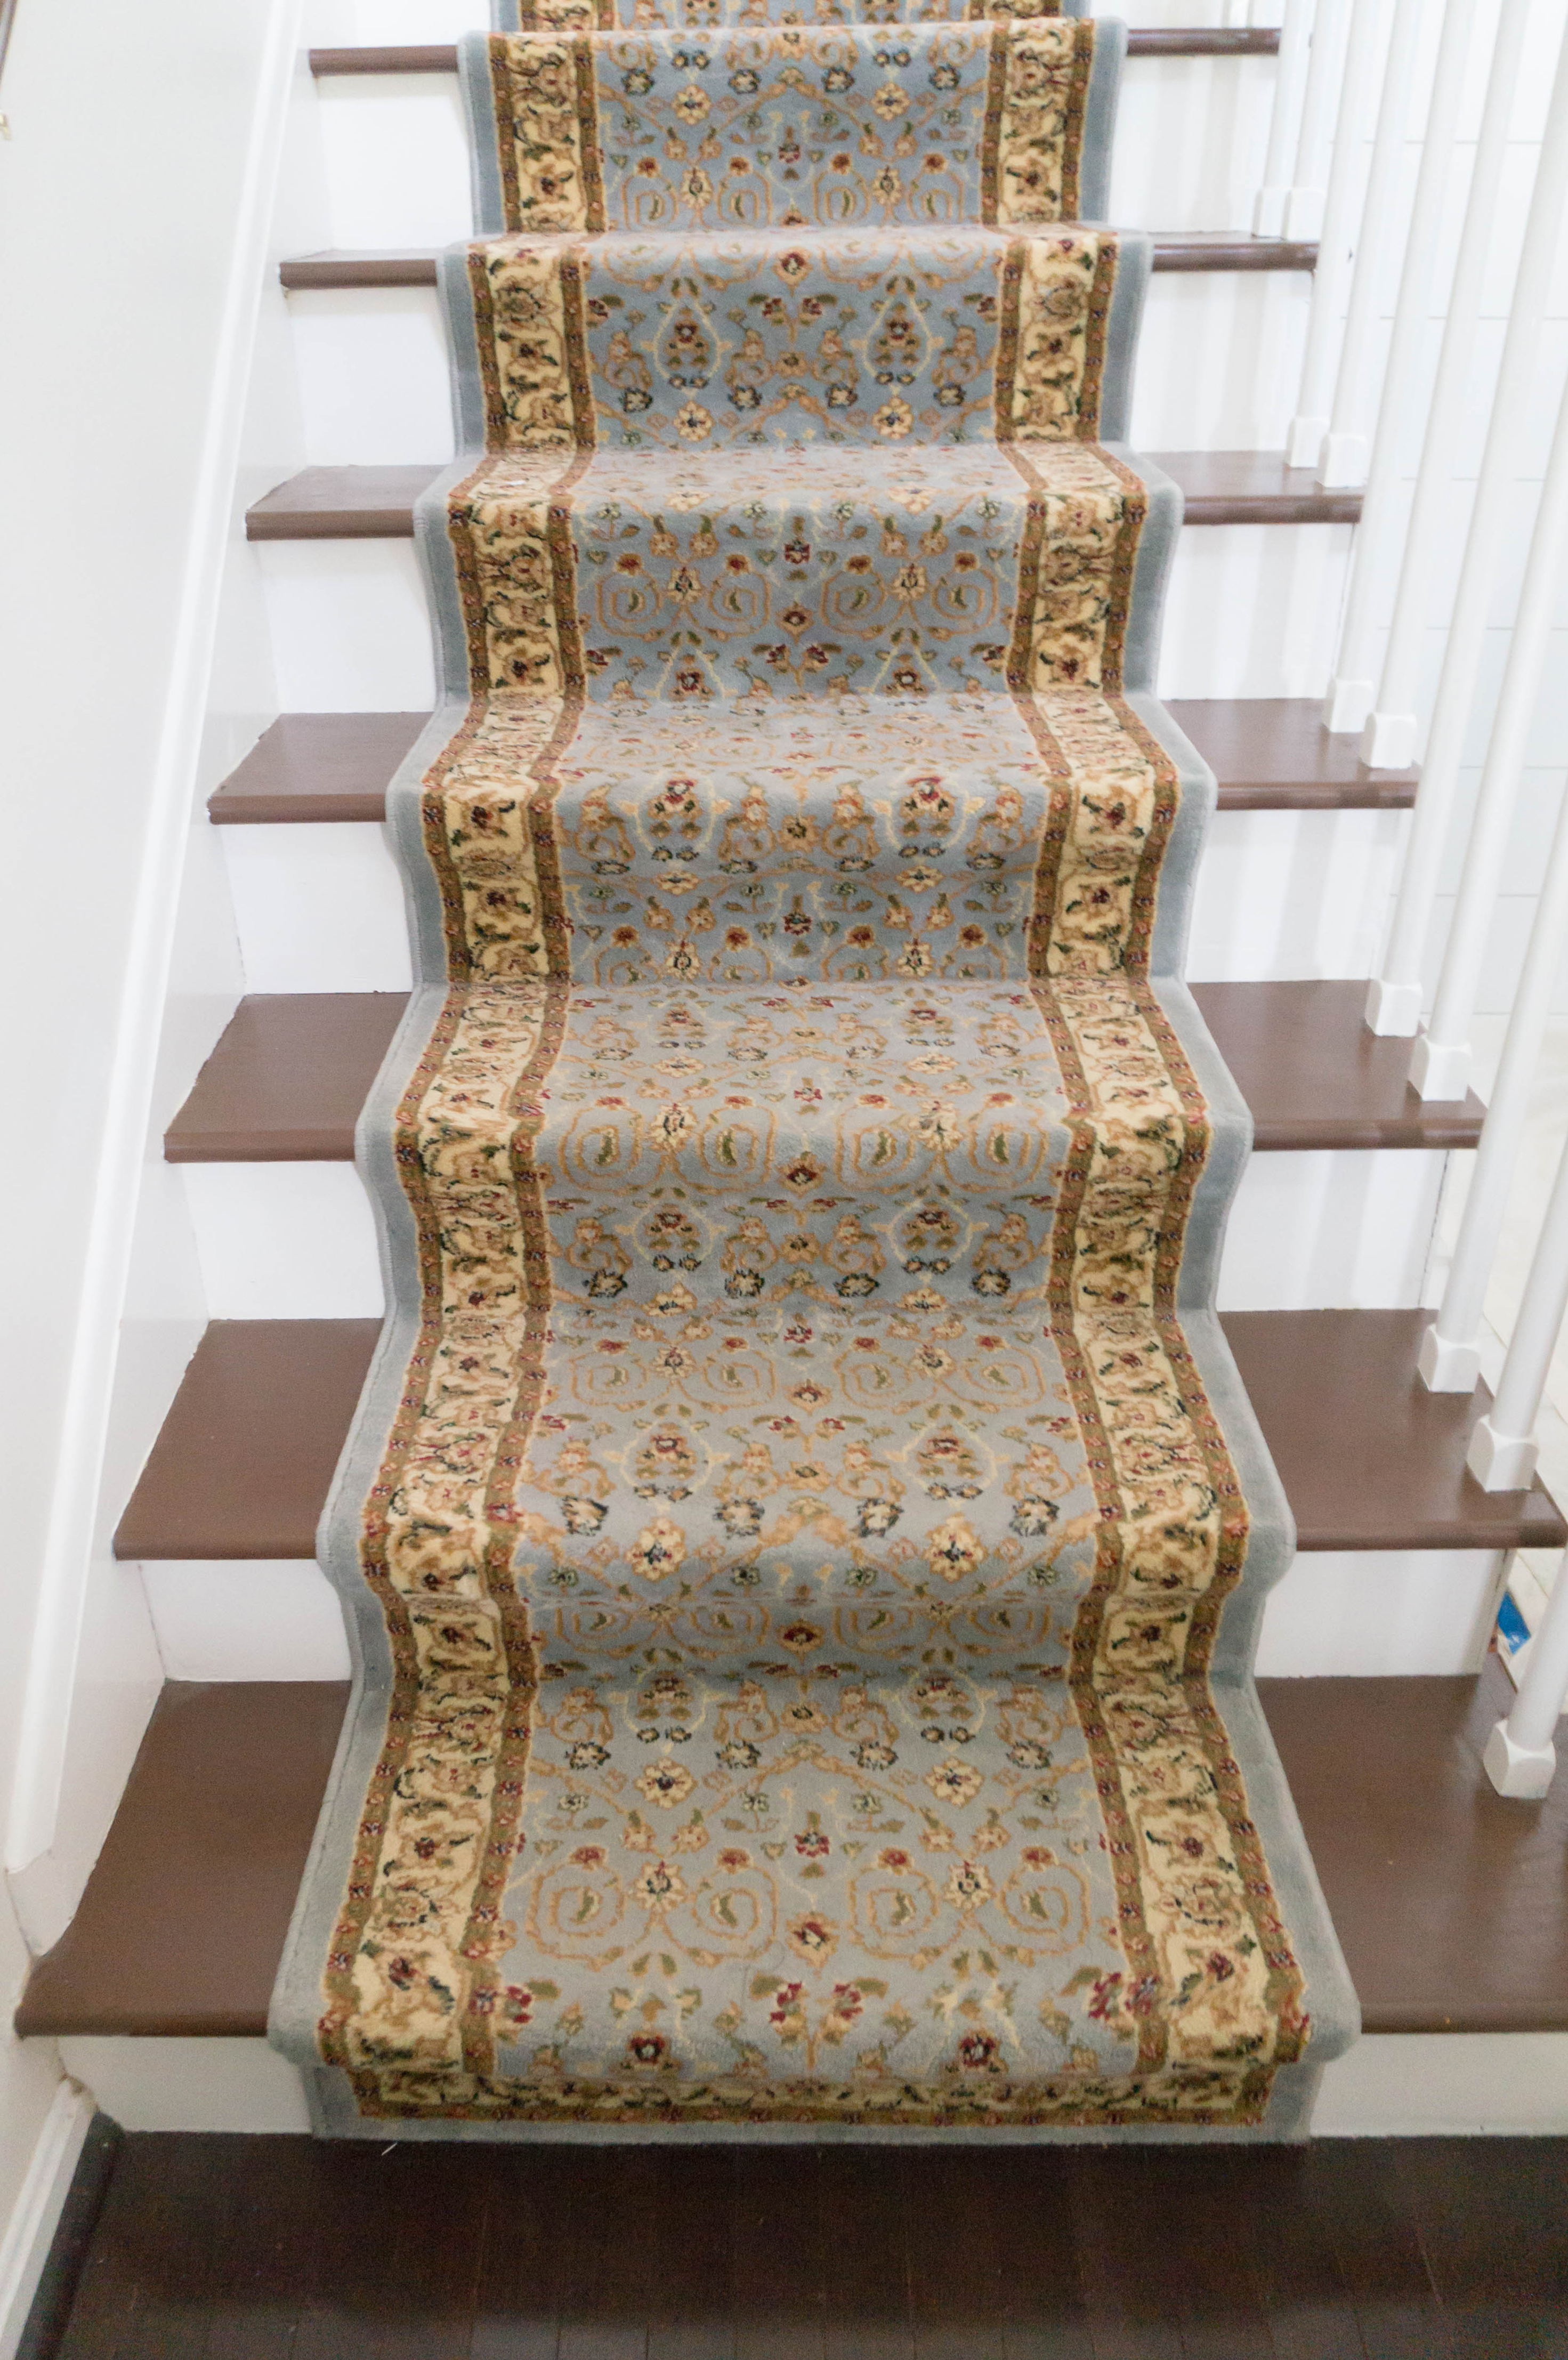
After painting, my handy parents installed the carpet runner. Believe it or not, it’s still for sale on Overstock! Click here to view it.
This is what the finished stairs look like!
So now that we’ve cleared that up, it’s time to get on to our big project this past week.
Chalk Painting a Sideboard
We previously had a large buffet/breakfront piece of furniture in the foyer. It was the first piece of furniture my husband and I bought together. While beautiful, it was just too big for the space.
Plus, it looked a little odd having crystal wine glasses displayed in our foyer. We decided it was time for a change.
I thought I had the perfect dresser to refinish for the space. It was my late Grandmother’s and had beautiful curved lines. The problem was it was just too large and overpowering for the space.
So we moved on to finding another piece. I searched Craigslist and thrift stores with no luck. Then one day my husband remembered we had a sideboard in storage from before we moved into this house.
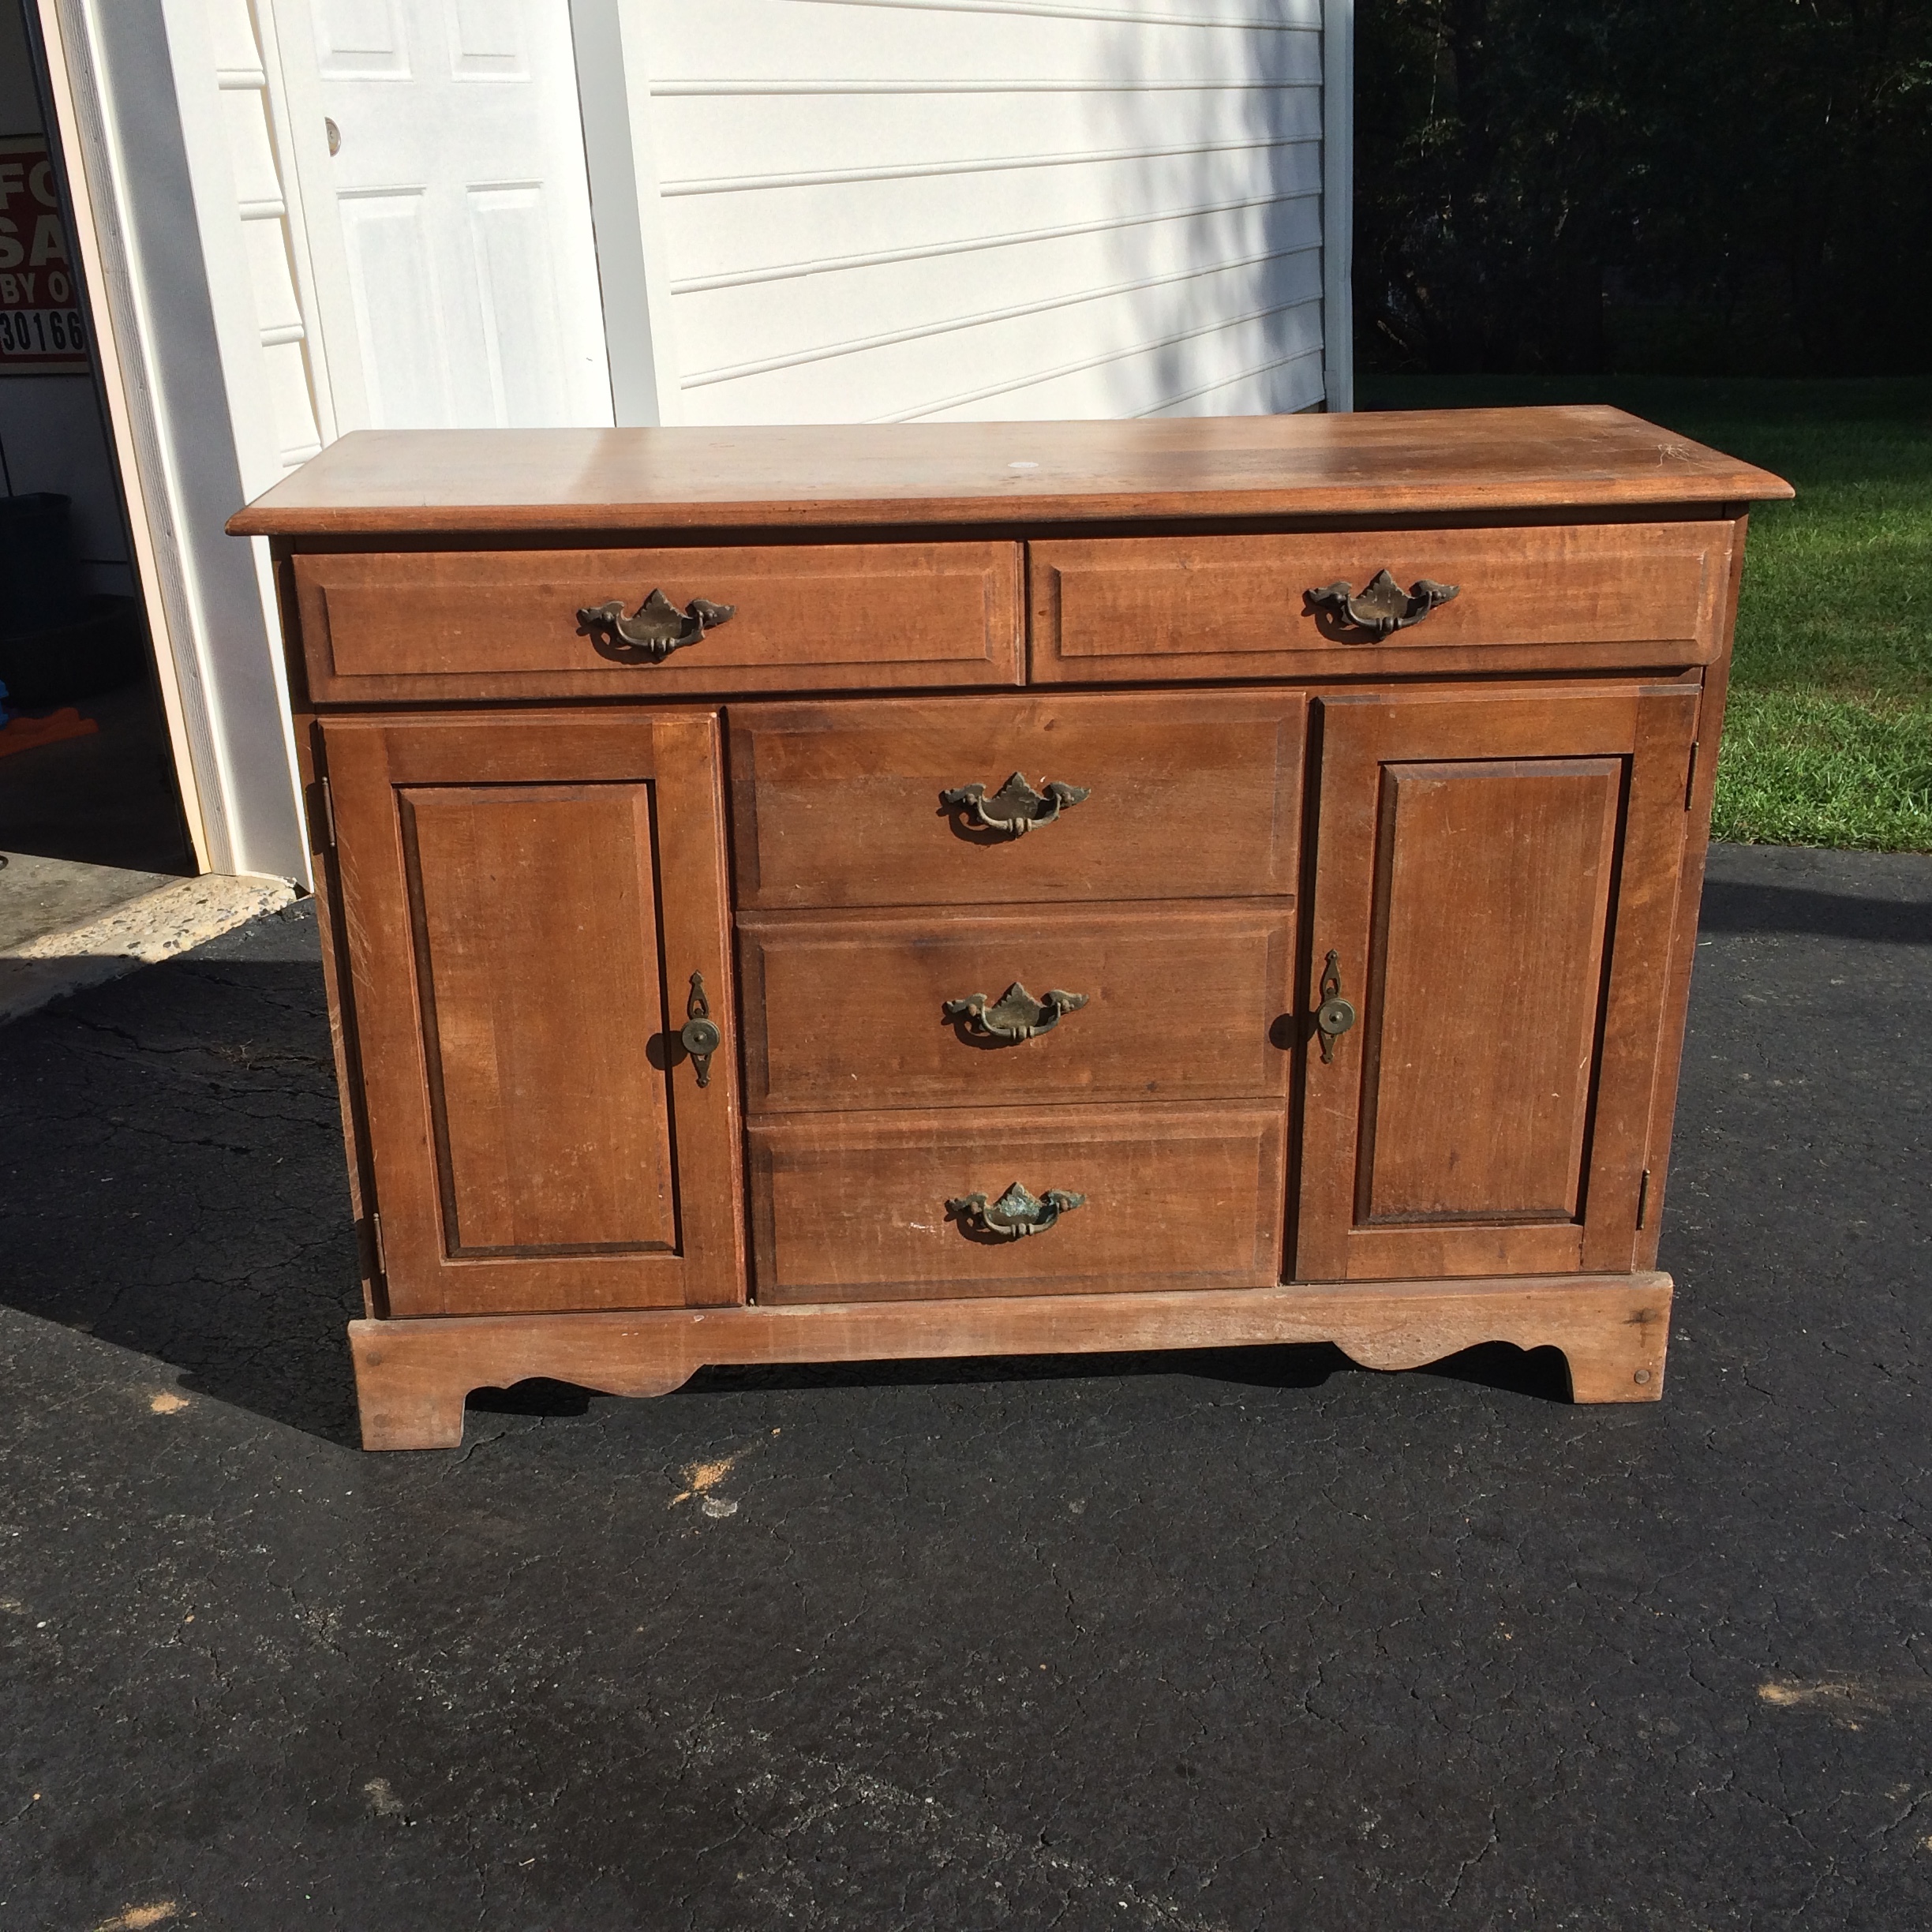
We had bought it previously for our other house but ended up moving before we could refinish it. It happened to be a perfect fit.
My husband cleaned it up for me and I gave it a light sand. I reached out to all of you on social media for your opinion on a color.
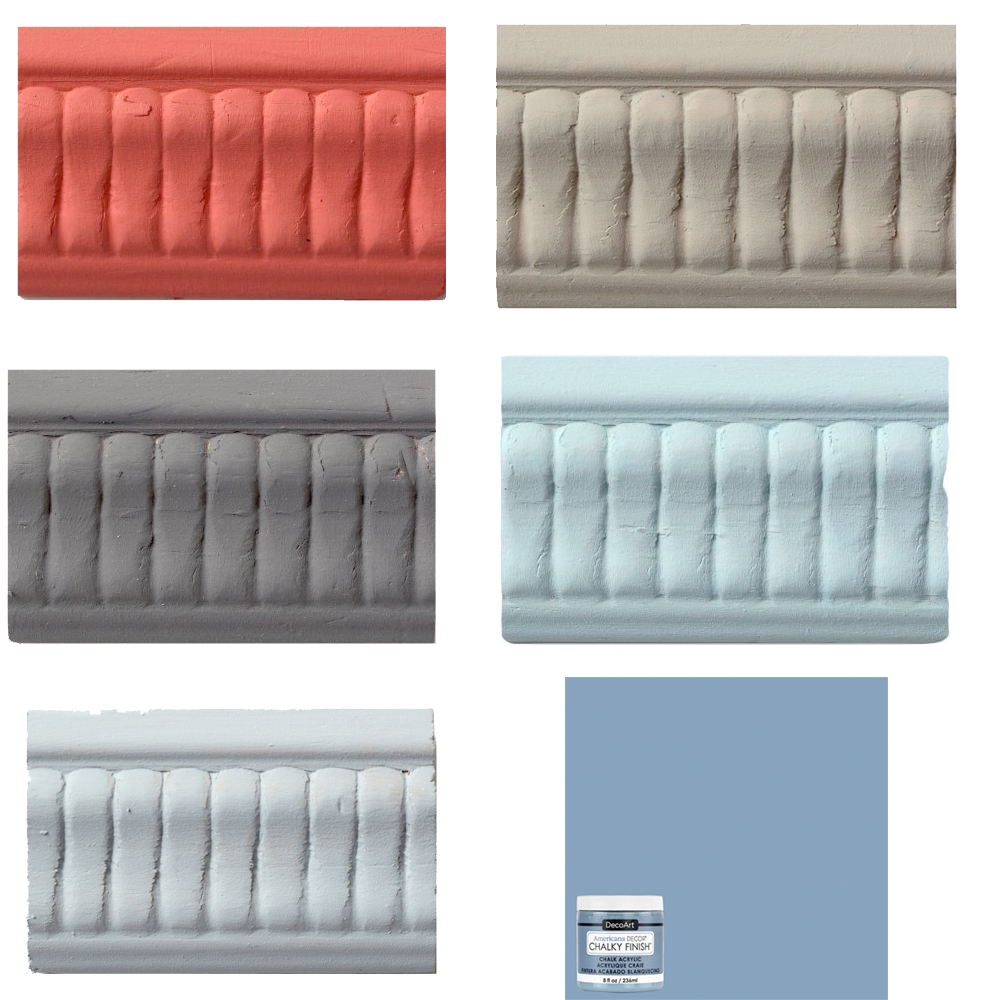
Thank you so much to everyone that e-mailed me back, posted on Facebook, or commented on Instagram. Your opinion on the color of the sideboard meant a lot to me. It was so nice to hear from so many of you.
I fell in love with the color on the bottom left. The swatch on top of the paint was a beautiful light grayish blue. So I set up and got to painting.
Do you have any tricks for painting furniture? I always place my pieces up on small pieces of wood so that I can paint the legs/bottom easier. I also always paint in bare feet just in case I splatter paint and step on it, I can feel it and don’t go tracking it around the house.
My number one tip for painting when you have little kids, wait to paint until they’re asleep or paint in an area they have no access to. When I painted the first coat of the shiplap, I told my kid’s not to touch the wet paint. My children said: “challenge accepted.”
Let’s just say I learned my lesson (which is why I painted this sideboard in the middle of the night – it was nice and dry by morning).
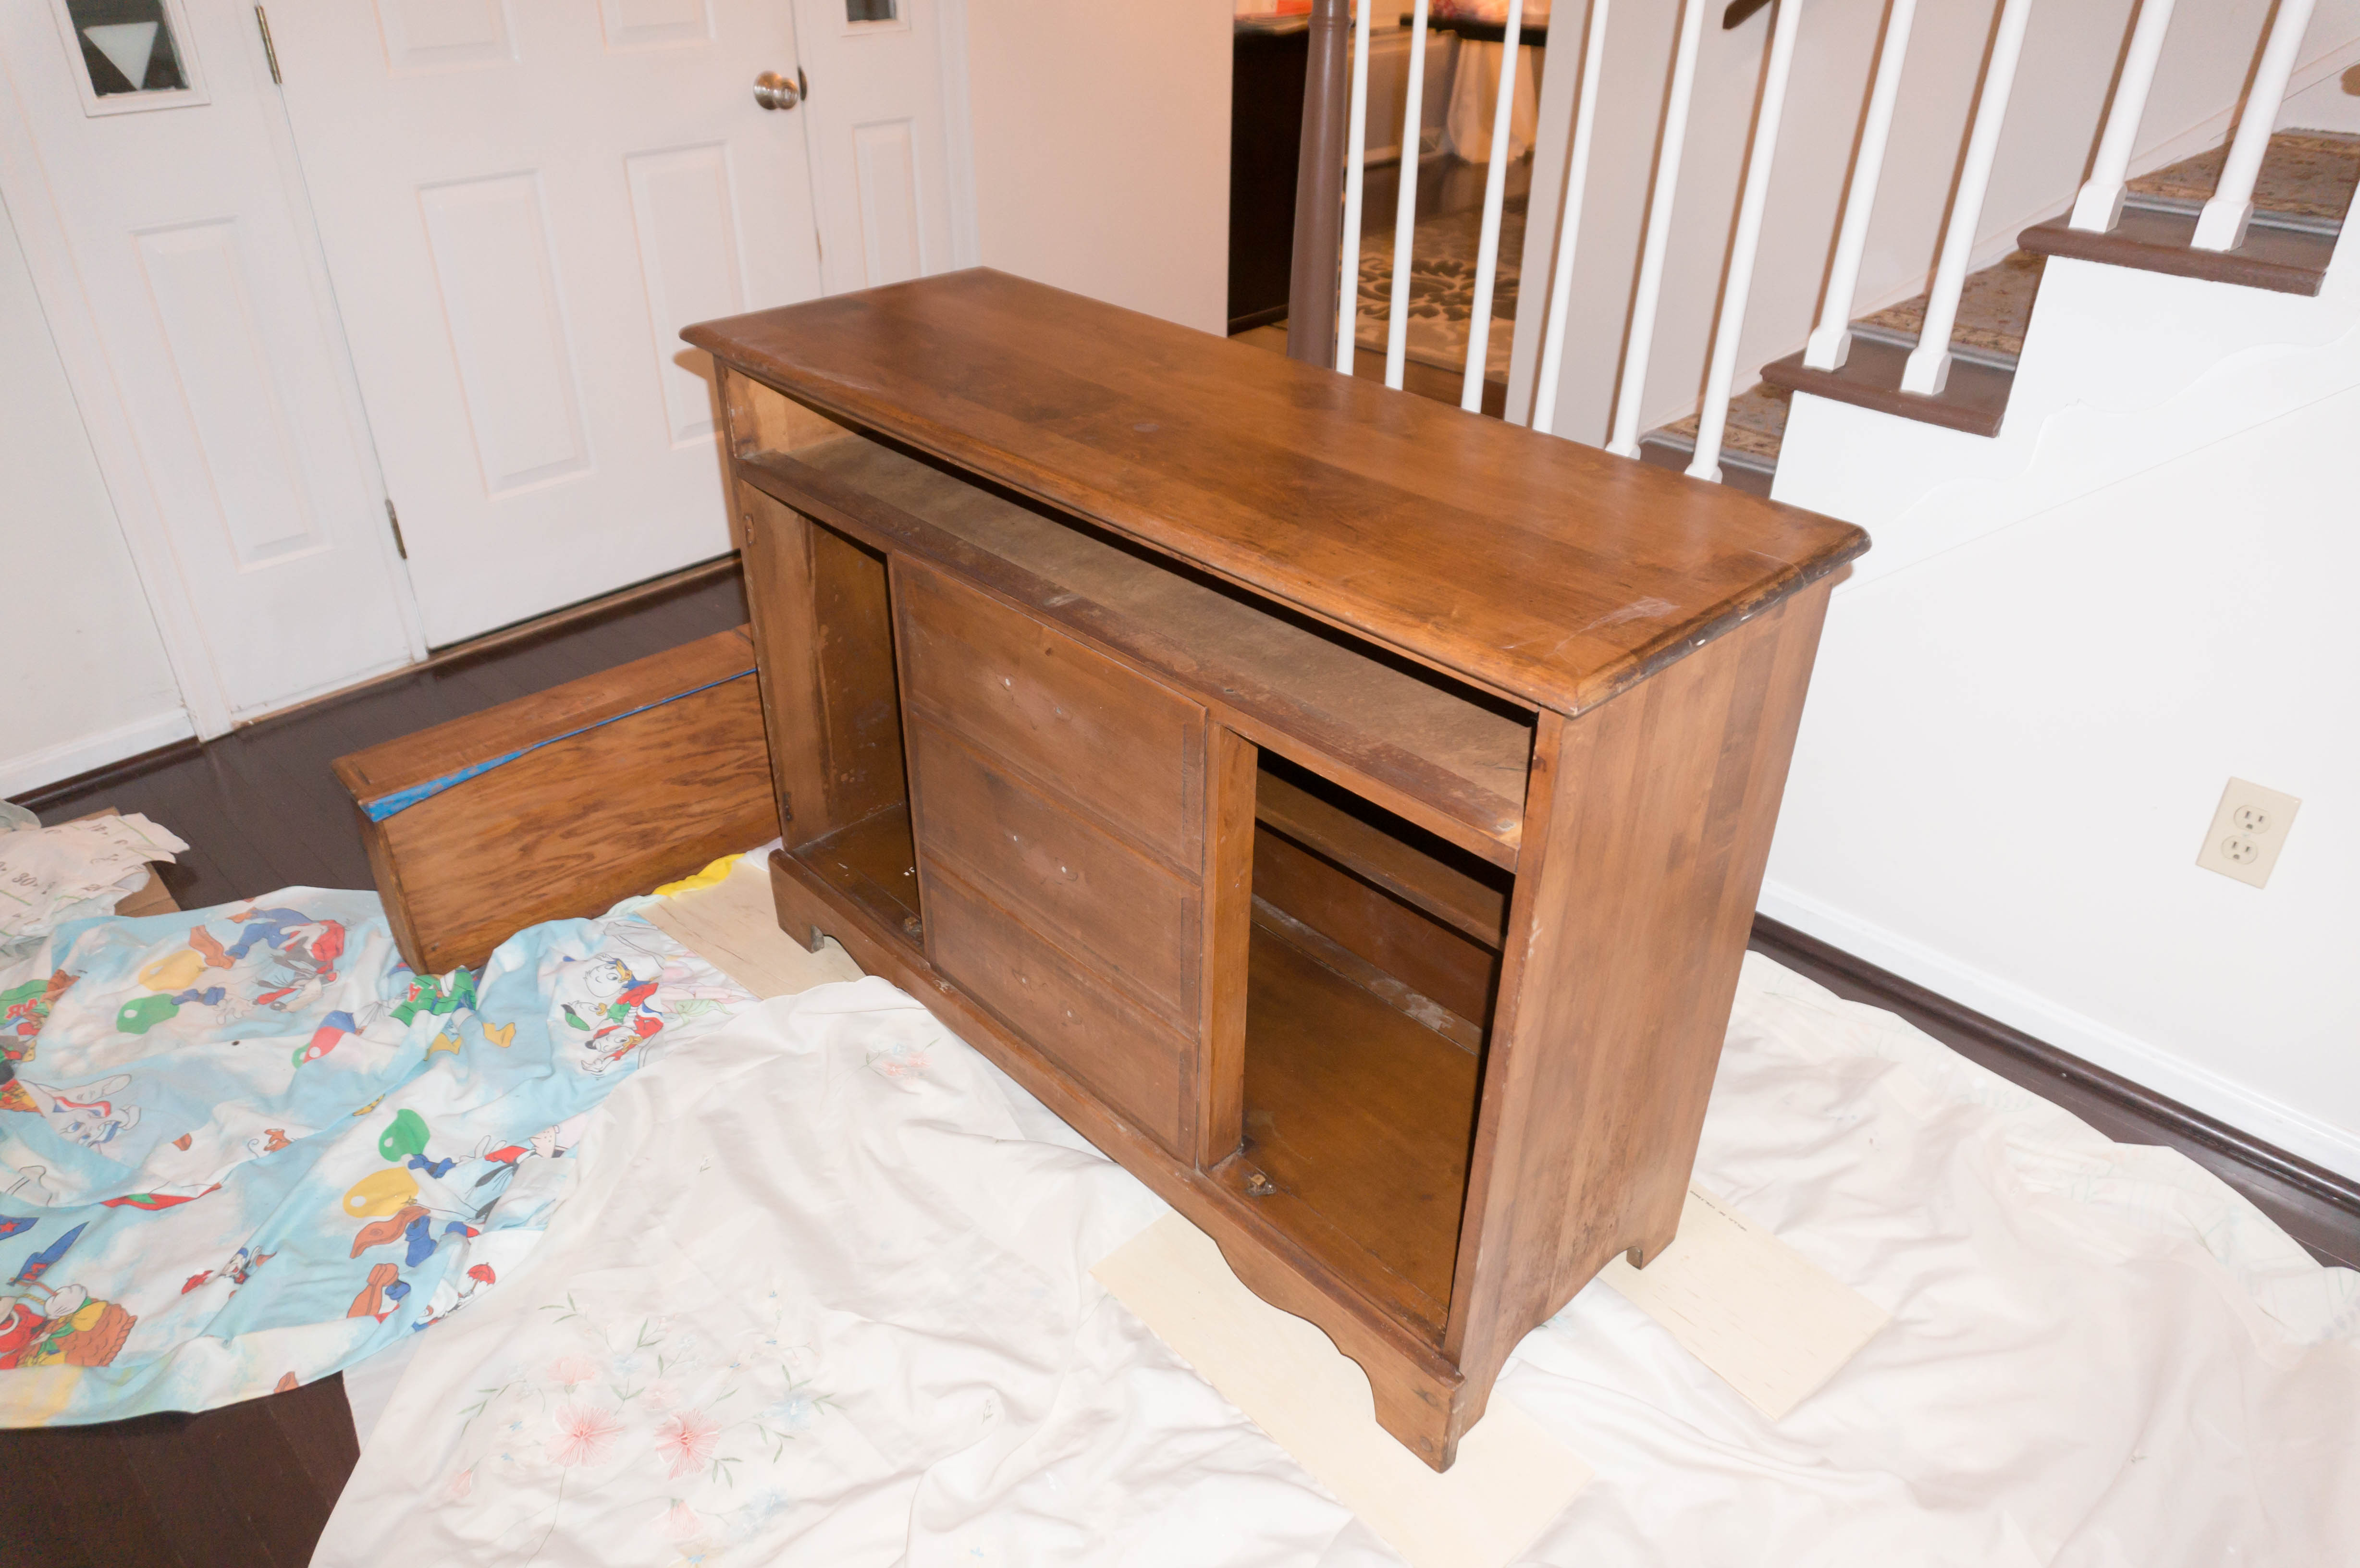
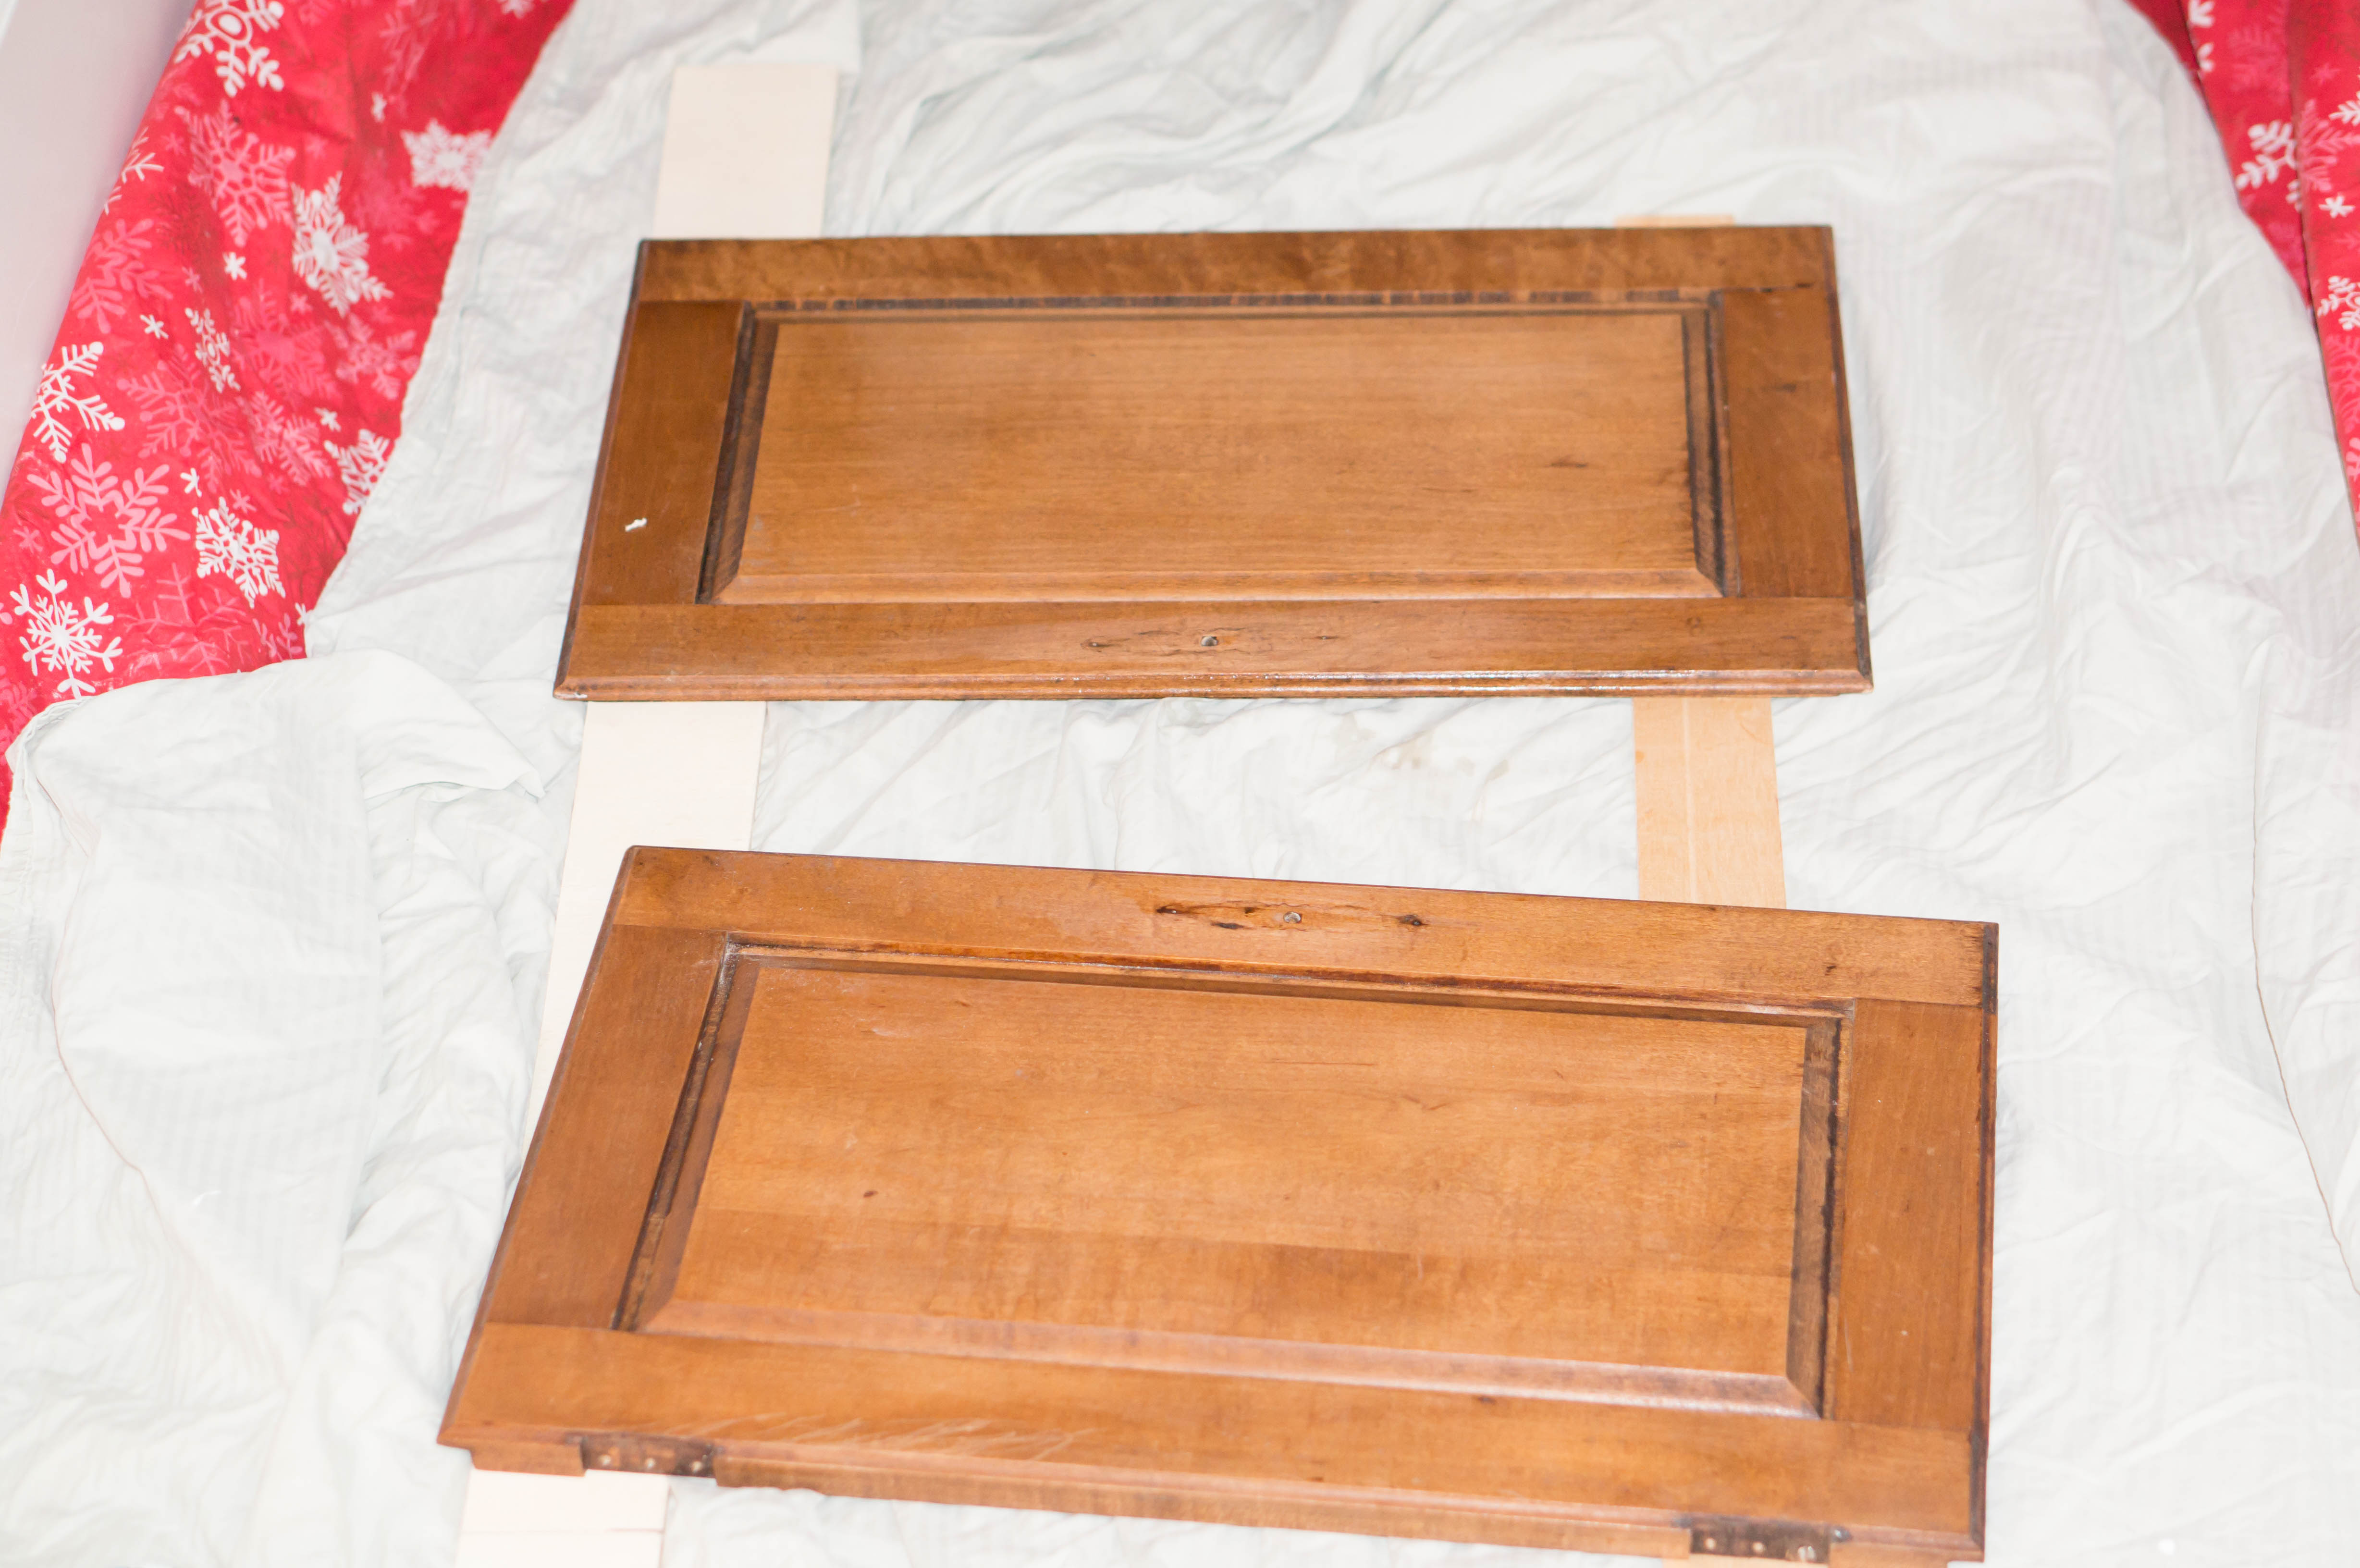
If you’ve never tried chalk paint, you really should give it a try. It goes on so easily and requires so little prep. Kris cleaned the piece and then I lightly sanded this piece because it had a lot of scratches and damage.
But for most furniture, there’s no need to prep at all. I just added some tape to the drawer sides, inside, and bottom so that I didn’t get paint all over.
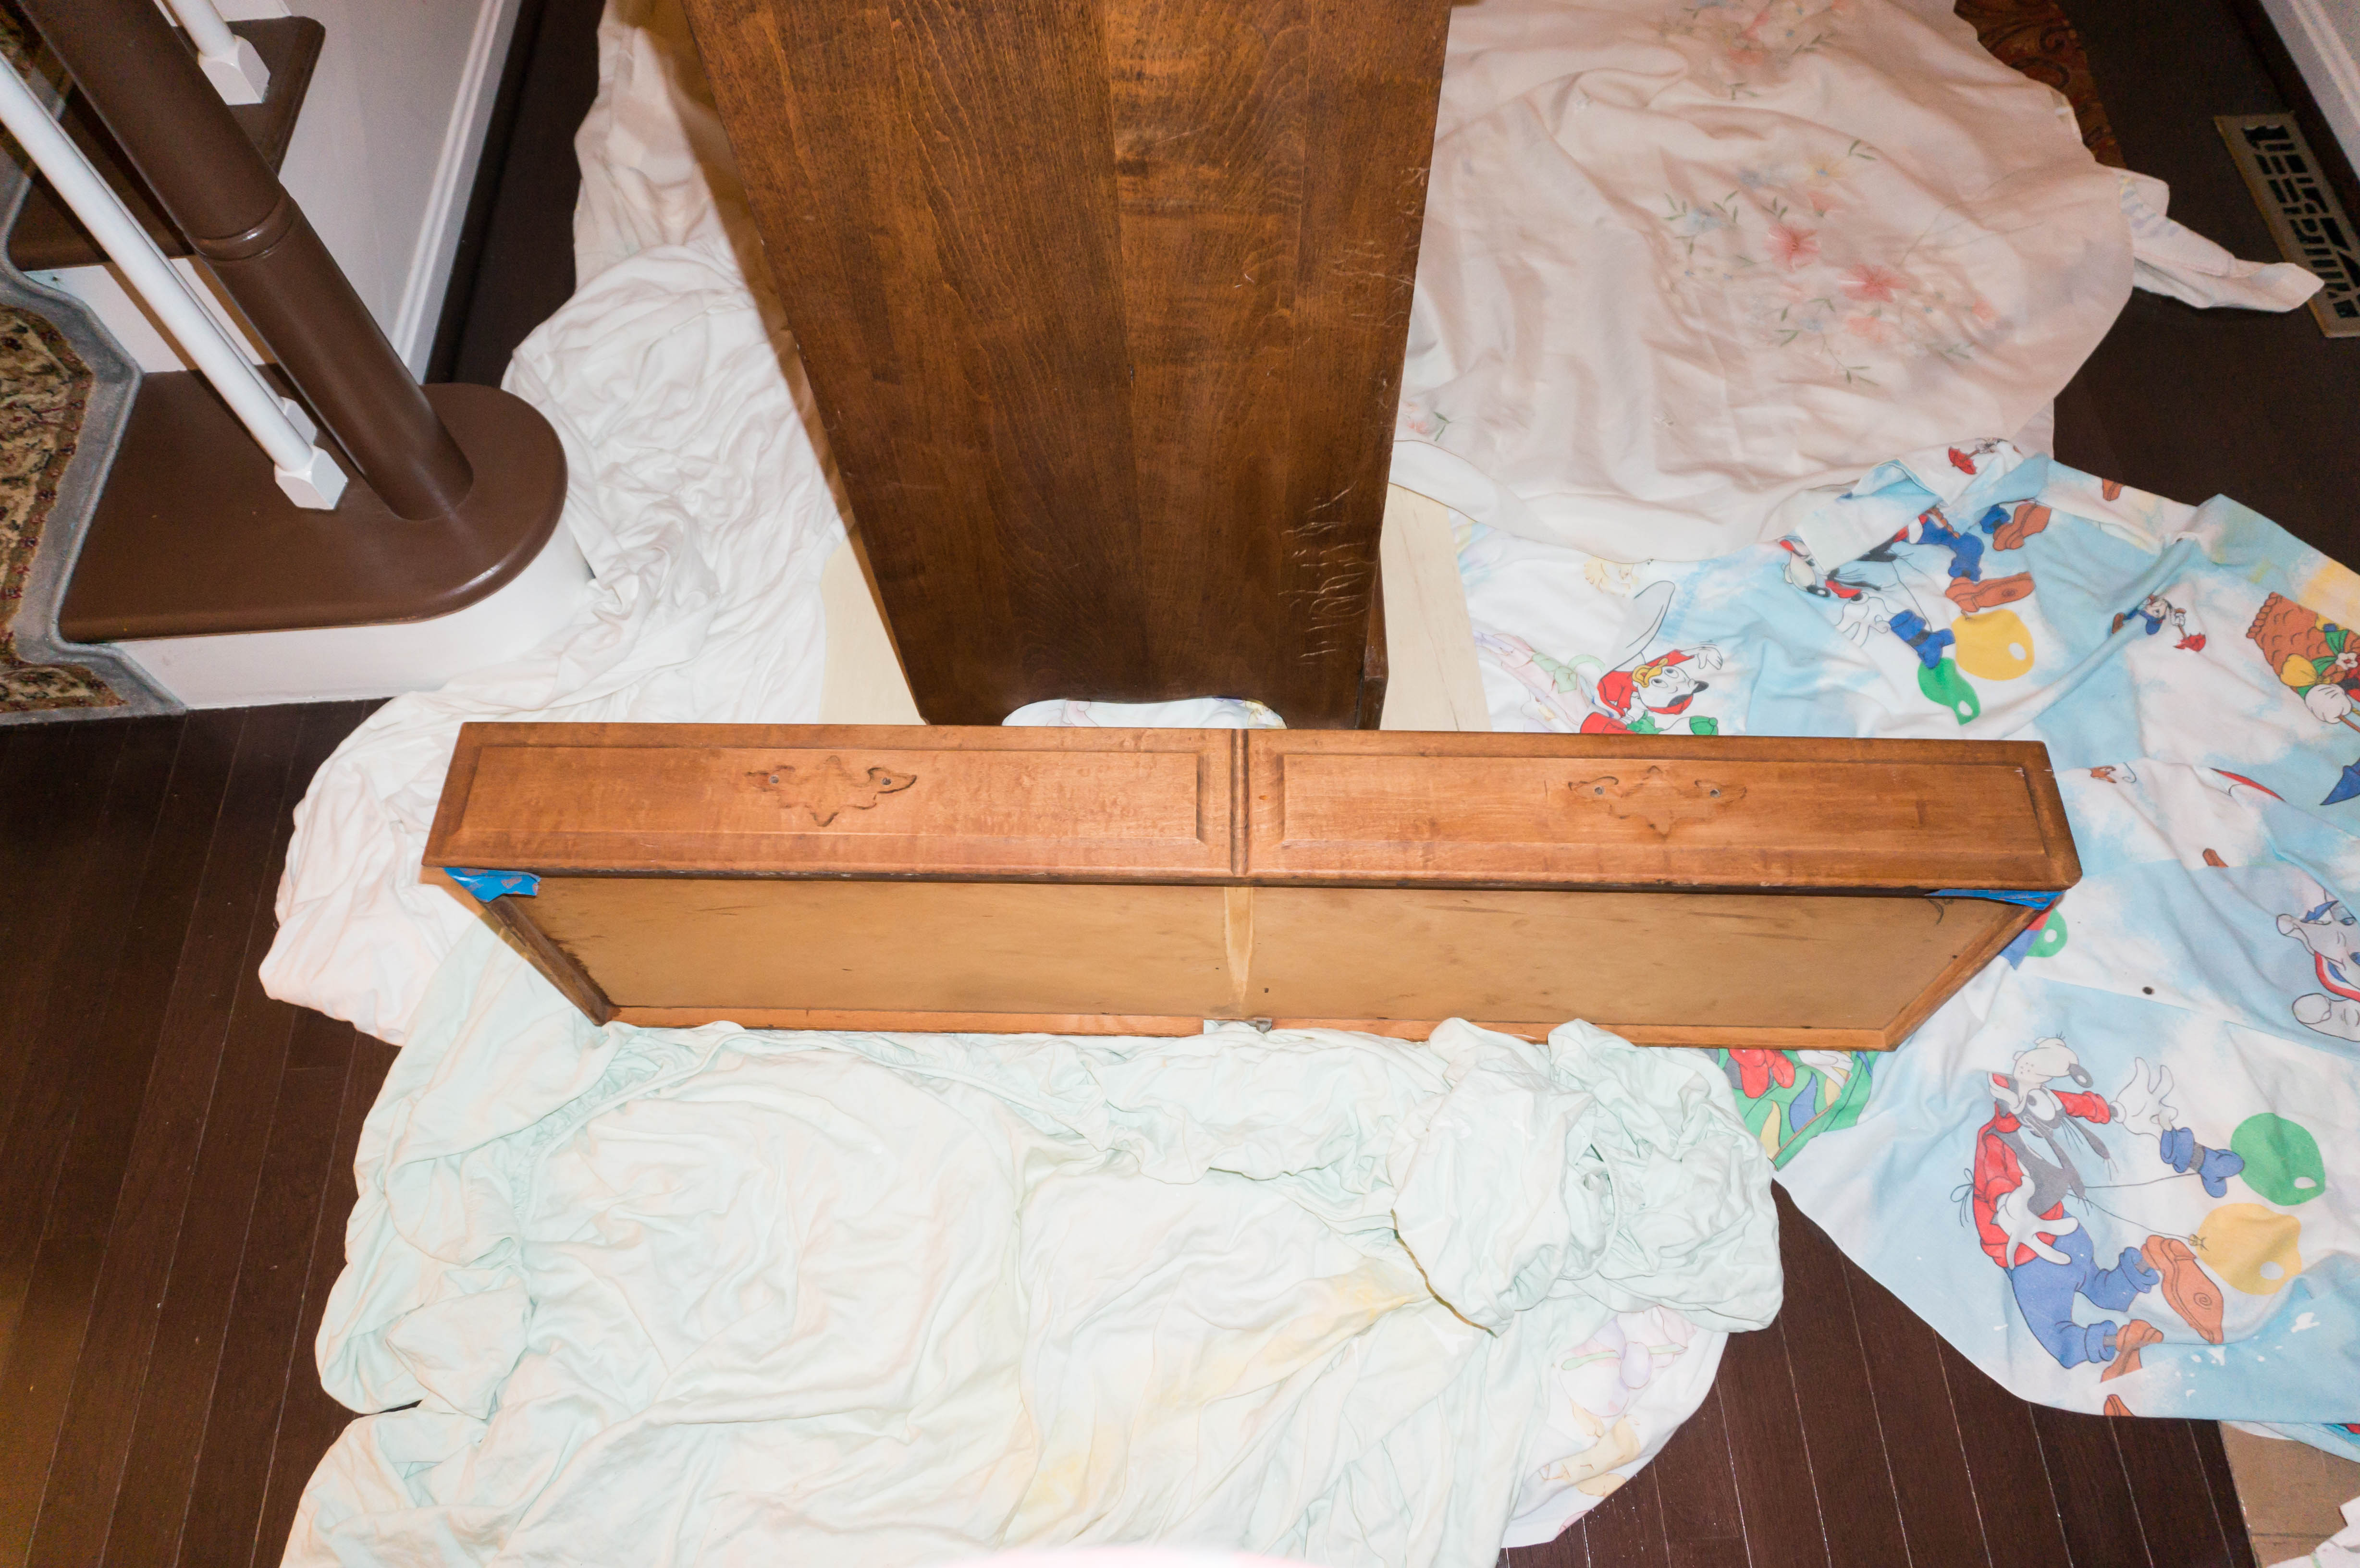
Unfortunately, the color turned out a lot lighter than the swatch. It looked a shade just above white. I ended up trying out the blue bottom right. Here are the two different blues below (the back color is the darker blue and the front color is the gray blue).
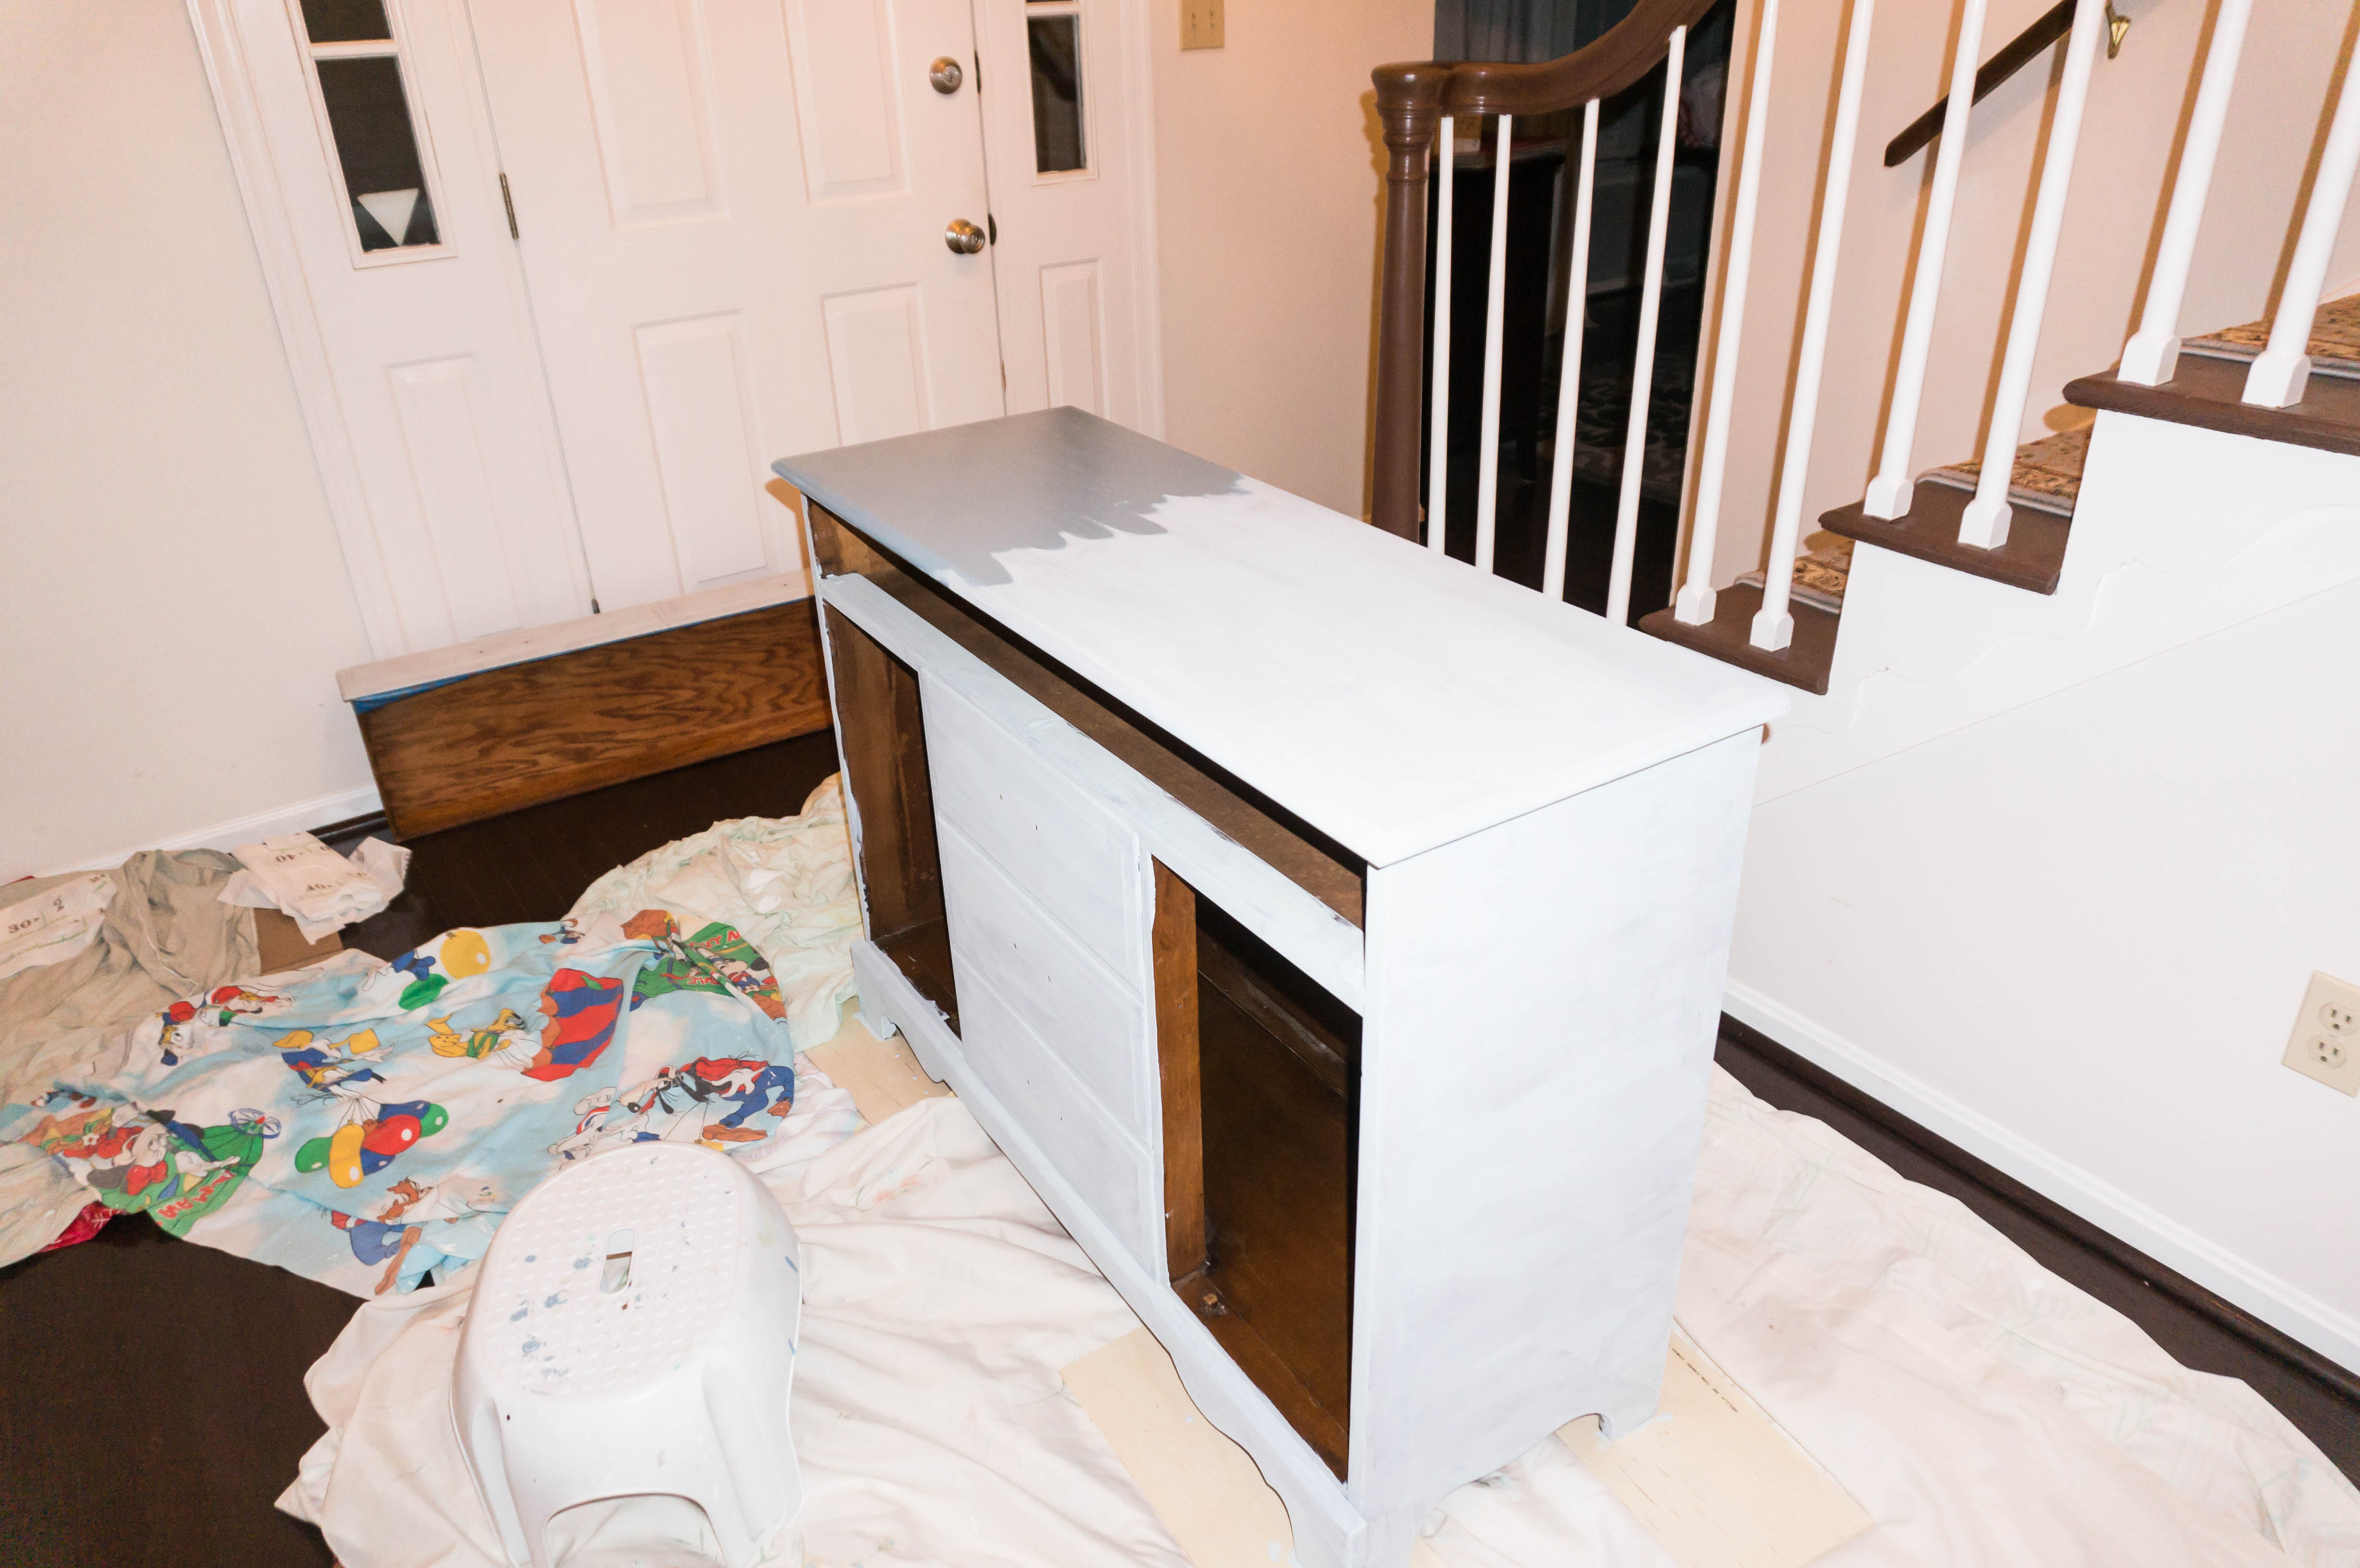
So here is the finished piece waiting to be waxed. I am working on finding hardware now. I found some that I loved but they were out of stock and I am trying to see if I can get it in time.
What hardware do you think would look good on this piece? I will be using a bronze/oil rubbed bronze finish to coordinate with the light. 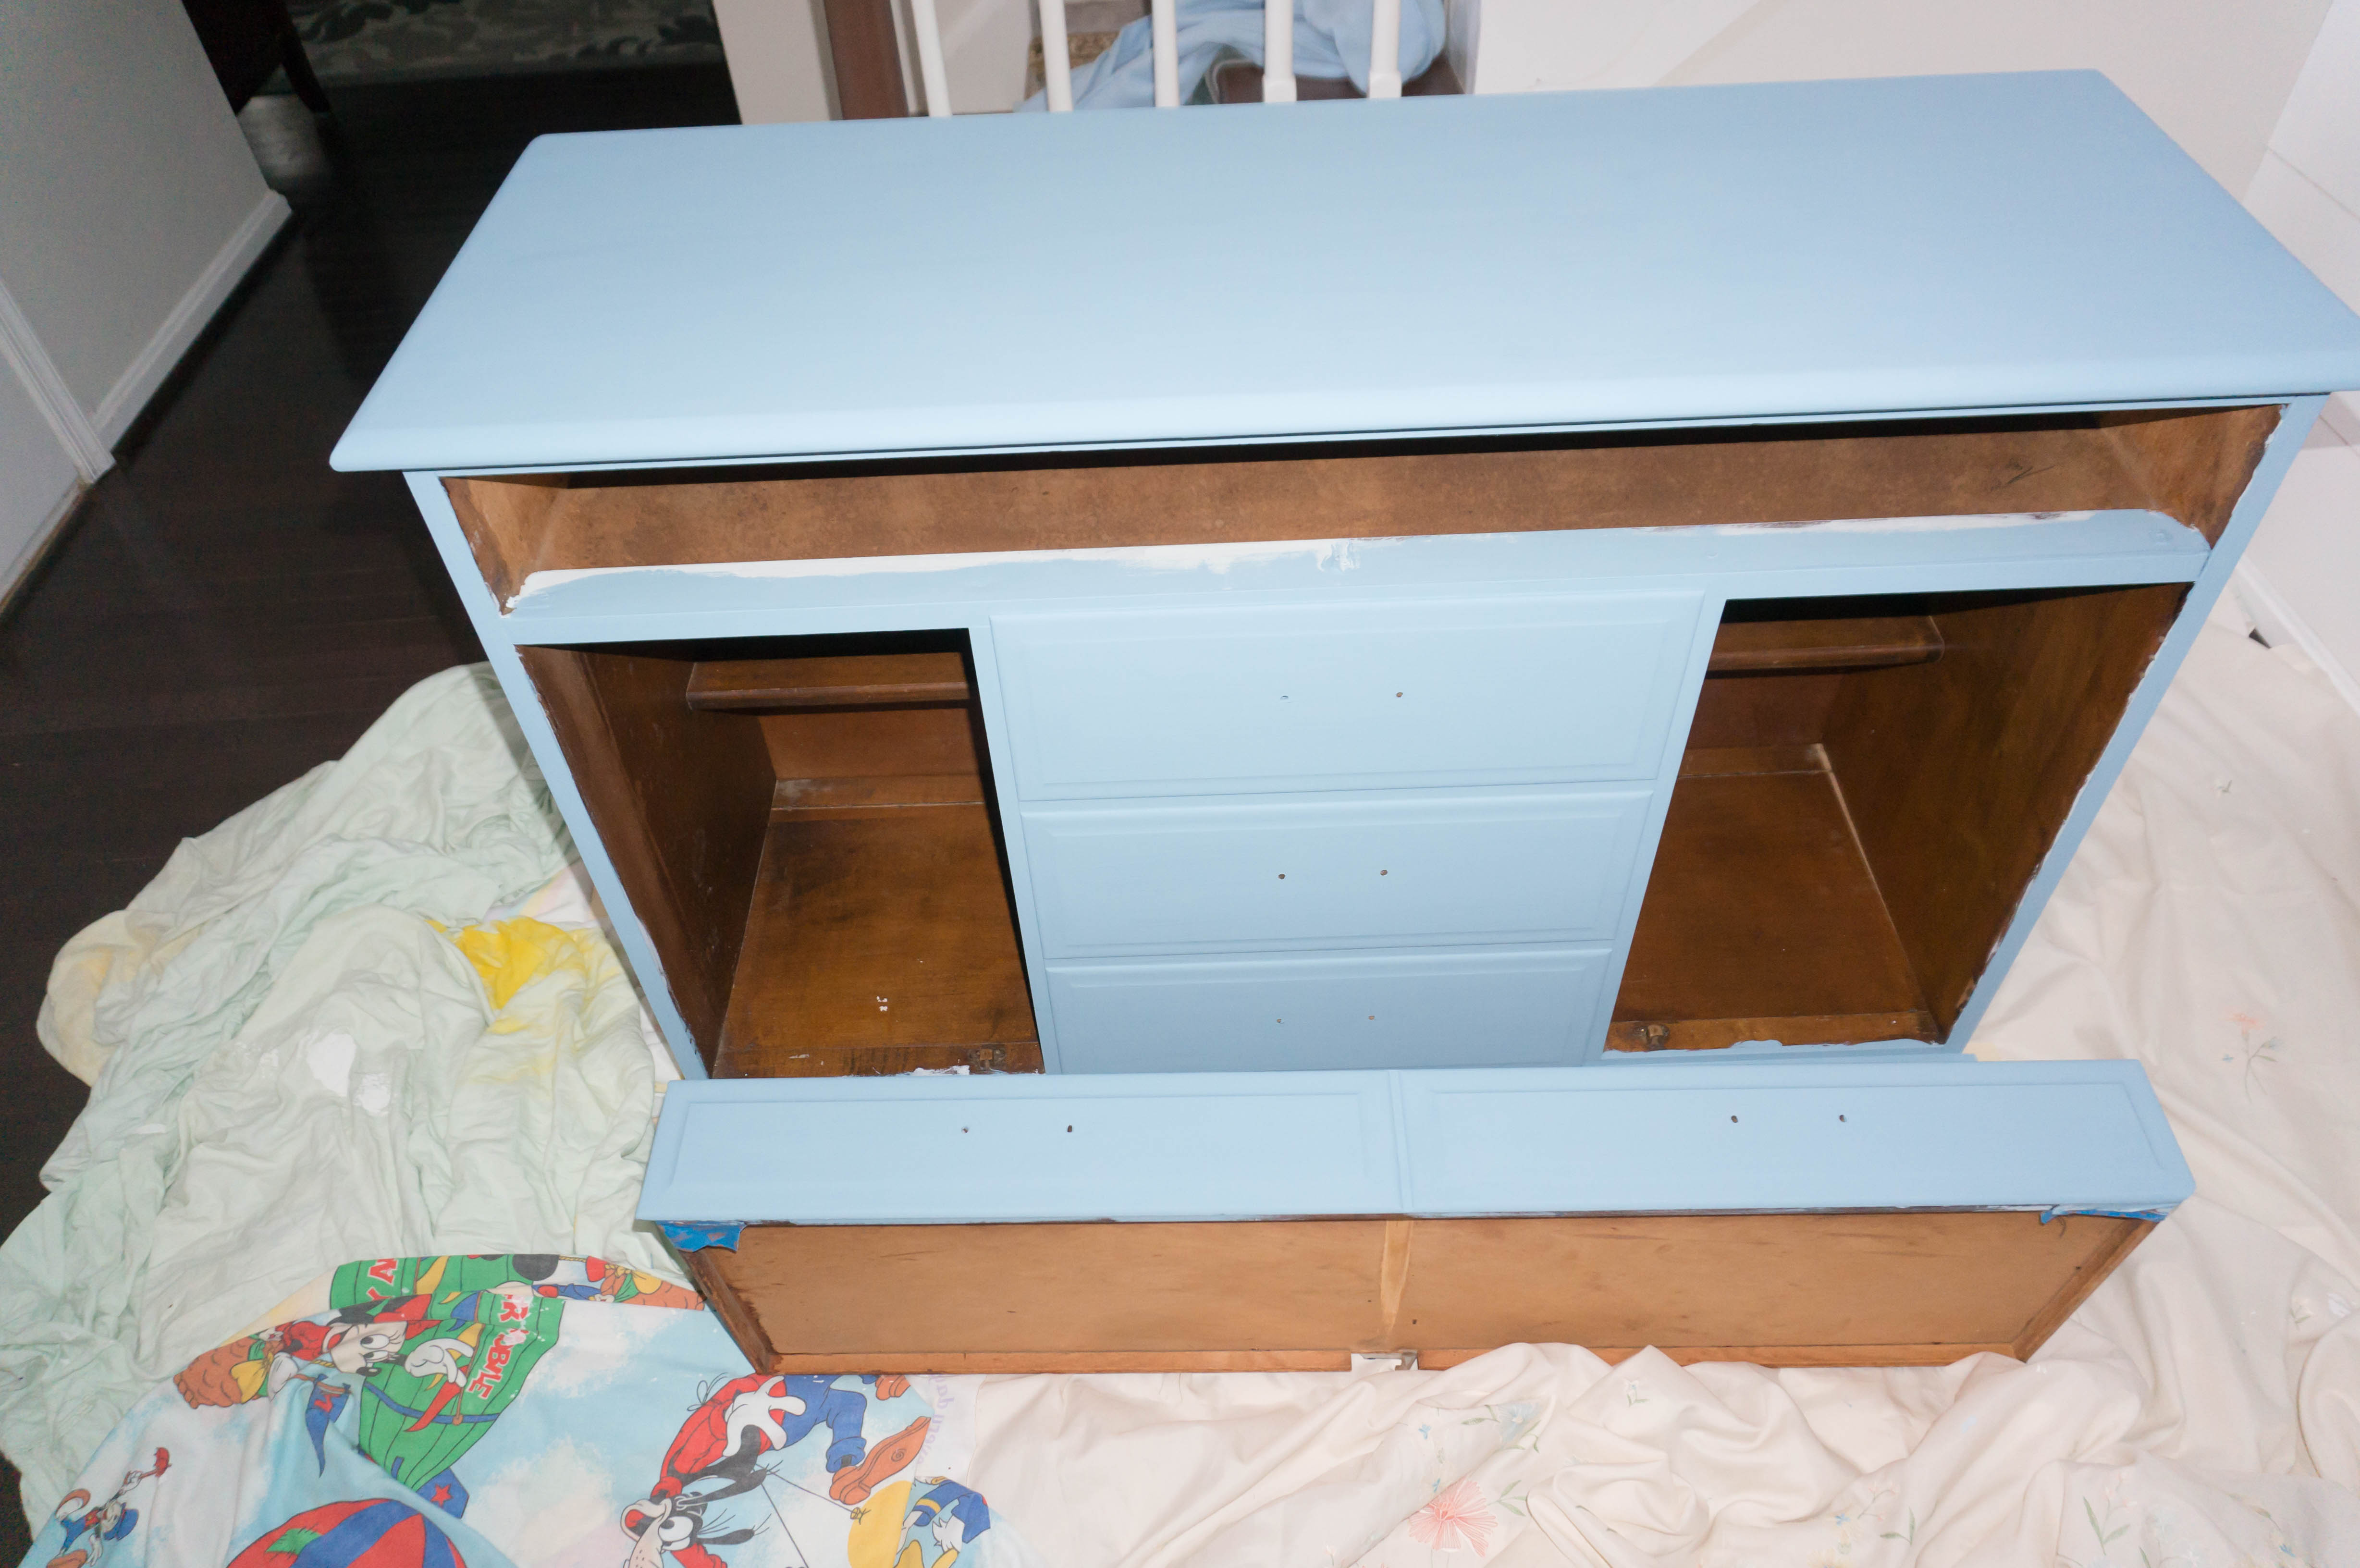
Follow Along
Want to see the rest of our challenge – check out these posts:
- Week One: The Foyer Before
- Week Two: How to Install Faux Shiplap
- Week Three: The Cheapest Light Makeover, Ever
- Week Five: How to Turn a Cork Board into a Chalkboard
- Week Six: DIY Inexpensive Wall Art for Less than $6 a Piece
- Week Seven: Foyer Reveal
Need More Inspiration?
Don’t forget to check out the rest of the One Room Challenge Guest Participants and the Feature participants. (The One Room Challenge brings bloggers together twice a year to redo one room in six weeks).


How to Turn a Cork Board into a Chalkboard - One Room Challenge Week
Tuesday 5th of June 2018
[…] light makeover, ever (you’ll never guess what we used to make an orb pendant). Lastly, here is week four which is just an overall update and information about our stairs and refinished […]
One Room Challenge Foyer Reveal | Mom Envy
Thursday 16th of November 2017
[…] Redid an old dresser with chalk paint and shared how we refinished our stairway […]