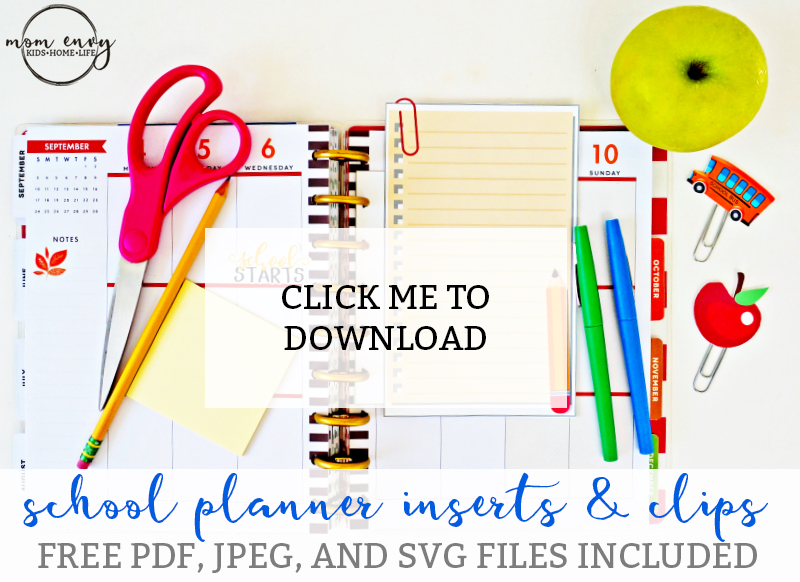
Hi there my fellow planner people! Today I have some free planner inserts and planner clips. They’re school themed and match the free school planner stickers I shared the other day perfectly. Anyone that’s interested in stationary may also enjoy the planner inserts.
This week, I am making big changes to my files. Instead of including a Silhouette file, I am now including an SVG file.
What does this mean? It means that people with a cutting machine other than Silhouette can now cut all of my planner files. You asked and I listened!
There are three different insert options. One is a notebook-style insert. The second is the same only it has the heading, “To Do.” The last one is for menu planning. It’s designed to look like a classroom bulletin board. Check out the school planner inserts and clips below.
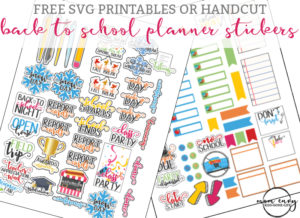
Looking to add a little more school adorableness to your planner? Check out these free school planner stickers.
Back to School Planner Inserts and Clips
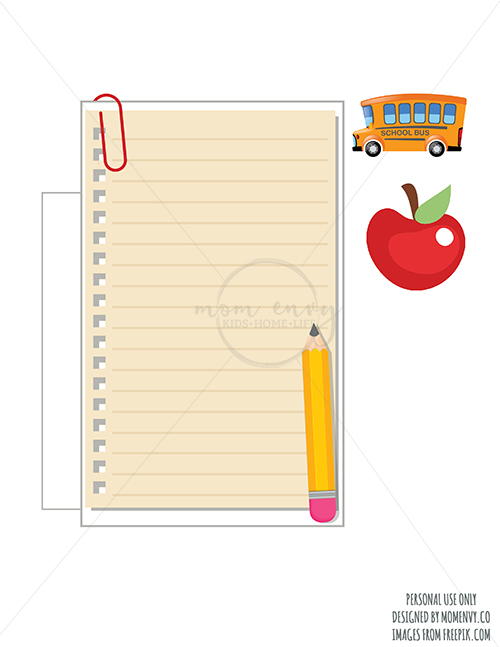
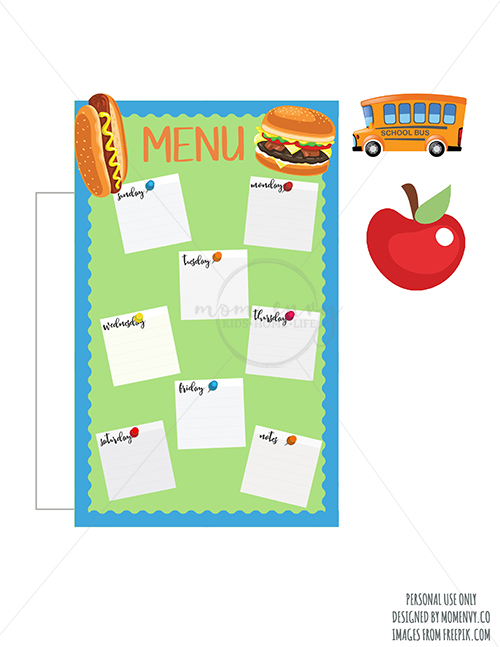
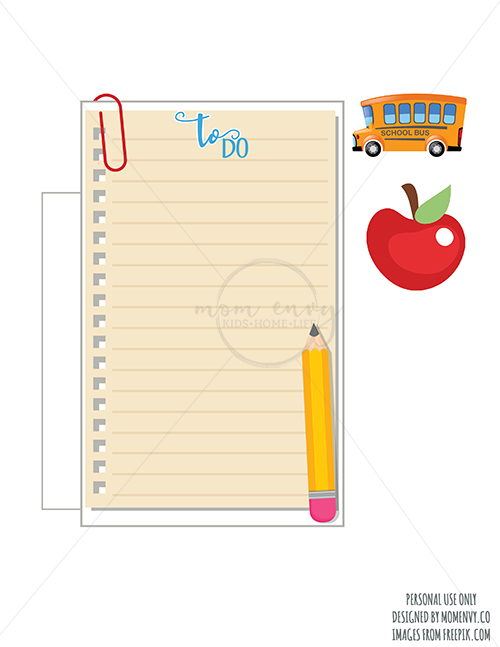
- Inserts are available in 1 size and will fit most planners. They can be printed at a percent bigger or smaller to accommodate any planner size.
- Files are in JPEG, PDF, and SVG format.
- There are 4 available styles (see above). Make double-sided inserts by printing a front and a back (marked with a number 2).
File Usage Information
Please Note, all Files on Mom Envy are for personal use only. Files may not be resold, modified, or used commercially. Sharing the file for free or for money on Facebook groups is prohibited (you can share a picture and link back to the post). Sharing the link, my site’s name, and one picture on a blog post is okay, as long as the entire text of the post and the actual files are not shared. If you are interested in selling them commercially, please contact me directly.
Directions for the Inserts and Planner Clips (written directions below)
As an Amazon Associate, I earn from qualifying purchases. I am also an affiliate for the HP ink program. Click here to read more.
Directions for the Planner Clips
- Print one front piece and one back piece (has a number 2 at the end) on cardstock for added durability.
- Print/Cut using the SVG file or cut with scissors
- If you’re going to laminate your clips, laminate the planner clips first in two separate pieces.
- Glue the paper clip to the back of one of the printed paper clip toppers. Make sure to glue the paper clip low enough that it will still work as a paper clip.
- Use more glue to place the other piece on top of the paper clip/first side. Make sure the image is facing out.
- This is the perfect glue for making planner clips. It’s strong enough to hold. Hot glue also works well.
- Allow time to dry before use.
Directions for the Planner Inserts
- Don’t have a Happy Planner? Click here for more specific directions for bound planners.
- Print one front piece and one back piece (has a number 2 at the end) on cardstock for added durability.
- Print/Cut using the SVG files or cut with scissors.
- Glue the front and back together using a strong glue or hot glue.
- If you want to laminate the insert (to use with a dry erase marker), glue first and then laminate.
- Hole punch in the hole punch area.
- Allow time to dry before use.
Tips and Tricks for Printing & Cutting
- Simply click the “Click me to Download” image below to get to the paged where the file is located. You’ll need the members-only password to download the file (subscribe here).
- My favorite paper for planner pages and inserts is this paper.
- For stickers, print on repositionable sticker paper or standard sticker paper
- I know, ink can get expensive, so invest the HP Ink Program! You can save SO much money. Click here to learn more and use my referral and earn 1 free month! Not sure if it’s the right program for you? Click here to see if the HP Ink Program is worth it.
- What to try out digital planning? My favorite digital planning app is GoodNotes.
