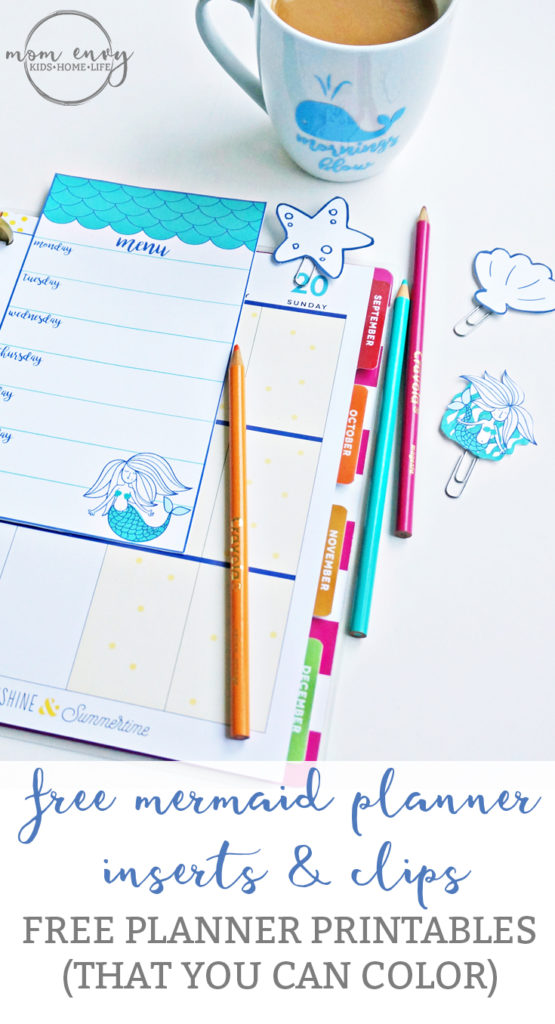
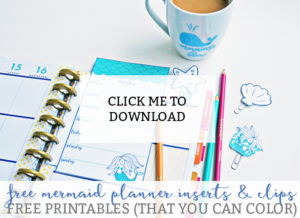
So I took two of the year’s biggest trends and smashed them together for one amazing planner insert and clips pack. Are you into Mermaids or adult coloring books? (I’ve never been sure why they have to call them adult coloring books.
It’s always made them sound sketchy to me.) Anyway, today I am sharing with you some mermaid planner inserts and clips. I started to play around with them and change their hair color (to red of course, I had to pay tribute to the best mermaid of all time).
Then I realized that it would be more fun to let people decide what color they wanted their mermaid’s hair and skin color to be. I decided to stick with a simple color palette of a turquoise and purple for the outlines and fins.
But their hair color and skin color can be any color you desire. Want your mermaid to have black hair with purple strips? You’ve got it. Want her to be blonde with a darker complexion? Color till you get it just right.
When I colored mine, I decided I wanted her to look me. I made her skin as pale as I had a colored pencil for (of course even that was still too dark). Next, I added some brown hair. Then I realized if I really wanted to make her look like me I should add a ton of gray strands. Like I said, you can make your mermaid any way you’d like.
In addition to turning these into planner clips, they could also be used as bookmarks. If you have a mermaid-loving child or tween, this will be right up their alley.
So grab your dinglehopper and coloring tools and have some fun!
Are you missing our posts on Facebook due to the algorithms? Sign up here for our weekly newsletter. Don’t worry, we only e-mail you once a week with blog updates (unless there’s a special event).
Newsletters will let you know what happened in the past week (including free printables) as well as what will be happening in the upcoming weeks. Our e-mail newsletter is the best way to stay connected and make sure you don’t miss a free printable!
Wondering how to make our planner inserts or planner clips? Think they look a little complicated? No worries!
If you scroll down below, you’ll find a how-to video. And believe me, if I can do it, so can you. I show you how to make them without a special die-cut machine. I know not everyone has one but don’t worry, they can be done just as easily without one.

Mermaid Planner Inserts and Clips
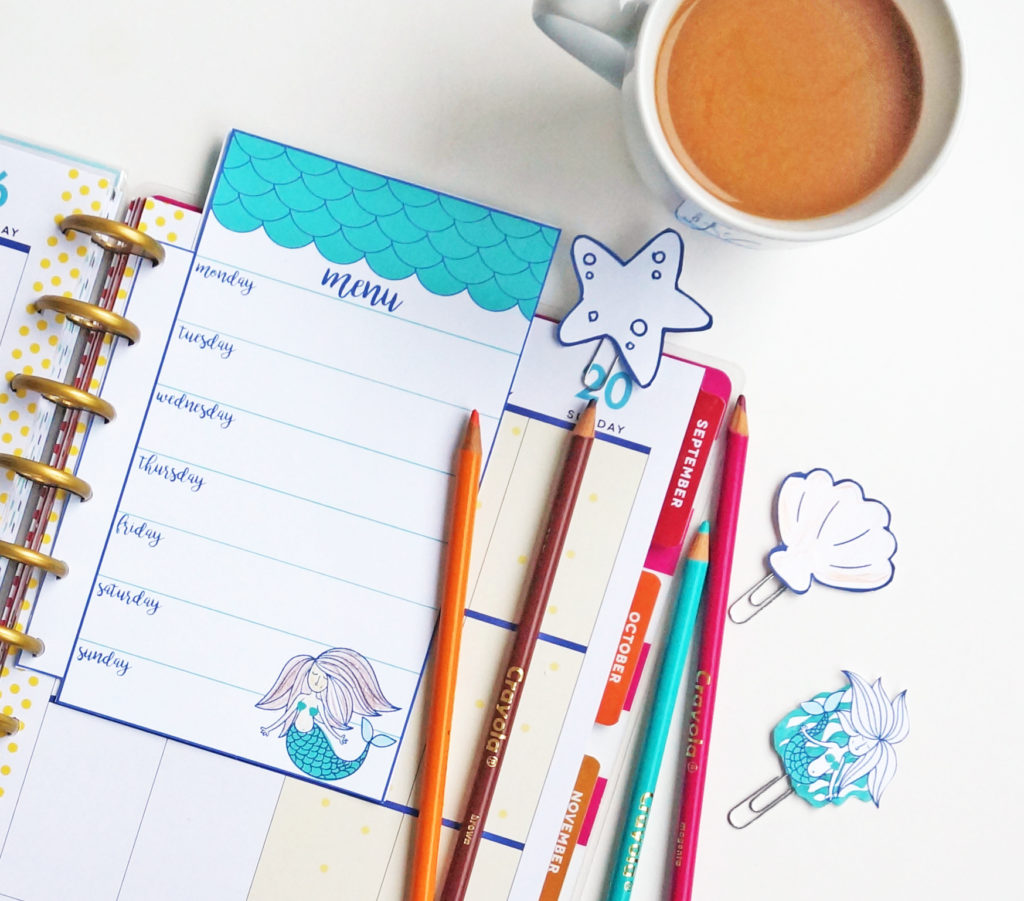
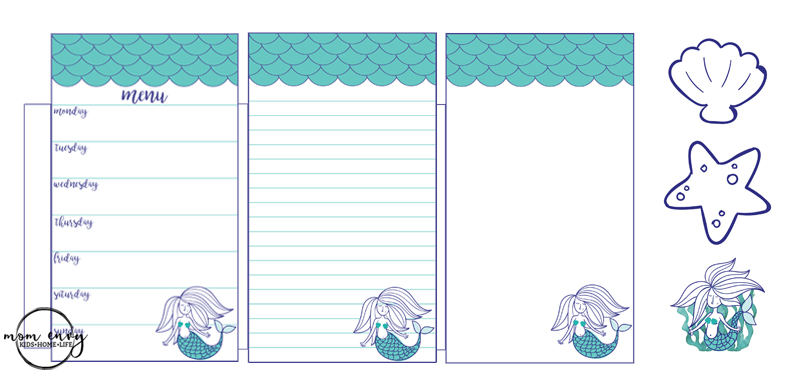
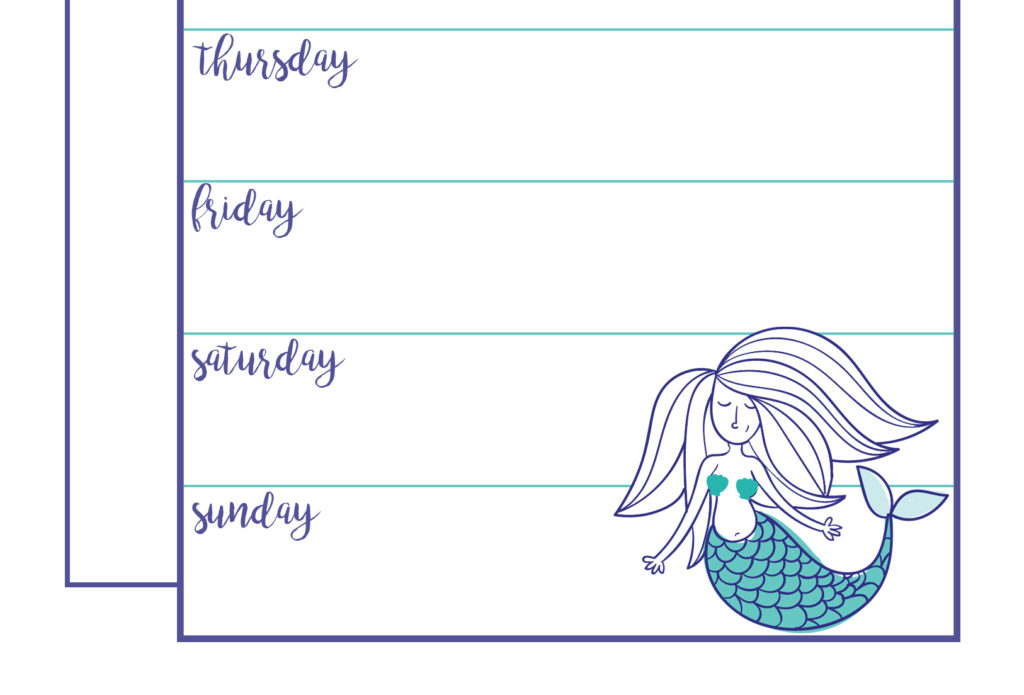
- Inserts are available in 1 size and will fit most planners. They can be printed at a percent bigger or smaller to accommodate any planner size.
- Files are in JPEG, PDF, and Silhouette format.
- There are 3 available styles (see above). Make double-sided inserts by printing a front and a back (marked with a number 2).
As an Amazon Associate, I earn from qualifying purchases. I am also an affiliate for the HP ink program. Click here to read more.
File Usage Information
Please Note, all Files on Mom Envy are for personal use only. Files may not be resold, modified, or used commercially. Sharing the file for free or for money on Facebook groups is prohibited (you can share a picture and link back to the post).
Sharing the link, my site’s name, and one picture on a blog post is okay, as long as the entire text of the post and the actual files are not shared. If you are interested in selling commercially, please contact me directly.
Directions for the Inserts and Planner Clips (written directions below)
Directions for the Planner Clips
- Print one front piece and one back piece (has a number 2 at the end) on cardstock for added durability.
- Print/Cut using the silhouette file or cut with scissors
- If you’re going to laminate your clips, laminate the planner clips first in two separate pieces.
- Glue the paper clip to the back of one of the printed paper clip toppers. Make sure to glue the paper clip low enough that it will still work as a paper clip.
- Use more glue to place the other piece on top of the paper clip/first side. Make sure the image is facing out.
- This is the perfect glue for making planner clips. It’s strong enough to hold. Hot glue also works well.
- Allow time to dry before use.
Directions for the Planner Inserts
- Don’t have a Happy Planner? Click here for more specific directions for bound planners.
- Print one front piece and one back piece (has a number 2 at the end) on cardstock for added durability.
- Print/Cut using the silhouette files or cut with scissors.
- Glue the front and back together using a strong glue or hot glue.
- If you want to laminate the insert (to use with a dry erase marker), glue first and then laminate.
- Hole punch in the hole punch area.
- Allow time to dry before use.
Tips and Tricks for Printing & Cutting
- Colors may vary. Printers print differently depending on many factors. (The printer I use is a more expensive unit that uses pigment ink).
- Print on cardstock for added durability. (this is my favorite from Amazon)
- Simply download the files below, unzip, and print the files you need. Files are in three different sizes so pick the one that works with your planner.
- This is the perfect glue for making planner clips. It’s strong enough to hold.
- Make sure you select one front and one back design for the inserts and clips (backs are all labeled with a 2 at the end).
- If you’d like to print the clips/inserts in another size, adjust the size percentage on your printer options page.
- The Silhouette file is set for a portrait (what I have). It can easily be used with a Cameo instead, just change the mat settings.



Paola
Thursday 8th of August 2019
Thanks
Lori
Saturday 9th of February 2019
Thank you for the free downloads. My granddaughter is going to love the mermaid printables for her happy planner. Question: Can I use one of the files to print and cut with my cricut? I didn't see a SVG file which is what I think you need for the cricut. Is this correct? Thank you, Lori
Laura
Wednesday 20th of February 2019
Hi Lori! Unfortunately, there is no SVG available, only a Silhouette file. But, I have had lots of readers import the images into Design Space and cut it with no problem! I also hand cut each of my printables first to make sure it's not too difficult so it can always be cut by hand. Thanks for stopping by! Laura