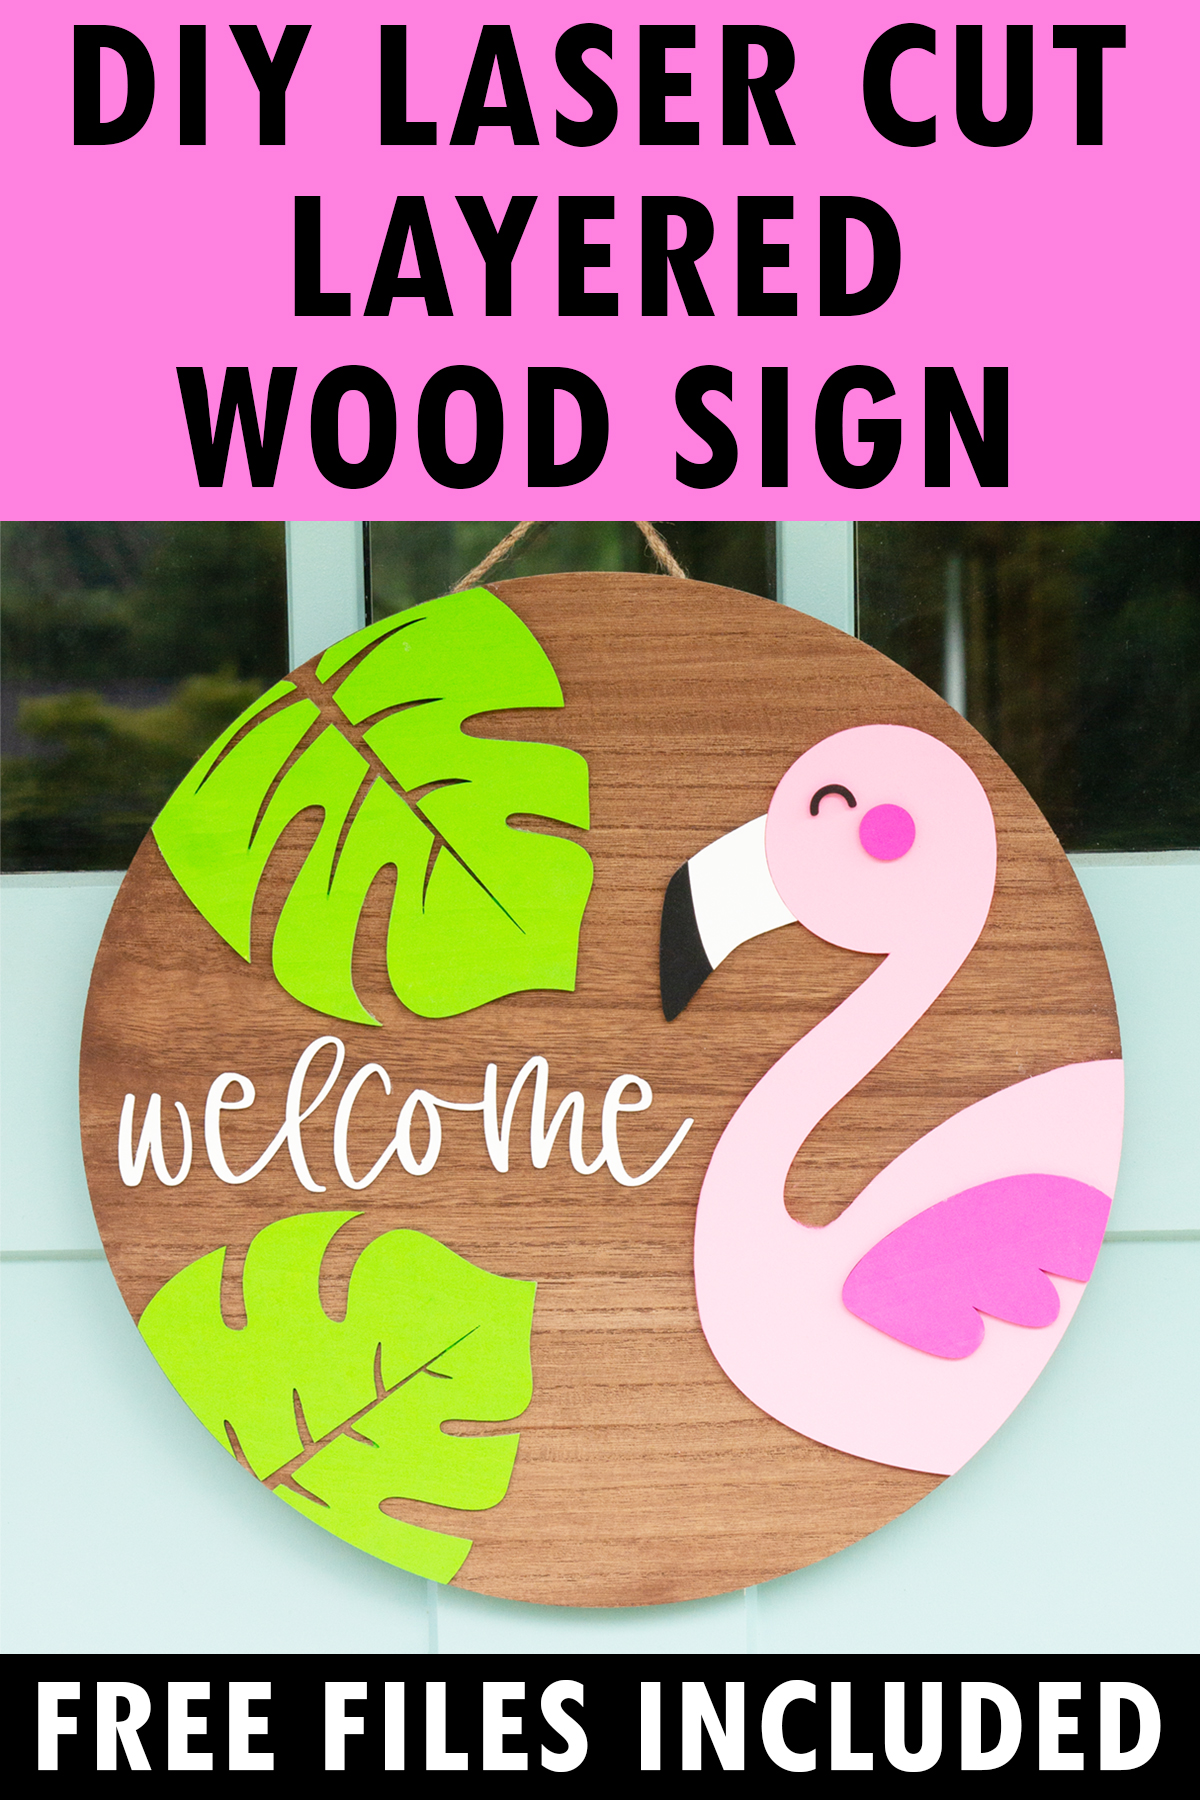

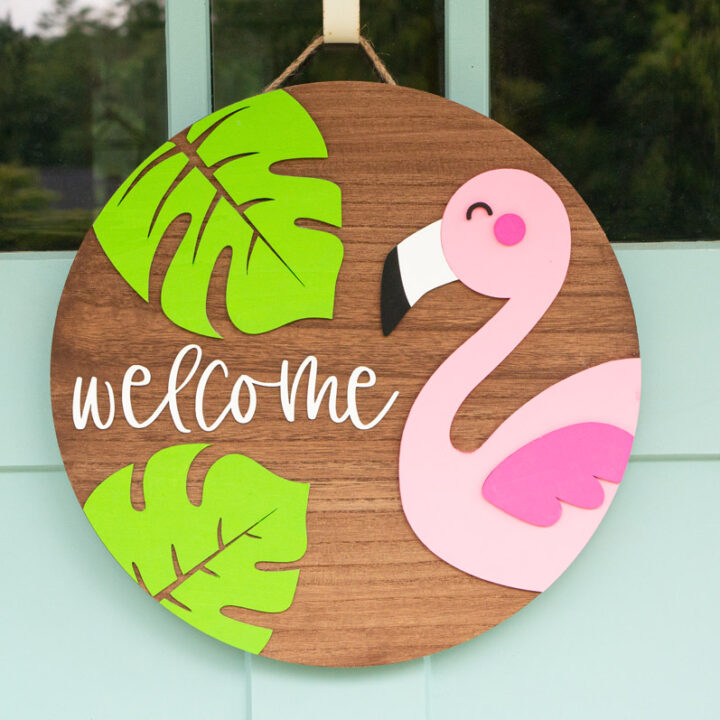
Learn how to make your own welcome sign for the summer using this free summer welcome sign SVG. It would be the perfect addition to a summer porch, front door, entryway, etc.
Now that it's summer break, it's great to change up your decor to reflect the fun summer spirit. This adorable flamingo and tropical leaf design
I love making my own home decor. It's a great way to not only create a custom design but to save a little money.

As an Amazon Associate, I earn from qualifying purchases. I am also an affiliate for xTool, the HP ink program, ShareaSale, Awin, and CJ Networks. Click here to read more.
What Can You Make with this Free Summer SVG?
- Layered wood round sign
- Painted wood round
- Vinyled wood round
- HTV Embroidery hoop
- Small wood round for tier trays
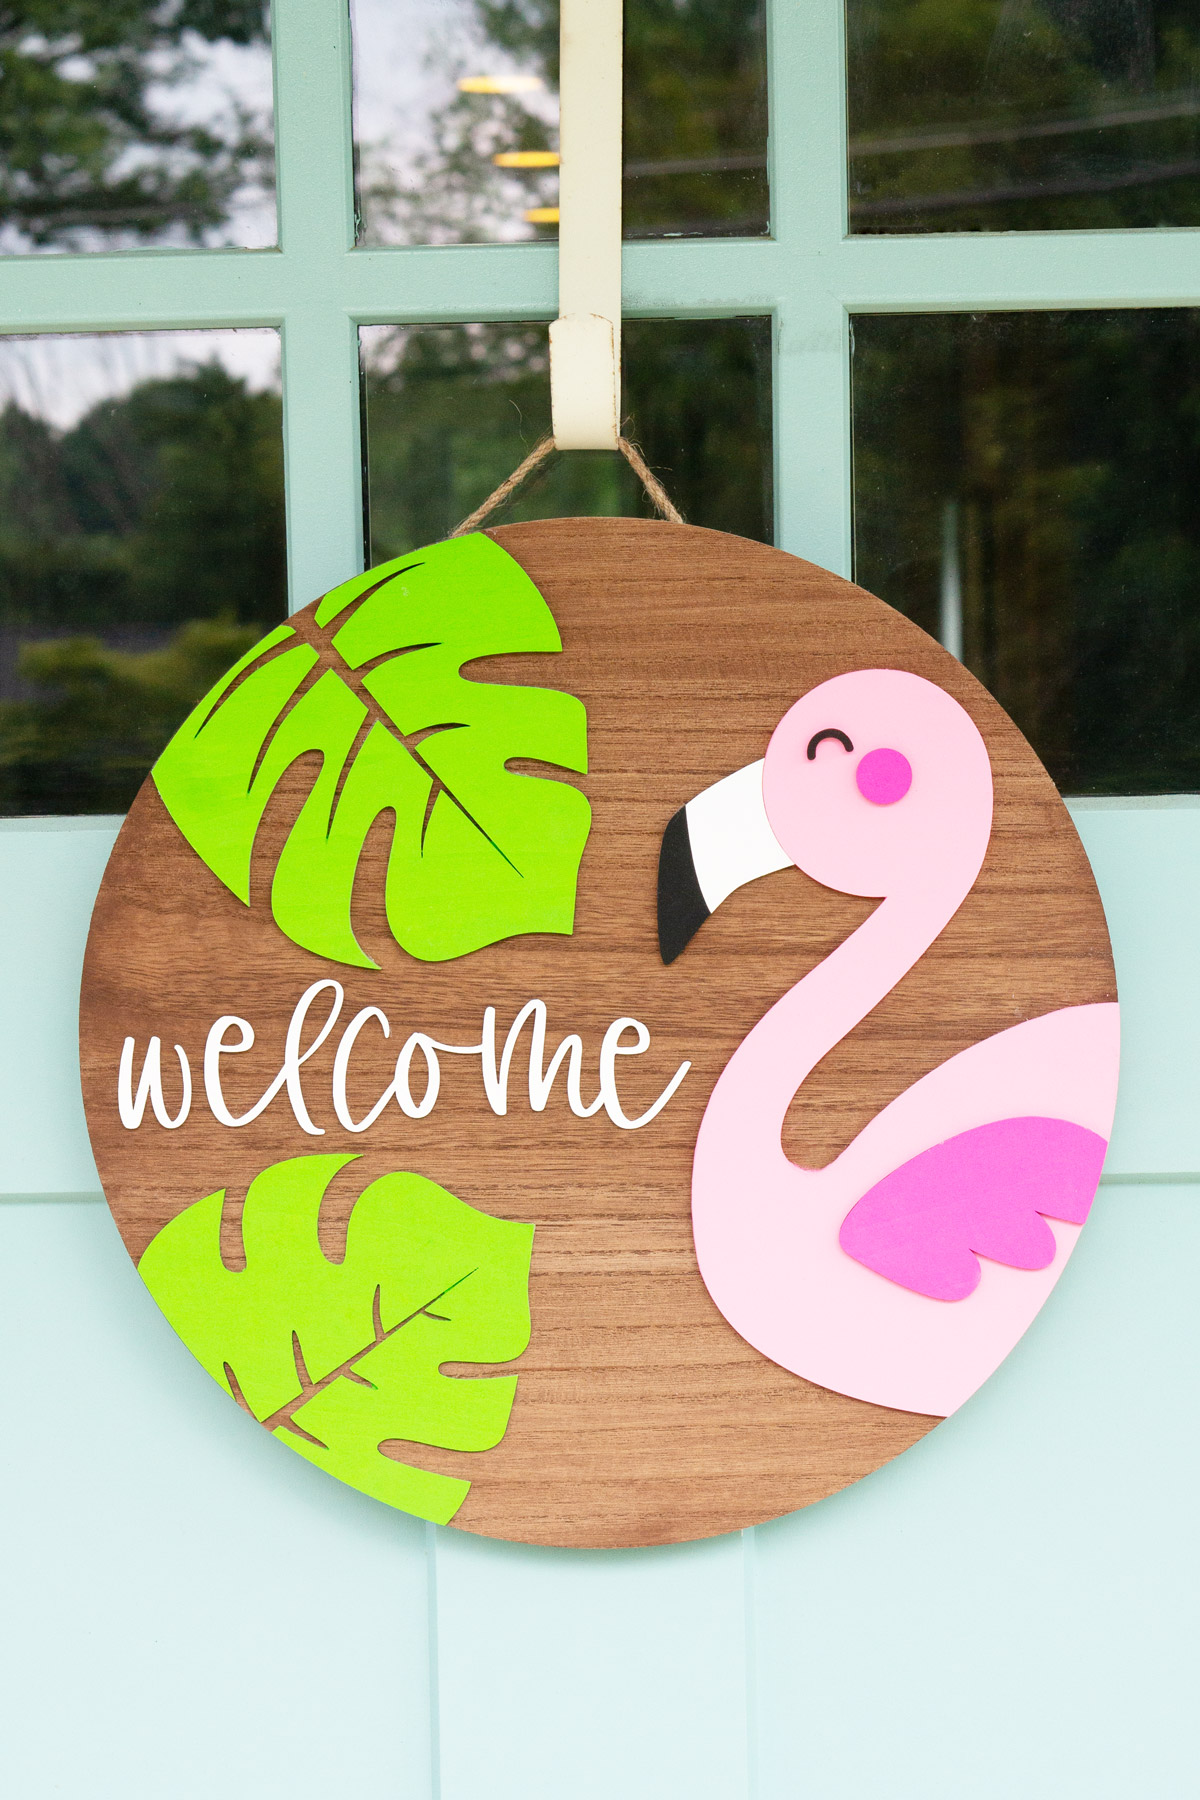
Using an xTool M1 to Laser Cut a Layered Wood Door Round
In this post, I will be using this free file with an xTool M1 to create a wooden door hanger. I turned this SVG into a laser cut file easily in my xTool Creative Space software. Down below, I have a full video tutorial and written directions showing you how to make your own layered wooden round.
Don't have a laser cutter? Use Paint or Vinyl!
Even if you don't have a laser machine, you can still create your own DIY summer sign. You can still use this free summer SVG to paint a sign or cut vinyl to place on a sign.
What File Types are Included?
You'll get the following file formats:
- SVG file
- Silhouette Studio file
- PNG file (with a transparent background)
How to Make a Wooden Welcome Summer Sign with an xTool M1
How Can You Get the Free Digital Download?
You can click here to get the instant download from Google Drive. Or, you can scroll down to the end of this post and get the free files there.
Prefer Written Directions?
Scroll down to the end of the post for the full written directions.
Interested in the xTool M1?
If you want more information about the xTool M1, read my full xTool M1 review.
Plus, you can check out the xTool M1 information page.
Save an Extra $80 with My Special Mom Envy Coupon Code!
xTool has been gracious enough to give me my own coupon code for my readers!
Click here to use my coupon momenvy80 to get an extra $80 off a laser machine!
xTool Spring Sale
Right now, xTool is running a Spring Sale where you can save hundreds.
What Machines Can You Use with this File?
You can use any type of laser machine that accepts SVG or PNG files. This could include but is not limited to, xTool machines (like the M1), Glowforge machine, OMTech, and more.
You can use any of the major vinyl machines on the market - a Cricut machine (like the Cricut Explore or Cricut Maker), a Silhouette machine (Silhouette Cameo), an xTool M1, and Brother Scan n Cut.
If are you considering a machine but are unsure which one to choose, check out my post on Cricut vs. Silhouette.
What Programs Can I Use the Cut Files with?
You can use any craft cutting machine that can cut an SVG or PNG file. This includes:
- xTool Creative Space
- Silhouette Studio
- Cricut Design Space
- Brother's Canvas Workspace
- Siser's Leonardo™ Design Studio
- Sure Cuts a Lot
- Adobe Illustrator
Can I Purchase a Commercial License?
Yes! If you're looking to purchase a commercial license to make physical products using the svg design, click here to purchase.
Want More Free SVG Files?
When you sign up for my Members-only club, you'll get my free members-only password to gain access to my hundreds of free designs.
Just make sure to check your junk folder because oftentimes the sign up email ends up there. Here is the link to all of my free SVG files on my site.

Copyright MOM ENVY 2023. Files may be used for personal use only. Click here to purchase a license for commercial use. The downloaded files may not be directly shared within Facebook groups, on websites, or in any other way. A link to this blog post may be shared as well as one photo. The file may not be used to create physical items and then sold (including local yard sale sites and groups or at local craft fairs). The images may not be used in any way other than to share one image with a link to the original web page.


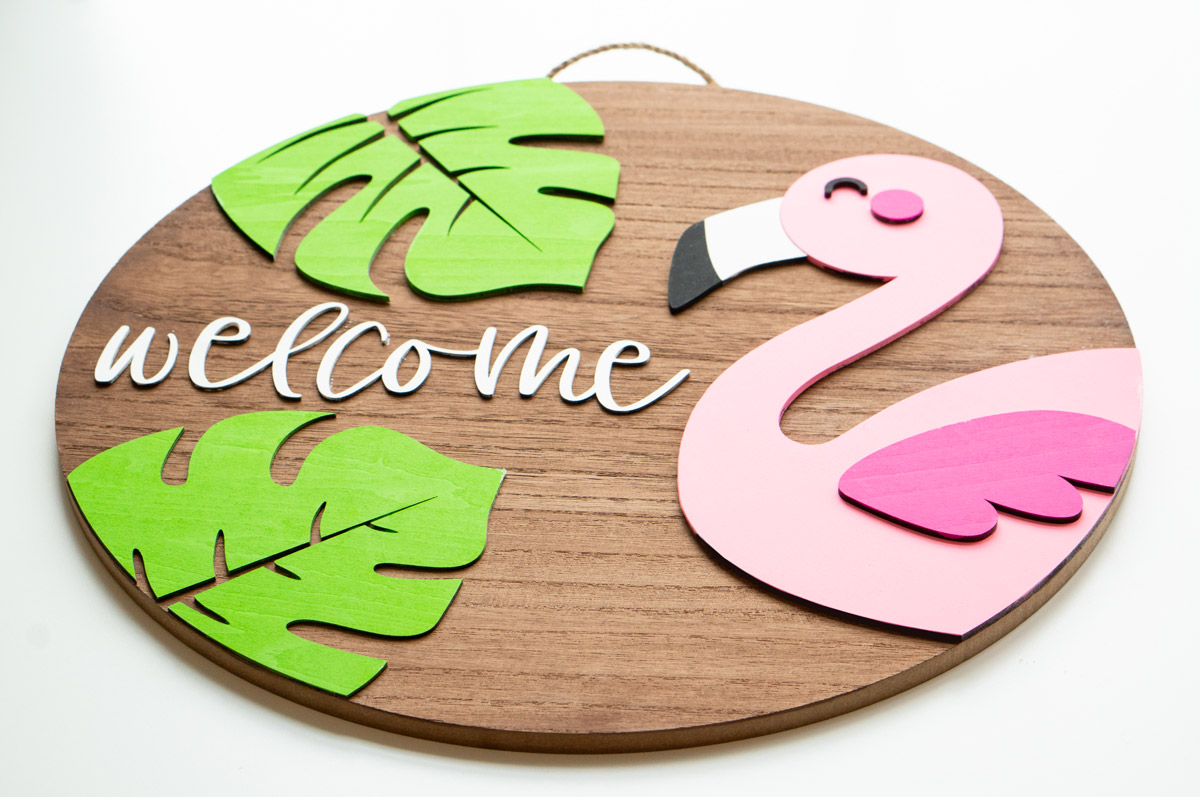
How to Create a Layered Wood Round Sign using an xTool M1
Learn how to create a layered wood round sign using this free Summer Welcome SVG file.
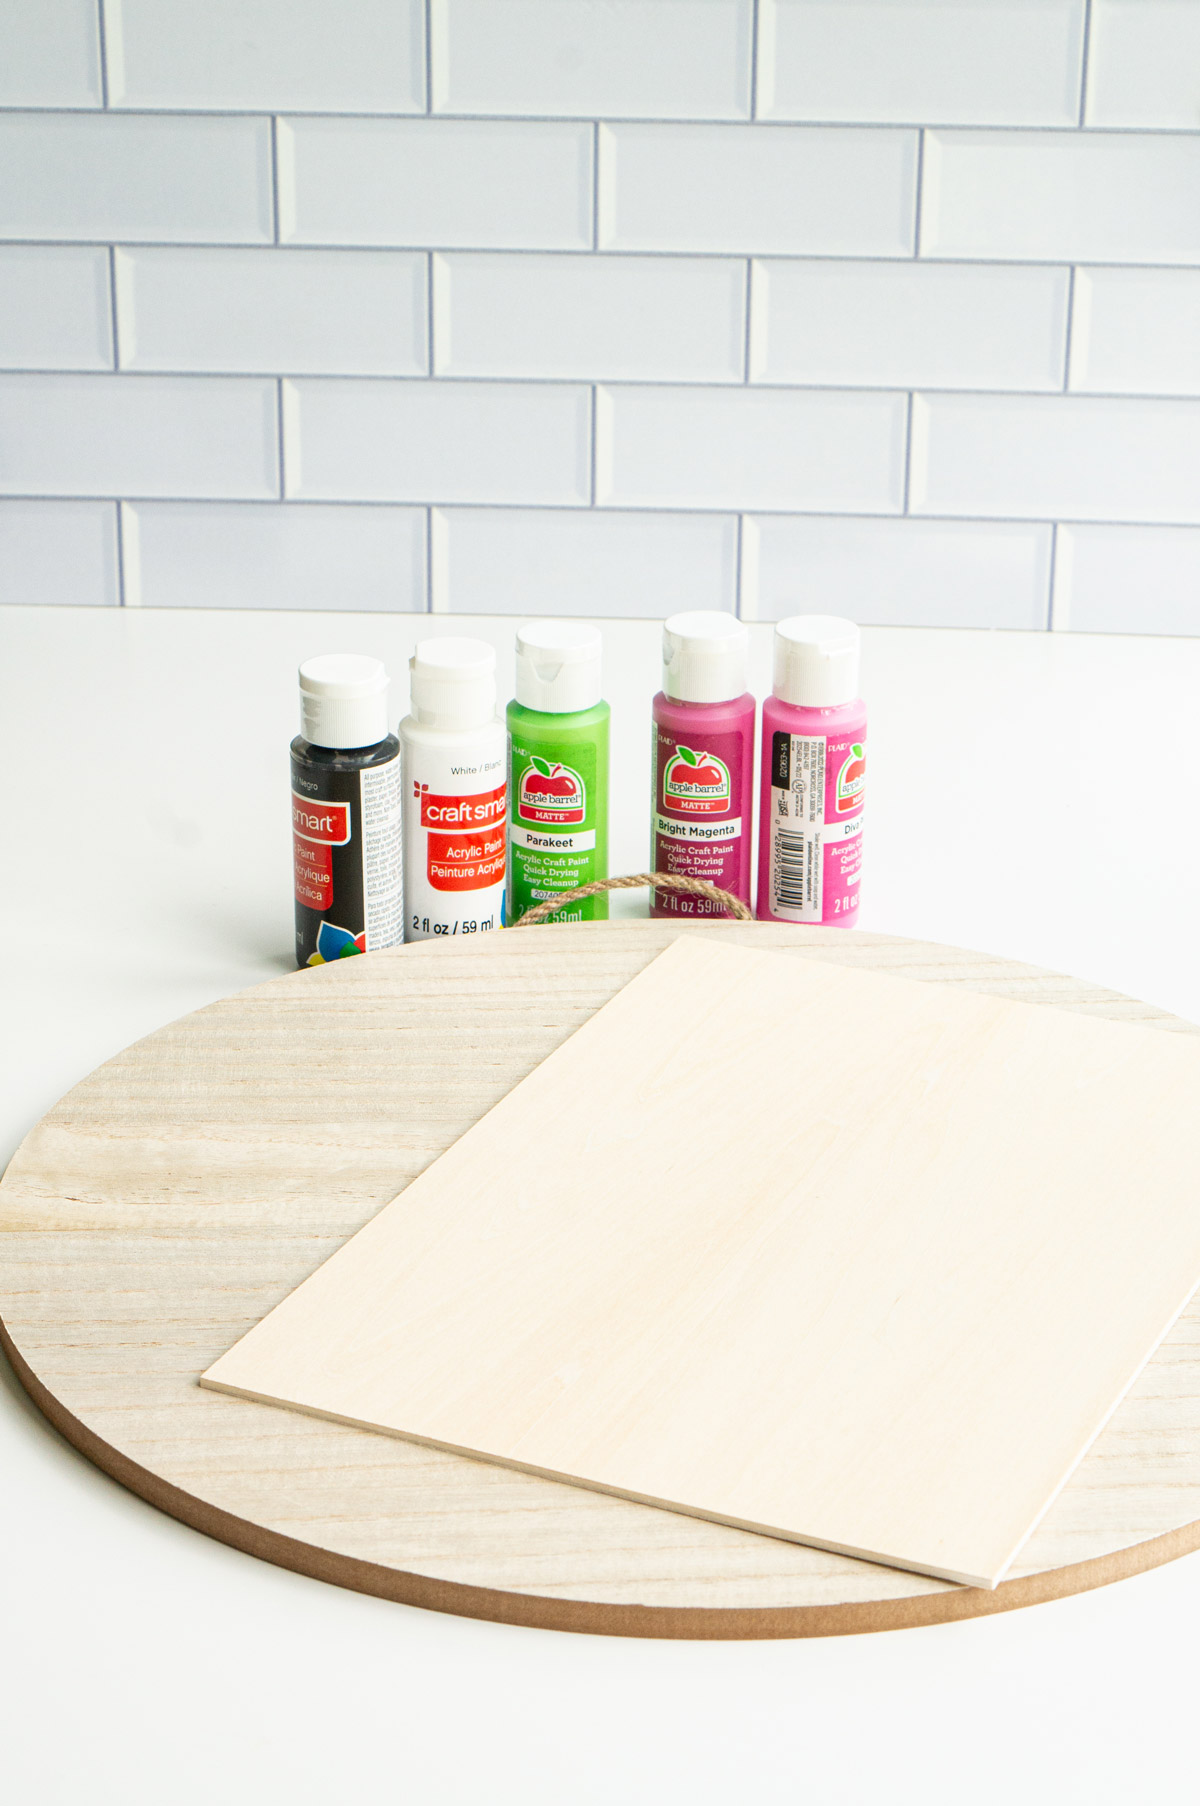
Materials
- wood round
- 3 mm balsa wood
- paint
- strong hold glue
- clear coat spray for outdoor use
Tools
- paint brushes
- laser machine (like the M1)
Instructions
- If using a pre-bought wood round, measure the size of the wood round first.
- Download the free files (click here to download).
- Open xTool Creative space.
- Click on the image icon in the upper lefthand corner.
- Find where you downloaded the SVG file and insert it into the project.
- Resize the image to the correct size of your wood round.
- If you're not cutting your own wood round, delete the circle.
- Place your plywood sheets inside of your xTool M1.
- Turn on your xTool M1. Refresh the image.
- Place the pieces of the SVG onto the plywood on the screen. If not all of the pieces fit, put some off to the side and select the pieces and on the righthand toolbar, select ignore.
- Use framing to make sure the pieces fall within the wood you're cutting on.
- Press start and cut the pieces.
- If all of the pieces did not fit in the first cut, place a new piece of wood down.
- Repeat steps 10-12 with the remaining pieces until all pieces have been cut. Make sure to select ignore for any pieces you are not currently cutting and select output for those you are cutting.
- Once the pieces are cut, stain or paint your wood round if desired.
- Paint your individual pieces and let them dry.
- Using a spray adhesive (or another adhesive of choice), adhere the pieces to the sign.
- If the sign is hanging outside, spray the sign with a clear coat, non-yellowing spray to help protect the sign.
Notes
The additional time is for drying time. You'll need about 24 hours for the paint to dry and another approximately 24 hours for the glue to dry before hanging the sign.
If you're cutting the round yourself, you can score the wood round with the design to ensure the perfect placement of the individual pieces.